Key Takeaways
- LocalSend allows for wireless file sharing between Windows, Mac, Linux, iPhone, and Android, devices on the same Wi-Fi network without uploading files to the internet first.
- LocalSend can be more reliable and easier to use than Apple’s AirDrop even on Apple devices, with additional features like customizable settings and automatic file acceptance.
- Alternatively Android users can use Quick Share for Windows or LocalDrop for Mac, desktop users can resort to SMB, with cloud sharing being a last resort.
Ever wish you could AirDrop between Android and Windows, or Linux and iPhone? Good news! With one free and open-source app, you can send files wirelessly between devices over Wi-Fi.
Send Files Wirelessly With LocalSend
LocalSend is a completely free and open-source wireless file-sharing solution that’s available for almost everything. You can send and receive files as long as you have the LocalSend client installed on two devices that share the same Wi-Fi network. The app is built on the REST API and HTTPS, which means it uses the same level of encryption as much of the web.
When you send a file using LocalSend, it is not uploaded to the internet first but rather transferred directly between LocalSend applications. The file is then saved locally on your device. It allows you to send files wirelessly between operating systems and devices that are not normally associated with this kind of seamless interoperability.
First Install LocalSend
To get started, head to the LocalSend website or download the LocalSend client from your store of choice. Apple users can download iOS, iPadOS, and Mac versions from the App Store, while Android users can use Google Play, F-Droid, and the Amazon Appstore (or grab the APK and sideload).
Windows users can download an EXE or a portable version of the app in a ZIP archive. For Linux there are pre-built DEB and AppImage files, plus Flatub, Nix, Snap, and AUR packages. Alternatively, anyone can build LocalSend for themselves by grabbing the source code from the GitHub page.
Sending and Receiving Files With LocalSend
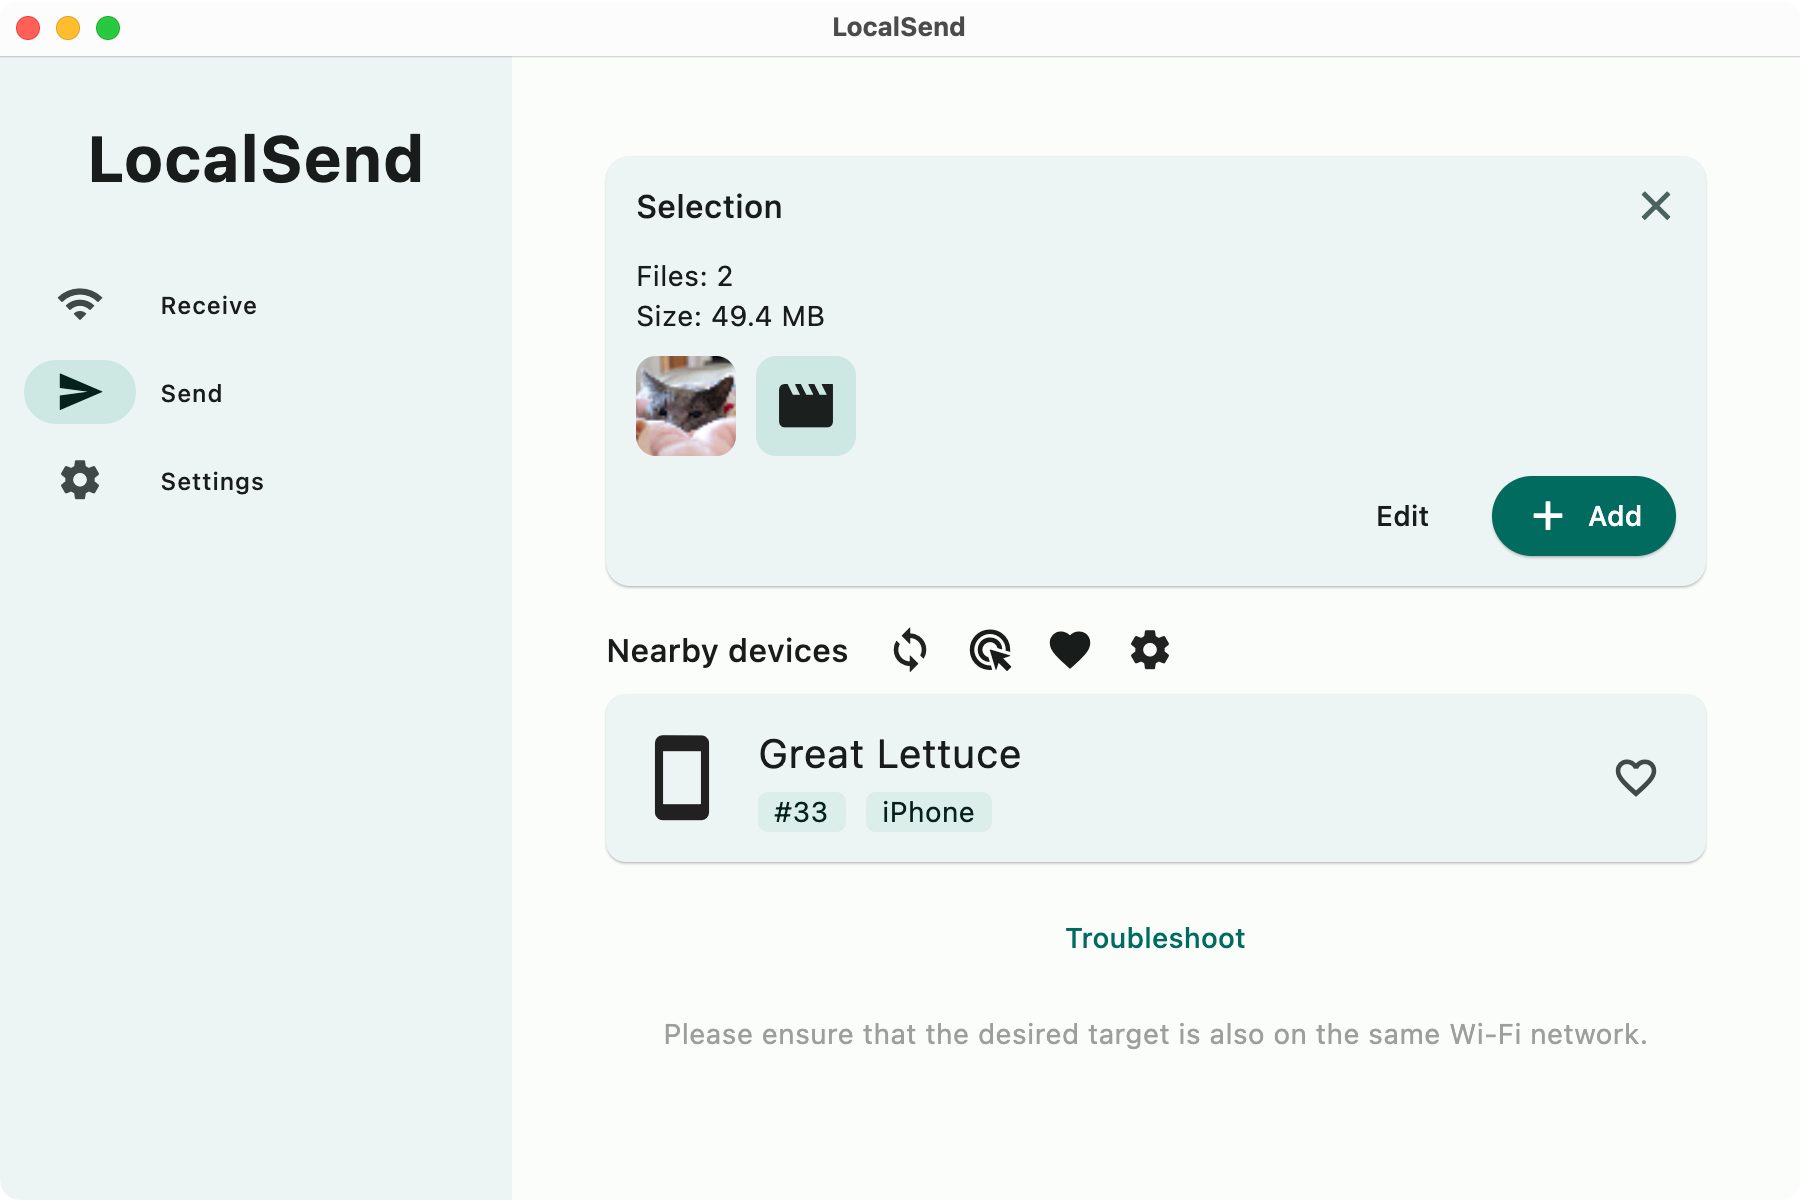
With LocalSend open on both the sending and receiving device, all that’s left to do is queue some files to transfer. Use the “Send” button to add files, folders, text, or the contents of your clipboard. On a desktop, you can drag files here to queue them up.
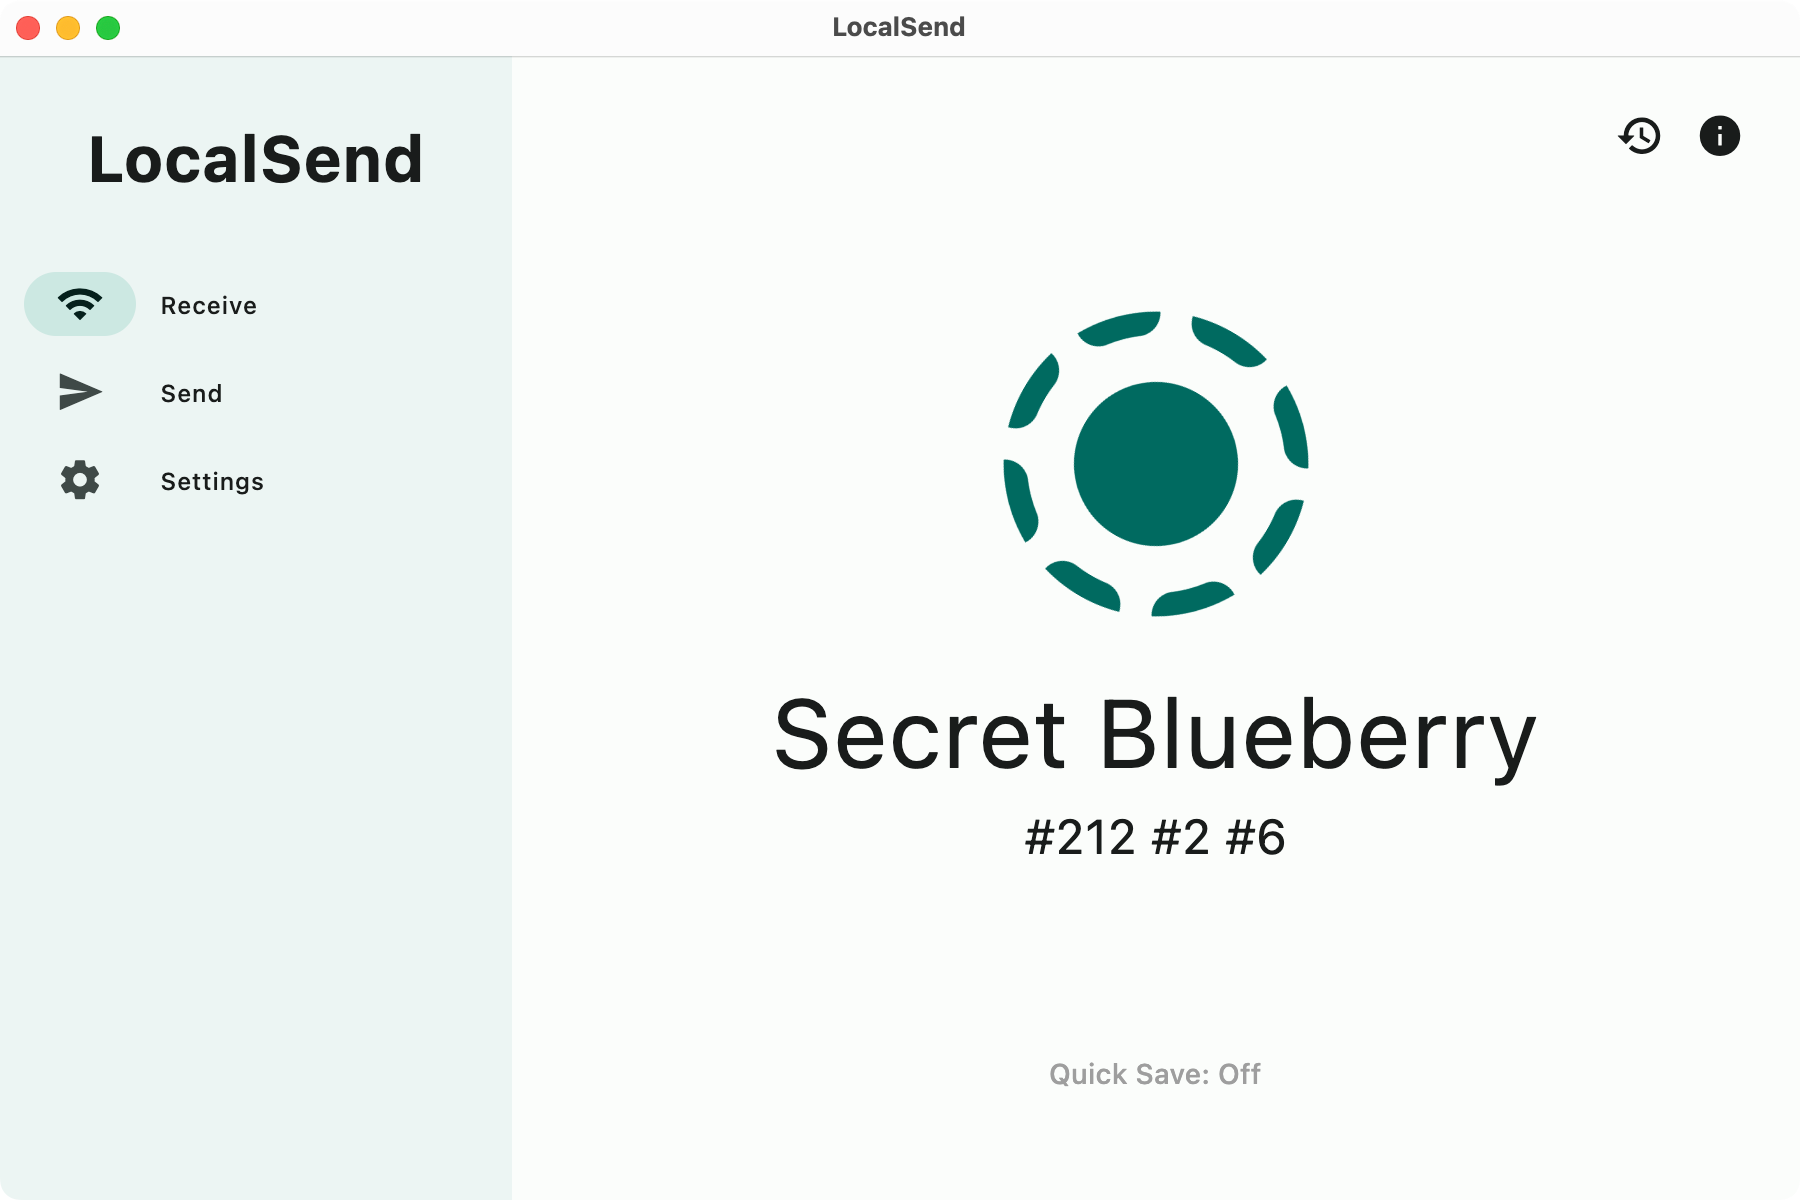
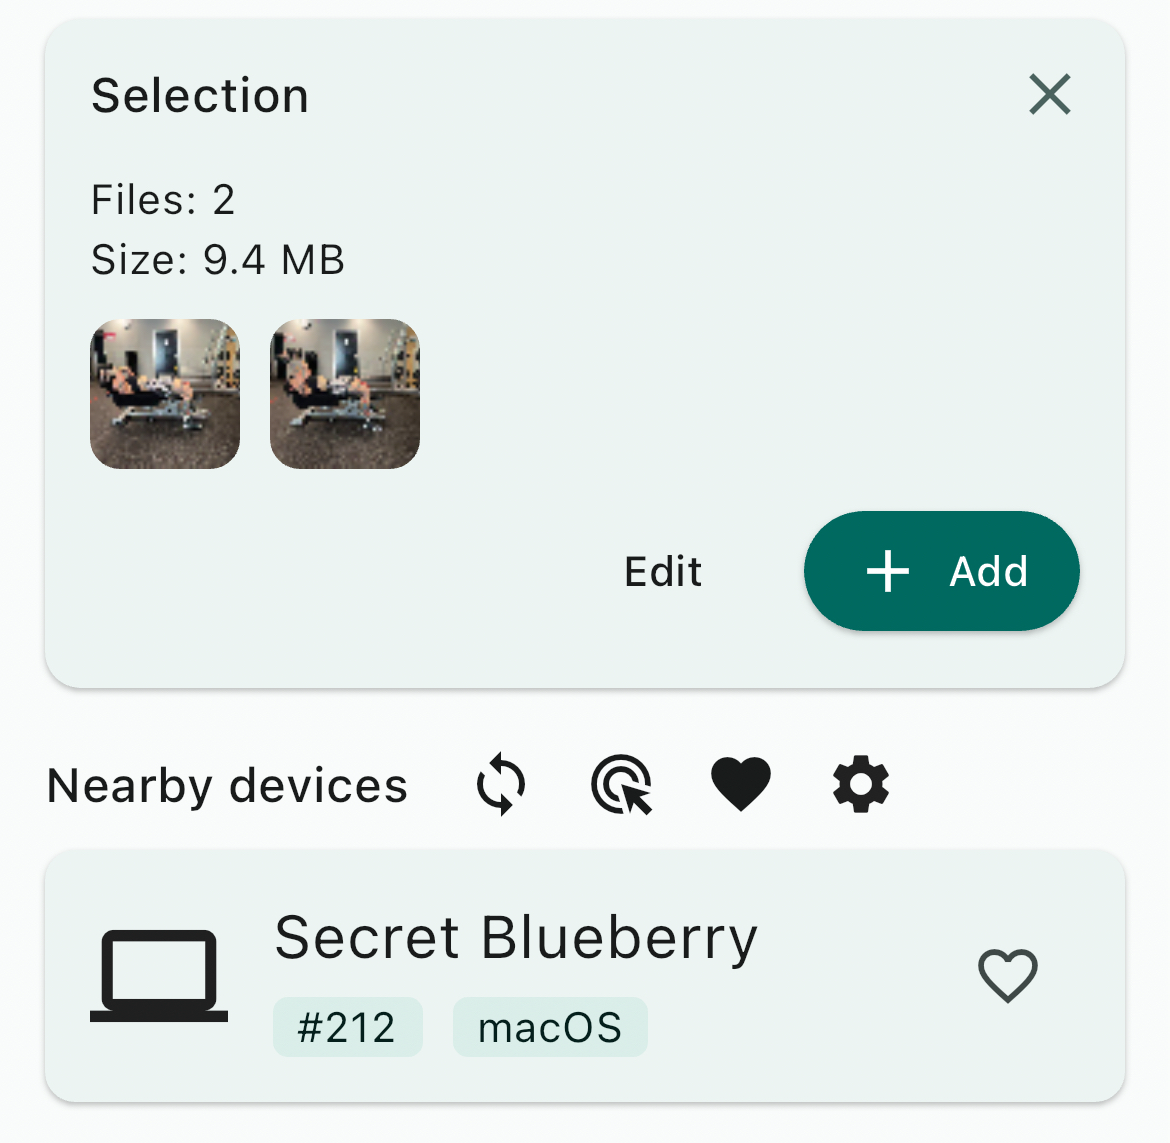
With your files ready to go, make sure the receiving device is on the “Receive” page and make a note of the (randomly generated) name you see on the screen. Now initiate the transfer by selecting the target device on the origin device and accepting the transfer on the receiving device.
LocalSend should immediately spring into action. How fast your transfer goes depends on how close you are, how fast your Wi-Fi is, and what interference is nearby. In our tests, a 30MB video file sent from an iPhone to a Mac (both with Wi-Fi 6E) took a few seconds.
Set Up LocalSend for Better Results
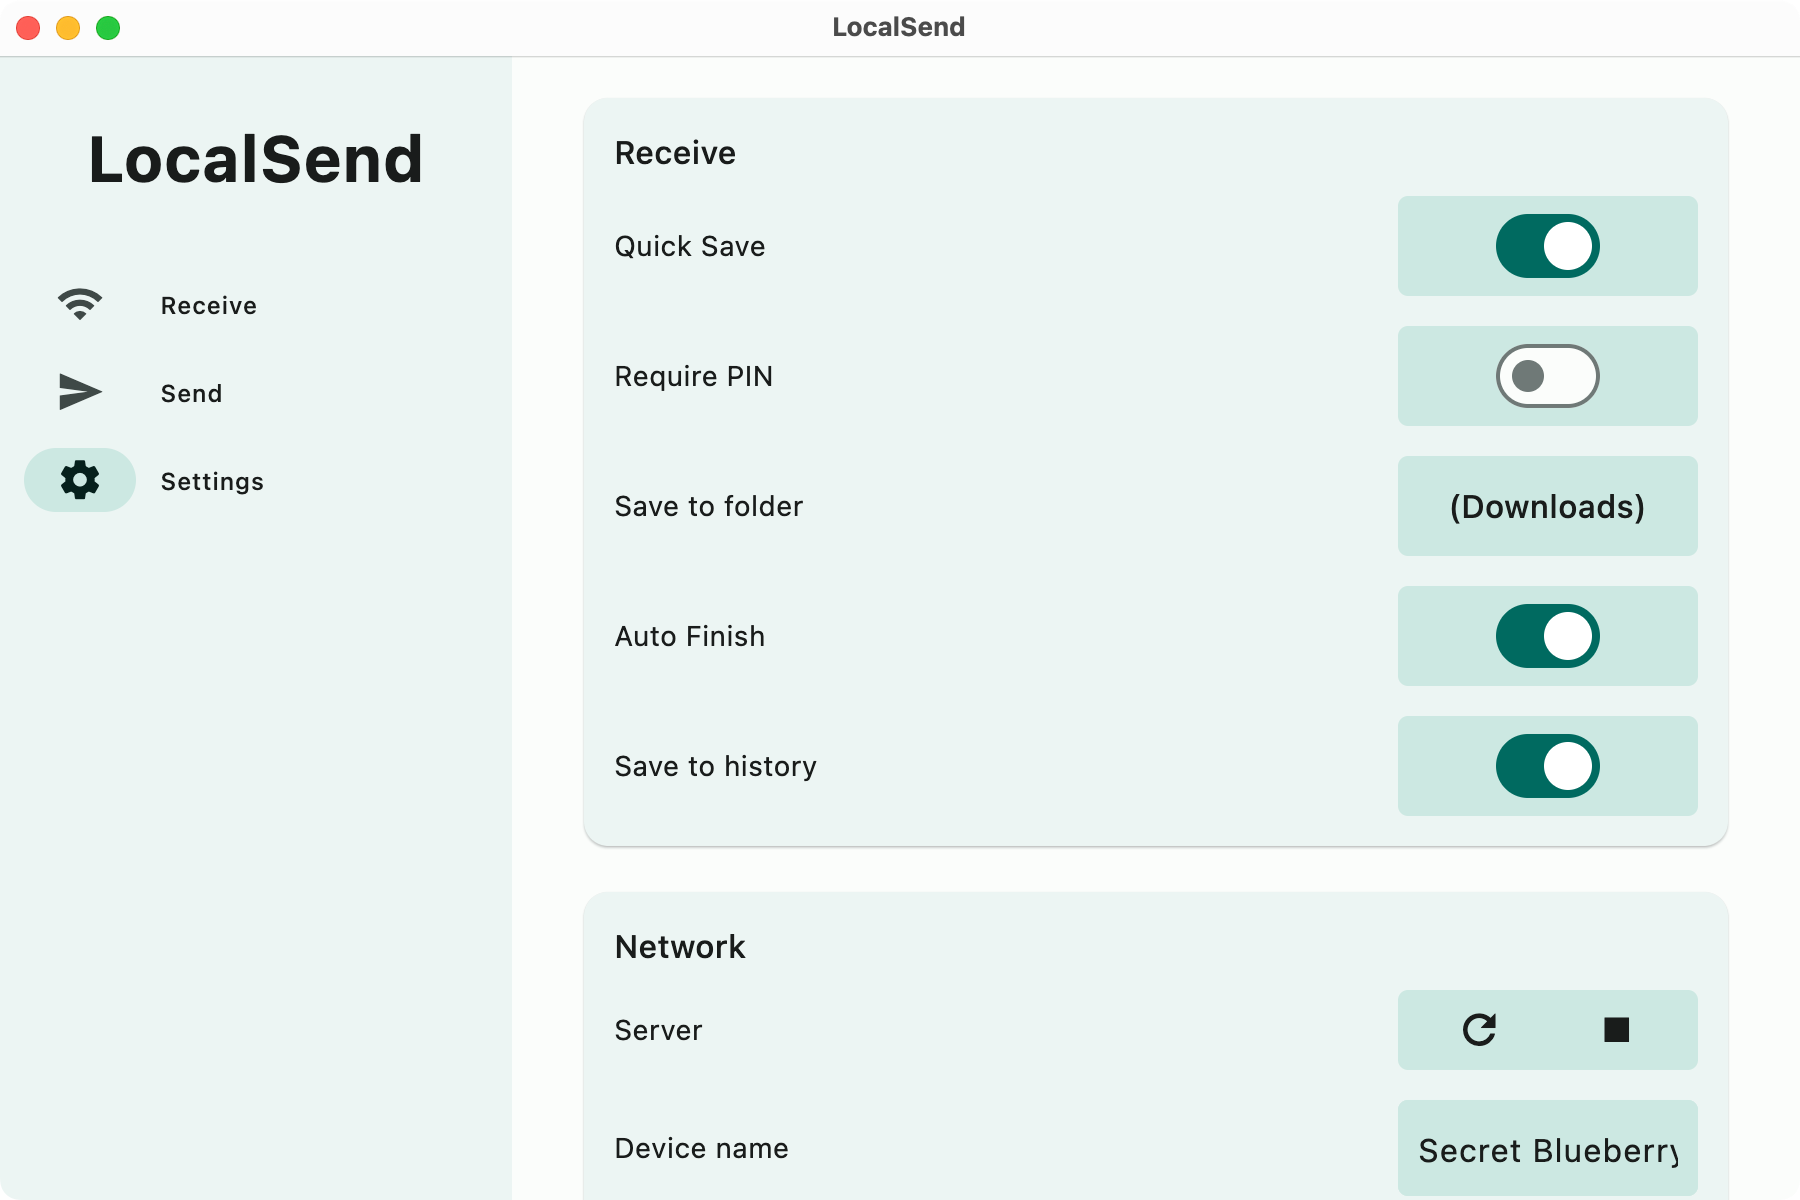
On the “Settings” page of the LocalSend client, you change a few settings to make your life a bit easier. The first is to change the name of your device to something less random, that’s easily recognizable. Remember to use a random name if you want to hide your true identity.
On desktop you can specify a save location, whereas on iPhone there’s just a toggle for saving media to your “gallery” (Photos library). Turning this off will let you save with Files instead.
You can also turn on “Quick Save” to automatically accept all new incoming transfers (handy if you use LocalSend purely for your own personal devices), add a PIN for better security, and turn on “Auto Finish” to automatically dismiss the transfer summary screen that appears.
LocalSend Can Replace AirDrop for Apple Users
Perhaps the most surprising thing I noticed when testing LocalSend was that the service appears to be more reliable than Apple’s own AirDrop protocol. This might not be the case for all users, but as someone who uses a VPN on both their Mac and iPhone, AirDrop frequently doesn’t work for me.
Normally I have to turn off my VPN, make an AirDrop transfer, and then remember to turn on my VPN again. This wasn’t necessary with LocalSend. Sending a file from my iPhone to my Mac was effortless, with both devices appearing immediately and the transfer initiating without the usual “will they, won’t they” dance I’ve become accustomed to.
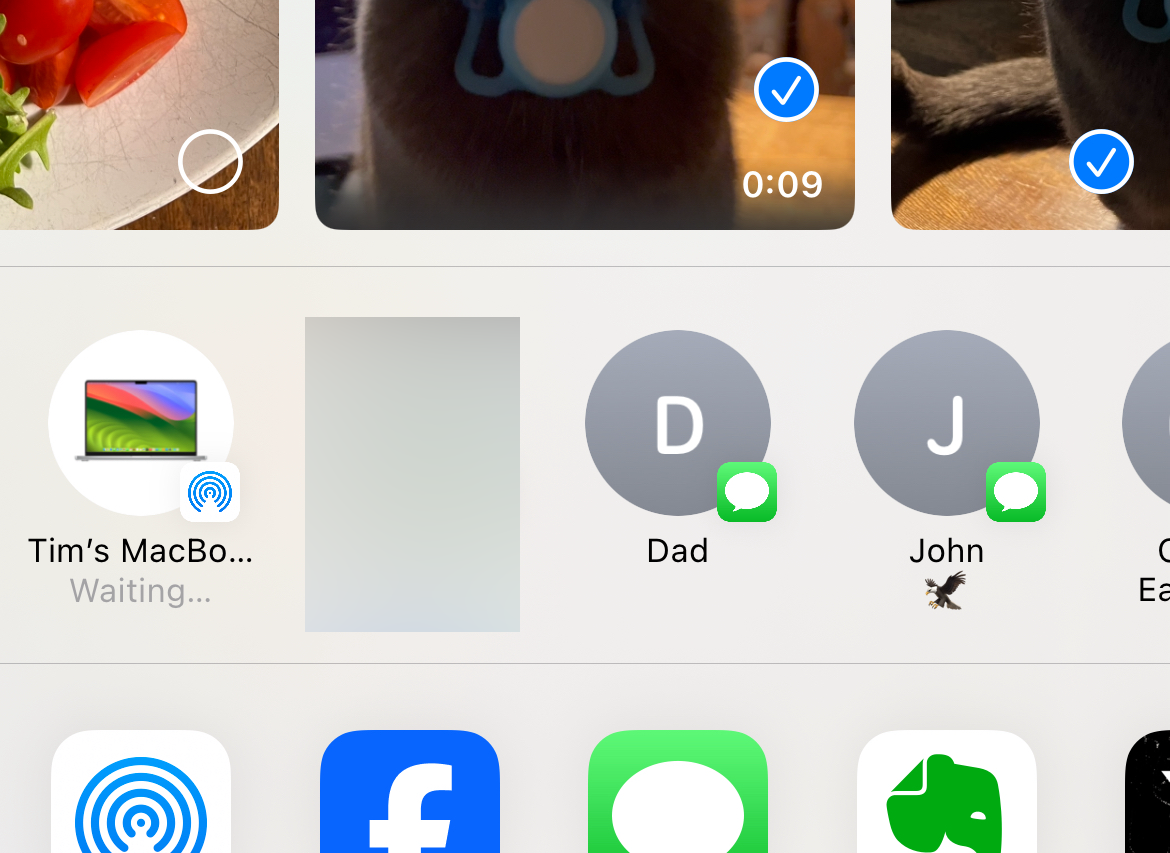
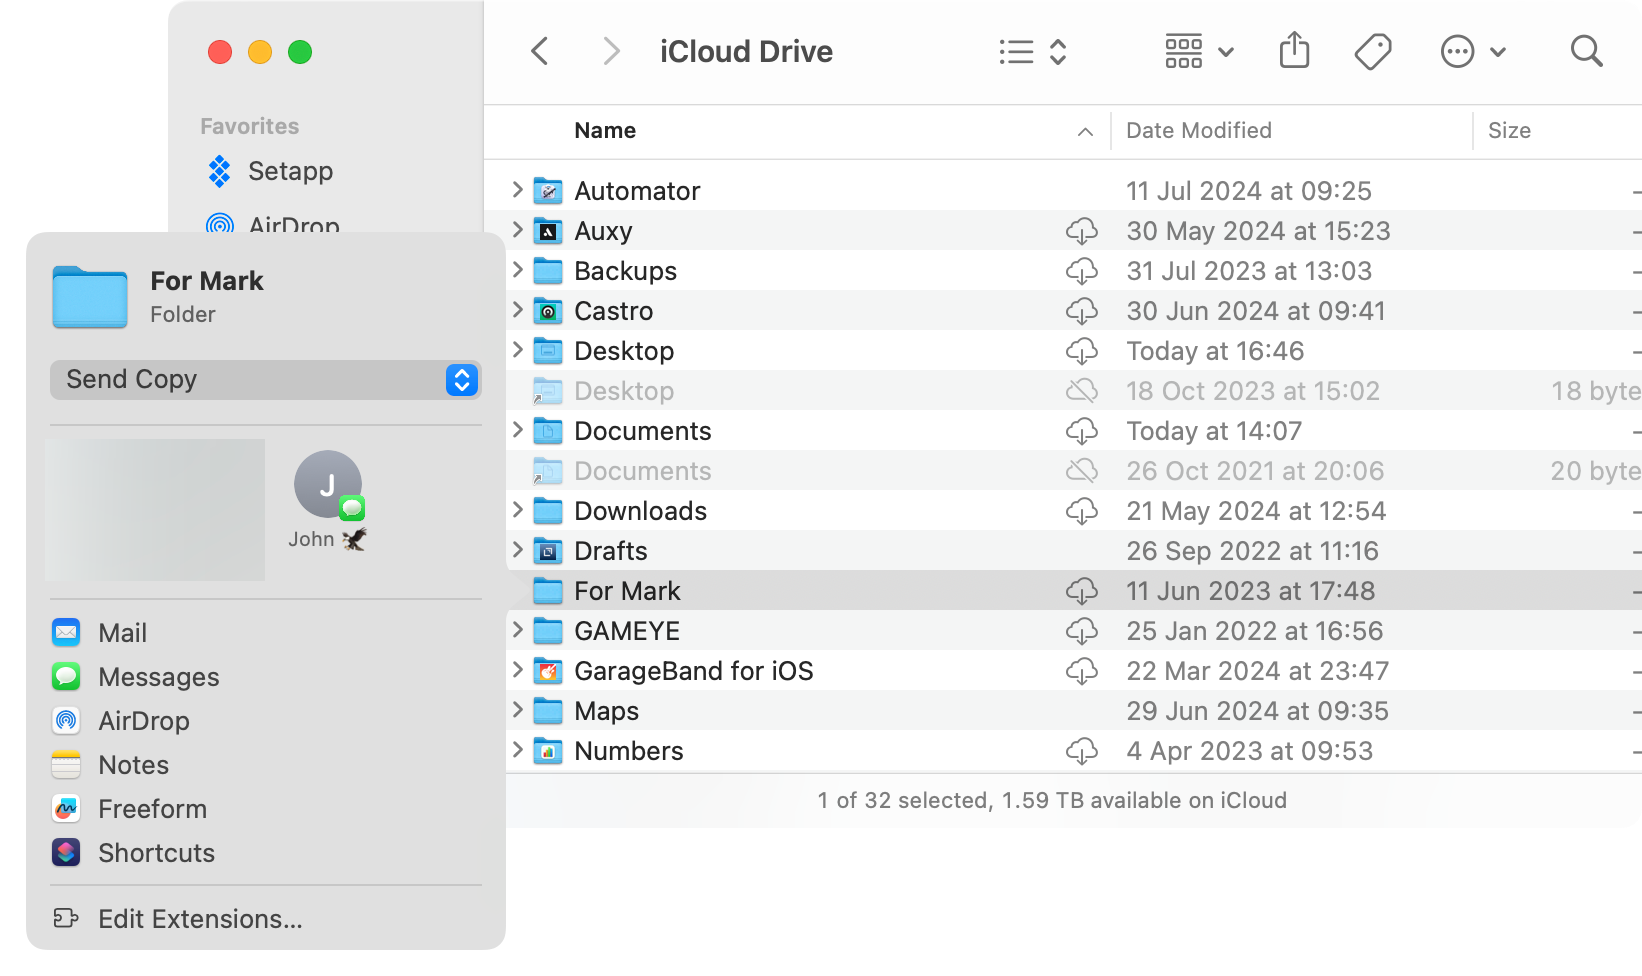
On top of this, LocalSend appears in the “Share” menu on macOS alongside other locations like Messages, Mail, and so on. This makes it easy to select media from your Photos library, hit Share, and then tap “LocalSend” to transfer files wirelessly.
With LocalSend always running in the background on my Mac, I can now easily transfer screenshots (like the one above) with a few taps on my iPhone by automatically accepting all new transfers on my Mac.
The biggest roadblock you’re likely to run into is convincing other people to download the app, which of course isn’t the case with AirDrop.
Android User? Try Quick Share for Windows or NearDrop for Mac
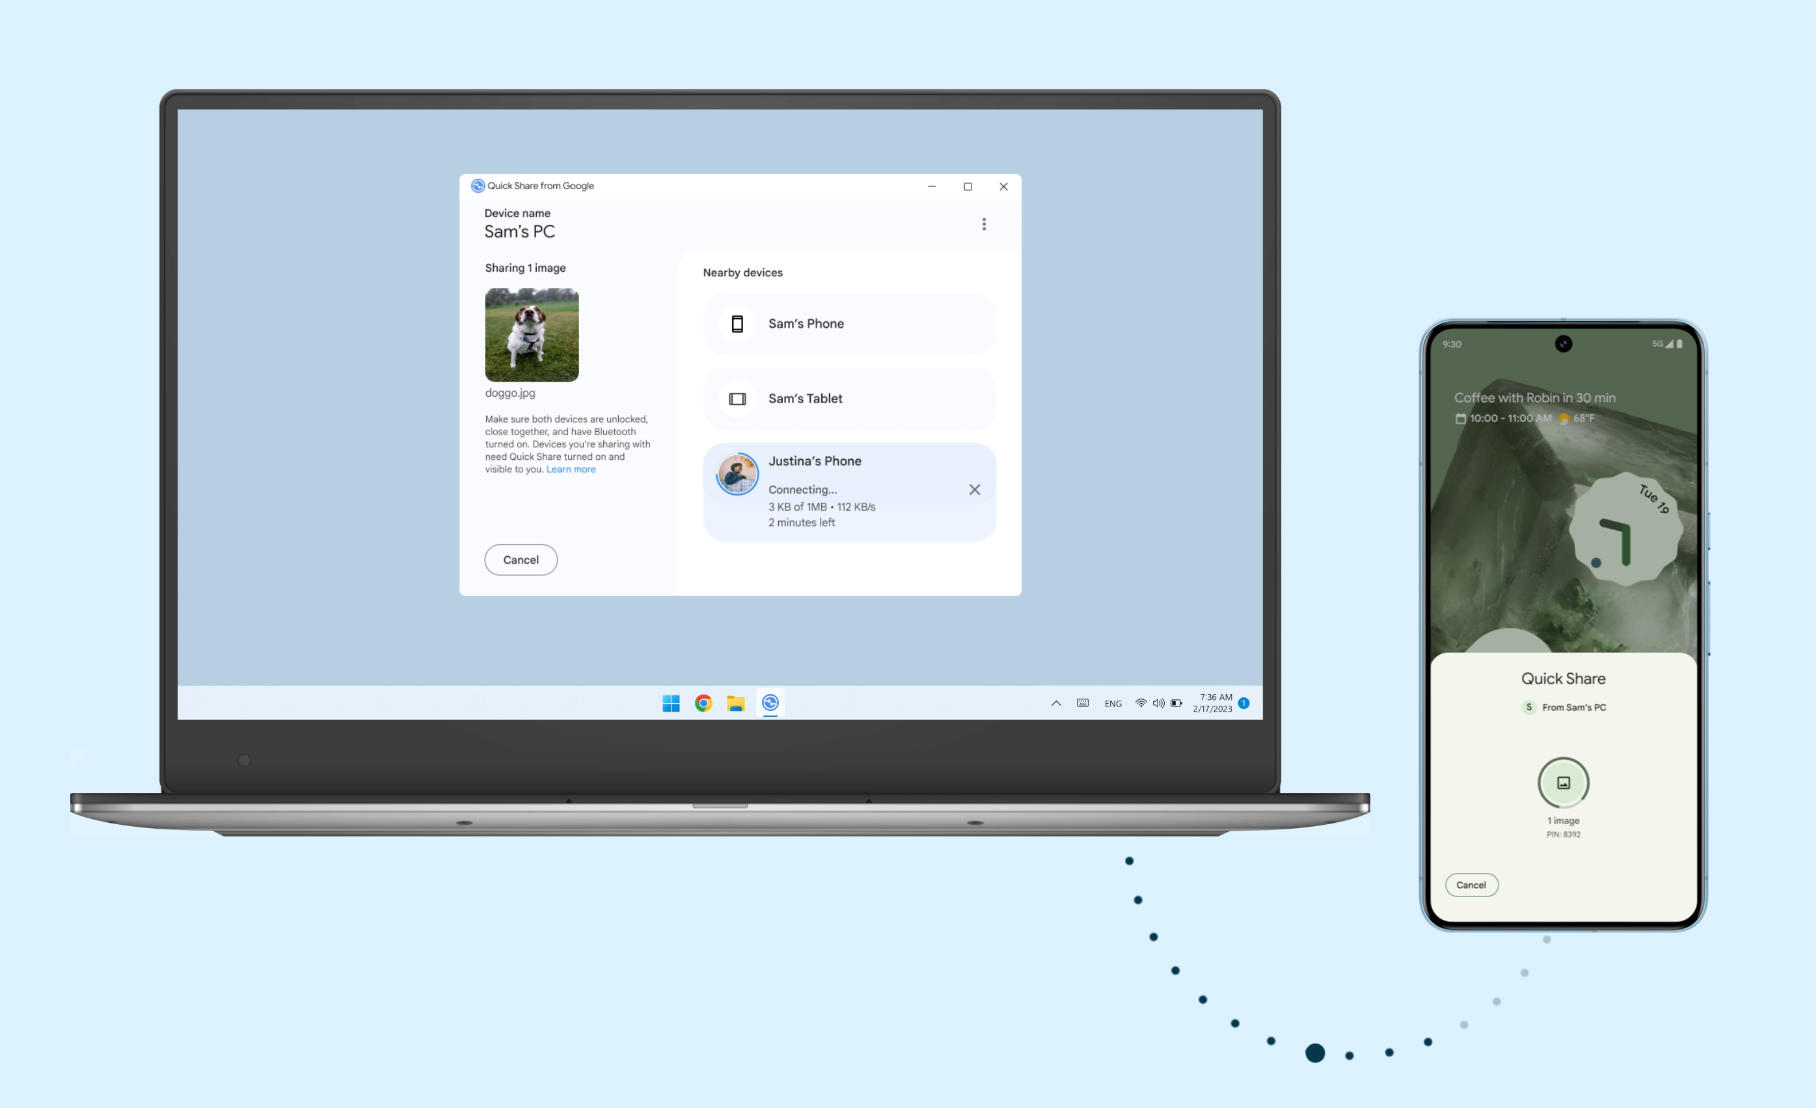
If LocalSend isn’t doing it for you and you have the very specific combination of Android and macOS or Android and Windows, there are two other apps you can resort to. Quick Share is Google’s own app for transferring between Android and Windows, which was revamped in early 2024.
Install the app on Windows and then log in with your Google Account. You can then set up device visibility preferences, and send wirelessly between the two using Google’s own nearby sharing technology.
NearDrop is a free Mac app that works in much the same way, except it’s not at all affiliated with Google. Install it using Homebrew on your Mac, then make sure your devices are sharing the same local network before trying to send.
Also Consider SMB for Network Sharing
If you’re mostly concerned with transferring files between computers that are normally on the same network, you can always use the old SMB file-sharing protocol as a fallback. There’s native support for SMB built into Windows and Mac, which makes sharing between Windows and Mac using SMB fairly easy.
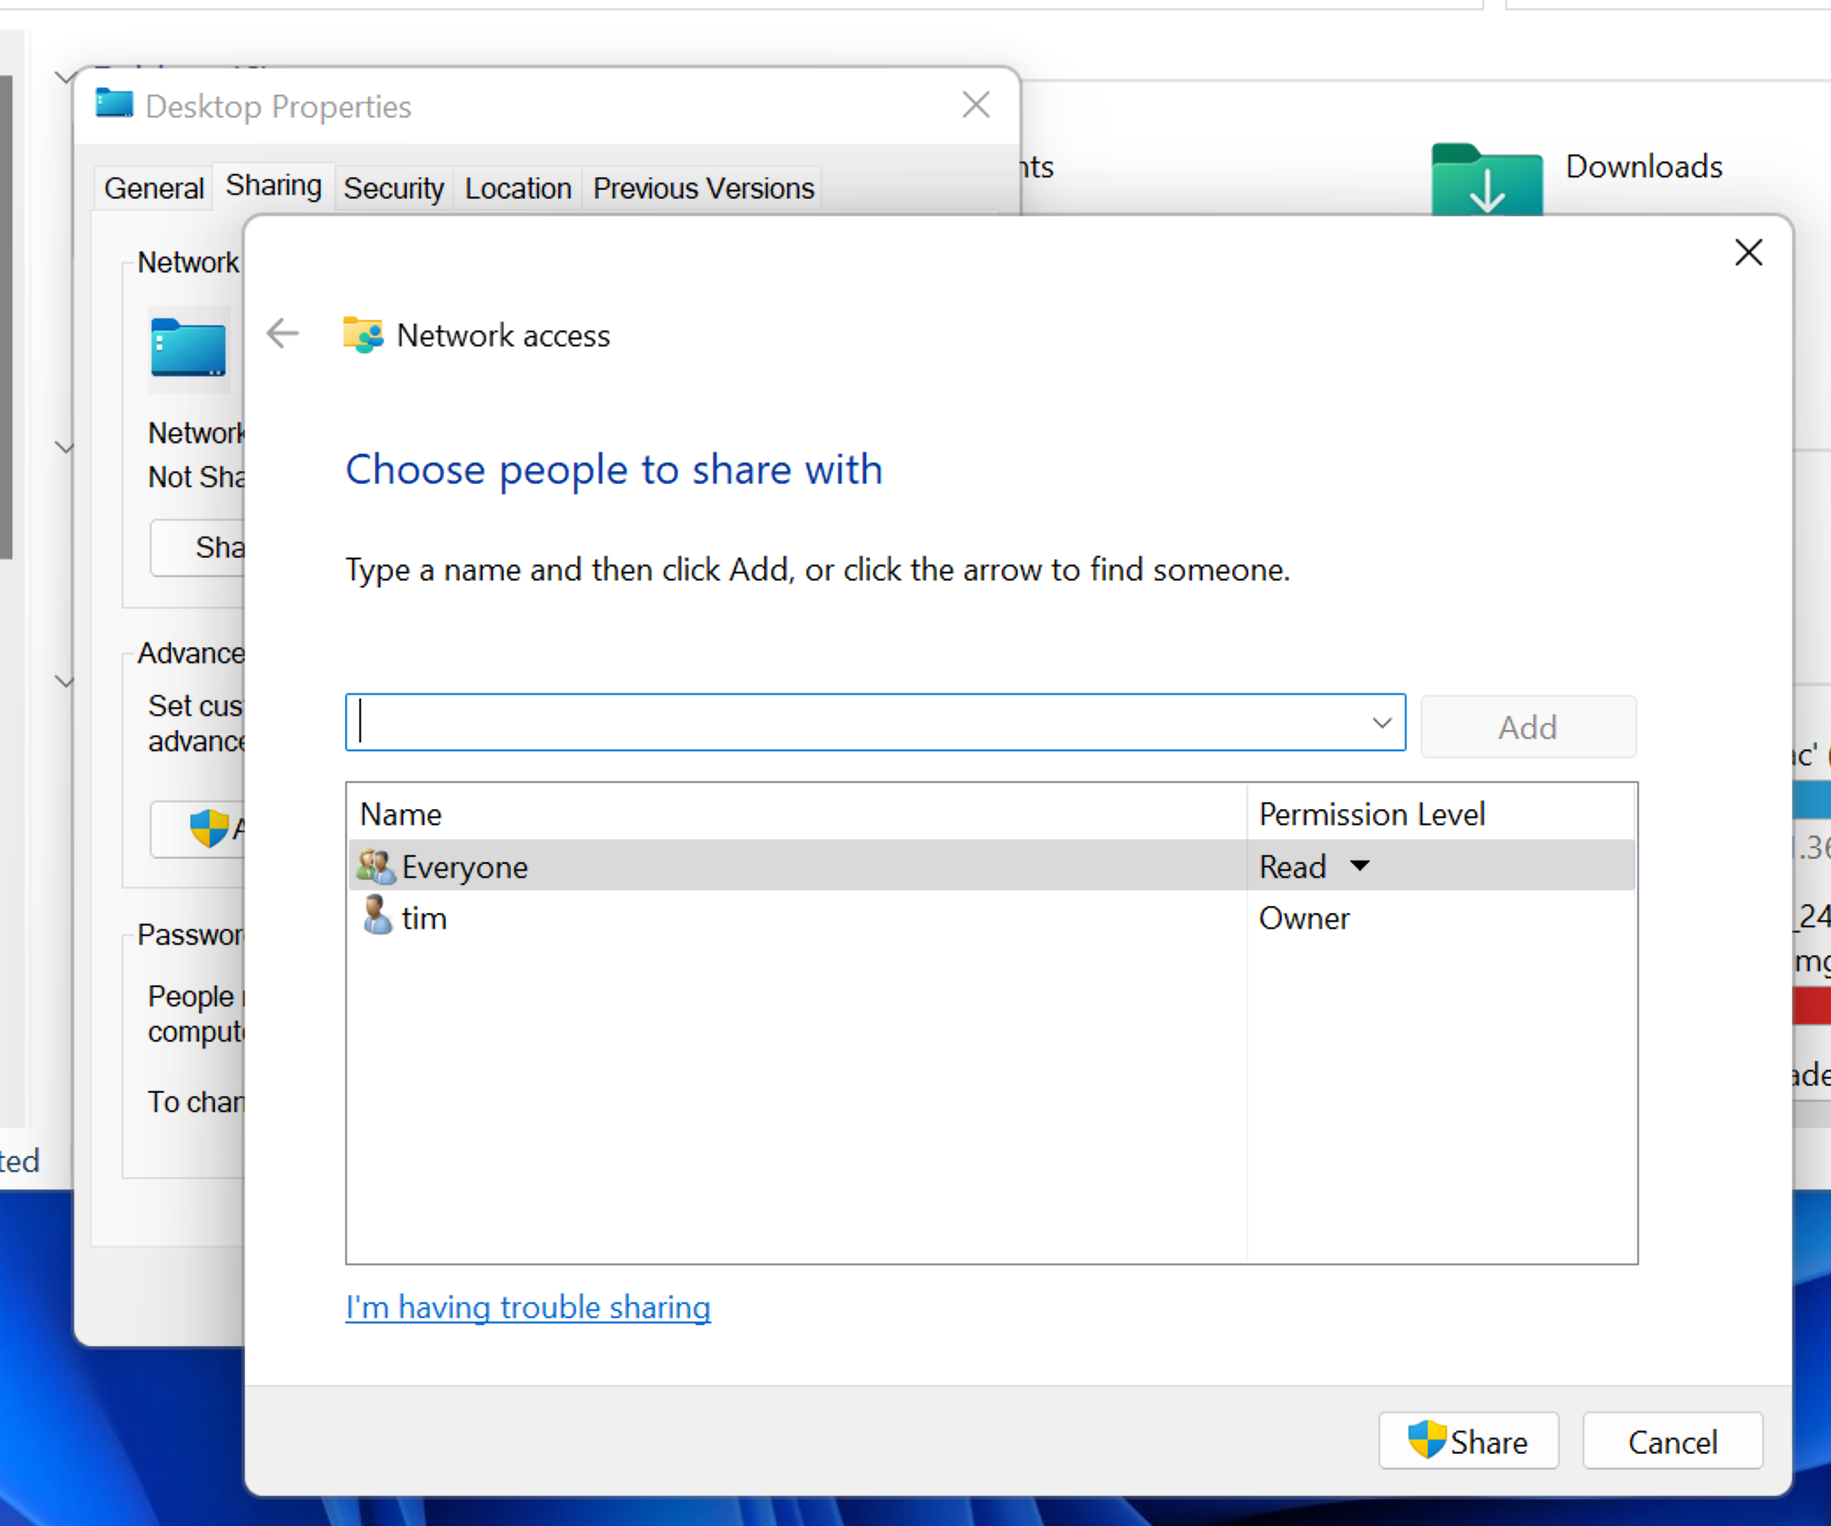
On Windows, set up a shared folder as you normally would by right-clicking a file and choosing Properties > Sharing then selecting “Share.” You can further refine these settings under “Network and Sharing Center” in Control Panel. Windows uses SMB by default.
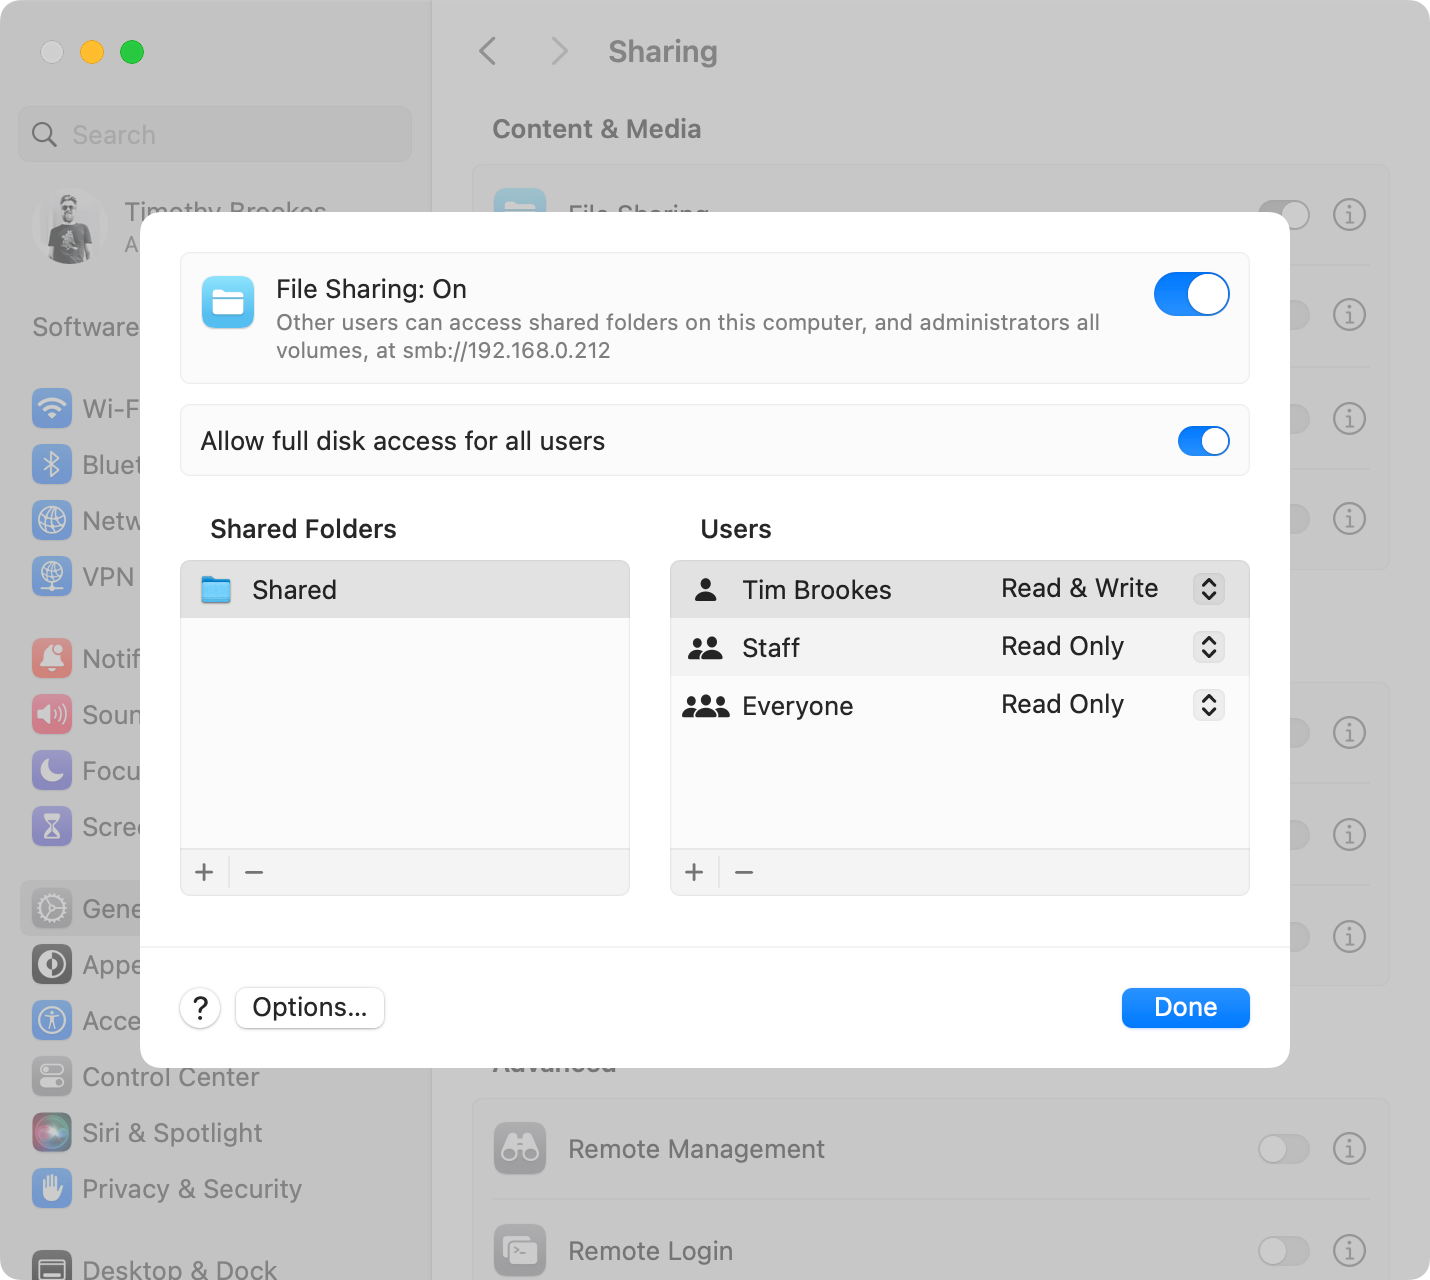
On a Mac, head to Settings > General > Sharing and turn on “File Sharing” then click the “i” button next to the setting to add folders and set permissions. Hit “Options” and enable “Windows File Sharing” for your username. Remember that anyone accessing your shares will need to authenticate with your macOS username and password.
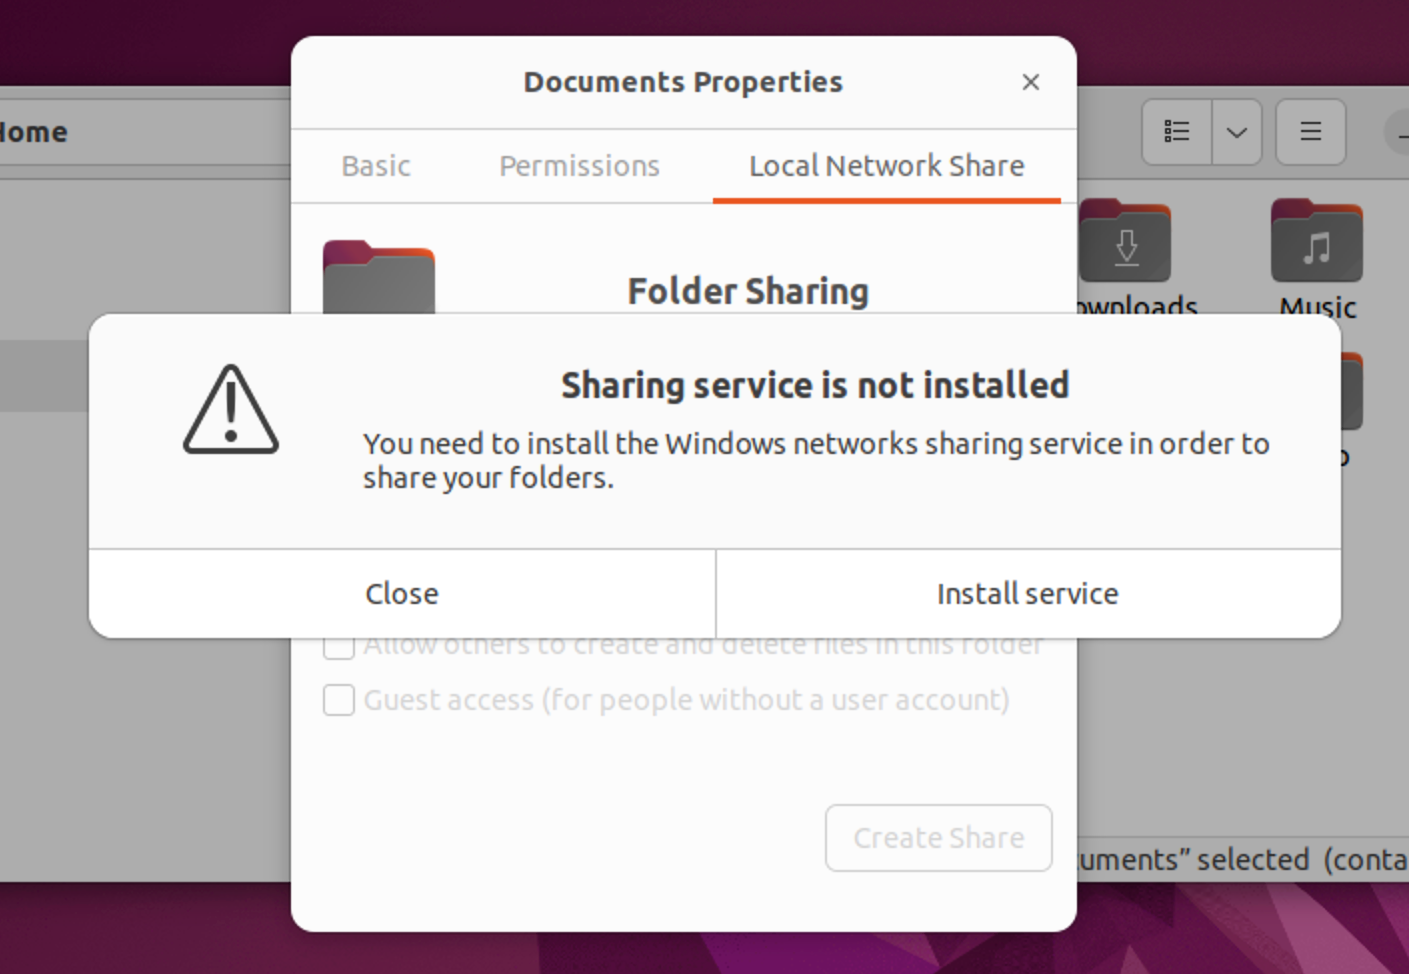
On Linux, instructions will differ depending on which distribution you are using. To create a Windows share in Ubuntu, right-click on the folder you want to share and then click Properties > Local Network Share > Share this folder. You’ll be invited to install the required services and set up your share. You can also install samba and set all of this up using the Terminal.
To make use of SMB, you’ll need to place the files you want to share within the folder you have shared.
When Nothing Works, Use Cloud Sharing
Uploading a file to the cloud to send it to a device that’s within spitting distance is a bit like mailing a letter to your next-door neighbor rather than just dropping it in their mailbox. Sure, it works, but it’s arguably the least efficient method of sharing.
It’s not so bad when the file is small, or you’re trying to collaborate on something (like a text document created in Google Docs), but for larger files like videos or archives that reach into the hundreds of megabytes, there’s almost always a better way.
You’ll have to wait for the upload to complete, have the other party download the file, and then remember to delete it to get your cloud storage back. If everything else is failing you, go for it (but consider using a free cloud storage platform).
How you go about this depends on which service you pick. Most platforms like Google Drive, Dropbox, and OneDrive have native clients. This makes uploading easy, and can even add an element of redundancy so that interrupted uploads can easily be resumed.
Failing this, you can always log in using a standard web browser and upload your file this way. Once you’re done use the built-in tools to share the folder with whoever you want.
LocalSend is an incredibly simple app and if it works for you, I’d recommend sticking with it. Android-specific protocols may be a little faster, and SMB shares are good for wired-in whole network sharing but if all you need to do is send a few files back and forth occasionally, LocalSend wins every time.


