

If you’ve ever tried to install Home Assistant, it’s likely you’ve seen the numerous ways to get it up and going. I started with the recommended method, and, through trial and error, found the most reliable way to install and run Home Assistant.
There Are a Few Ways to Install Home Assistant
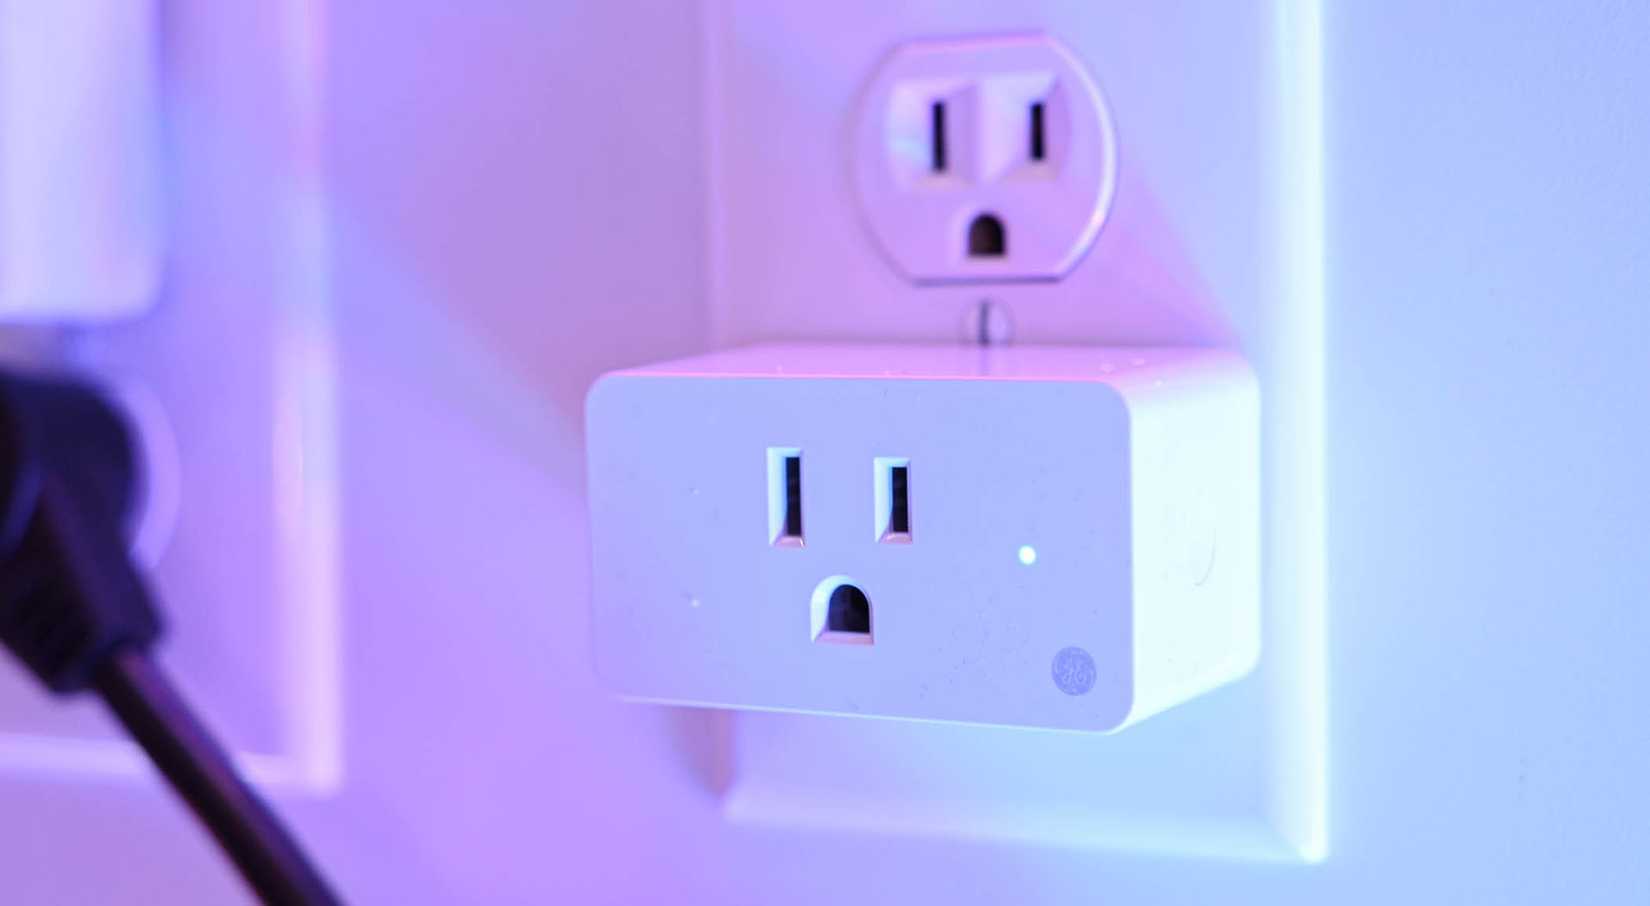
Home Assistant is a favorite smart home platform here at How-To Geek. For good reason, too. It’s a fantastic way to integrate dozens, if not hundreds, of manufacturer’s devices, all under one roof. Unlike traditional smart home services, Home Assistant can run completely on hardware you already own—unless you decide to purchase a Home Assistant Green or Yellow.
Related
What Is Home Assistant? And Why Isn’t Everyone Using It?
Get to know this open-source locally-controlled smart home platform.
Since it runs on your own system, you’ll have to install Home Assistant yourself. There are a number of ways to install and configure Home Assistant, and finding the best method could take some trial and error. Let’s look at your options.
Home Assistant OS Runs as a Virtual Machine
If you’re looking for the primary recommended way to install Home Assistant, this is it. Home Assistant provides a pre-configured virtual machine that all you have to do is download, load it into your virtual machine manager of choice, and turn it on. Once the virtual machine is booted, you’ll get the IP address that’s displayed in the terminal output of the VM. That’s all that is required for you to install Home Assistant this way.
Installing the Home Assistant OS through a virtual machine also gives you the full experience, enabling all the features that the smart home platform has to offer, leaving nothing out.
Home Assistant Can Run in a Docker Container
After all of my testing, this is the route I personally recommend. While Home Assistant itself recommends going with its pre-configured virtual machine for ease-of-use, I’ve had more luck running it inside of Docker through Home Assistant’s Docker Compose method.
With Docker, you do lose out on one-click updates, as you have to update the actual container. The add-ons store also isn’t available with the Docker container, but I personally don’t use any of the add-ons anyway.
Home Assistant add-ons are essentially little apps that run inside of Home Assistant. This can be running MariaDB or LetsEncrypt within Home Assistant, integrating an MQTT broker, or even sharing your configuration via Samba to easily edit it on other computers. While these things are nice to have in more technical circumstances, I just don’t see them as a necessity for me or probably the majority of Home Assistant users.
Home Assistant Core Is Another Option
Now we’re getting out of the easy-install methods and starting to wade into the territory of more complicated installations. Home Assistant Core is just as limited as Home Assistant in a Docker container, but this time around it’s all done with Python in a virtual environment. If that sounds like a foreign language to you, you’re not alone.
Even though I’ve been working with Linux servers for about 15 years, I’ve personally never deployed a Python virtual environment. I tried, and it just didn’t seem like something I’d really want to dive into figuring out the ins and outs of.
I wouldn’t really recommend anyone run Home Assistant Core. That is, unless you’re absolutely rejoicing at the idea of playing with Python virtual environments.
Home Assistant Supervised Isn’t Worth It for Most
As far as features go, Home Assistant Supervised has everything that Home Assistant OS does, including the add-ons store. However, it’s the most difficult form of Home Assistant to install. It’s recommended that most people skip Home Assistant Supervised and that you simply go with Home Assistant OS in a VM, or Home Assistant Container in Docker.
Home Assistant Supervised has a lot more limitations, as well, as you cannot install it on Ubuntu, Armbian, or Raspberry Pi OS. This severely limits the places and operating systems you can install it on, and adds to the complexity.
Both myself and the Home Assistant team suggest that you avoid Home Assistant Supervised unless you really know what you’re doing. It’s simply the most complex and difficult form of Home Assistant installation available, and unnecessary for most people.
Home Assistant OS Offers the Most Functionality, but Requires More Maintenance
I started my Home Assistant journey with Home Assistant OS with a virtual machine. I ran the VM on my Unraid server, and it worked great for a while. Since it was a virtual machine, I had all the features Home Assistant offers, including the add-on store.
I dedicated six CPU cores to the VM, as well as 8GB of RAM. Since this is a full virtual machine and not just a small container, it used up quite a bit of those resources, even just to keep the base operating system running. It’s a full Linux install, after all.

The virtual machine route ended up requiring far more maintenance than I wanted to spend on Home Assistant, as well. I had to keep it updated almost weekly or my plugins would stop working. A Reddit user had this same issue. Honestly, this was one of the most frustrating parts of running Home Assistant OS to me. I’d go to bed at night, try to trigger my goodnight scene, and accessories wouldn’t respond. I’d have to manually turn them off, then fix Home Assistant the next day.

There are also the standard Linux packages that you’ll need to keep updated, too, in order for the VM to stay secure. Overall, while this installation method is the easiest because it’s a pre-configured virtual machine, it also required quite a bit of hand-holding from my end and would stop working frequently. This prompted me to seek out another installation method: Docker.
Moving From Home Assistant OS to Docker Was the Best Decision I Made
I recently expanded my homelab with a few new servers. One of the new servers is dedicated to nothing but running services and Docker containers. I decided that, with my mass migration of services, I was going to move Home Assistant to be run in a container too. This was the best decision I’ve made with regard to Home Assistant.

While I might have lost the ability to use the add-ons store, and one-click updates aren’t available within Home Assistant anymore, things are just so much more responsive. The UI is faster, actions happen quicker, and Home Assistant doesn’t break when an update is available anymore. It. Just. Works.
The update thing is actually a non-issue. All you have to do is redeploy the Docker container with the same settings, and it’ll update to the newest image. Or, you could use a service like Watchtower to automatically update containers when available.

Related
Docker for Beginners: Everything You Need to Know
Learn to use this incredibly popular development tool.
In addition to all the above, Docker containers typically use far less system resources because of how they run. There’s little-to-no maintenance required, too, as everything happens within the container itself.
I’ve also not experienced a single service interruption since switching from Home Assistant OS to the Docker container, which I used to fight on a weekly basis. I no longer have accessories stop responding at night when going to bed or when I wake up in the morning. This alone has been worth the switch to Docker for Home Assistant.
While I did lose access to the add-ons store by switching to Docker, everything I had in the add-ons store I was either able to manually install through HACS or I just simply didn’t actually need.
At the end of the day, Home Assistant in a Docker container is far more usable and is easier to maintain than running the virtual machine. Unless I get to a point where I need the add-ons store, I don’t see myself leaving the Docker container. If I do get to that point, I’ll probably just buy a Home Assistant Yellow and call it a day.
Since moving Home Assistant to docker, it has completely changed how my Apple smart home setup has functioned. I no longer worry about buying HomeKit-approved smart plugs or switches, and instead just make sure the device works with Home Assistant. Also, if you’re trying to figure out exactly what to use Home Assistant for, consider these eight easy automations to make your life easier.


