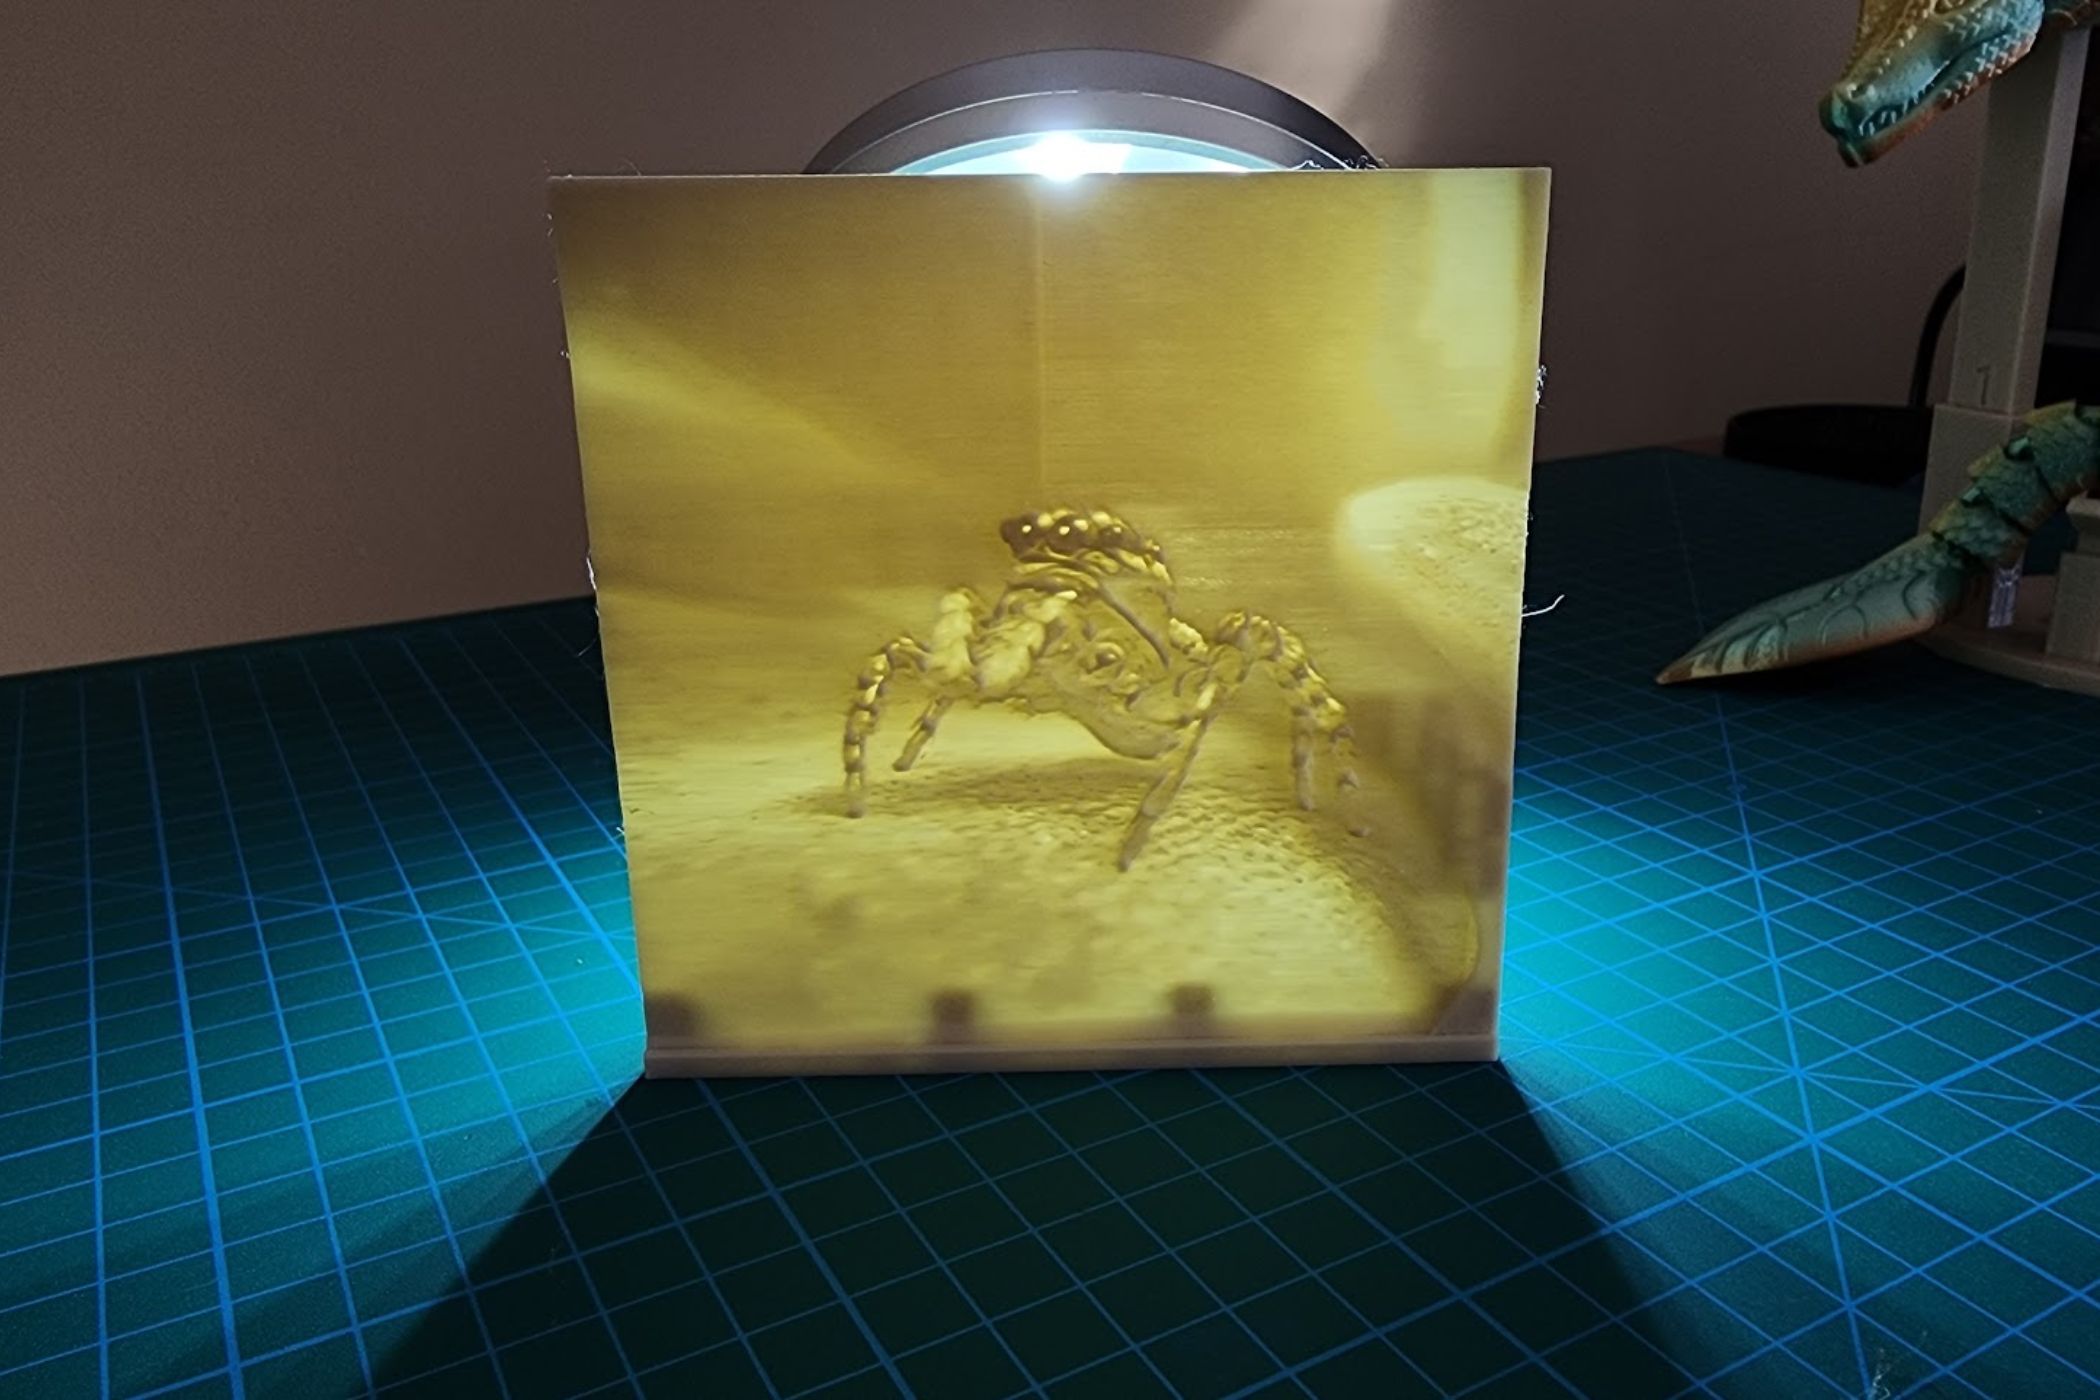
Photos are 2D, and so surely you’d only want to print them using a normal everyday 2D printer? However, it turns out you can create a “lithophane” from a photo and turn your snaps into actual plastic models.
What Is a Lithophane Exactly?
True lithophanes are porcelain pieces that have designs pressed into them when the porcelain is soft. Then, when held up to a light, the image becomes visible. The different thicknesses of the porcelain let through different amounts of light, and you effectively have a grayscale image.
While working with porcelain isn’t something you can do at home typically, if you have a 3D printer you can emulate the same effect and make a lithophane by printing it. When you hold the lithophane up to the light, your original image appears. It’s a neat effect and, thanks to the flexibility of 3D printing, you can make all sorts of interesting decorations using this method.
Converting an Image to a Lithophane
To make a lithophane, you need to use software that converts the light and dark parts of the image into a 3D model with thicker or thinner sections representing the image.
There are many ways to do this, but the most straightforward way is using a “slicer” application that supports lithophanes or to use a dedicated tool. I’m going to assume you already know how to load, slice, and print regular 3D models. If not, start by reading Everything You Need to Know About 3D Printers and then refer to the slicer software’s documentation to get an idea of the basic process.
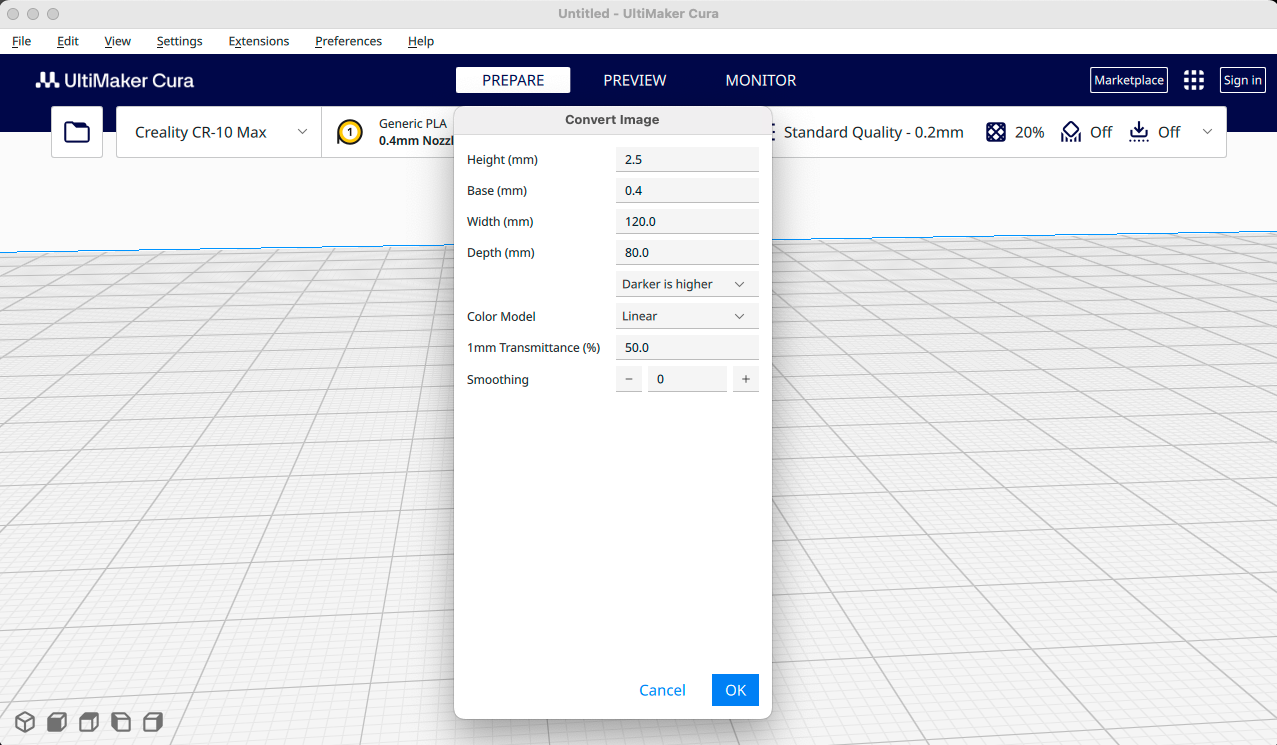
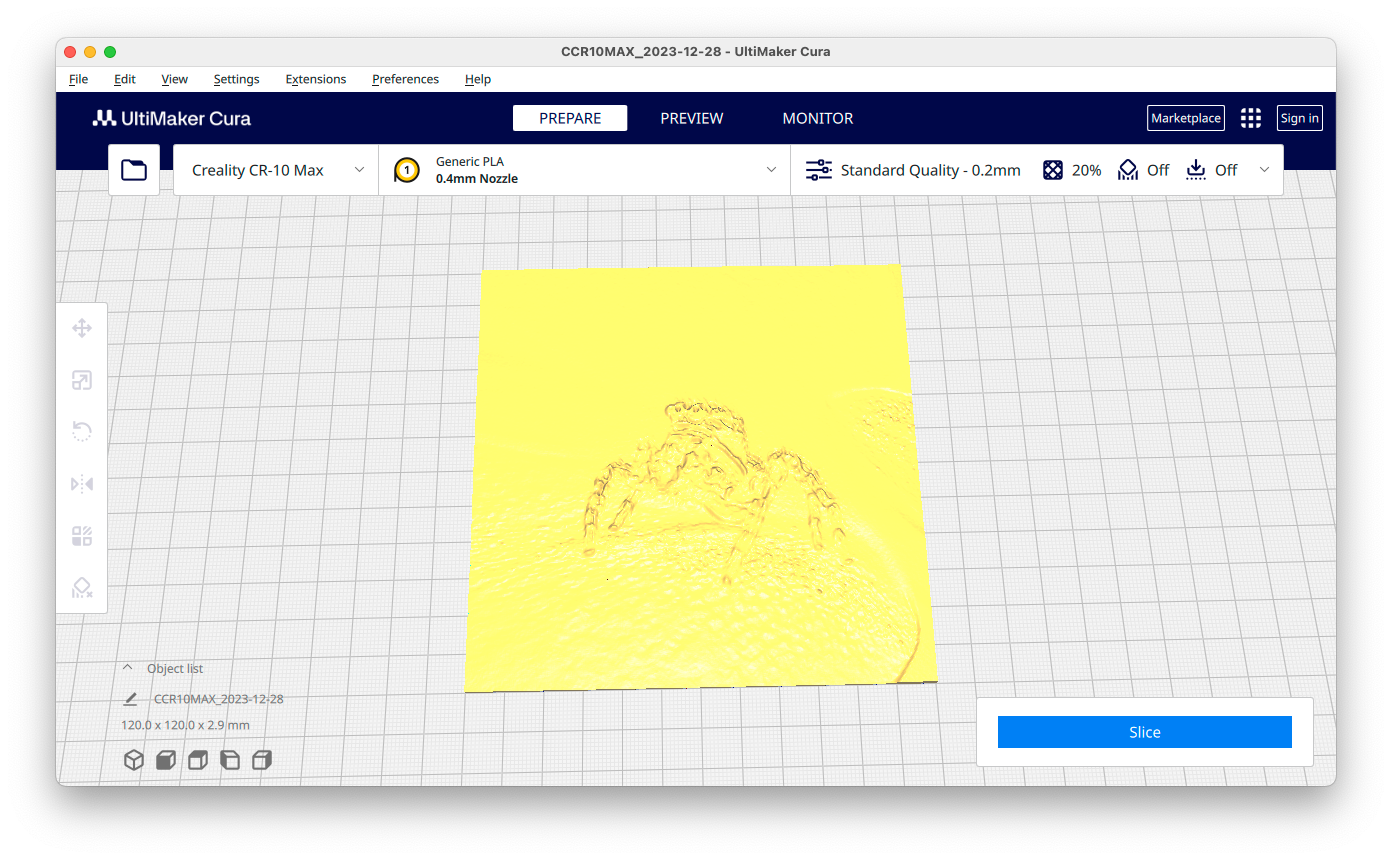
For example, Cura is a popular free slicing application that natively supports making lithophanes. All you have to do is open an image file like a JPEG or BMP instead of a 3D model file. Here I’ve chosen one of my favorite macro photos. When you do this, Cura will present you with this box of parameters.
Here you can specify the size of the lithophane, how thick it is, and so on. You can play around with these settings without ever printing anything, but I found that the default settings are just fine for any of the photos I tried.
Once you’re happy with the settings, your photo will appear as a lithophane model in the slicer just like any other 3D model.
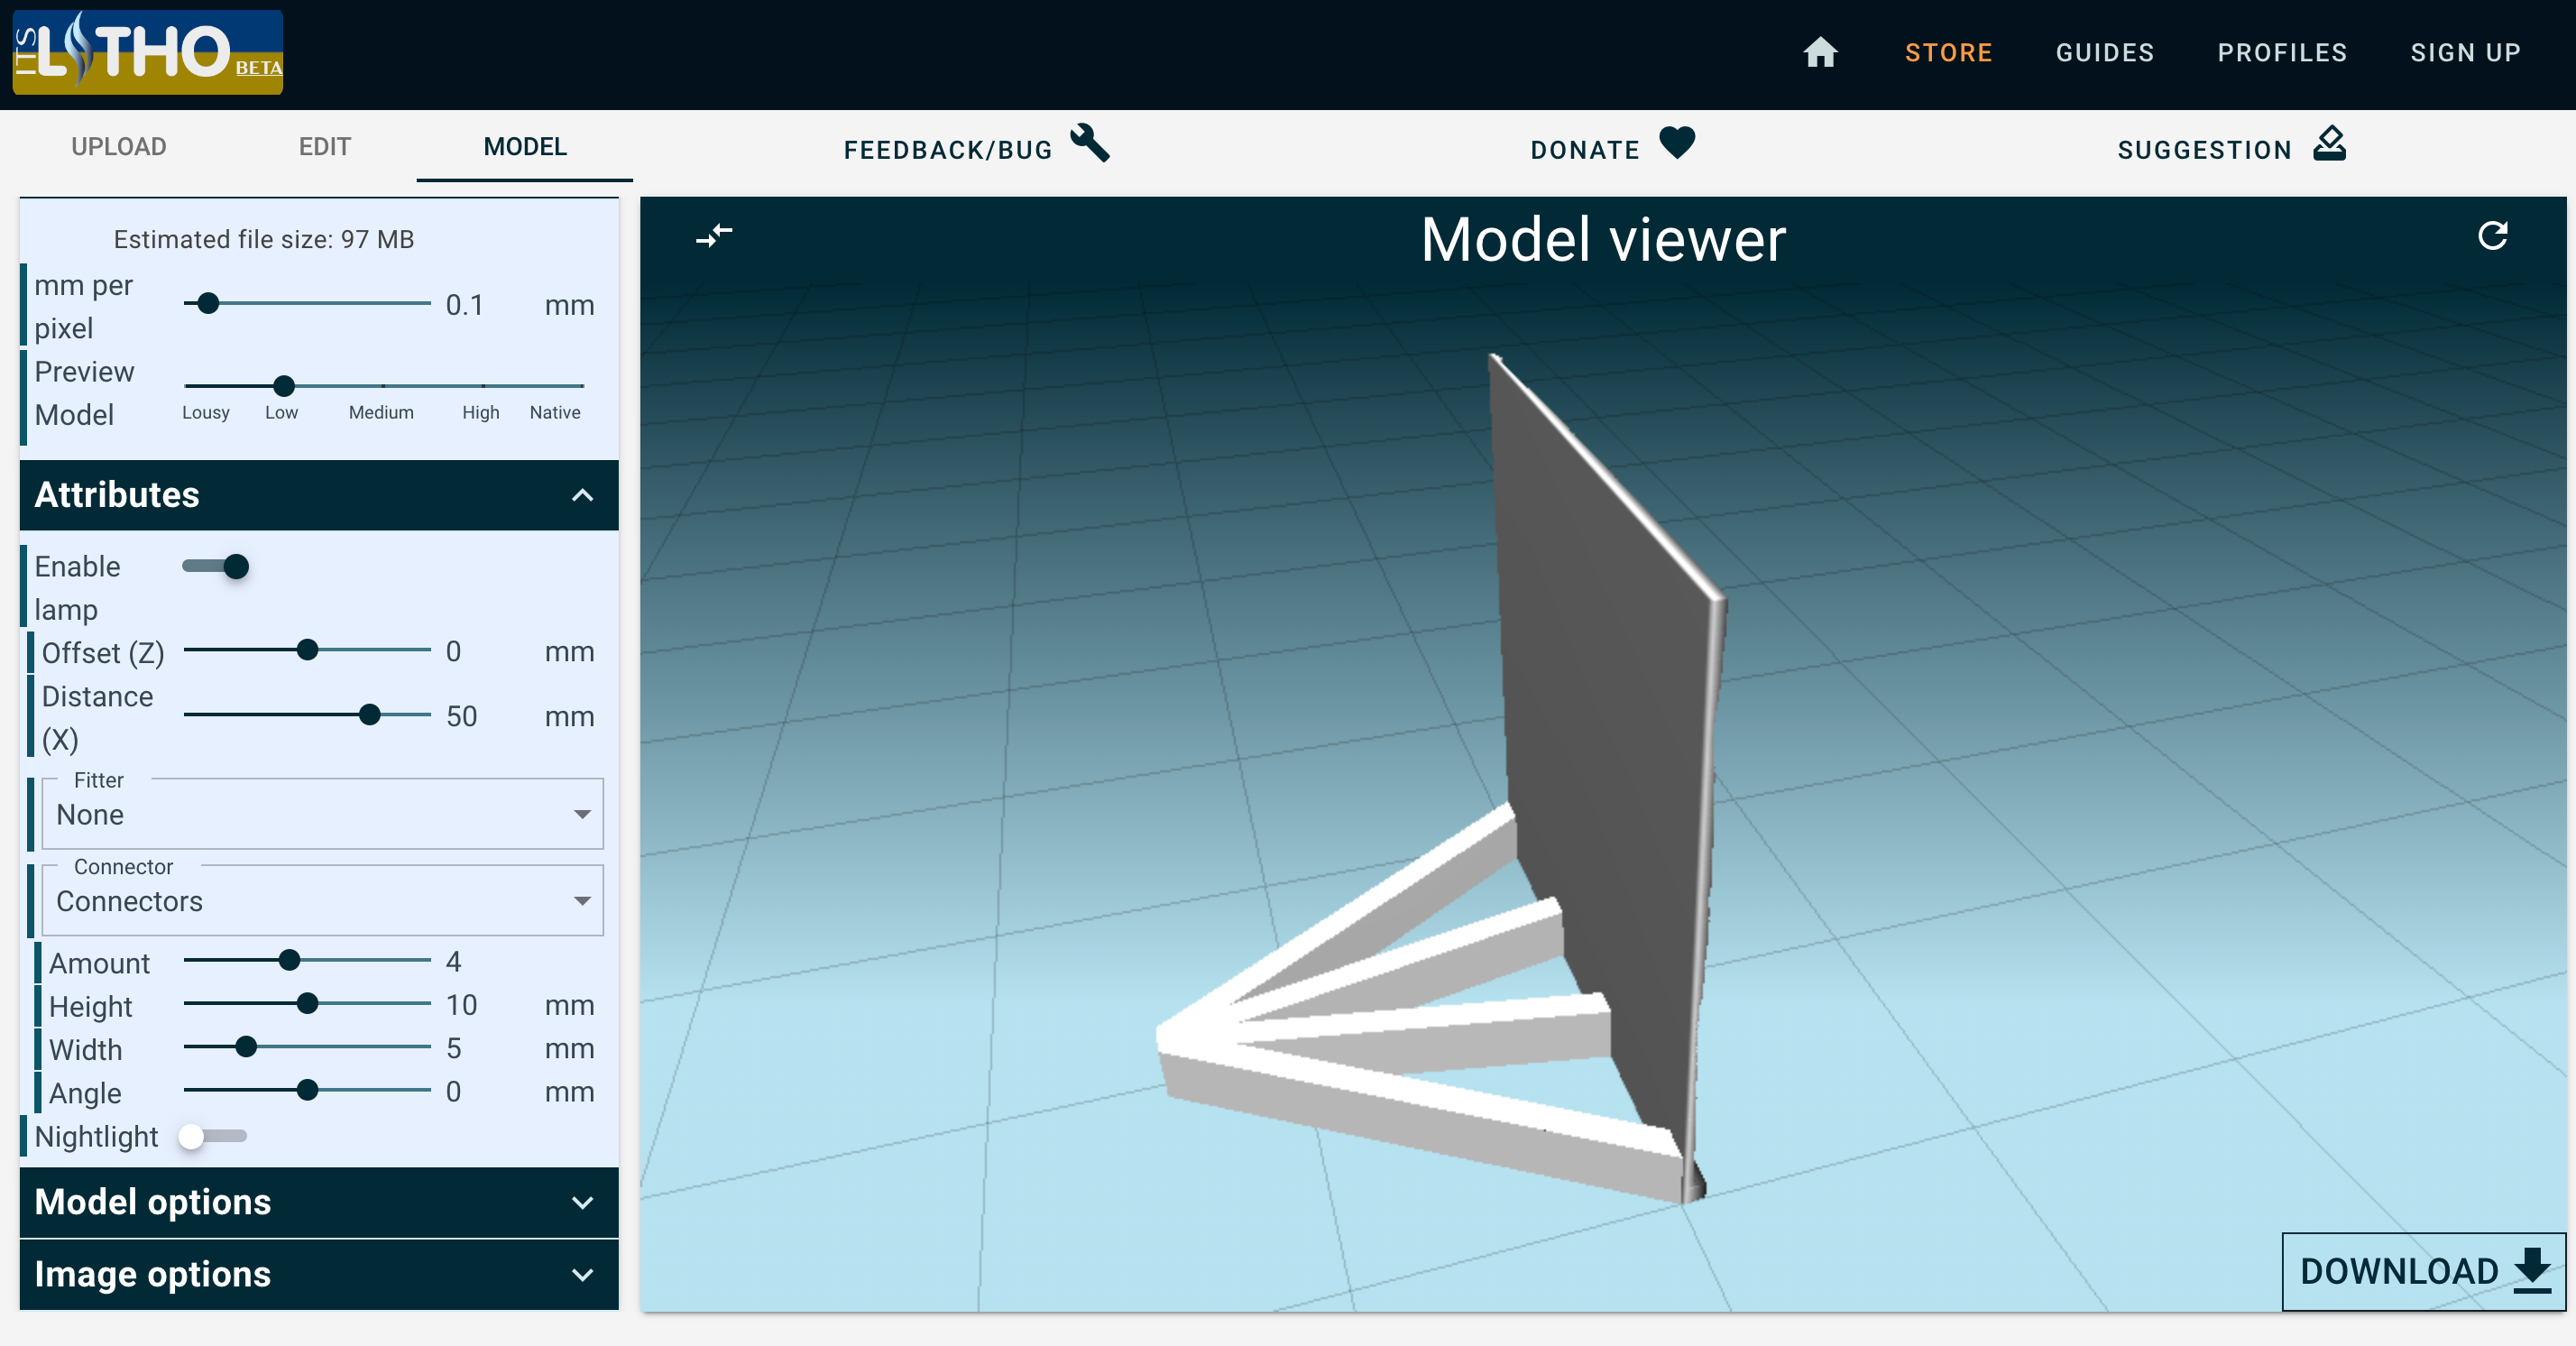
The other option is to use a specialized lithophane tool. The one I used here is the It’s Litho Lithophane Maker, but there are oodles of them online. All you have to do is upload your image, tweak the list of settings to taste, and then download the resulting 3D model file. It then goes into your slicer before being sent to your printer. The major advantage of a specialized tool like It’s Litho is that you can do fancy stuff like make hexagonal or curved lithophanes, or ones with integrated stands and mounts for lights.
Of course, you can do the same thing manually using CAD software, but if all you want to do is make a few lithos and not learn how to use CAD in general, then using a specialized tool is the path of least resistance.
Printing Your Lithophane
Once you have the lithophane model you want to print, the question is how it should be printed. The most reliable way is to print it flat on its back. However, this means the quality of the print is determined by the line width of your printer. That, in turn, is limited by the nozzle diameter you’re currently using. Typically, this is 0.04mm and that’s exactly what I was using with my K1 Max.
The results were pretty decent, and I think plenty of people would be happy with this, but to really get the best quality you need to print your lithophane vertically. Then the quality settings of your printer, which mainly affect layer height, will come into full effect.
The problem is that a thin vertical panel is basically impossible to print, so you need to support your lithophane in some way. You can manually add supports to it using a CAD program, for example, but this is where a lithophane maker app comes into its own. For example, It’s Litho has a number of pre-made stands and mounts as I mentioned before. You can add integrated frames too, there’s plenty of customization. With such an integrated frame, you can print your litho vertically with confidence and get a significantly better end result.
Now all that’s left to do is put a light source behind it, and enjoy a unique way to display your photos.


