Android devices are packed with features that can upgrade your experience. I’ve unearthed some gems that I wish I’d known about sooner. From tracking notifications to sharing Wi-Fi effortlessly, these five handy features can enhance how we use our phones. Let’s check them out!
I’ll be using the Google Pixel phone to demonstrate the steps for each feature. However, most of these features are available on a variety of Android devices, including Samsung Galaxy.
Never Miss a Beat with Notification History
Have you ever been buried under notifications and missed something important? I know I have! Luckily, you can check your notification history on Android. This handy feature lets you see all your notifications from the last 24 hours so nothing slips through the cracks. Here’s how to enable it:
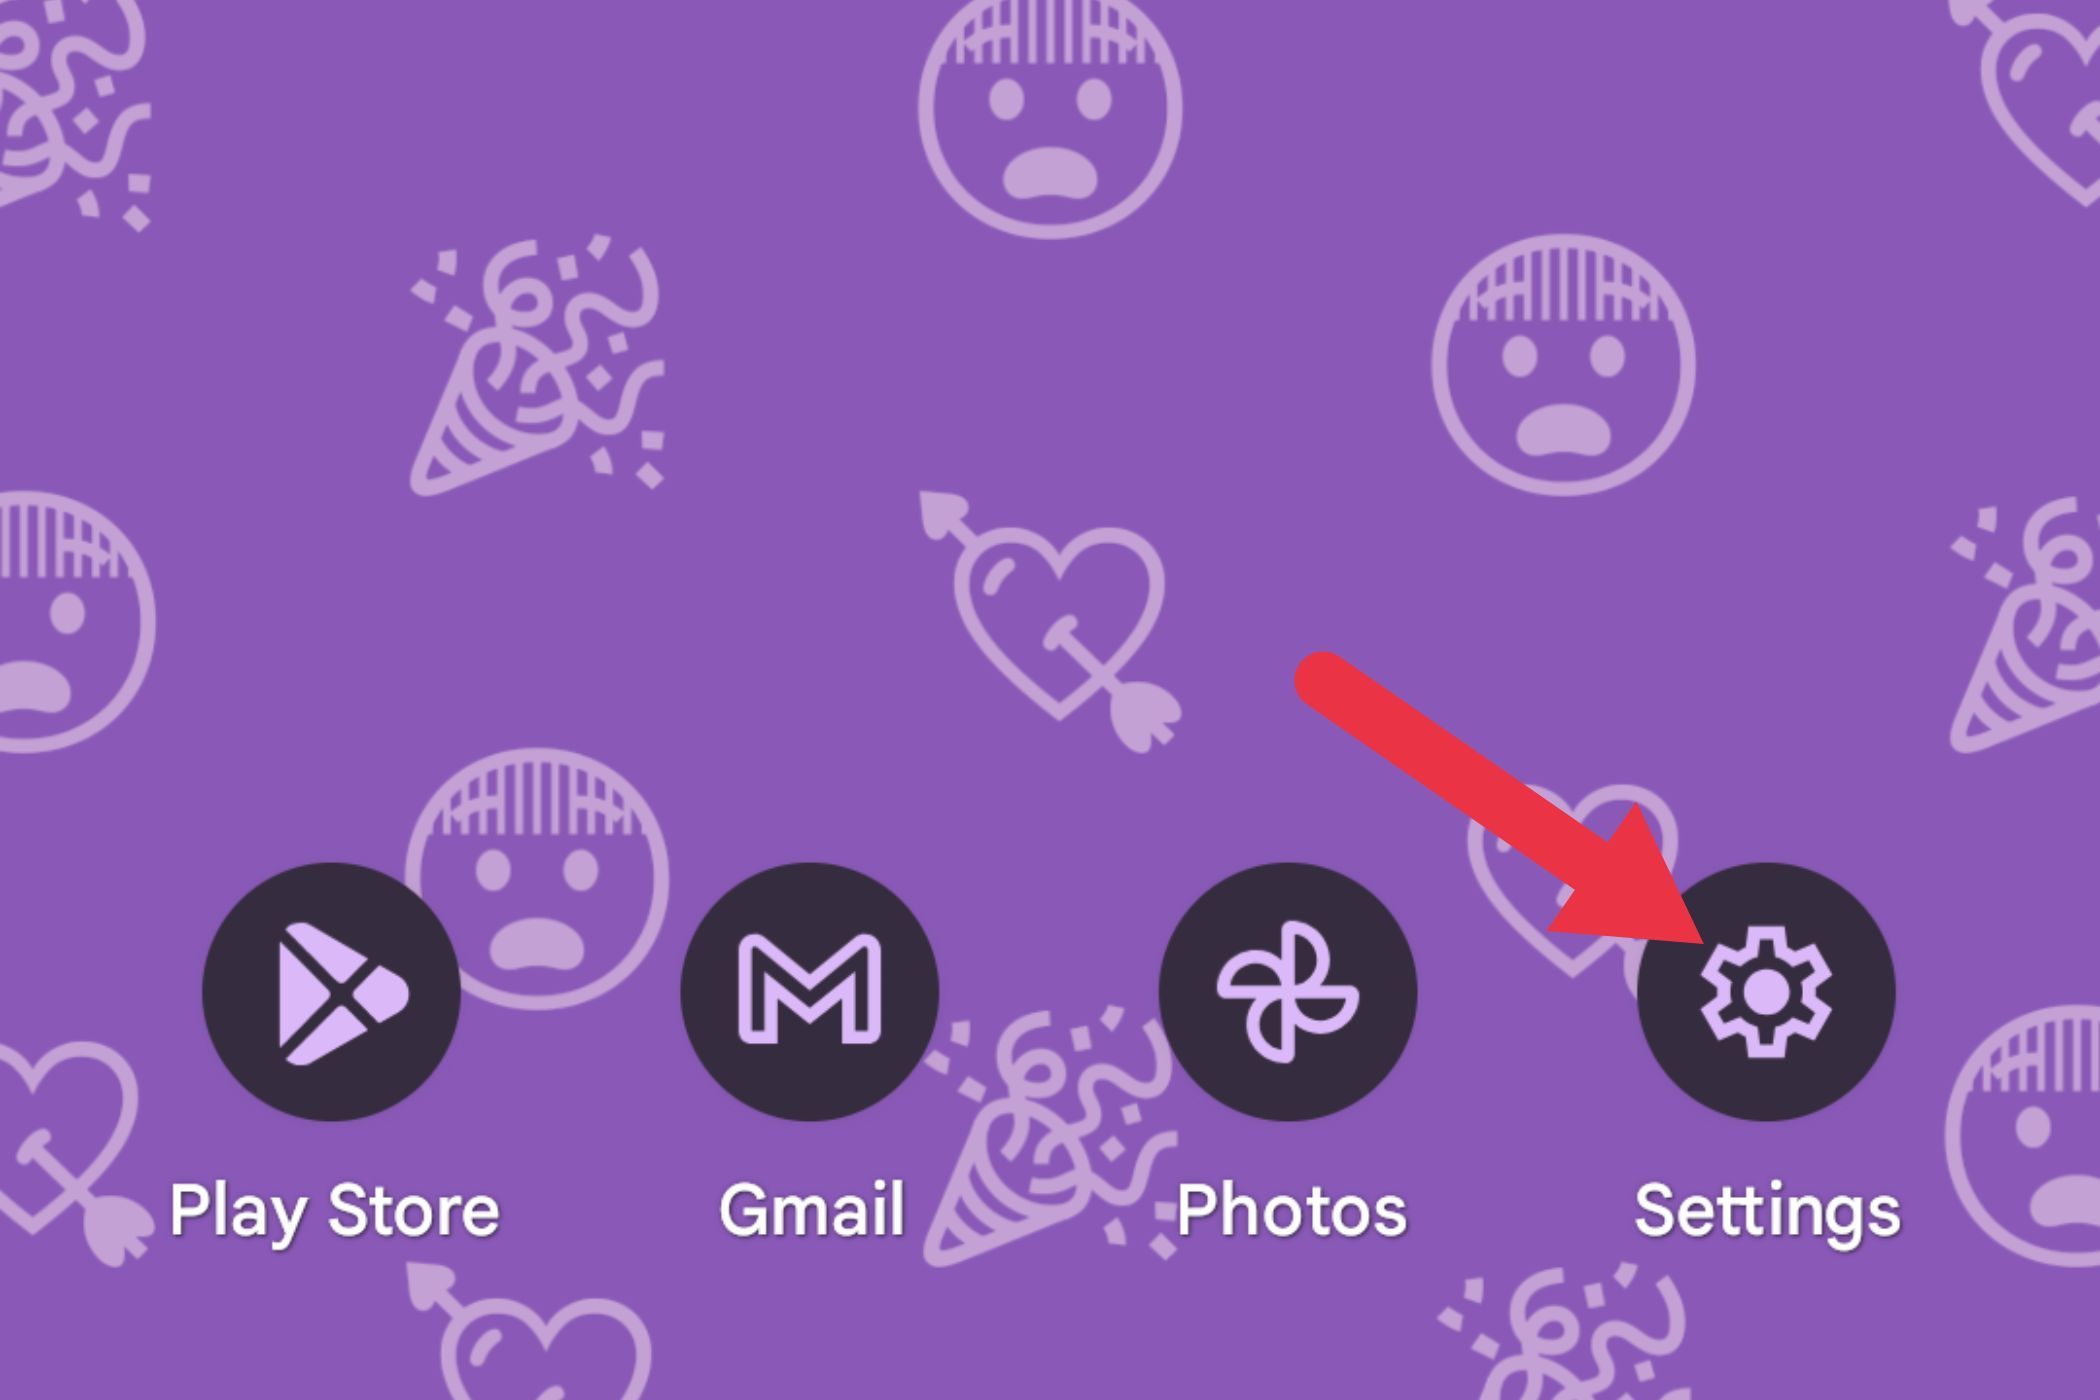
Open Settings on your phone.
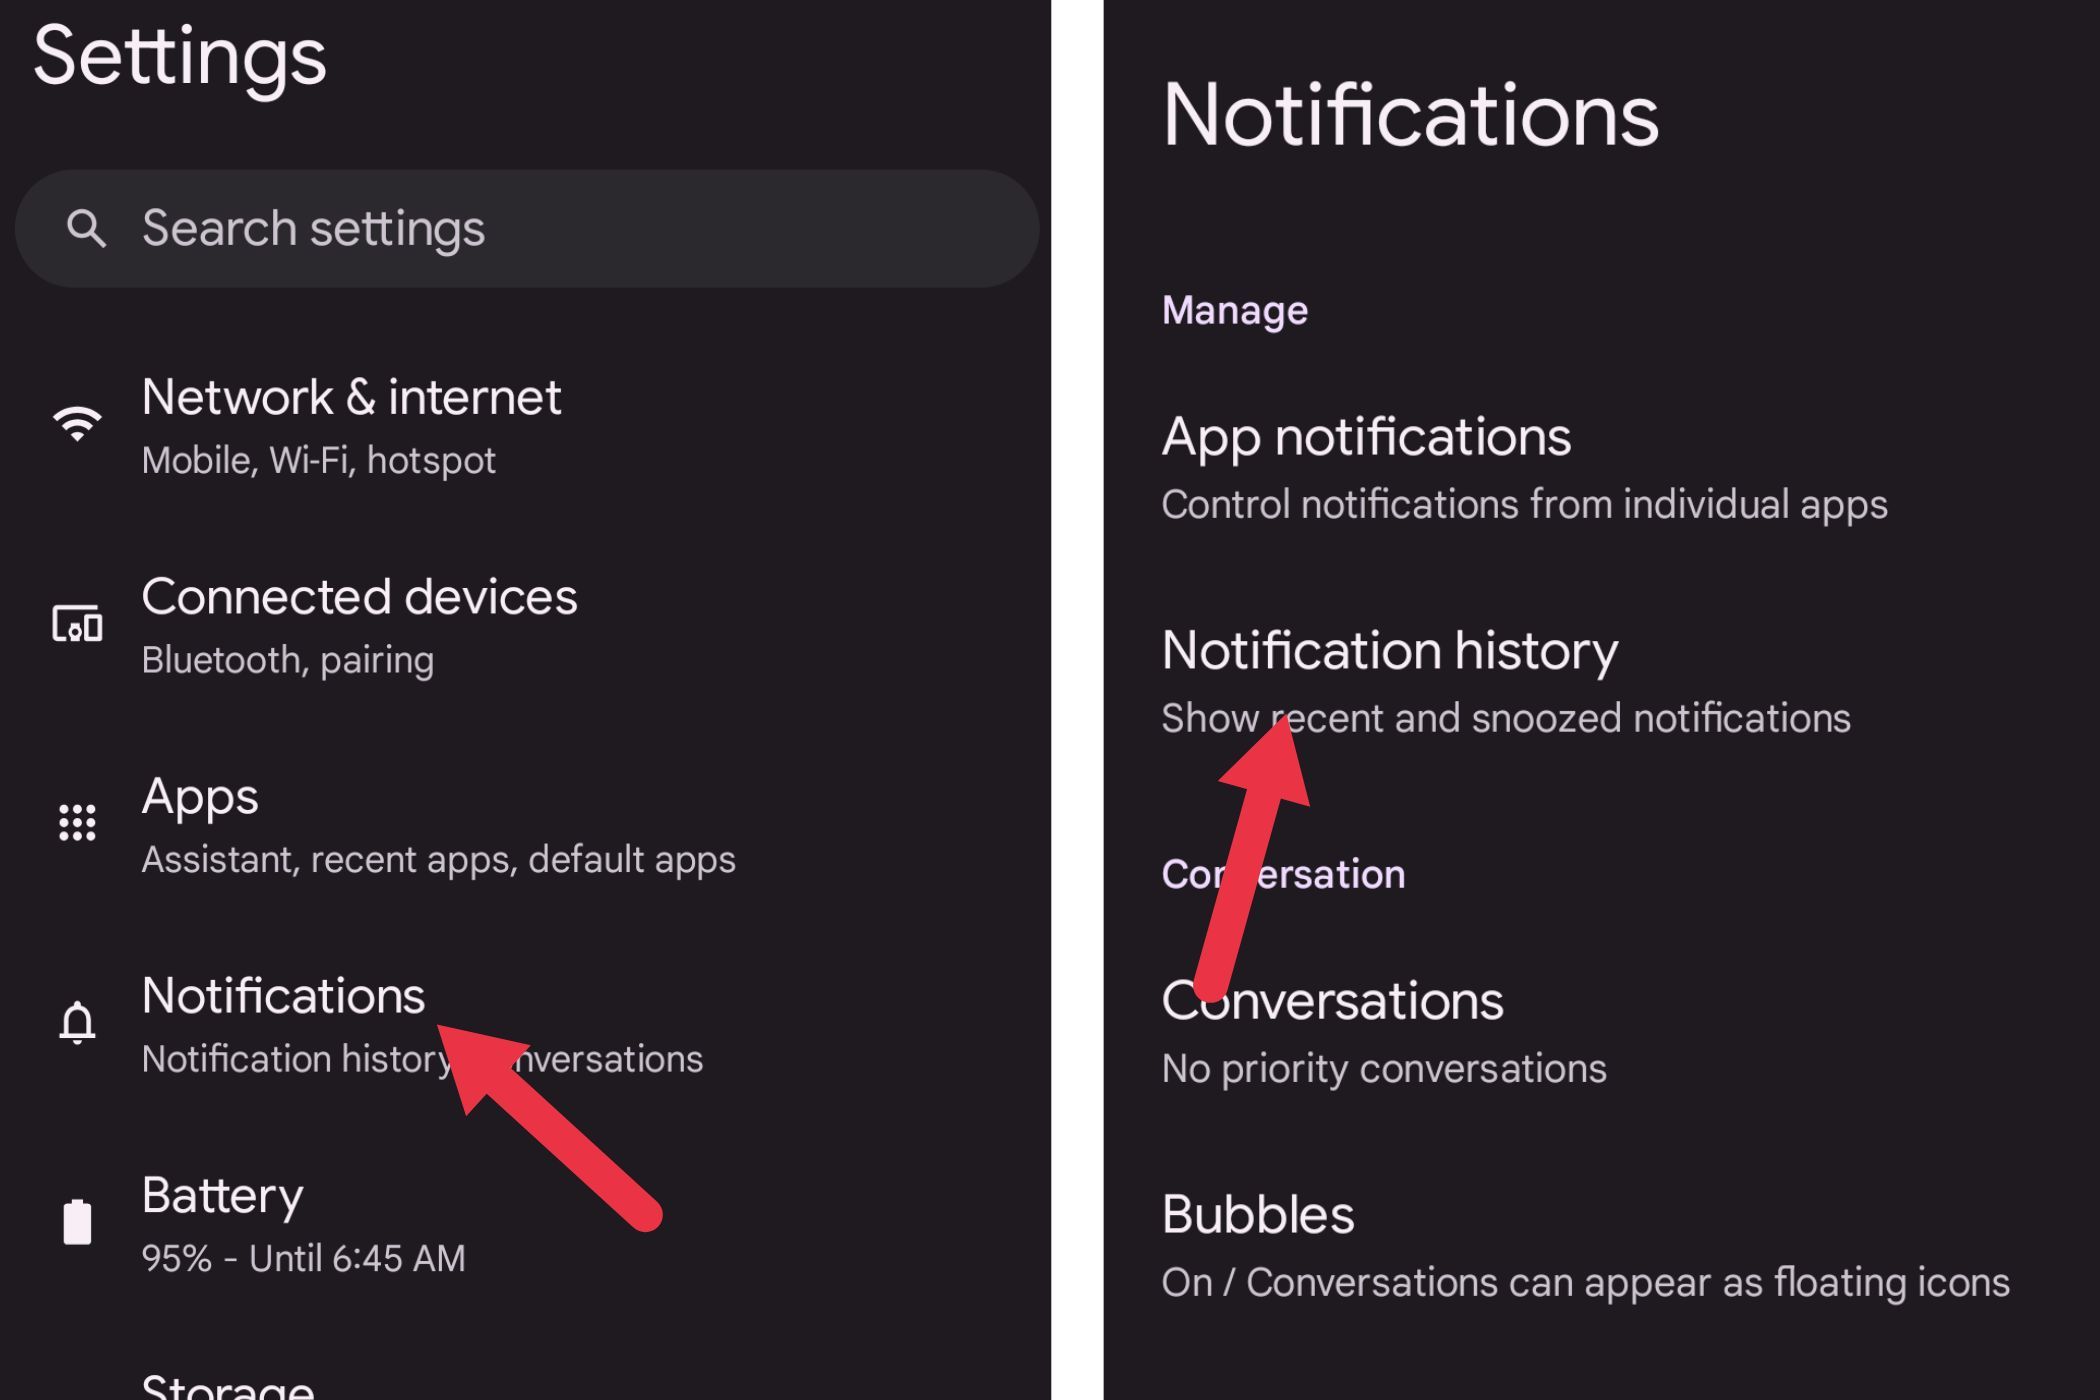
Tap “Notifications,” then go to “Notification History.”
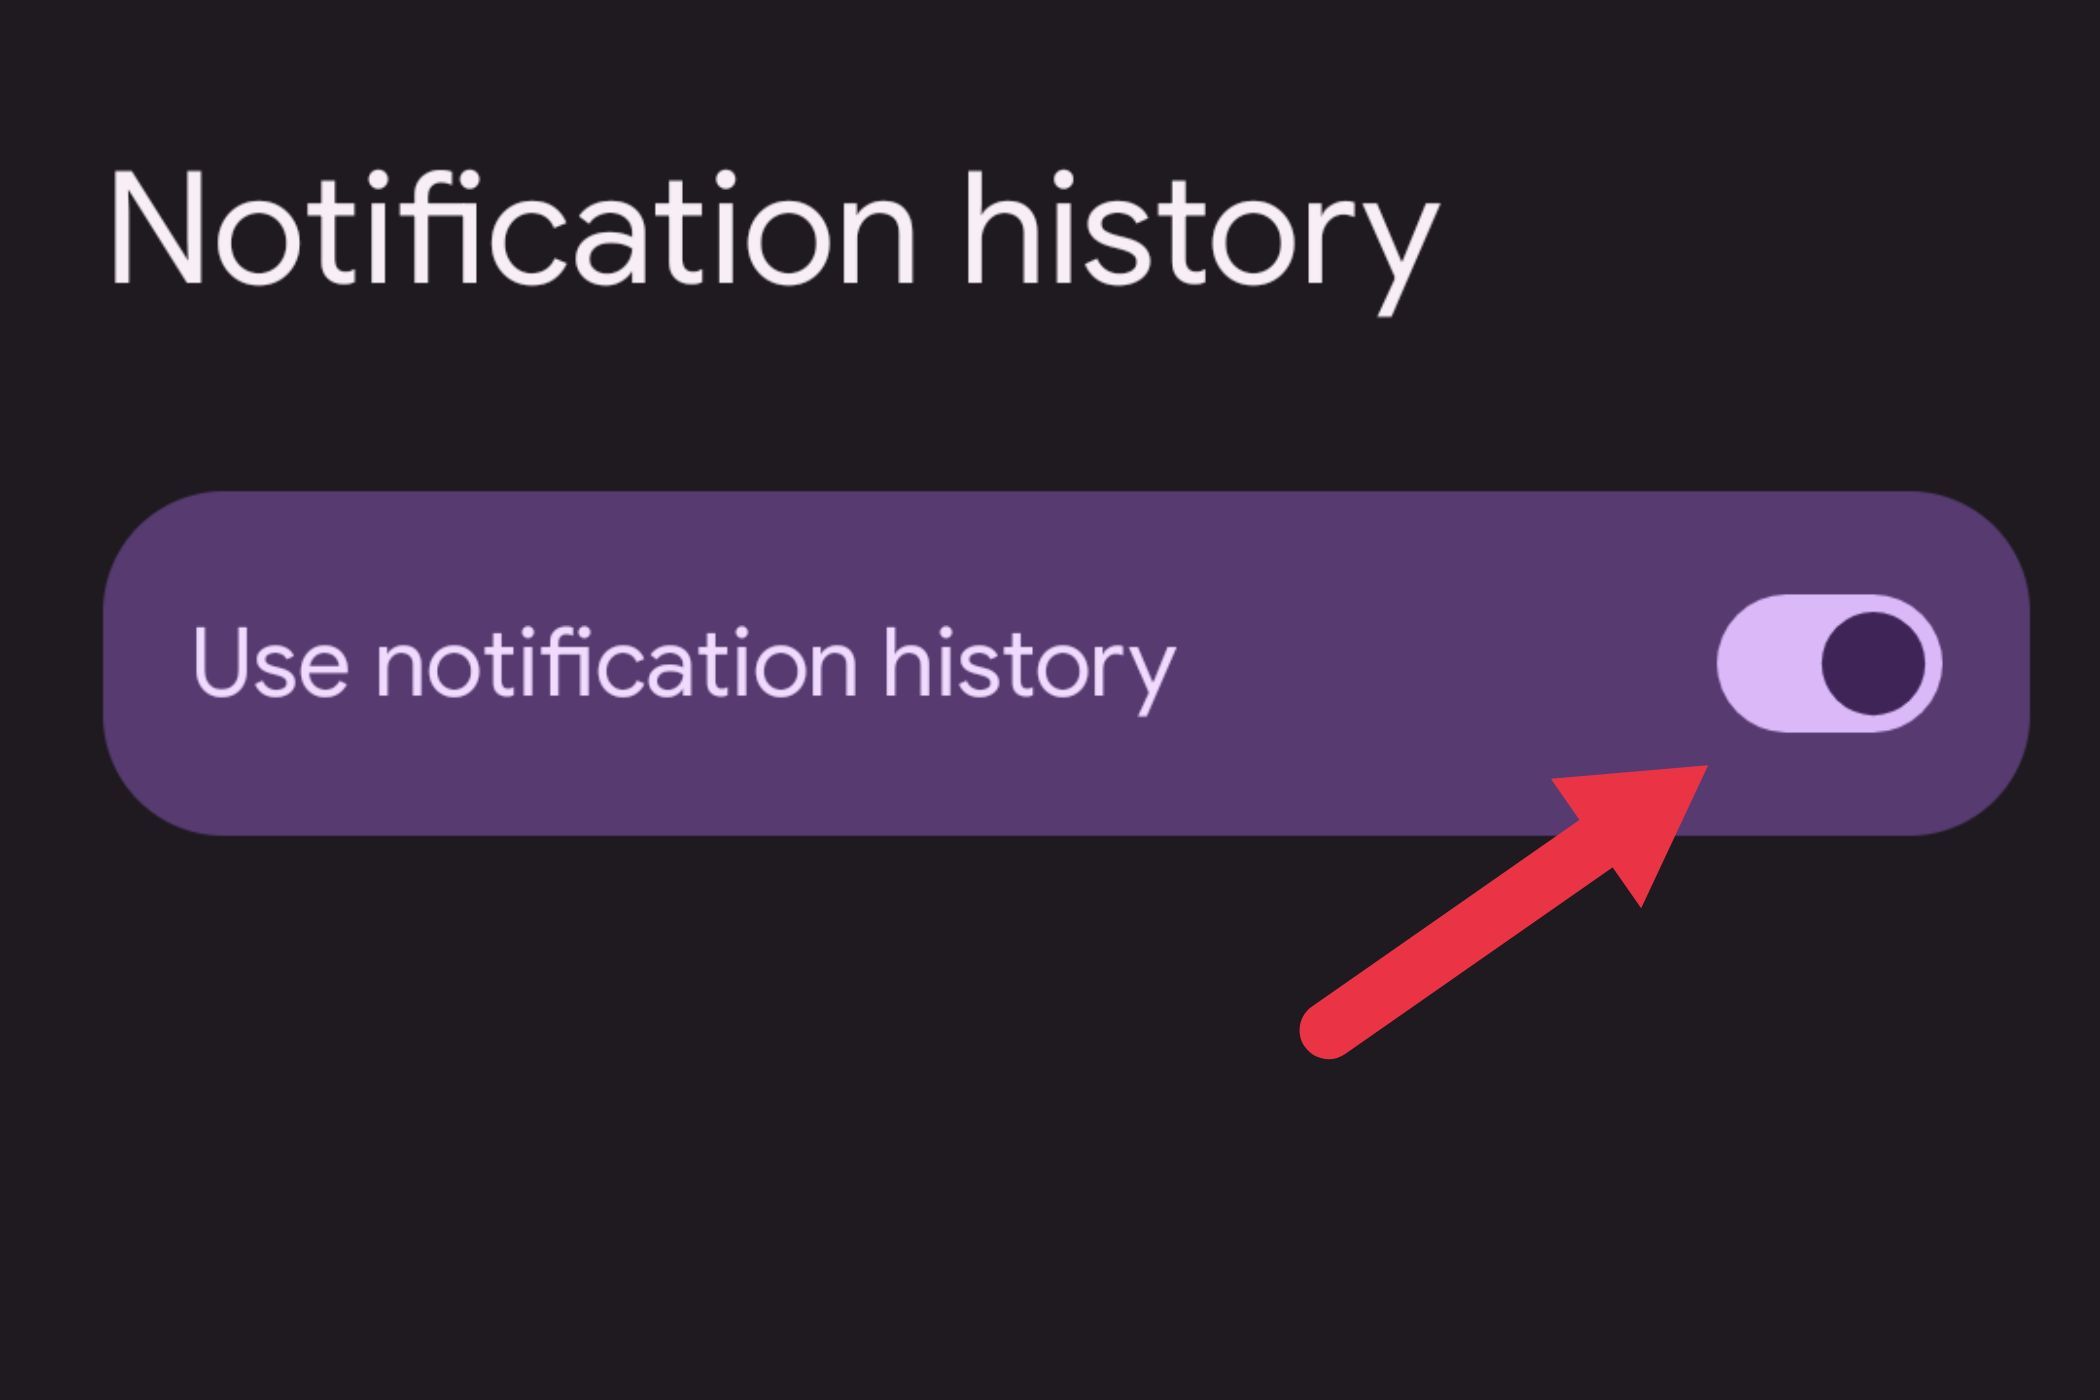
Turn on “Use notification history.”
Now you can keep track of everything that comes through, ensuring you never miss a beat!
Say Goodbye to Wi-Fi Password Confusion with QR Codes
Tired of spelling out your Wi-Fi password for guests? You’re definitely not alone! Thankfully, you can share your Wi-Fi password via a QR code, making it super easy for them to connect without the hassle.
Here’s how to do it:
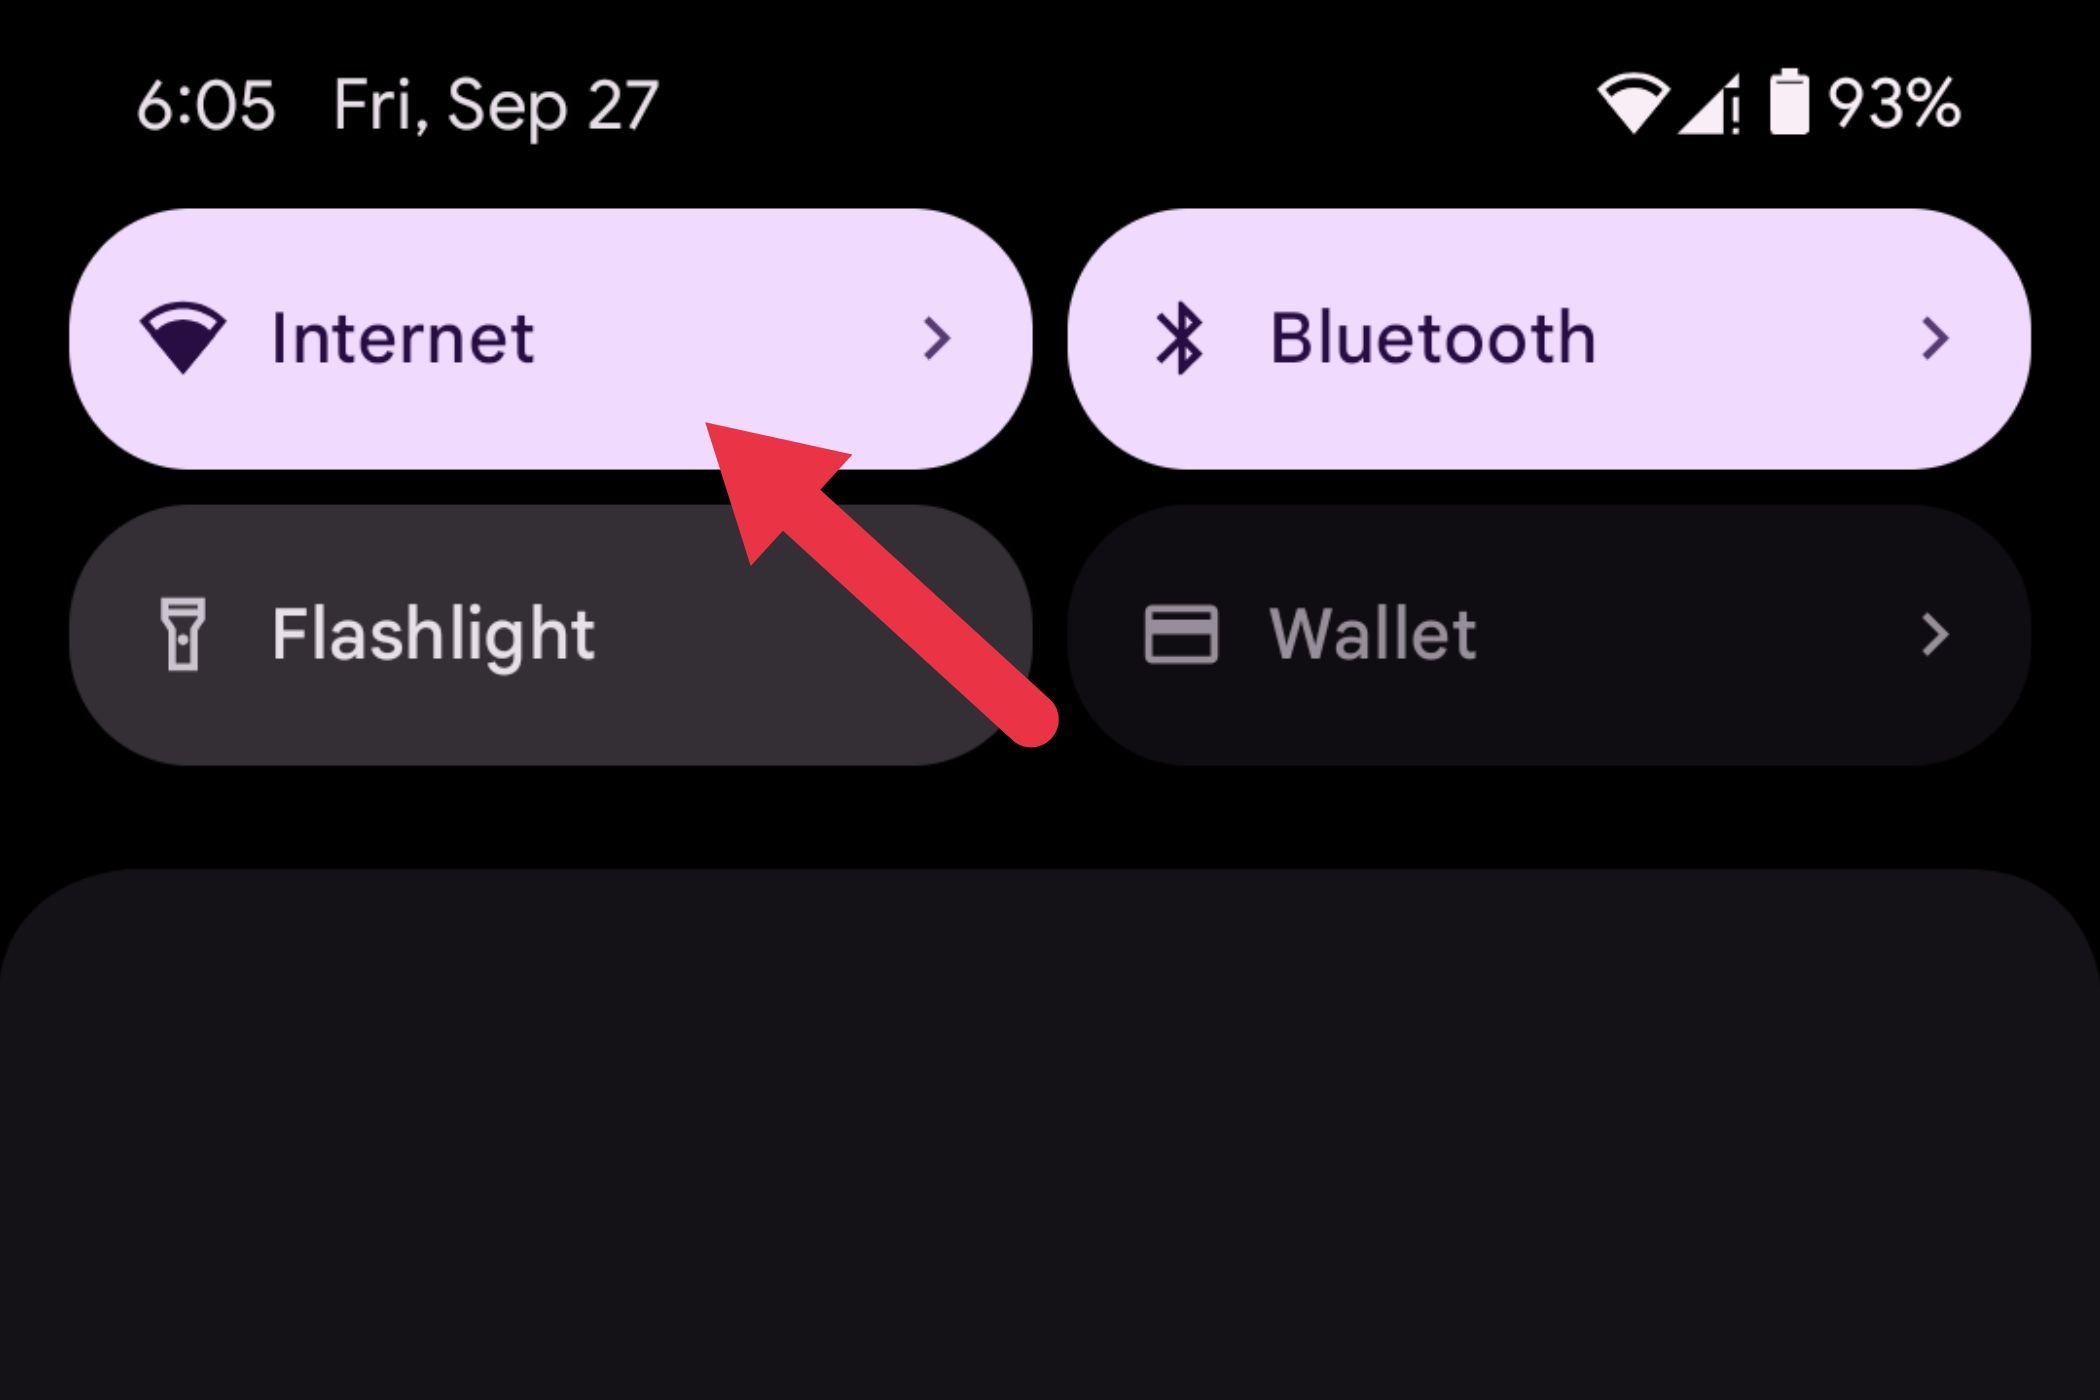
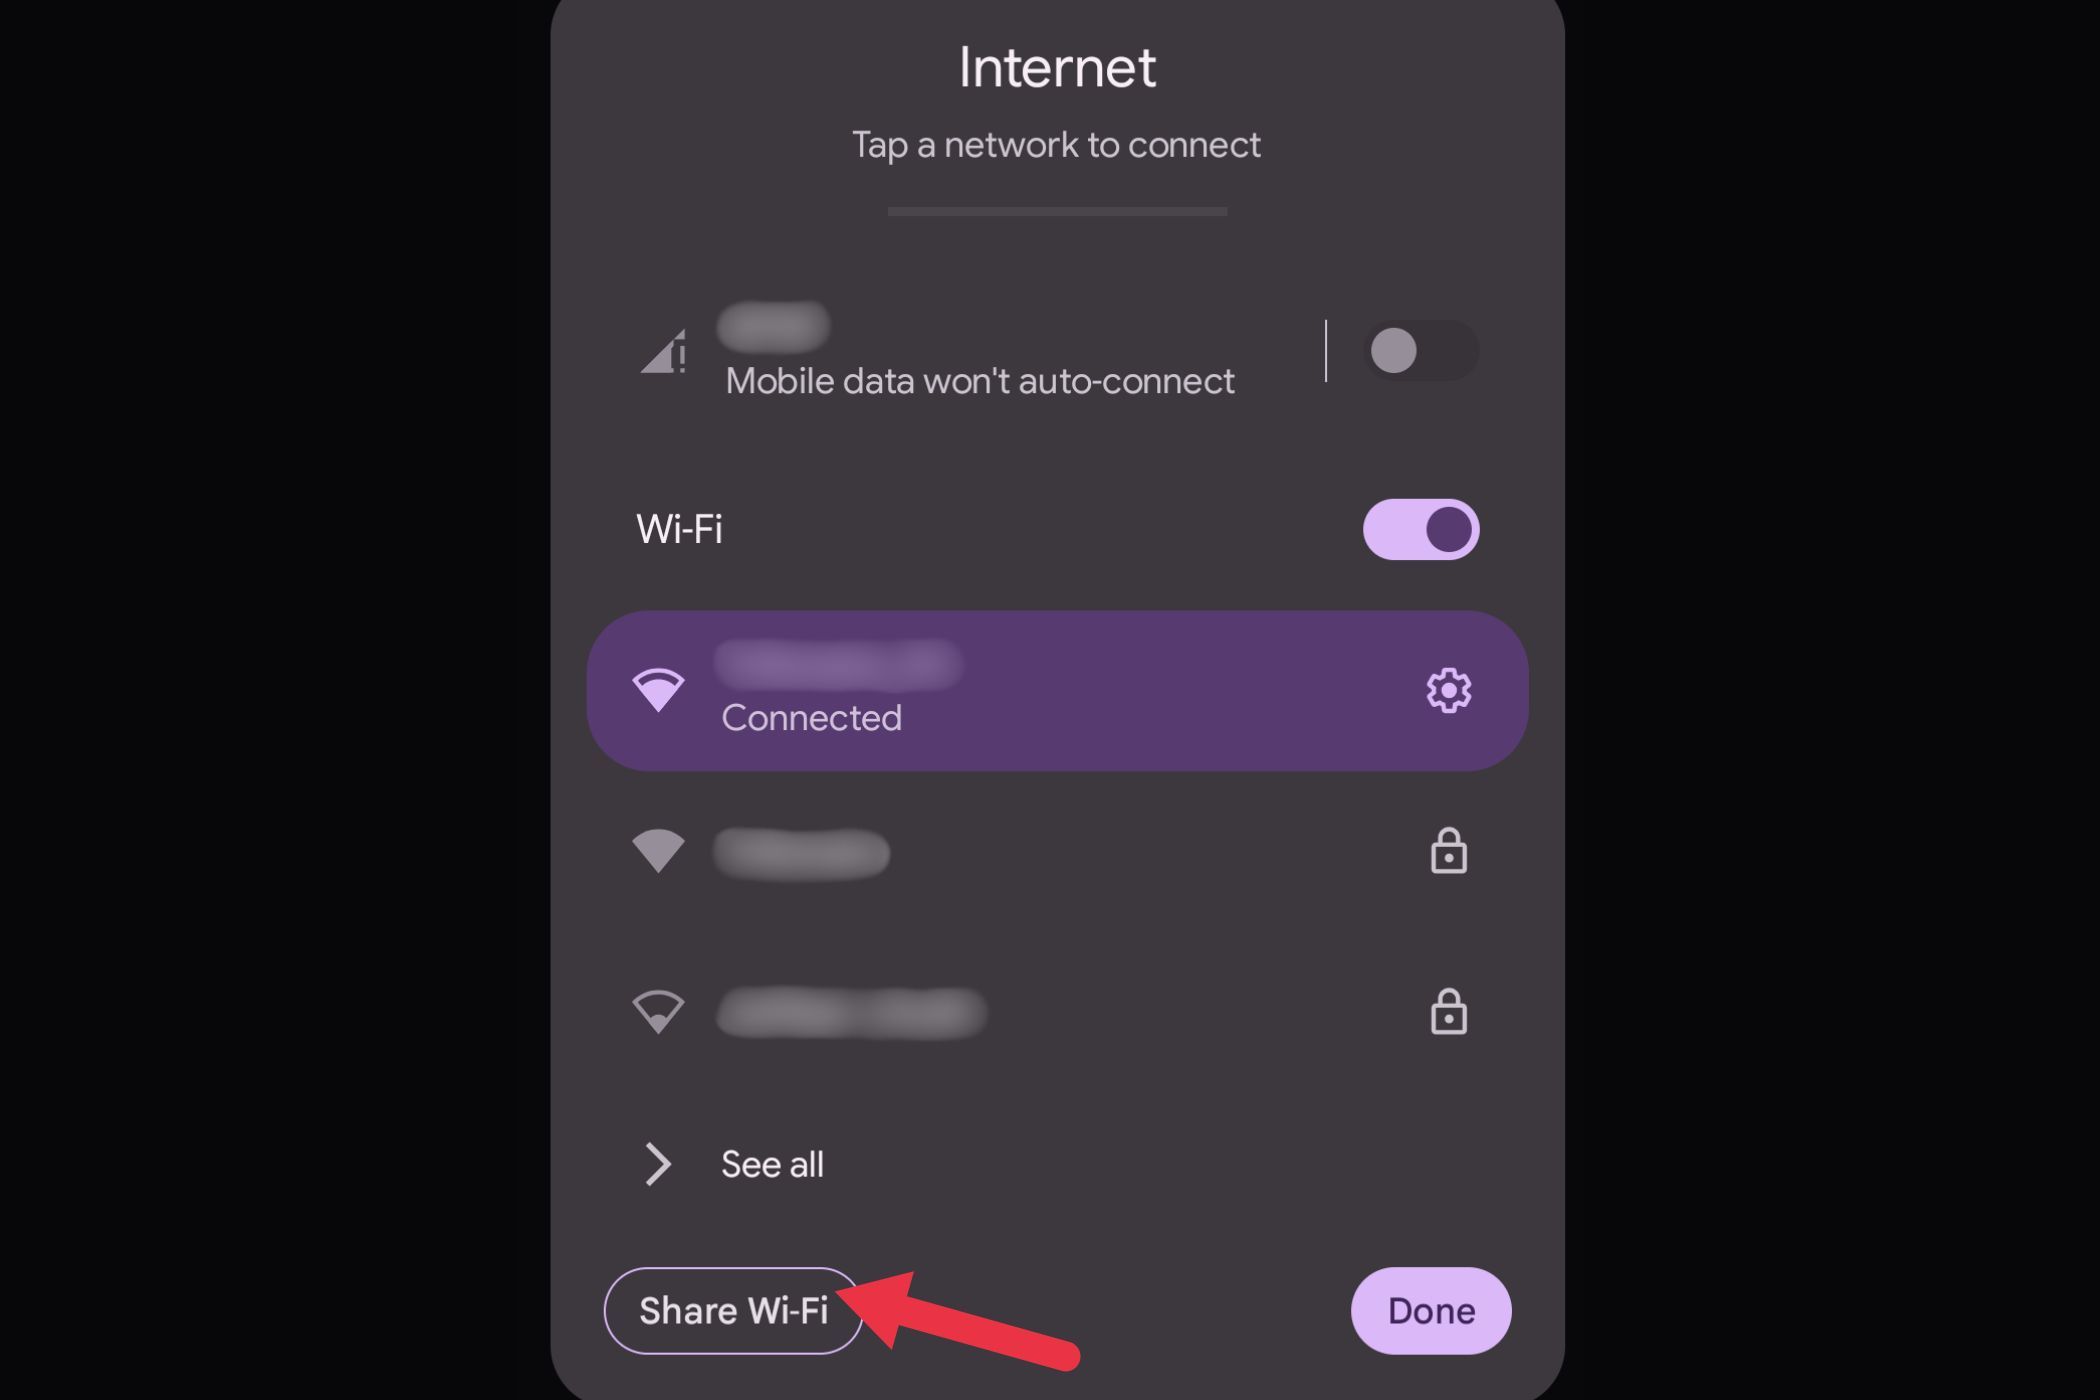
Swipe down to pull the notification shade and tap on the Internet quick setting tile.
Tap on “Share Wi-Fi” at the bottom left.
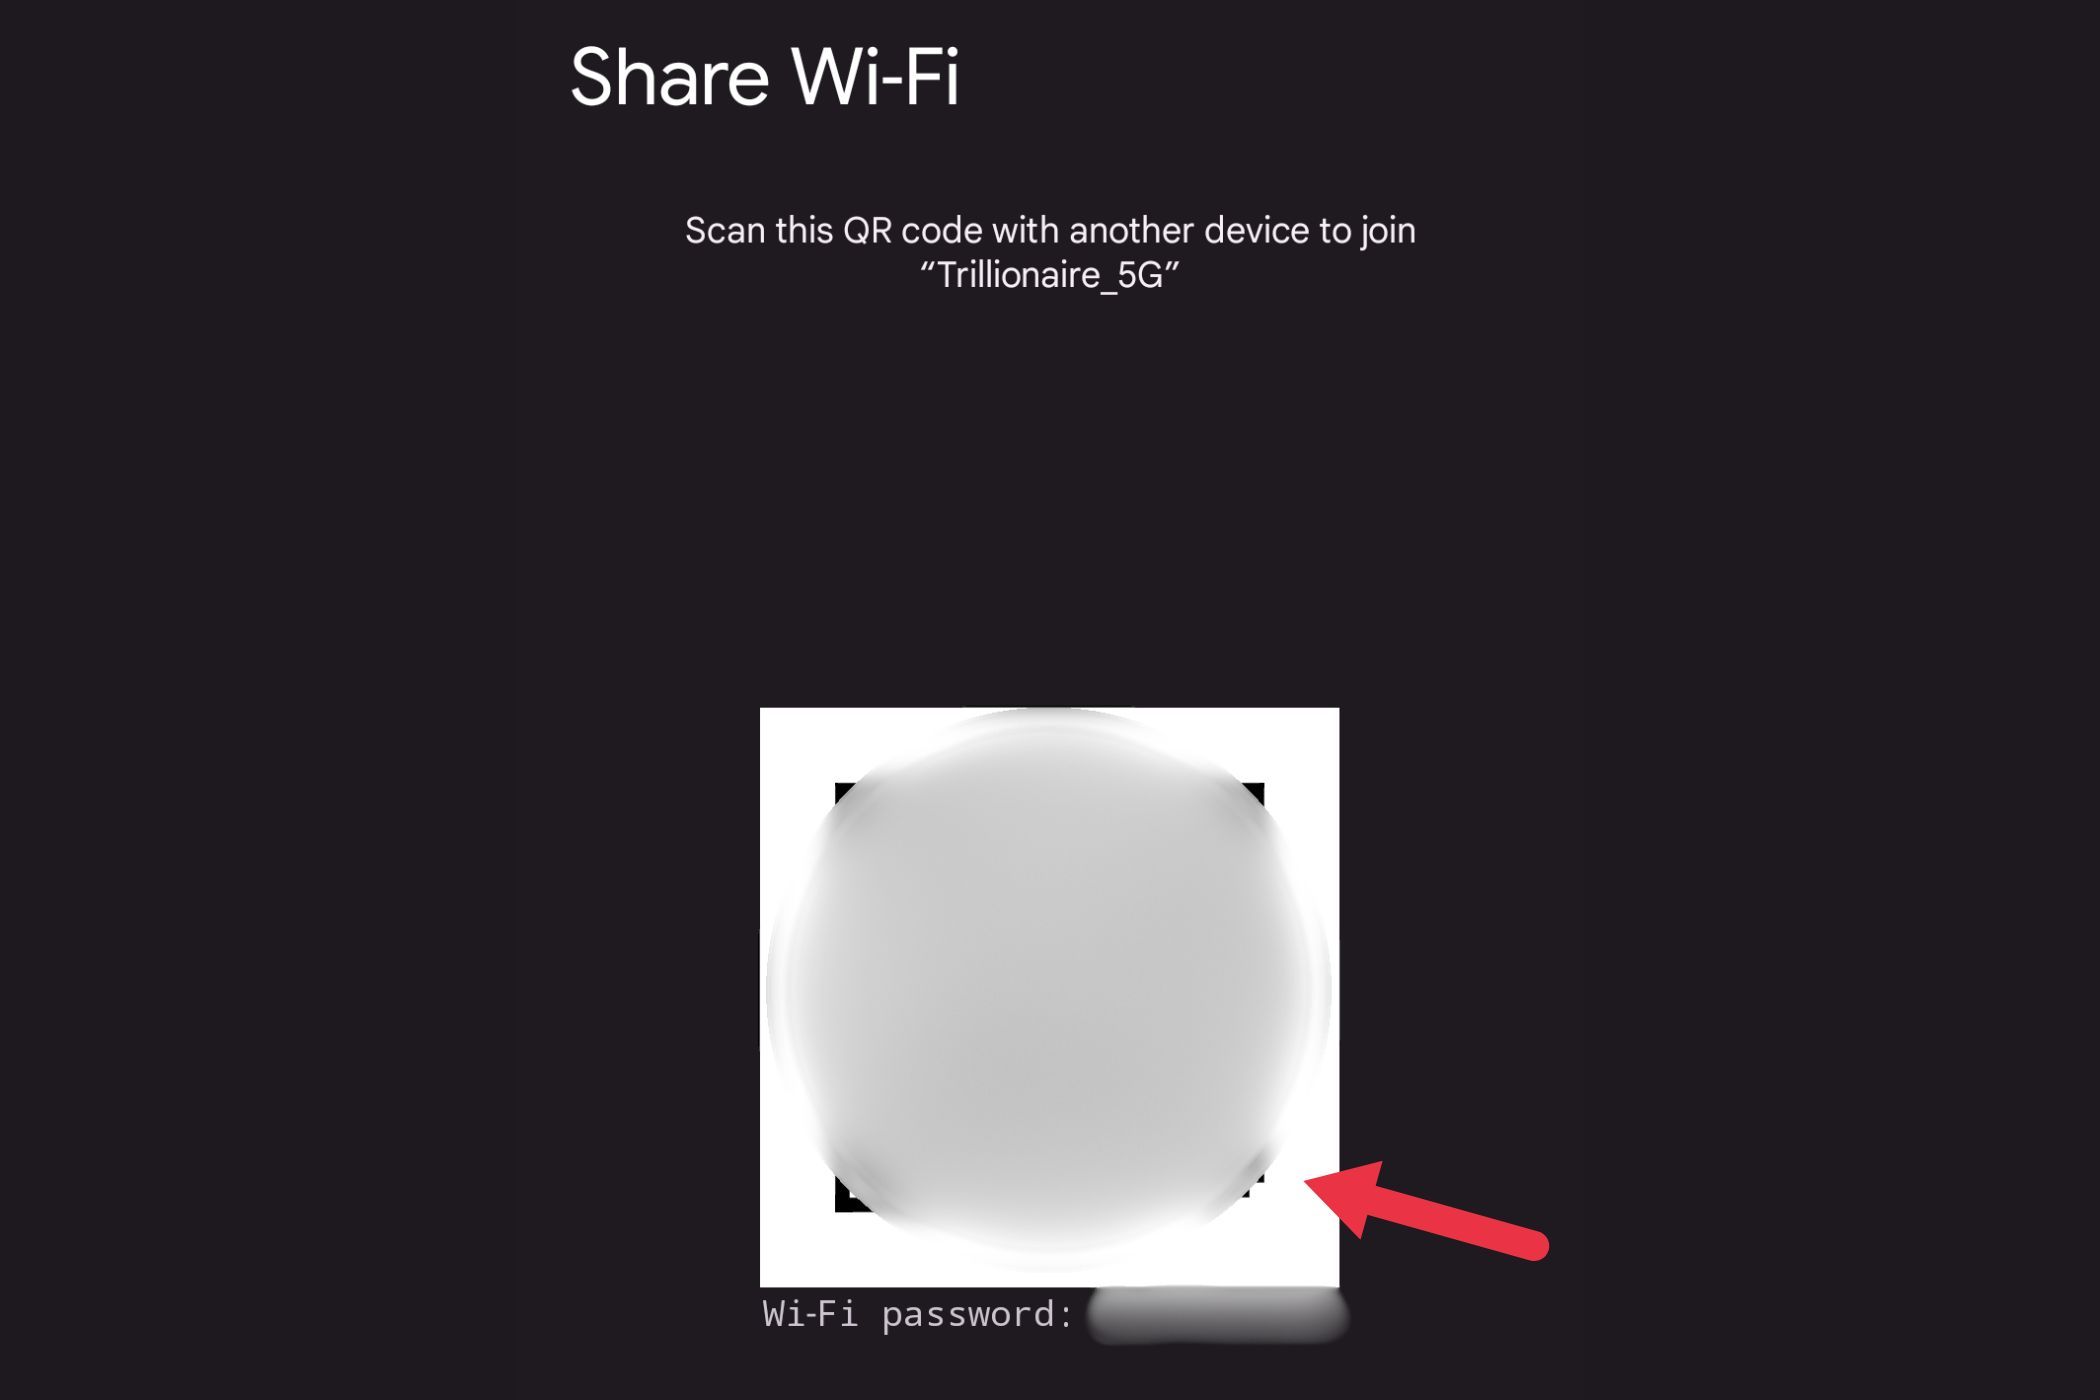
Enter your PIN, password, or fingerprint to verify it’s you. Use the camera on another device to scan the QR code, and it will connect to the Wi-Fi.
Your guests are now connected without any awkward spelling sessions!
Be Prepared with Your Medical Information
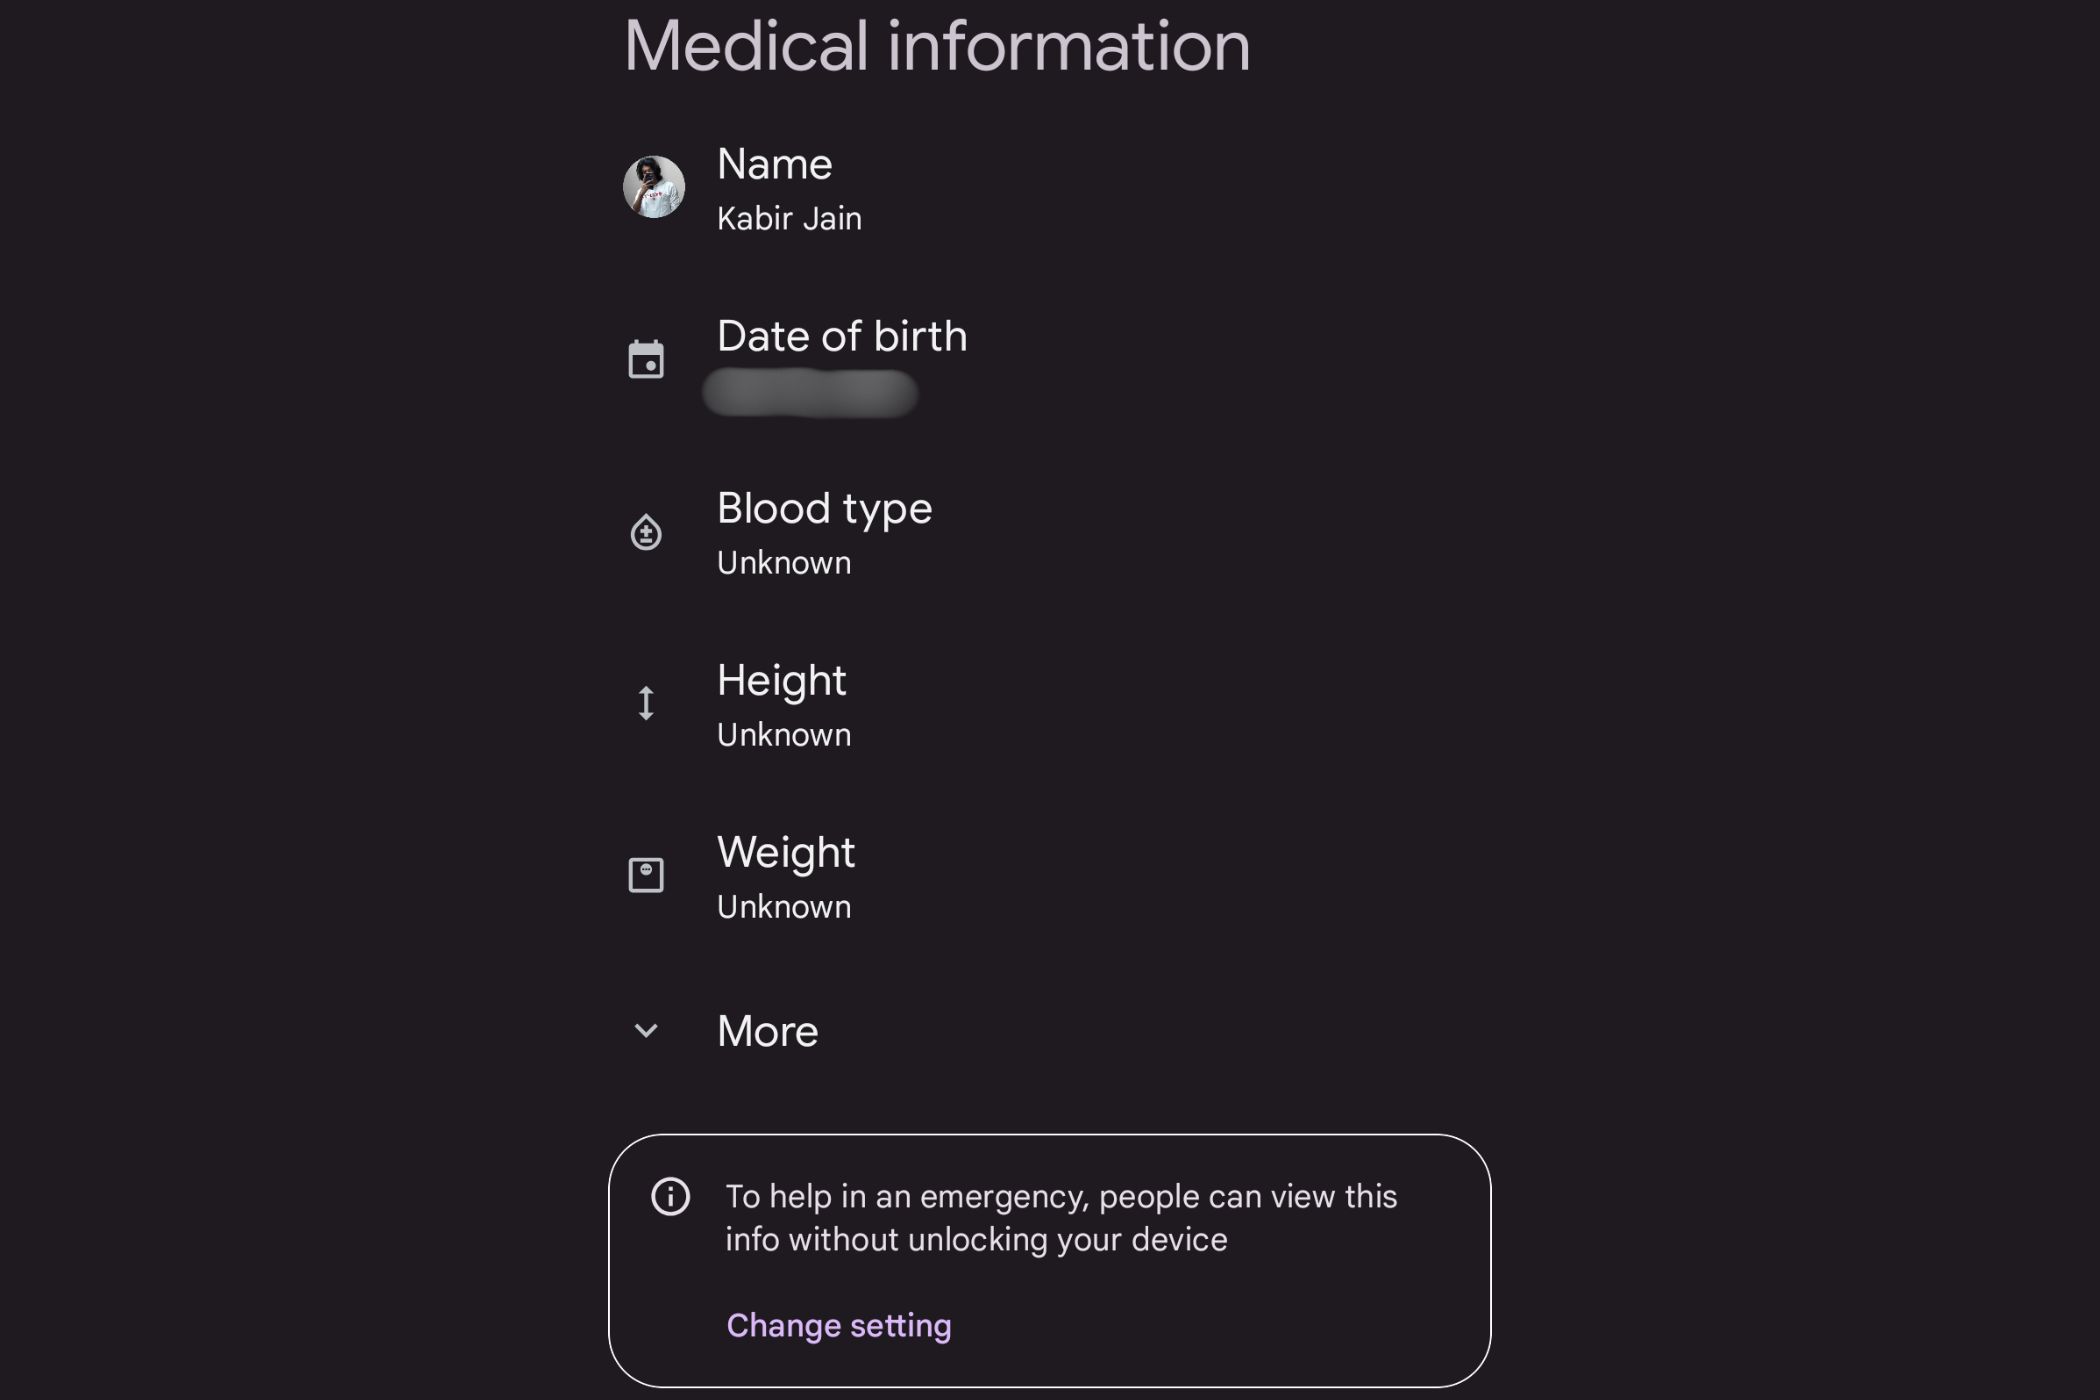
It’s so important to have your medical information accessible in emergencies. You can easily store crucial details like allergies and emergency contacts. Here’s how to set it up:
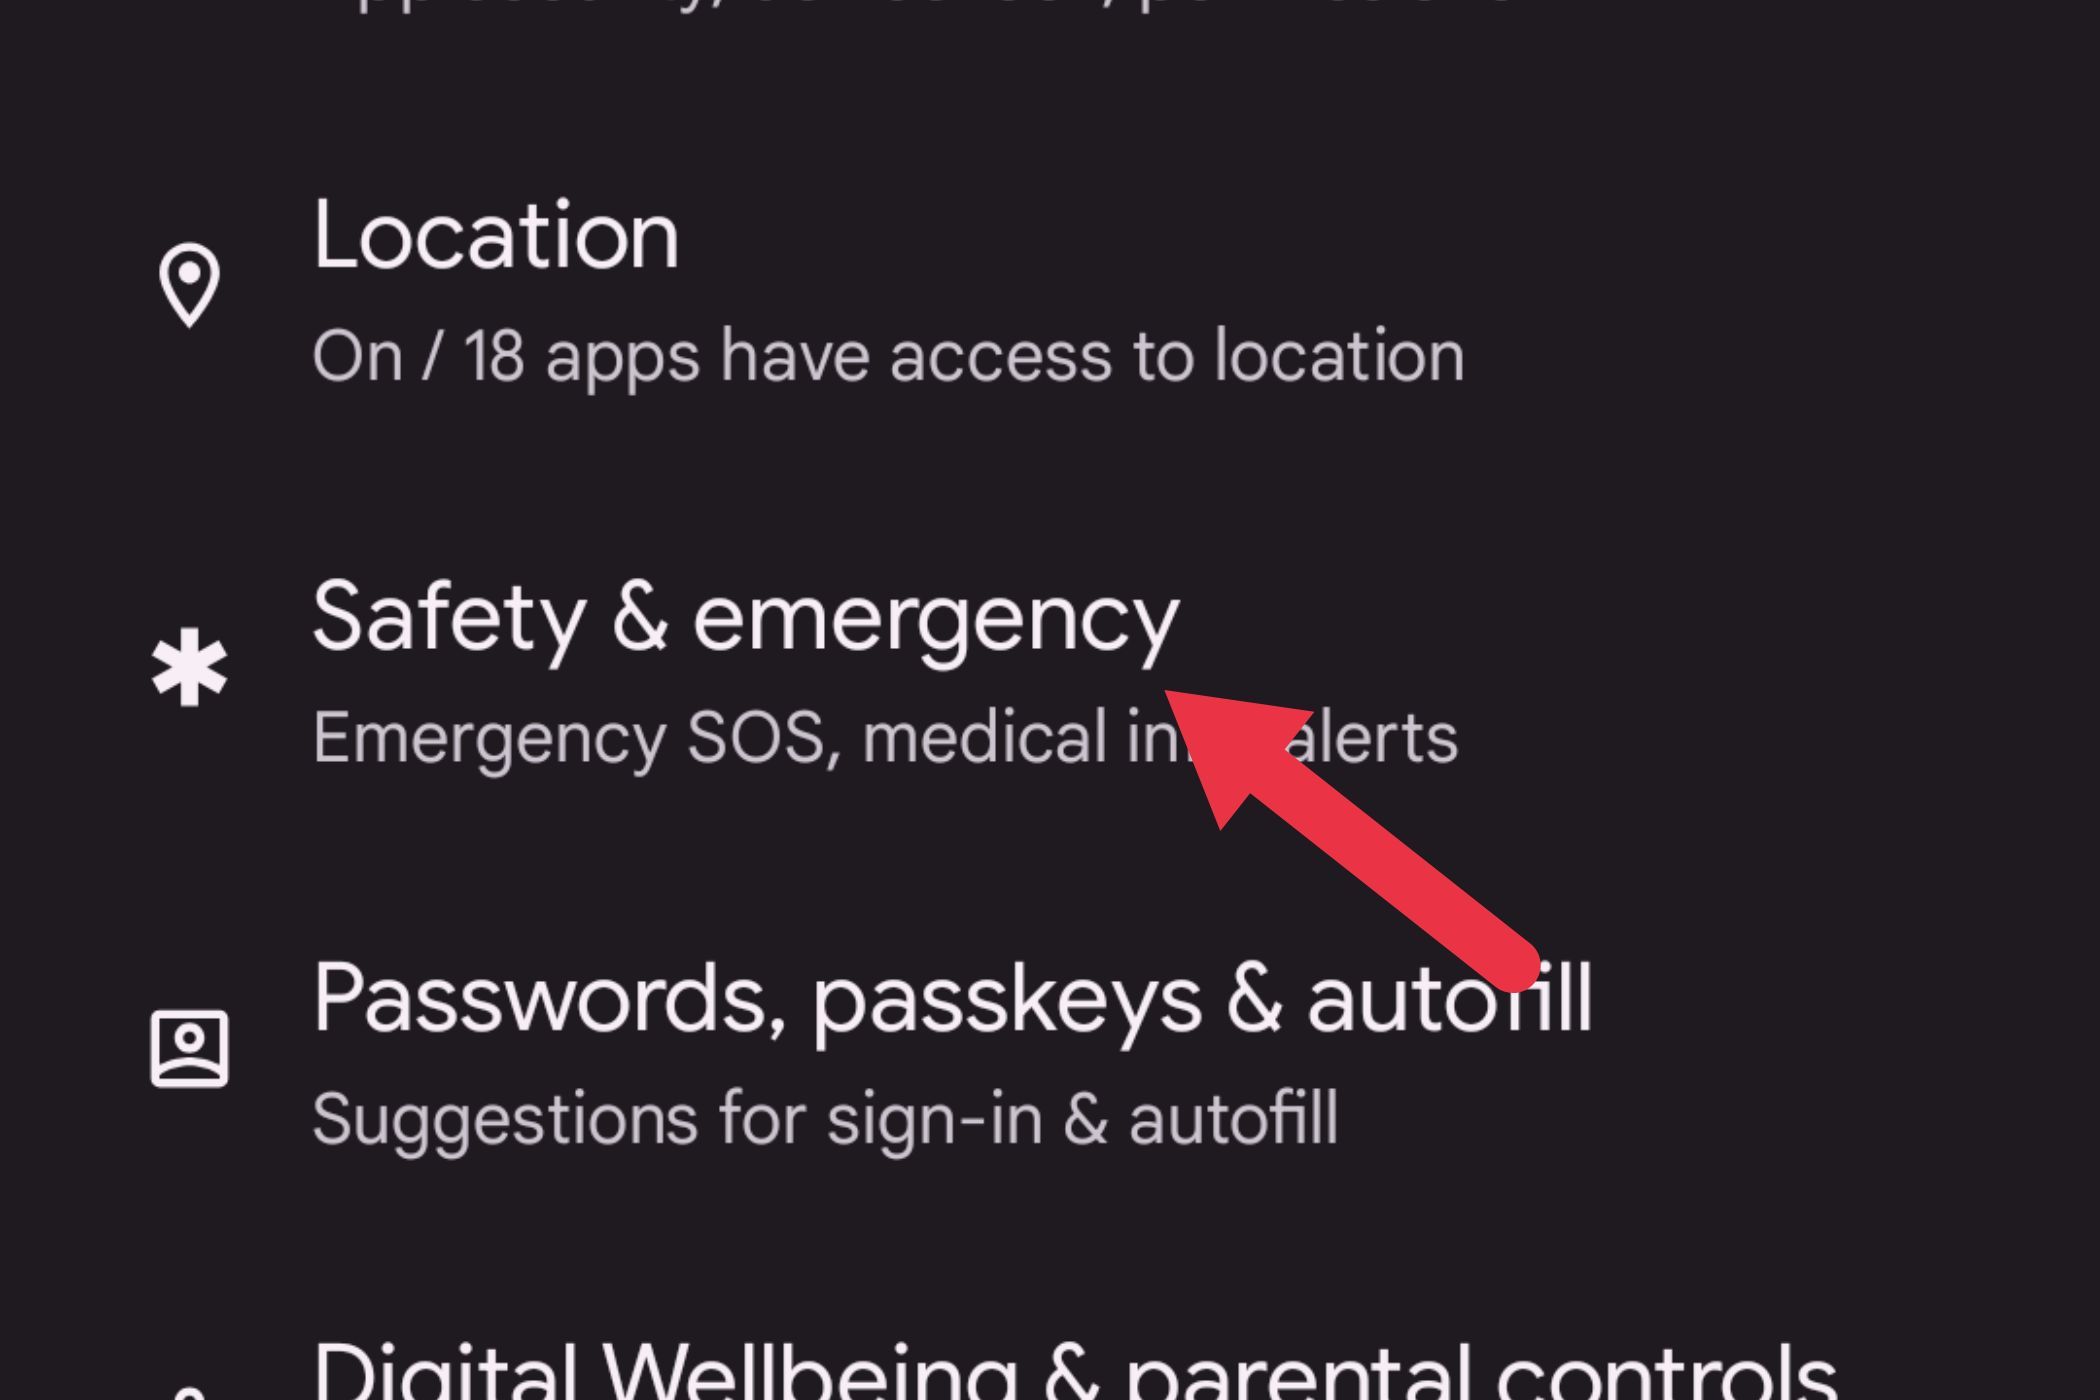
Open Settings and tap on “Safety & Emergency.”
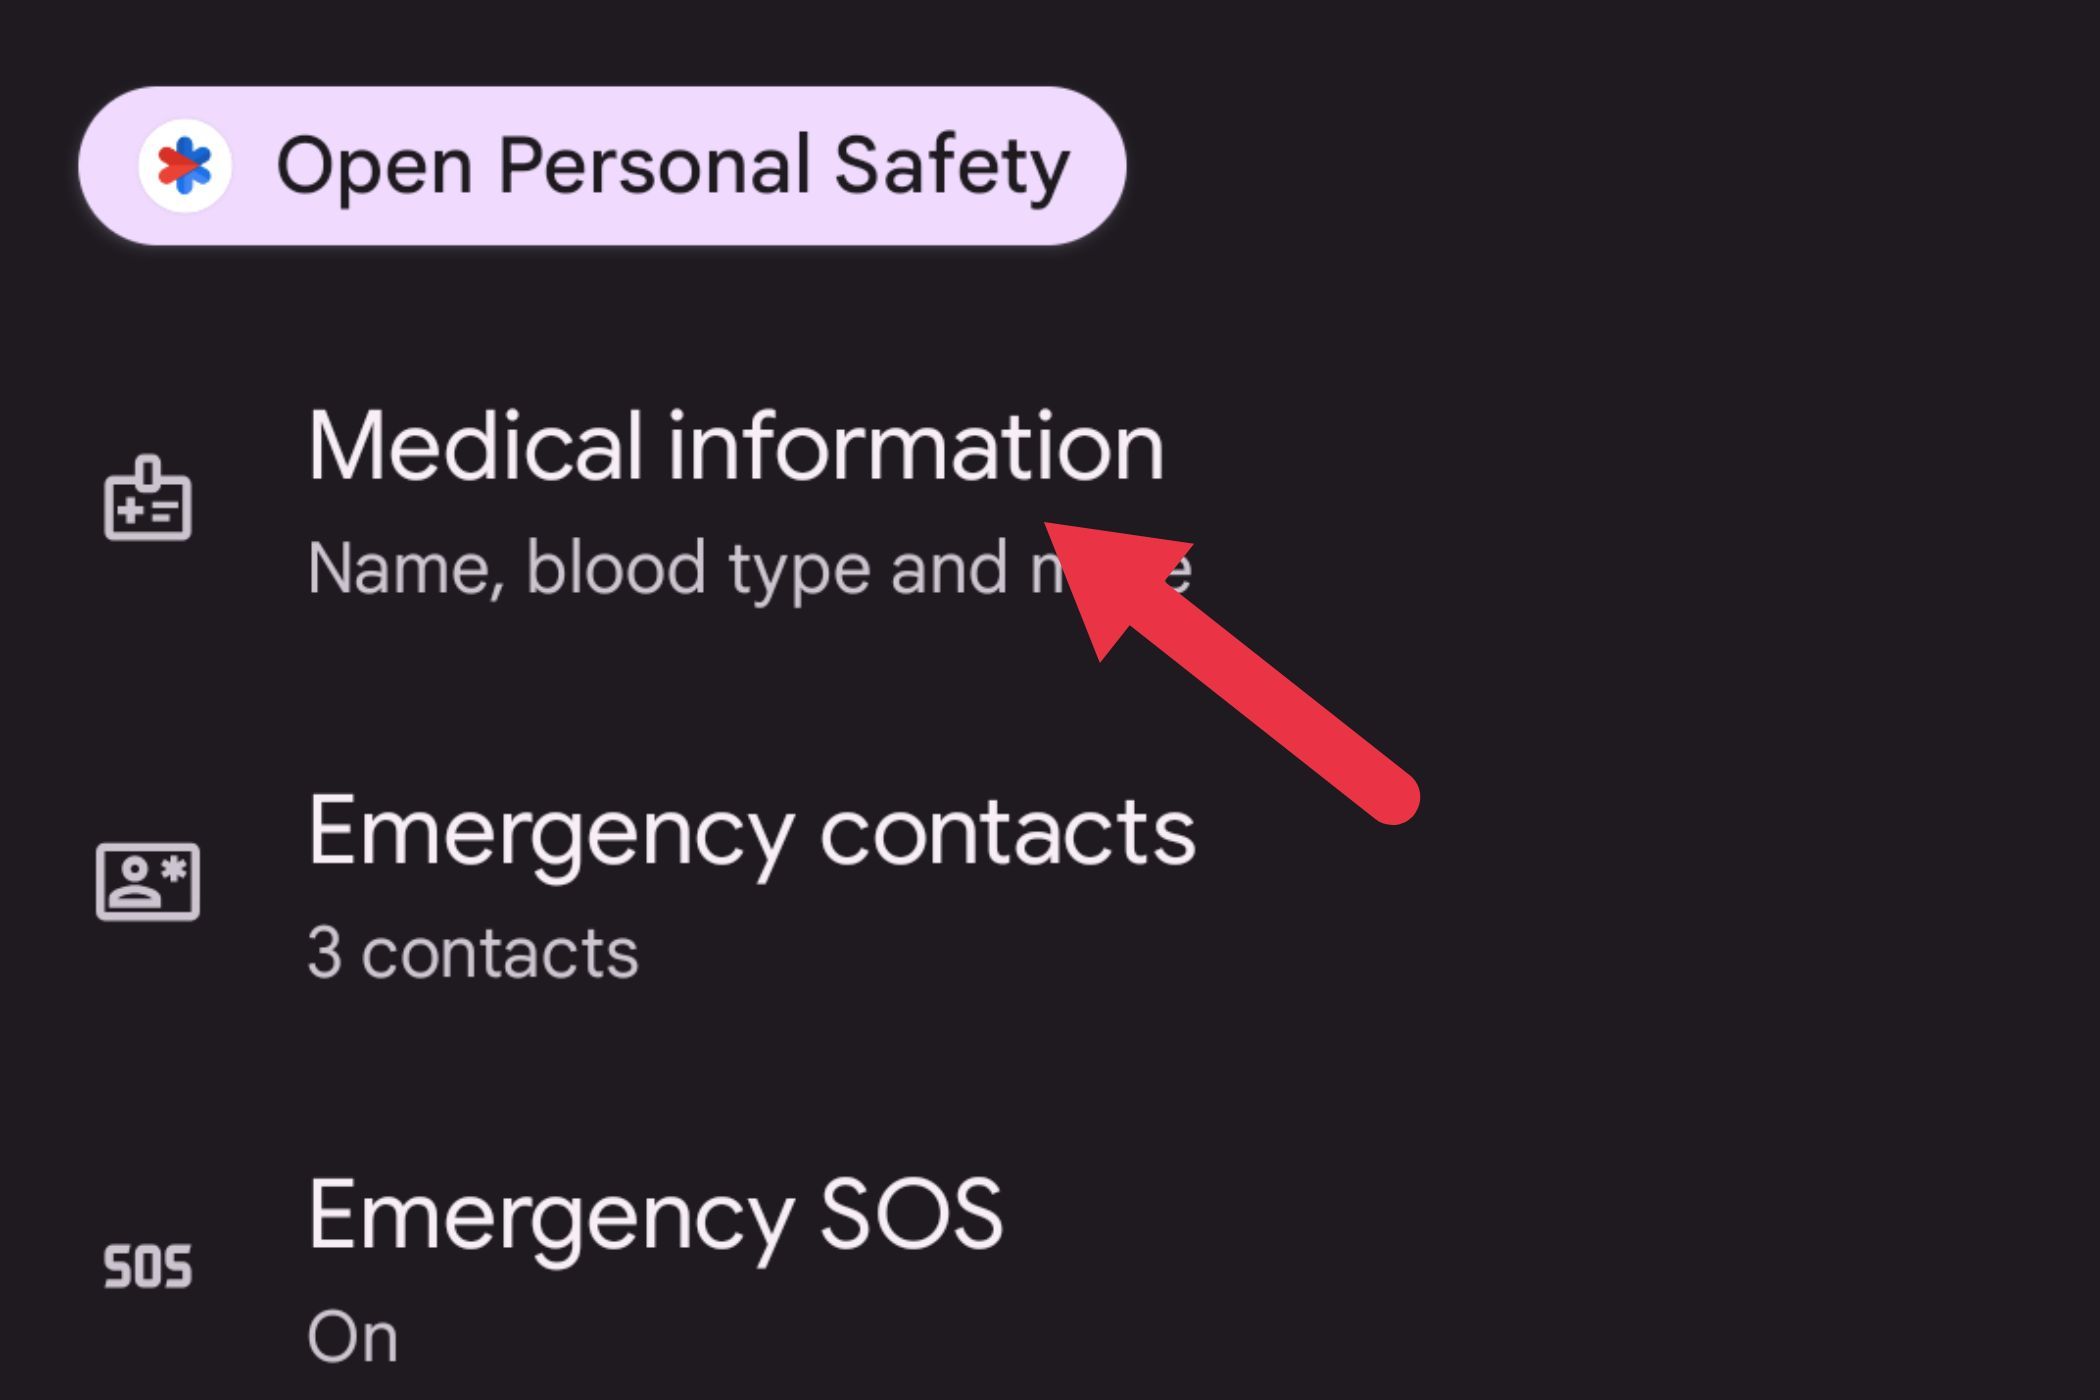
Tap on “Medical Information.”
You might be prompted to enter your Google account. Once that’s done, fill in the details as needed.
In an emergency, responders can access this information by swiping up from the lock screen, tapping the “Emergency” button, and then going to “View Emergency” info to see your medical details.
Keep Your Privacy Intact with App Pinning
If you’ve ever handed your phone to a friend or family member, you know the anxiety of them scrolling through your apps. With app pinning, you can lock them into one app so they can’t snoop around. Here’s how to enable it:
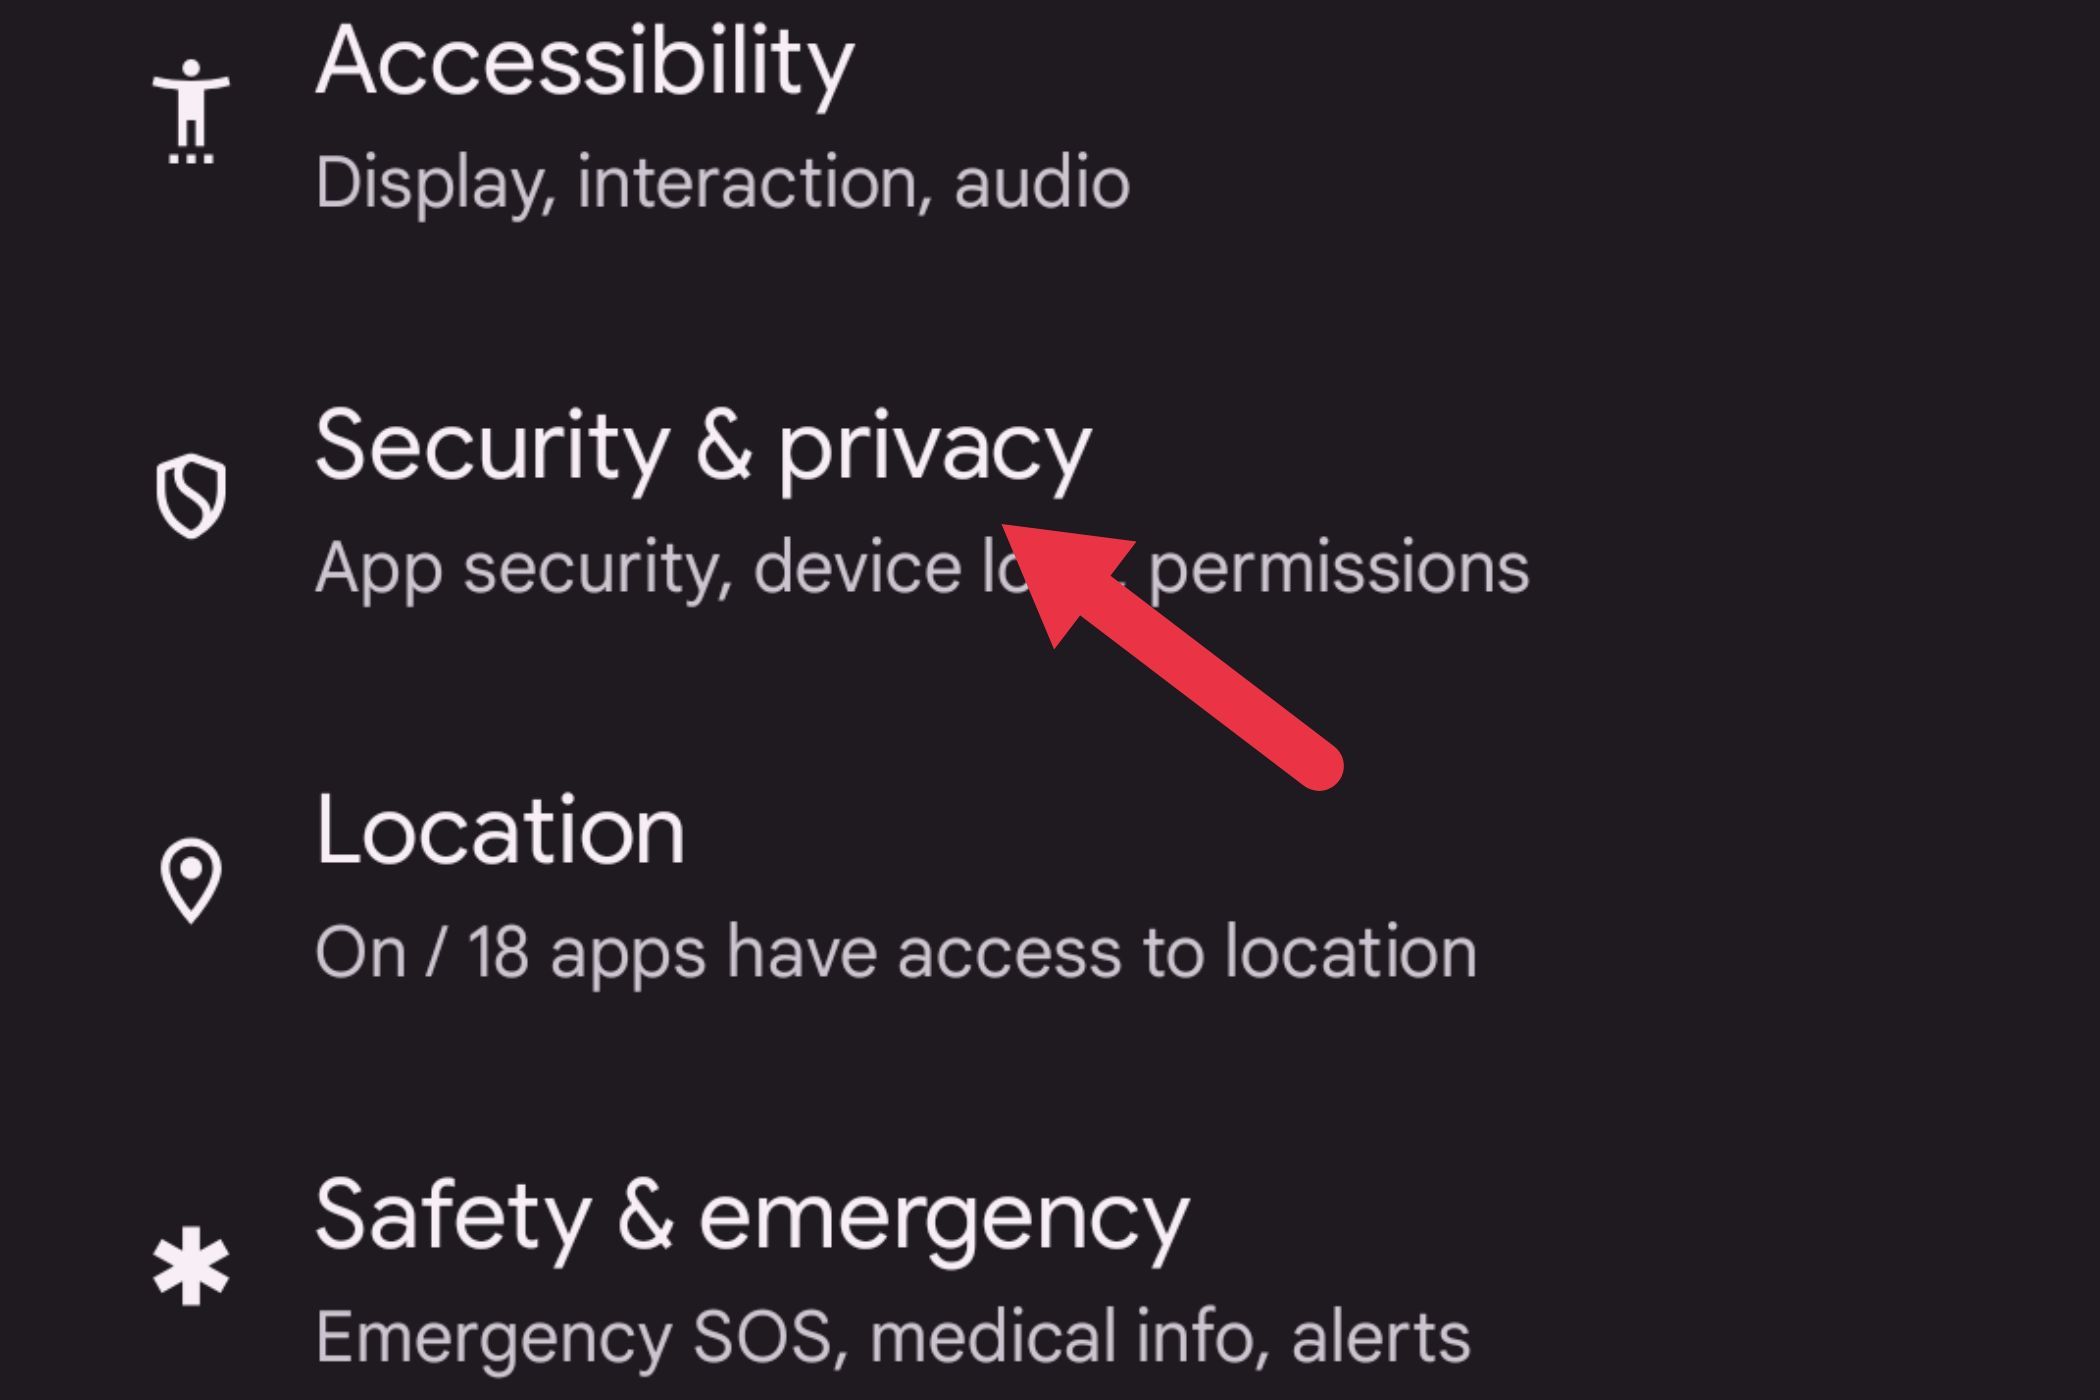
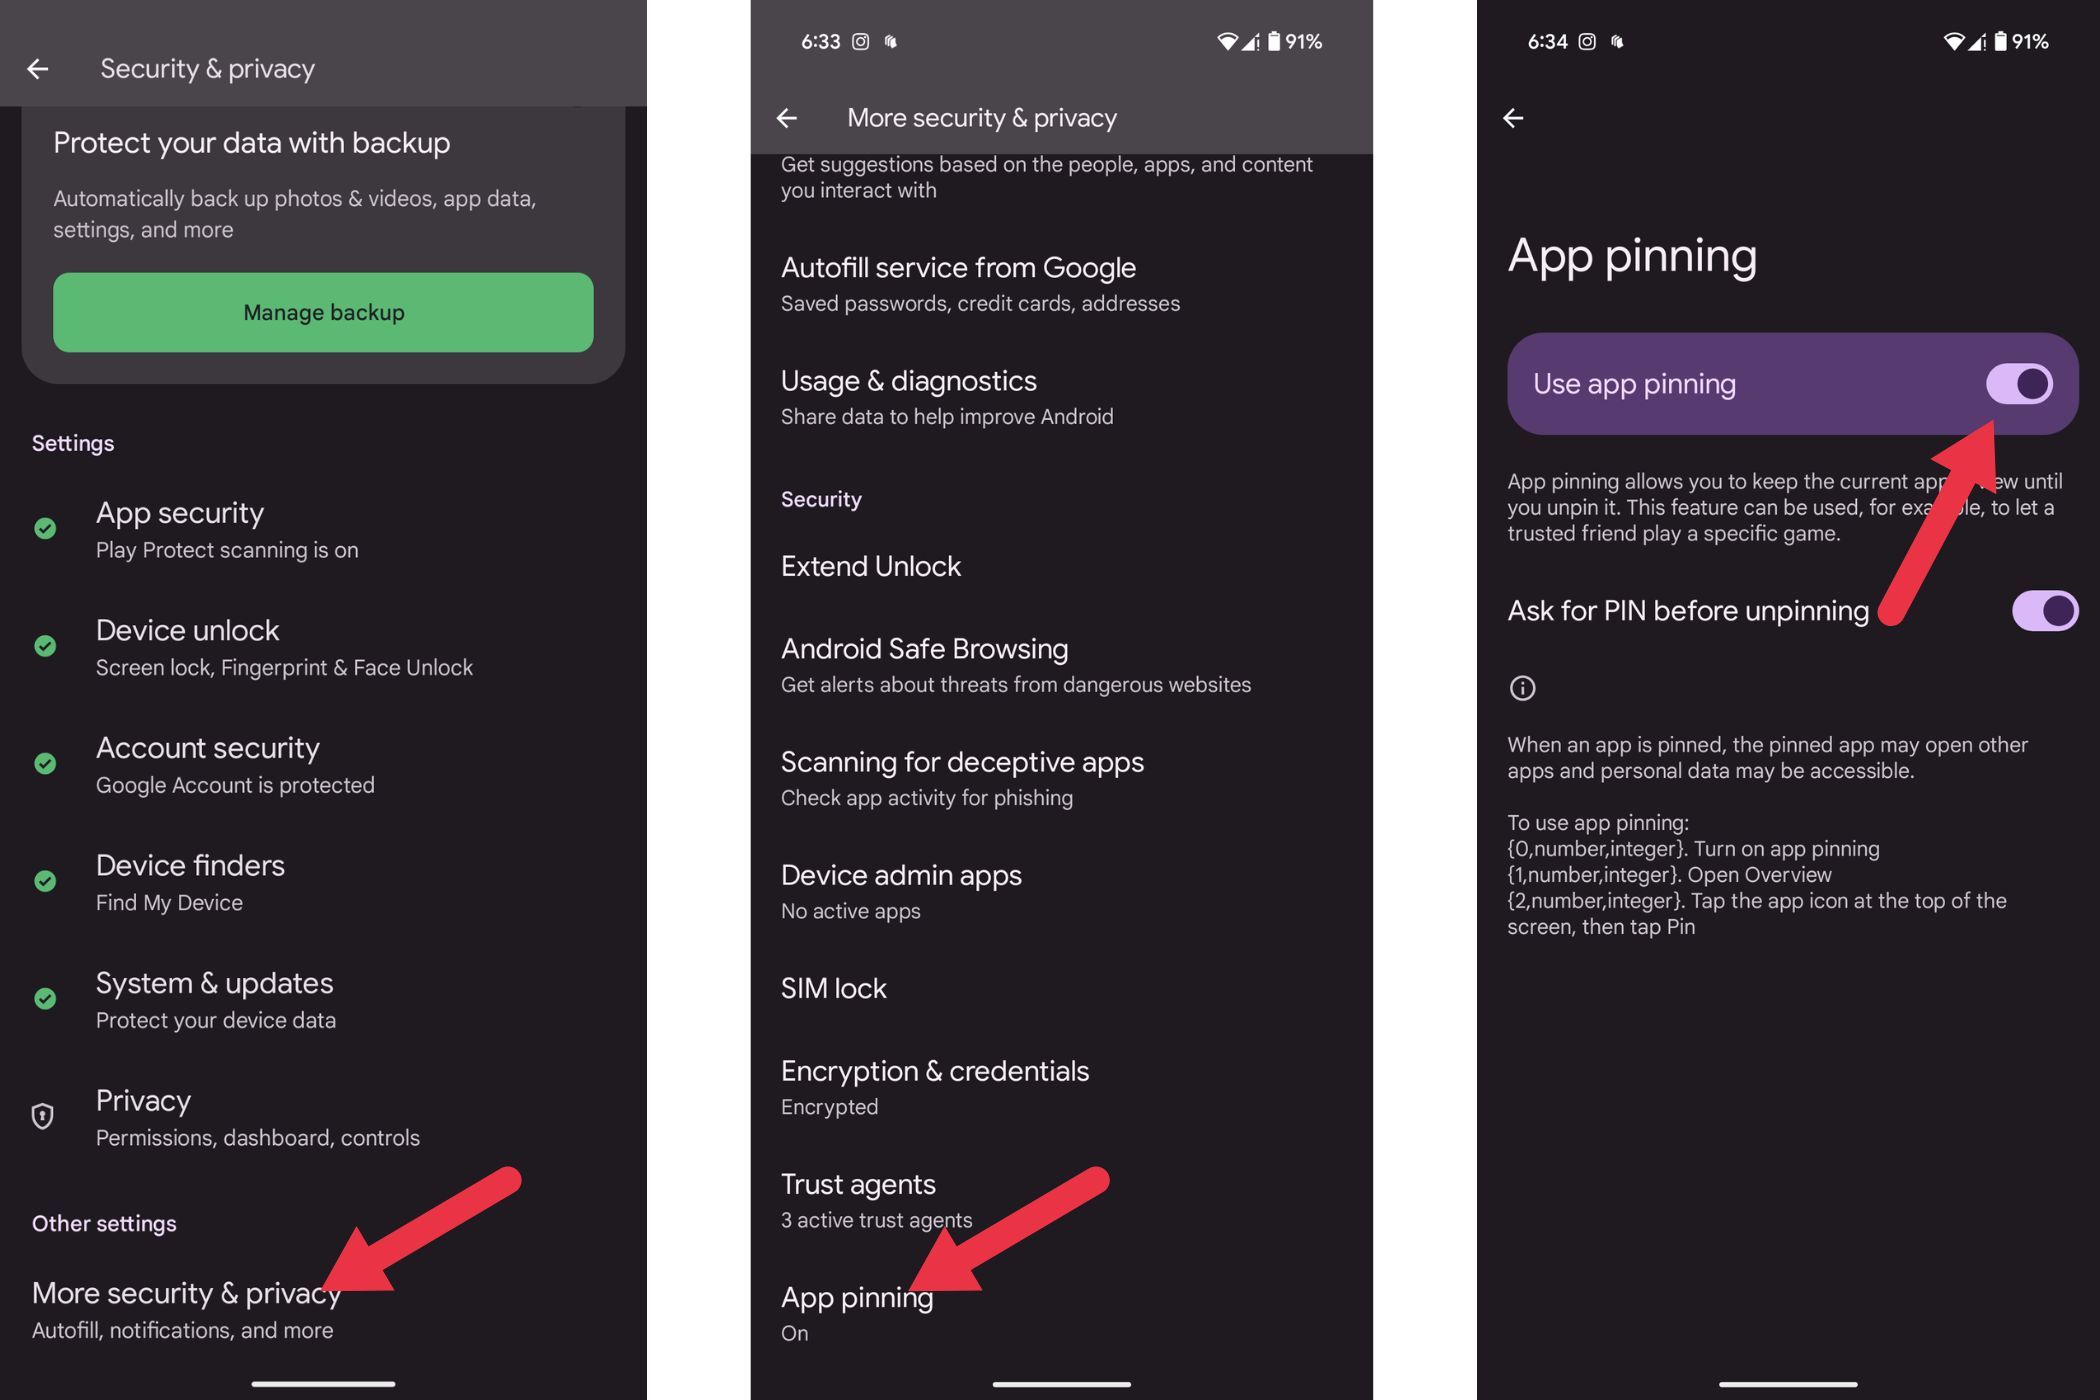
Open Settings and go to “Security & Privacy.”
Scroll to the bottom and tap on “More Security & Privacy,” then find “App Pinning” and toggle it on.
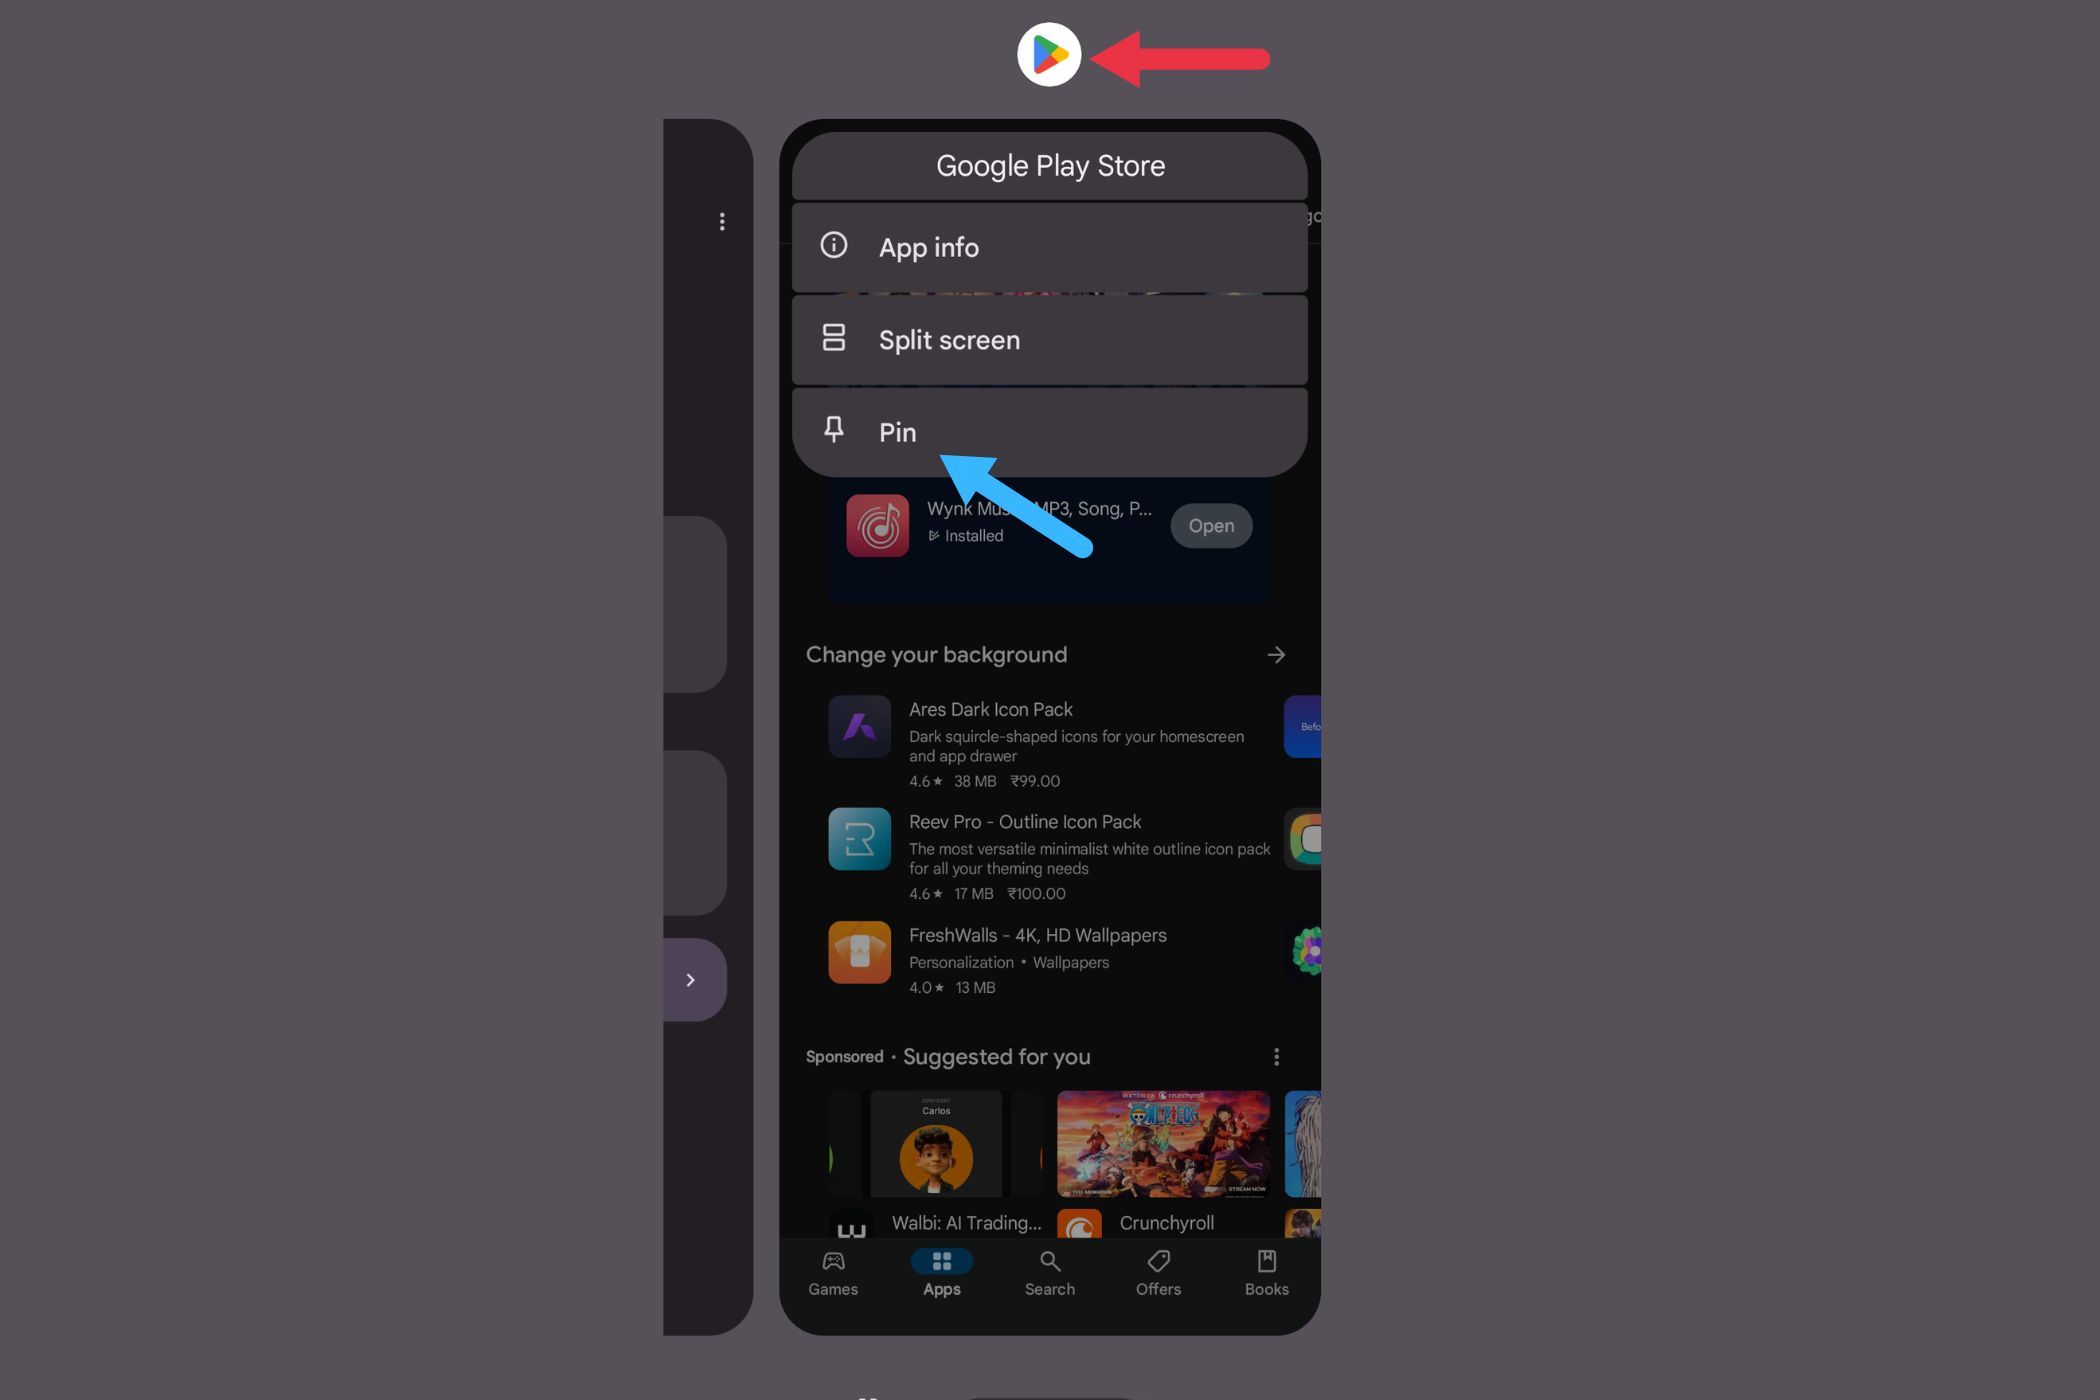
When you’re in an app you want to pin, swipe up to see your recent apps, tap the icon above the app, and select Pin.
Now you can show off that funny meme without worrying about what they might stumble upon!
If you love late-night scrolling but find your screen too bright, the extra dim display feature is a game-changer. It lets you lower the brightness even more than the minimum setting, which is perfect for nighttime use. Here’s how to activate it:
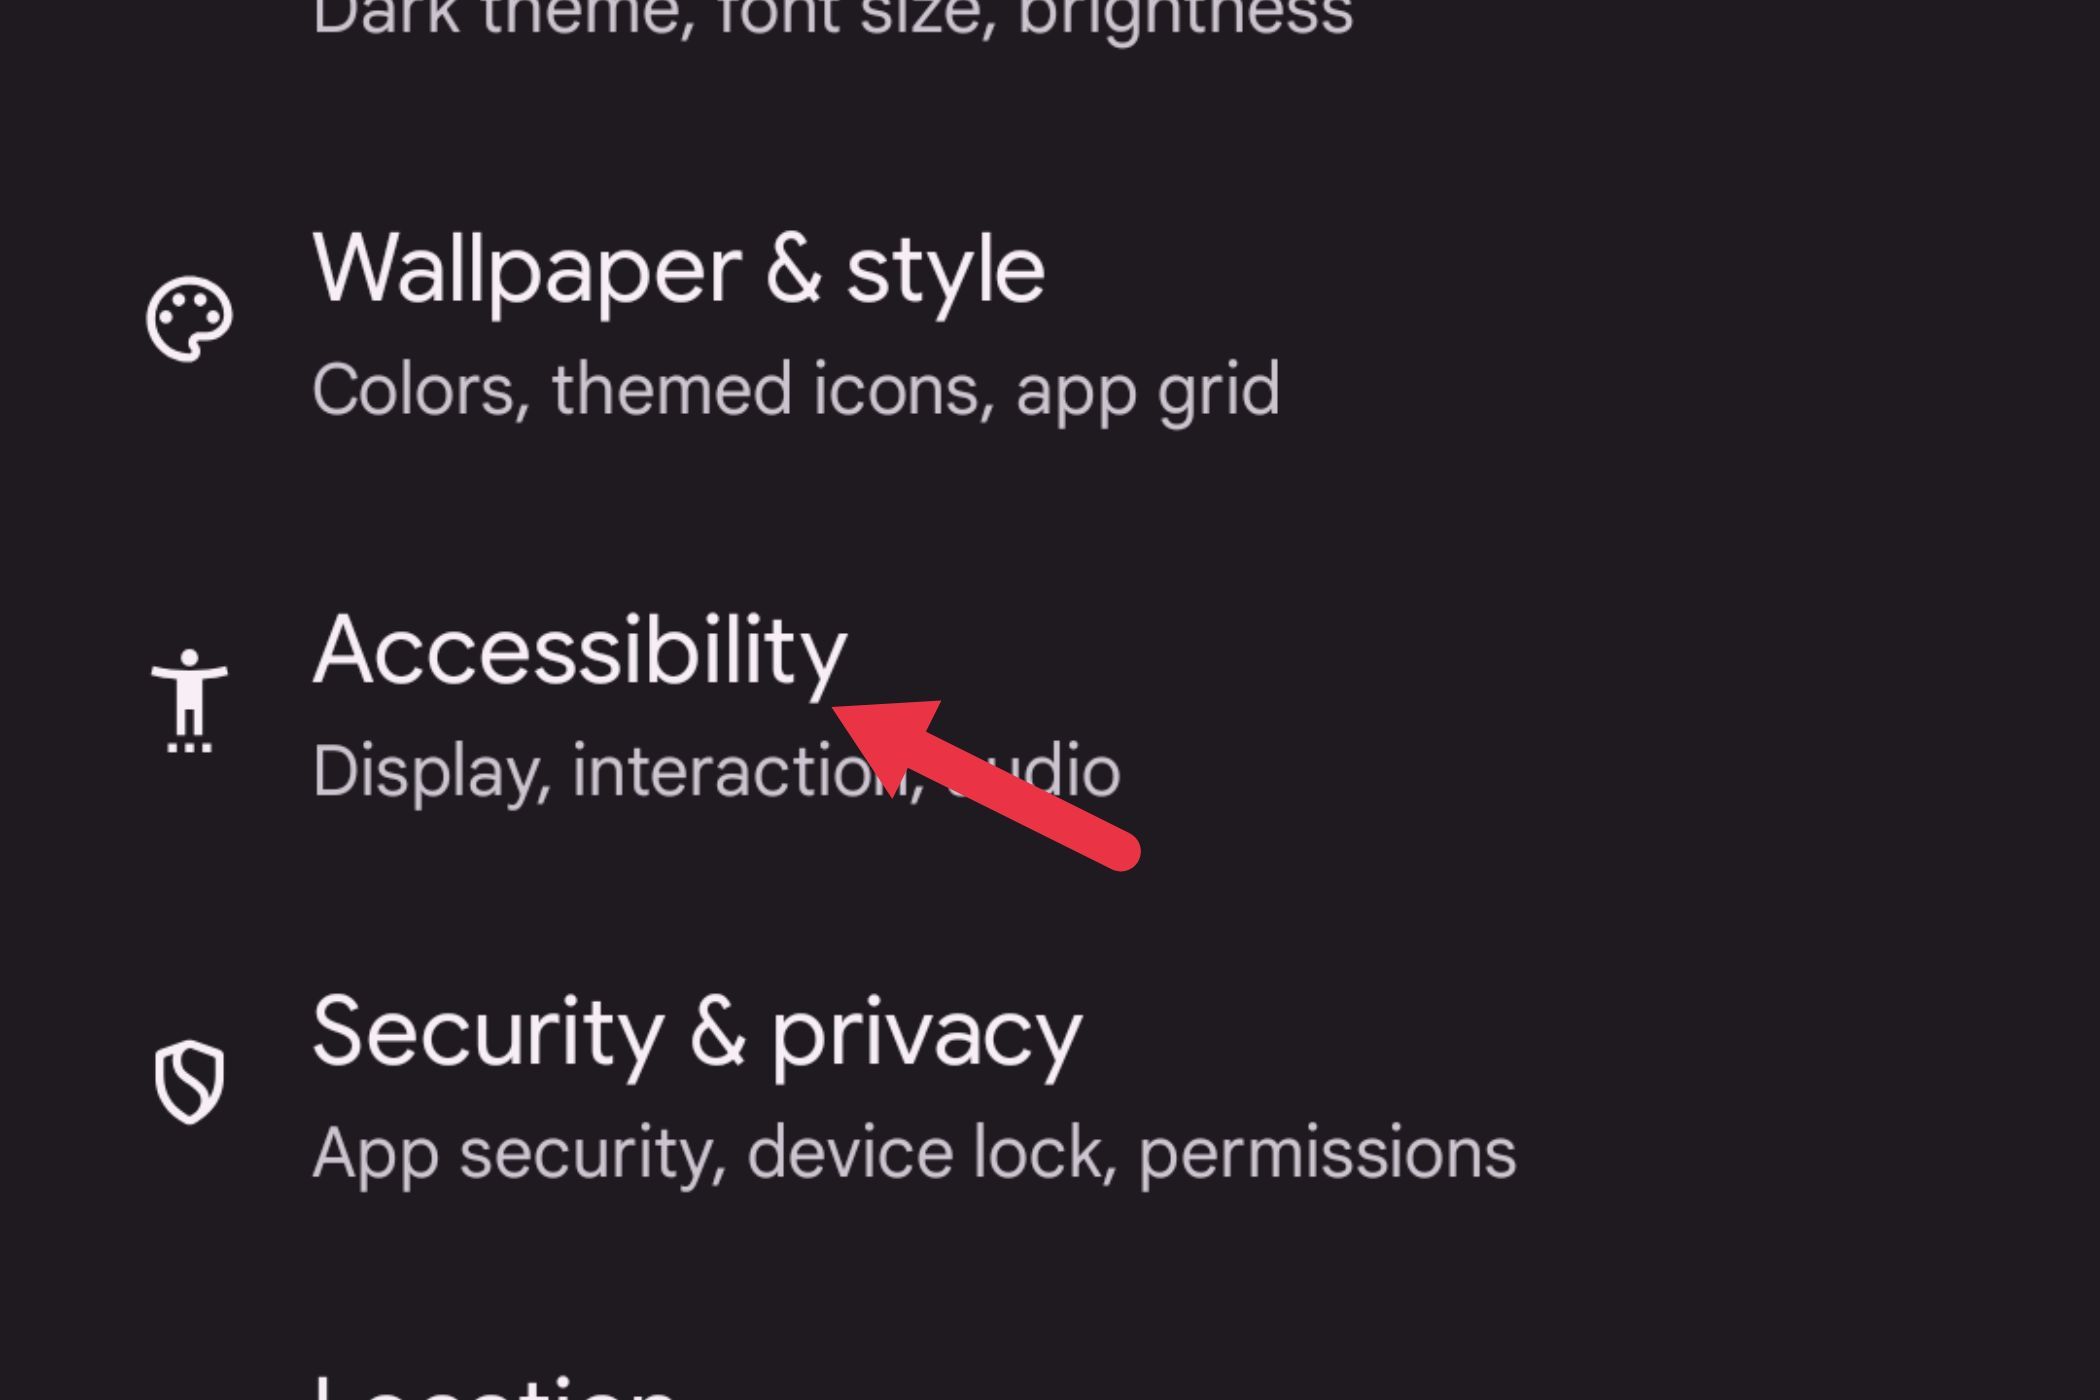
Go to Settings and tap “Accessibility.”
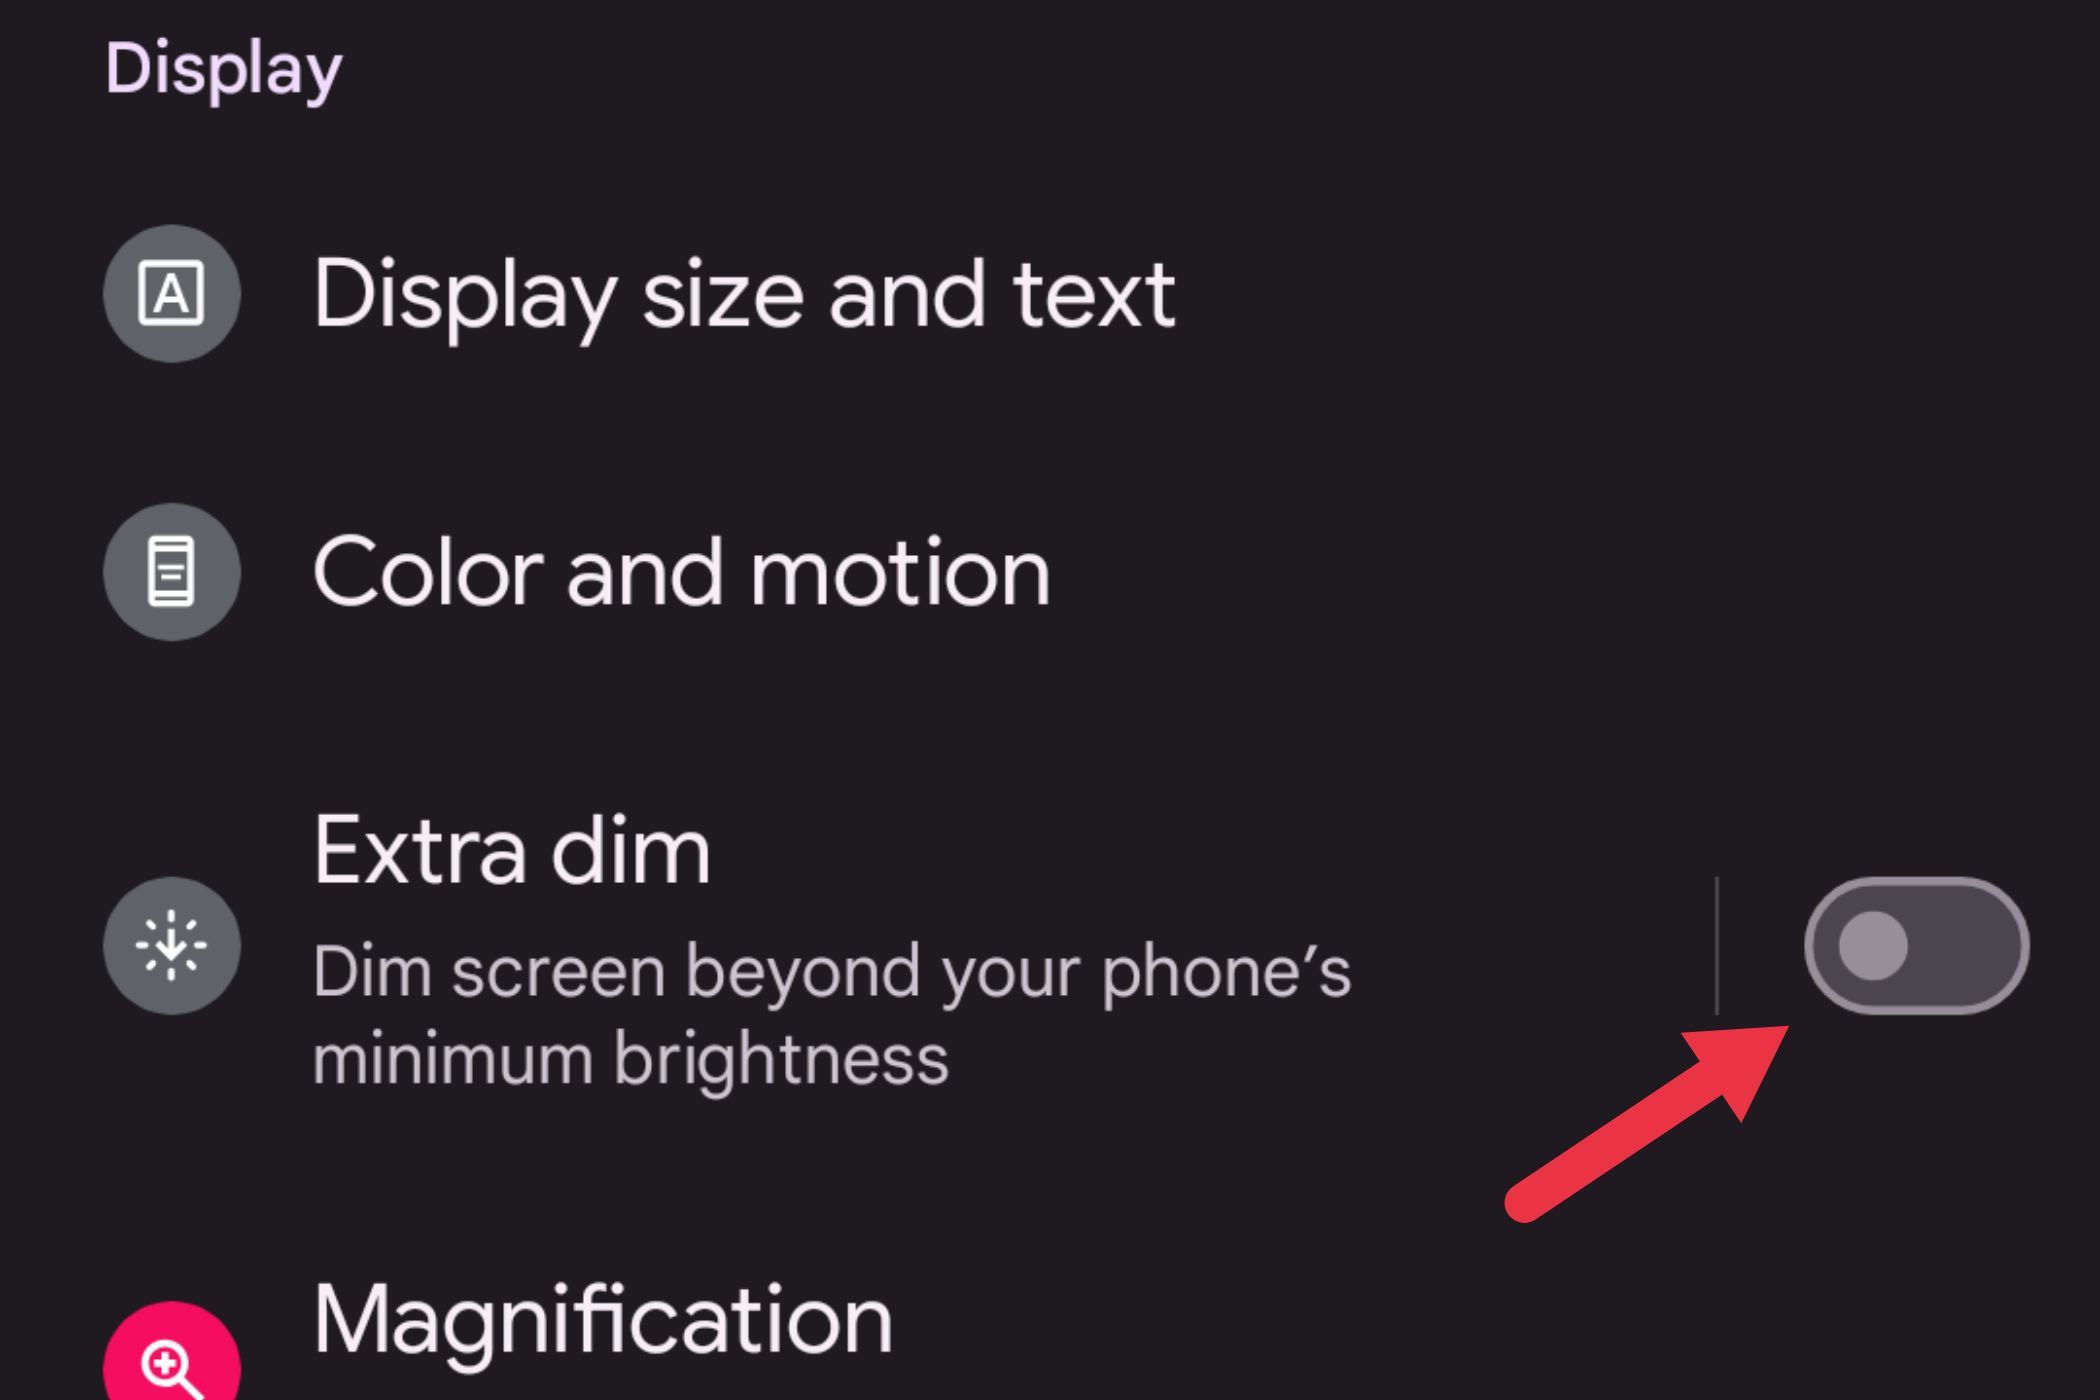
Scroll down and toggle “Extra Dim” to on.
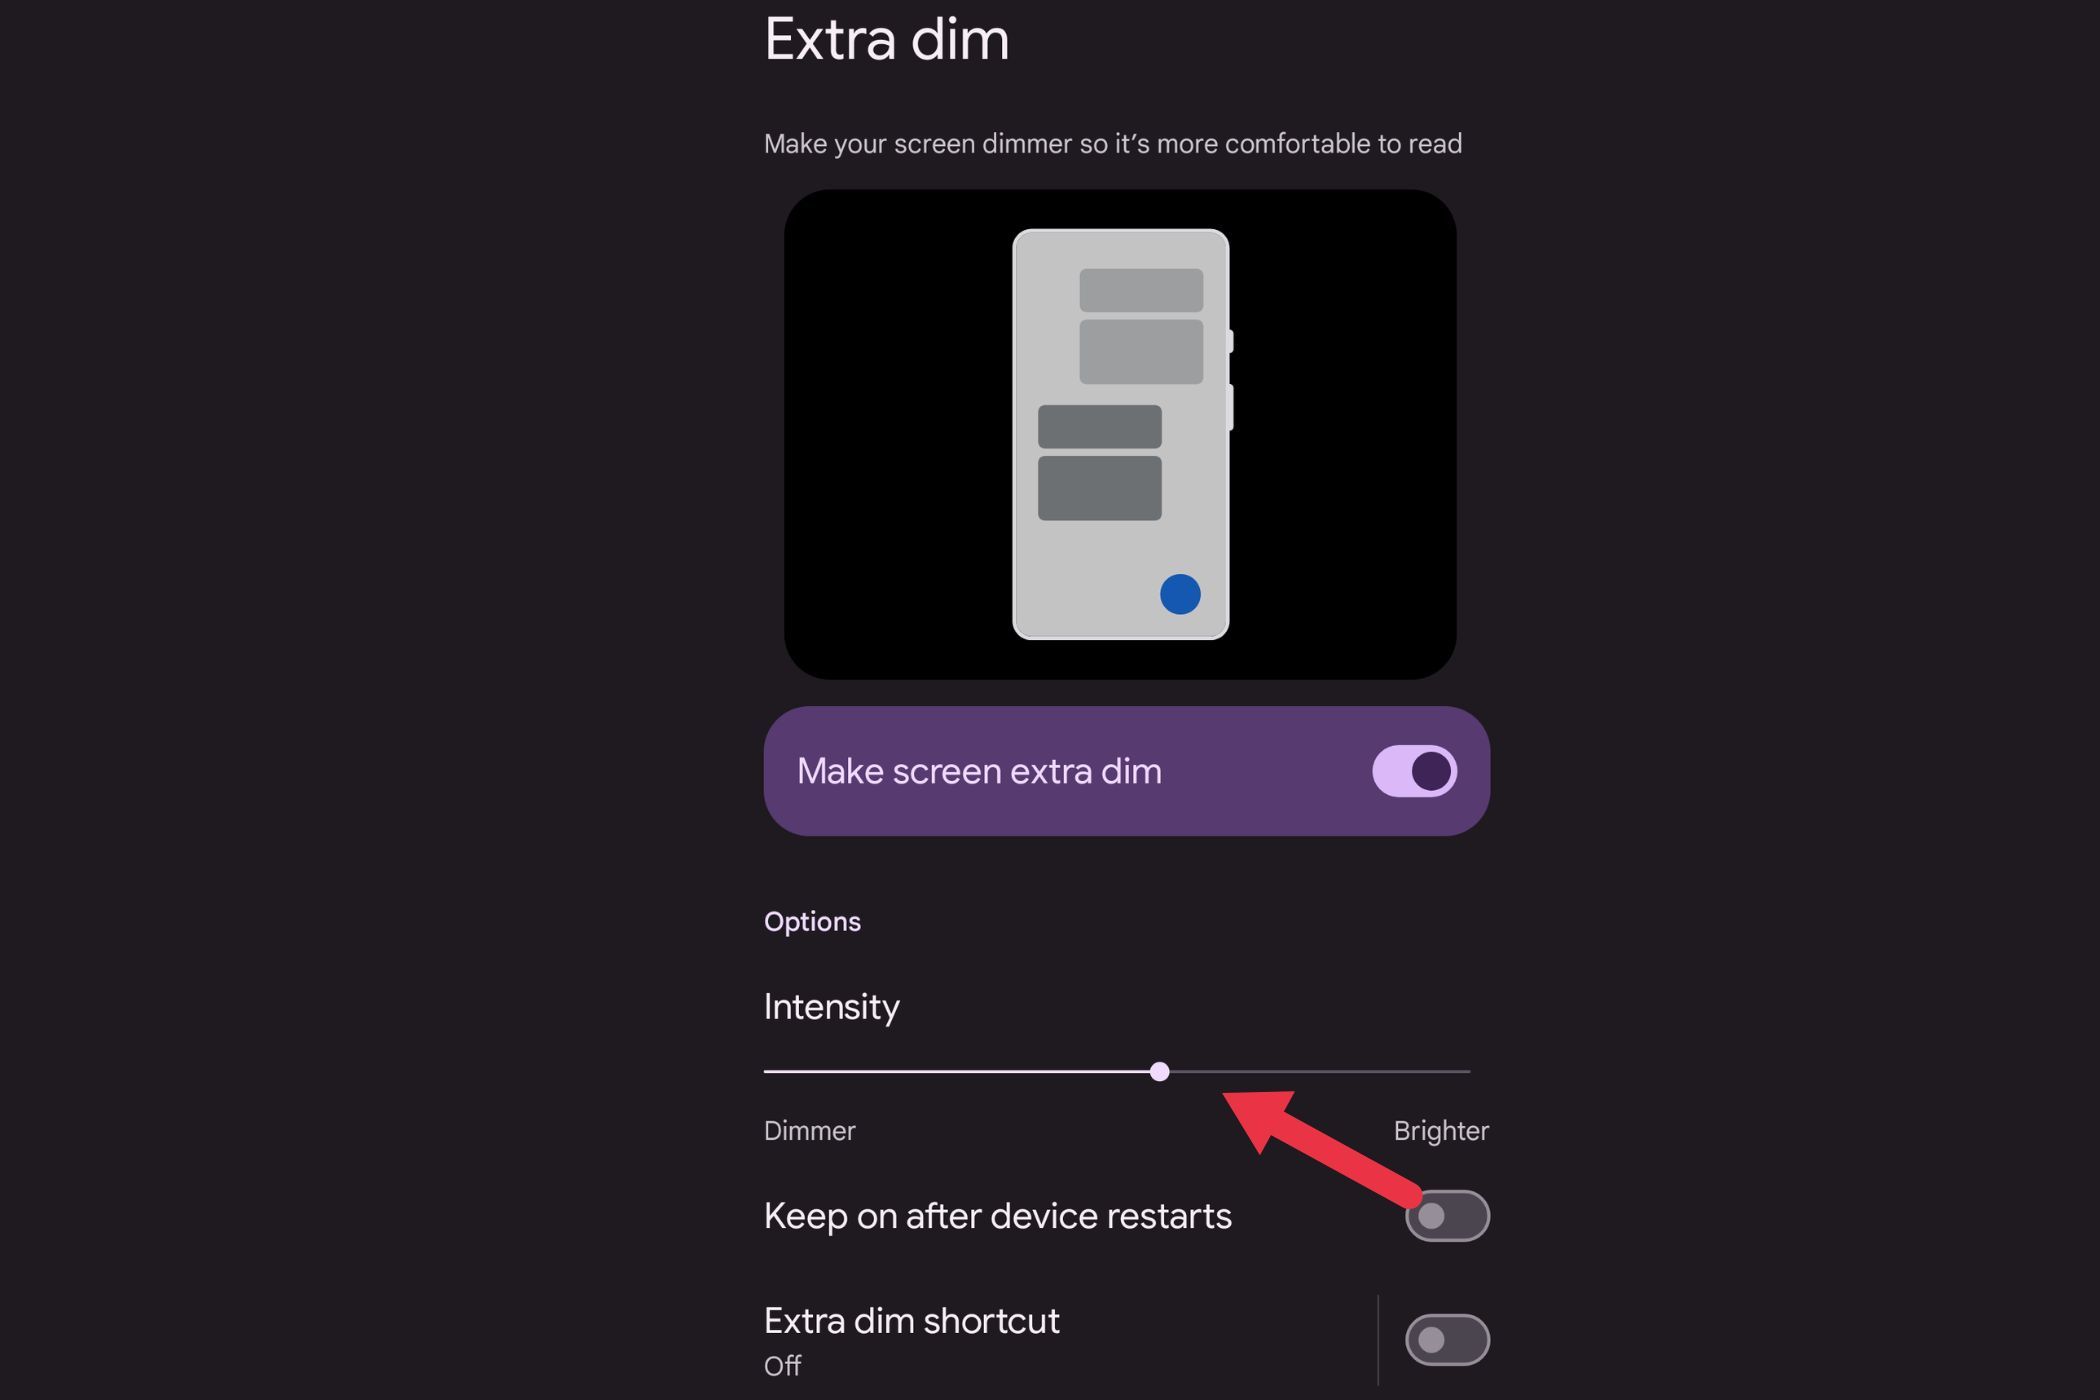
You can also tap on the feature to adjust the brightness intensity.
Now you can comfortably browse in the dark without straining your eyes!
Bonus: Master One-Handed Mode for Easy Navigation
Don’t have one of those compact phones but still want to control everything with one hand? You’re in luck! Most Android phones come with a one-handed mode that makes navigation super easy. Here’s how to enable it:
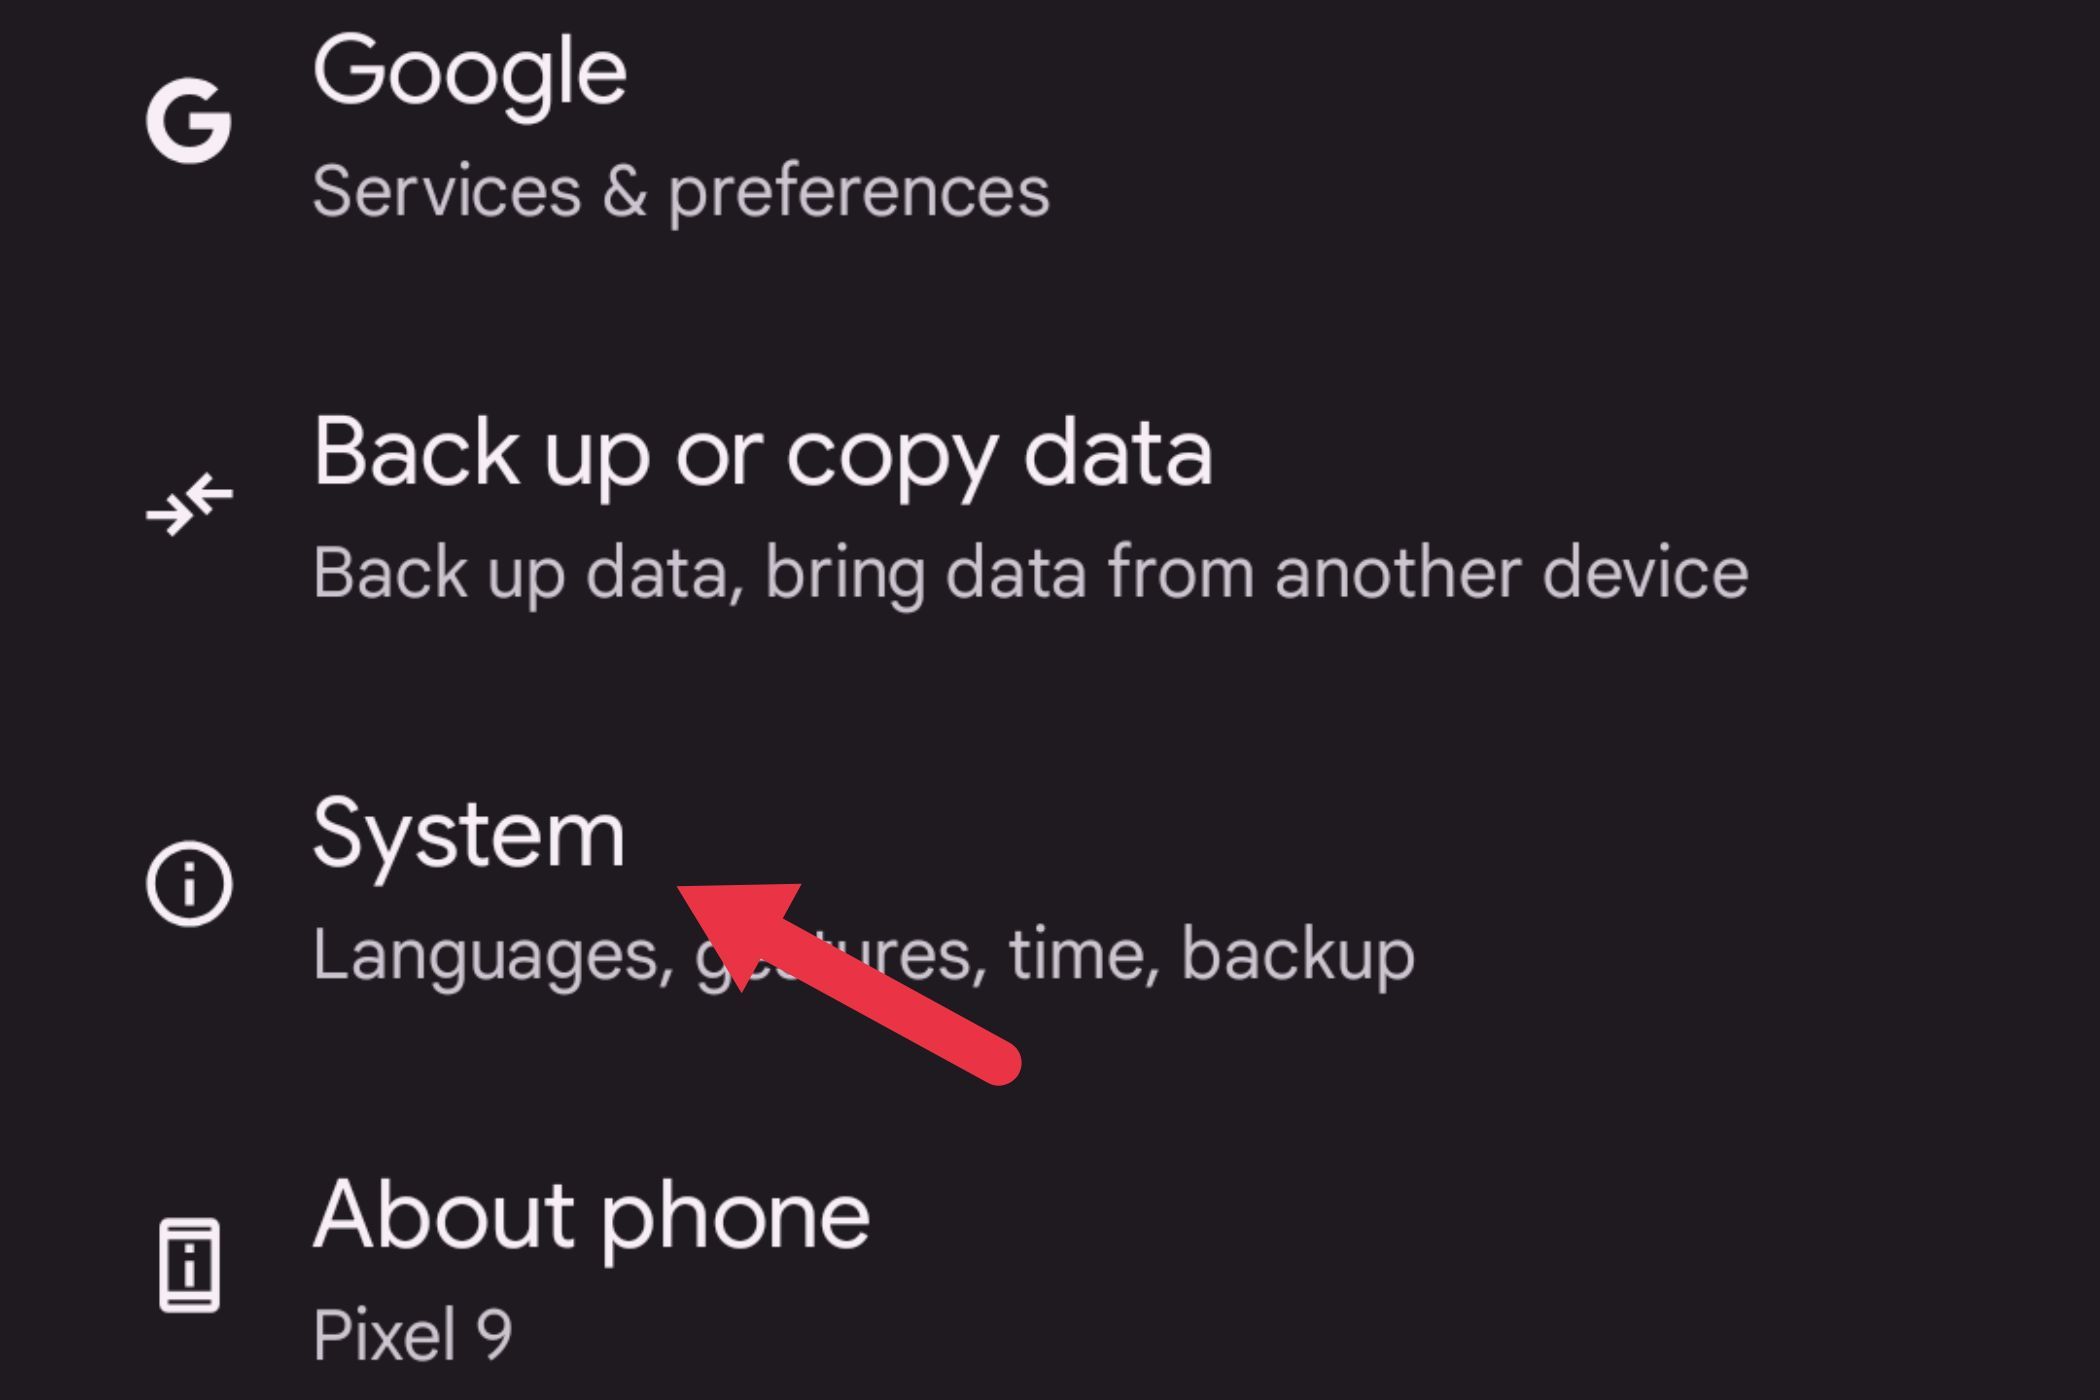
Open the Settings app and tap “System.”
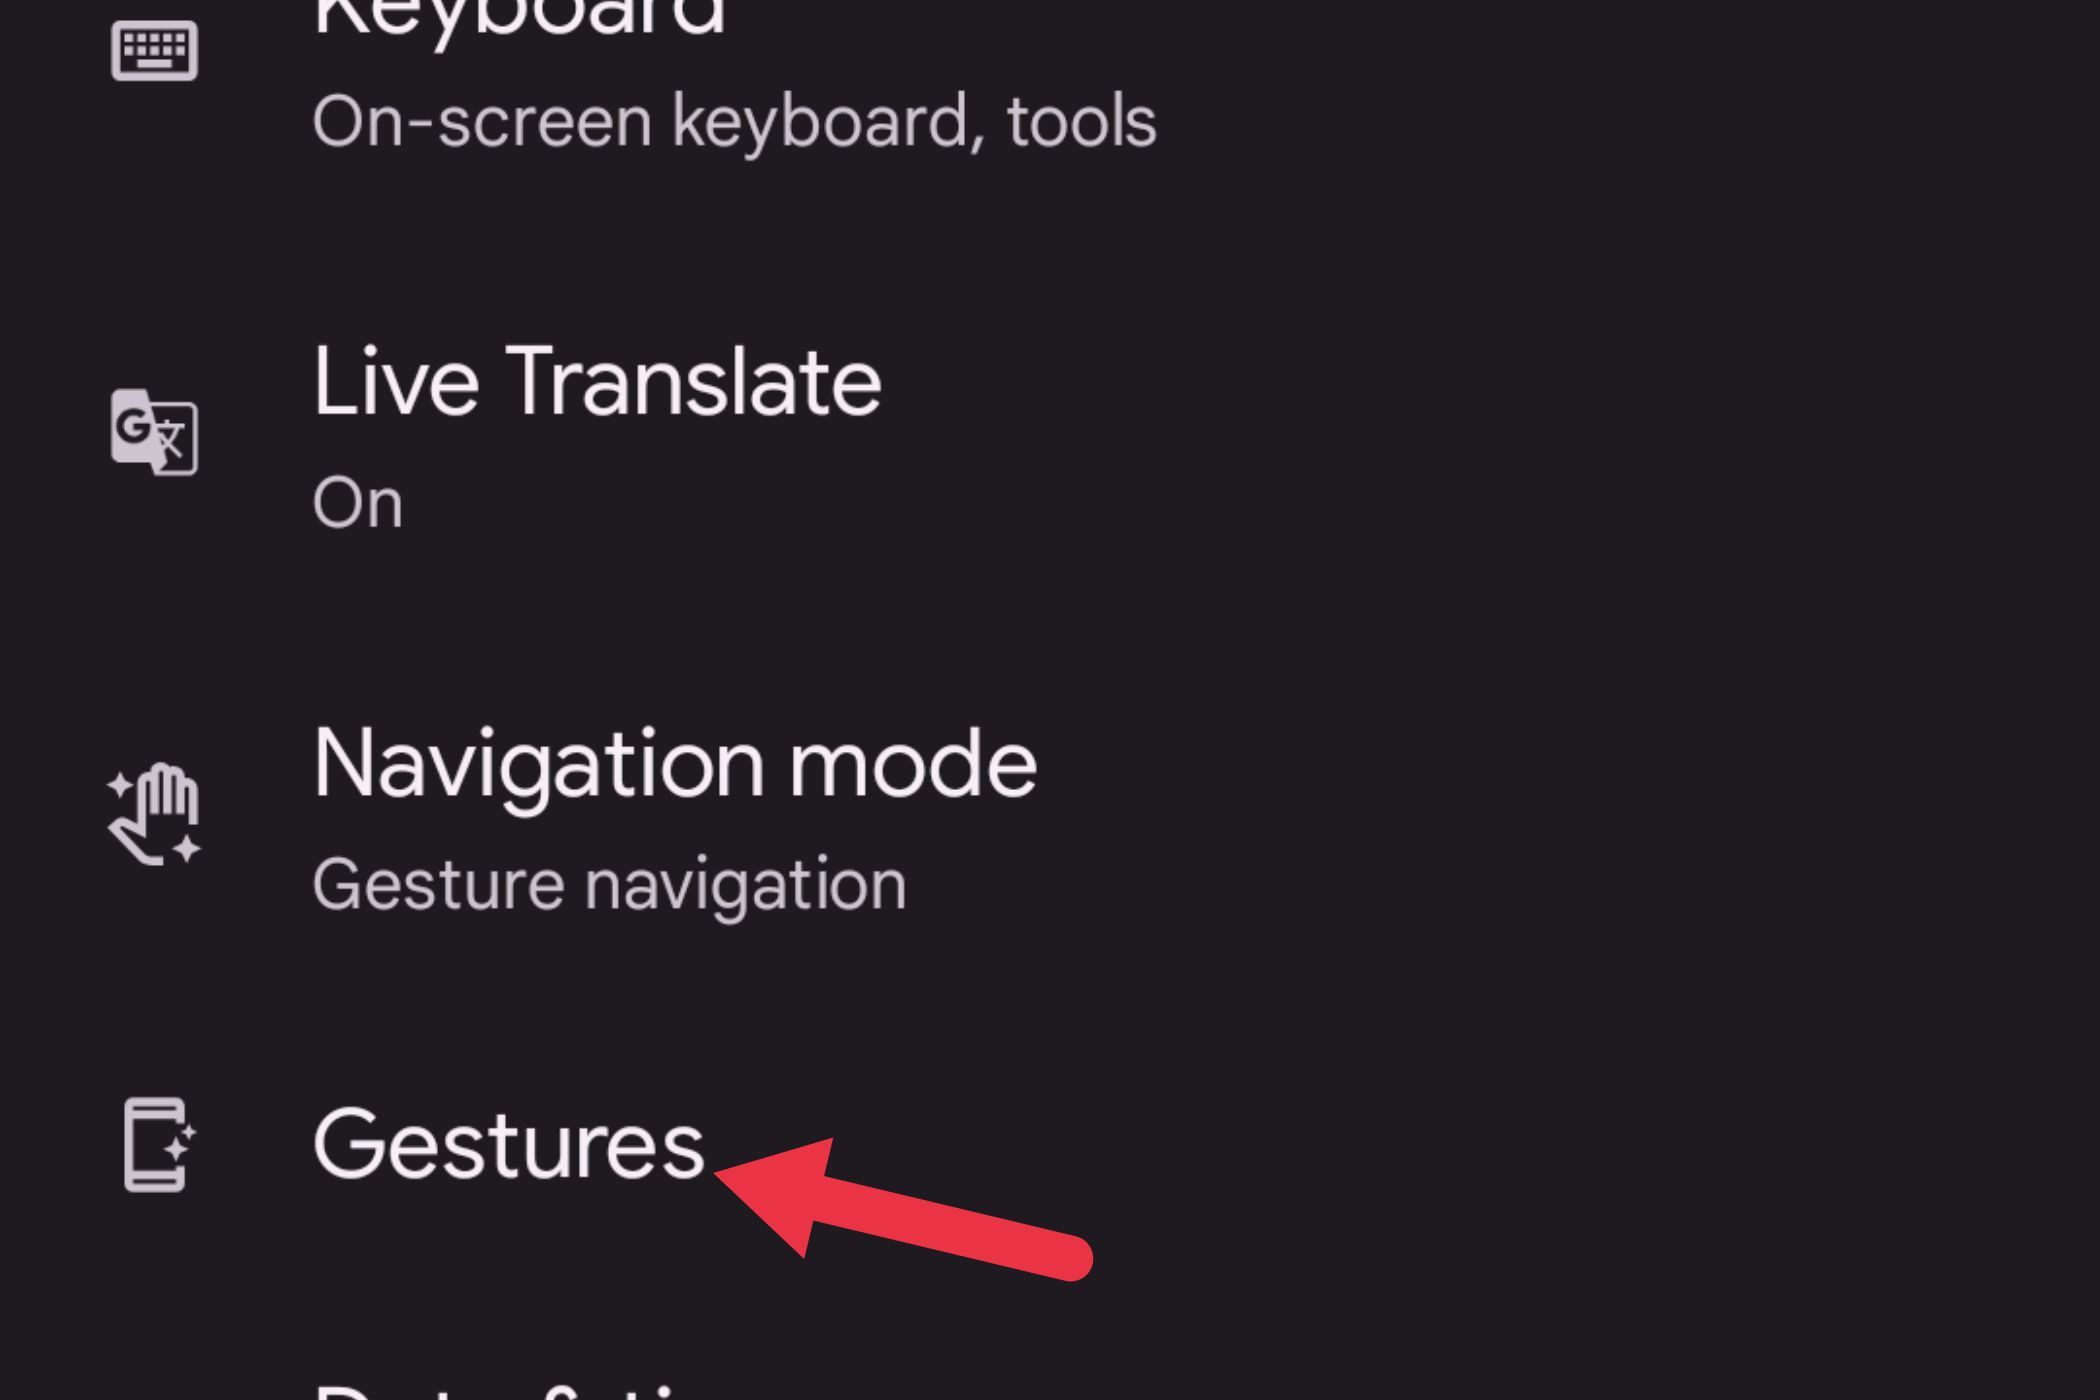
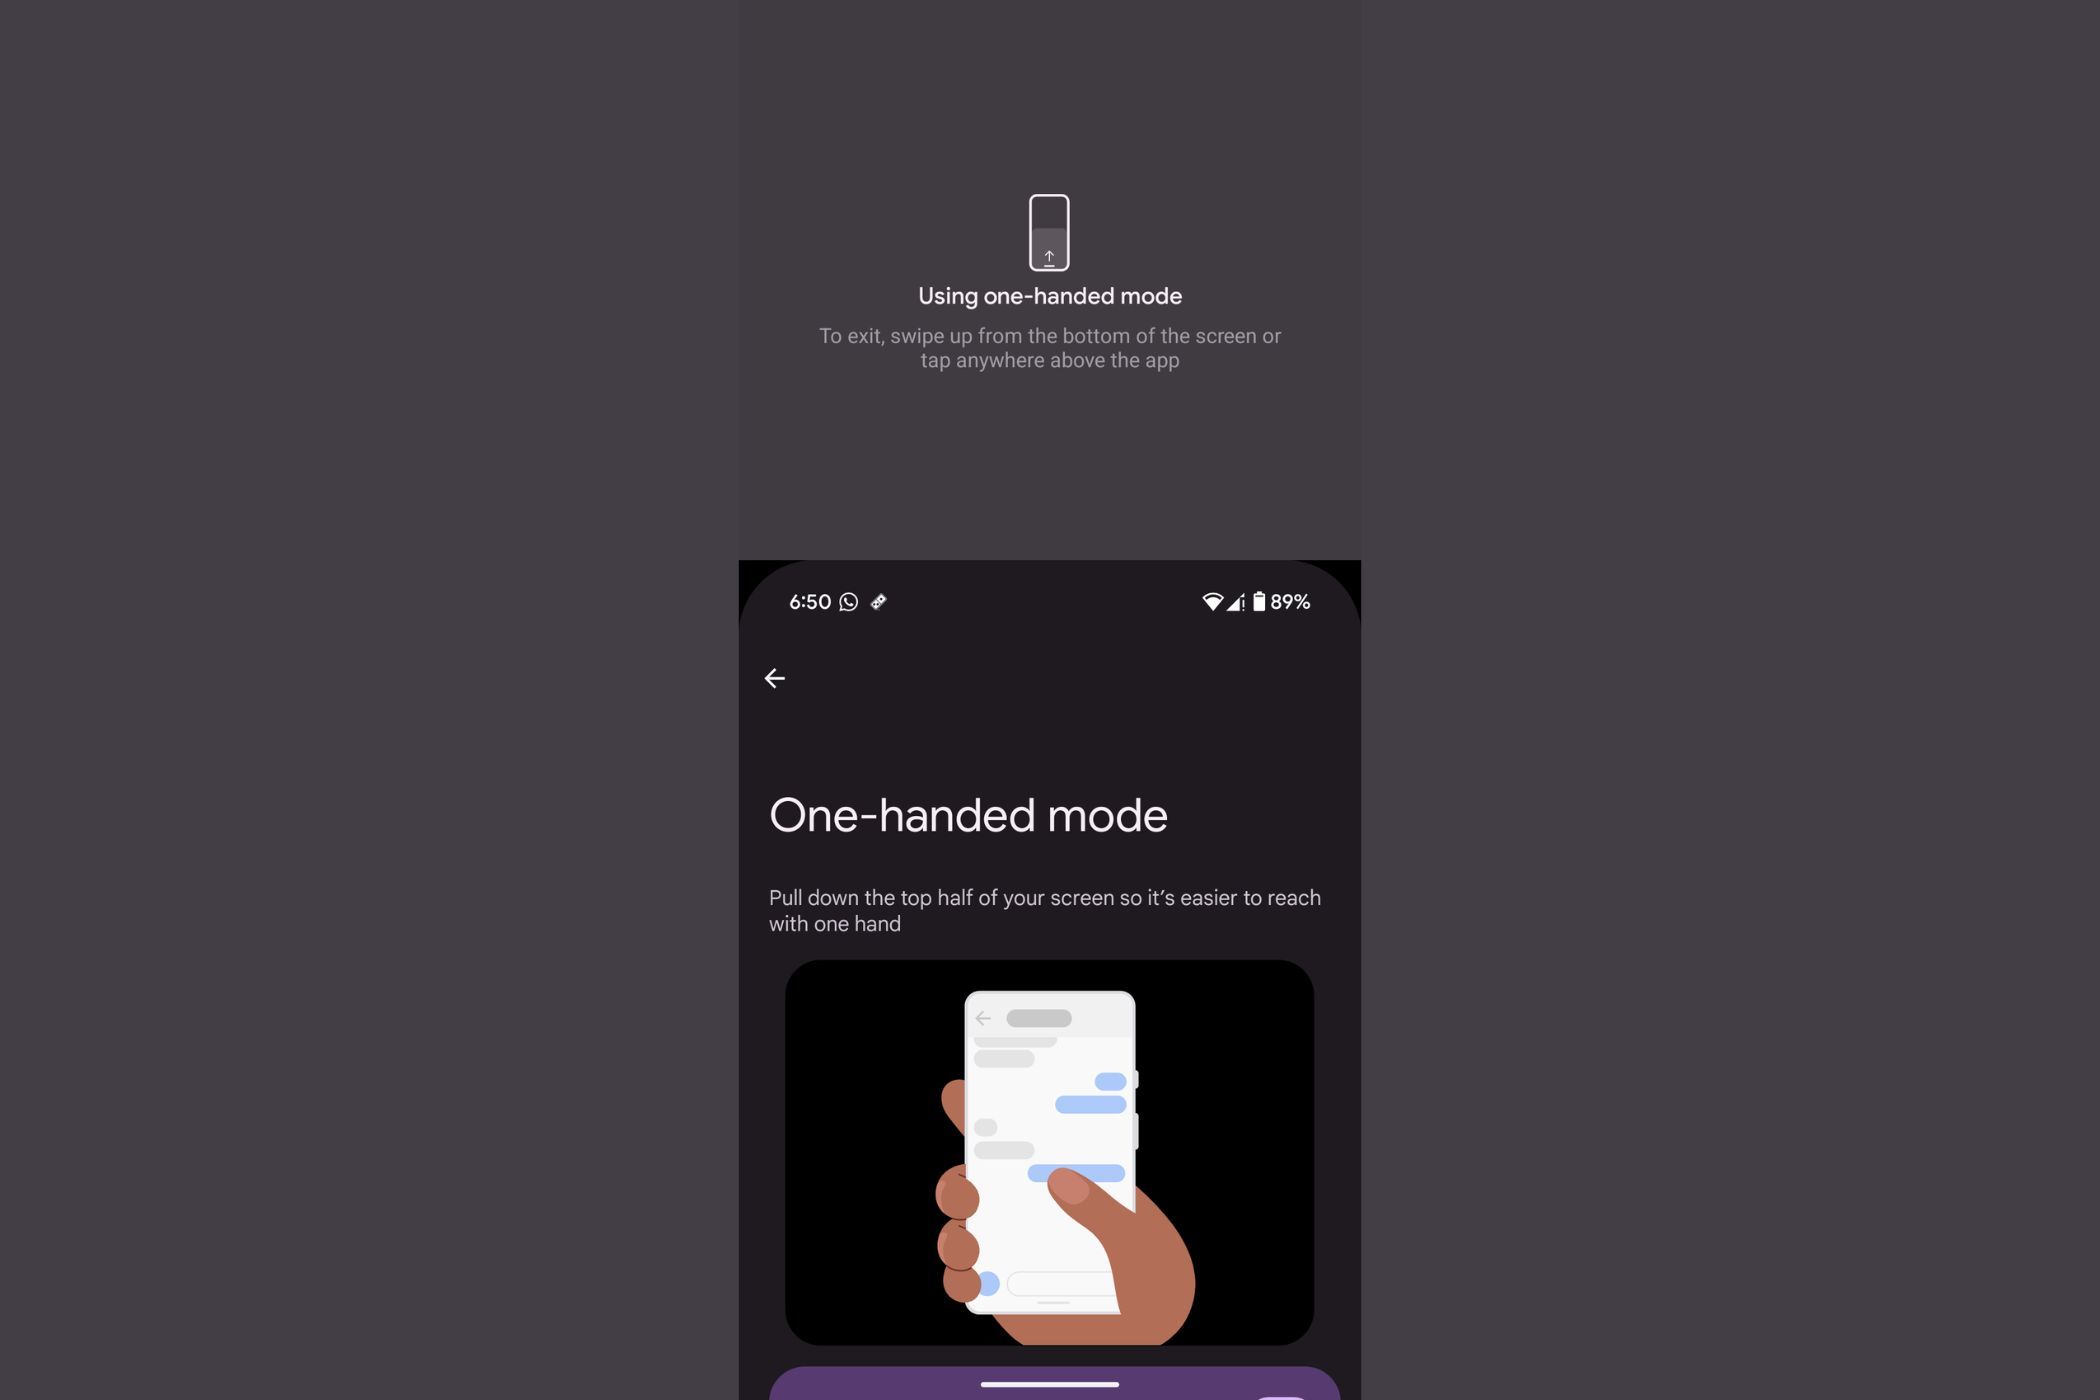
Tap “Gestures,” then “One-handed mode,” and toggle it on.
To use one-handed mode, swipe down from the bottom of the screen, preferably closer to the gesture navigation bar.
Now you can effortlessly reach everything on your screen without any struggle!
So there you have it! These handy Android features are total game-changers that I wish I’d found sooner. I hope you give them a try and discover just how much more your Android can do. Happy exploring!


