If you’ve got one of the best MacBooks or Macs, the chances are good that you do an awful lot of sensitive stuff on your computer. Think about all the passwords you enter, the emails you send and receive, and the documents you create — all of those can provide a treasure trove of data to any sticky-fingered ne’er-do-wells who manage to gain access to your device.
To prevent the worst from happening, it’s a good idea to beef up your Mac security. The good news is that doing so is far easier than you might think, and there are a handful of macOS settings you can change right now to keep your Mac — and all the information it holds about you — safe from prying eyes.
That’s what this guide is all about. Follow the steps below and you’ll be able to toughen up your Mac security in just a few minutes.
Turn on Touch ID
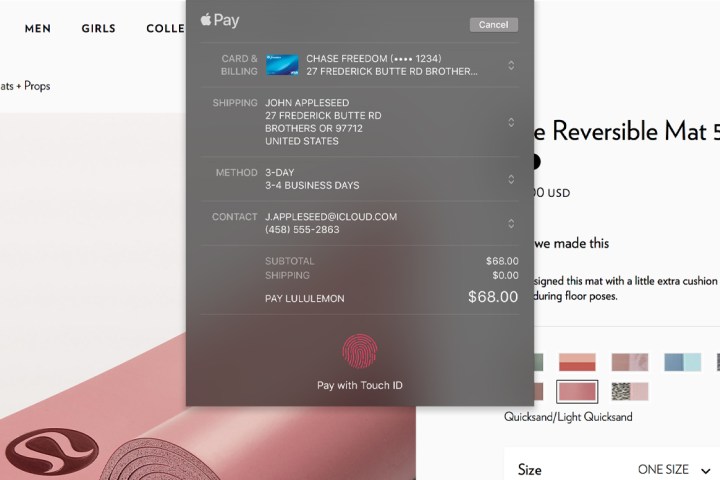
Touch ID uses your unique fingerprint to secure various aspects of your Mac, from allowing you to log in securely to confirming online purchases and autofilling passwords. It’s a much more secure method of doing things than using a password, making it a good way to protect what’s important to you.
To enable it, open the System Settings app and go to Touch ID & Password in the sidebar. There, under the Touch ID header, select Add Fingerprint and follow the on-screen prompts to register your print. Then, enable all of the toggles in the Touch ID section, such as Use Touch ID to unlock your Mac and Use Touch ID for Apple Pay.
If you own an Apple Watch, but your Mac doesn’t have Touch ID — such as if you have a Mac mini with a third-party keyboard — you can instead use your smartwatch to log in. In the System Settings app, head to Touch ID & Password and, under the Apple Watch header, enable the toggle next to your Apple Watch’s name. This doesn’t provide all of the same functions as Touch ID does, but it’s a start.
Change your Lock Screen settings
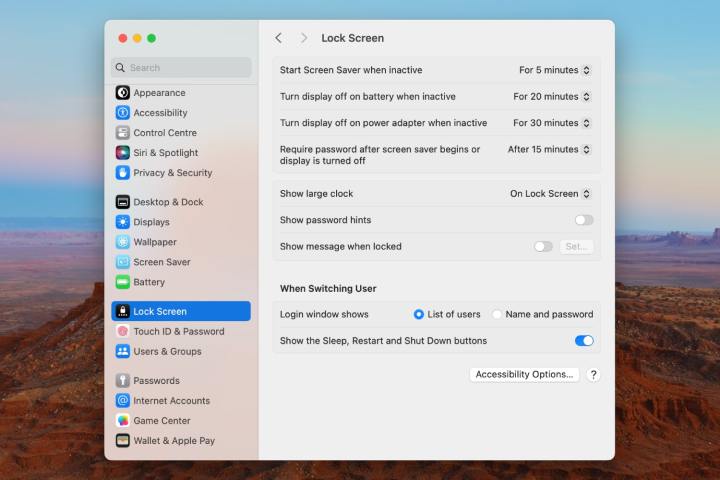
If you’re working with your Mac in a public place, the last thing you want to happen when you step away from your computer is for someone to sneak up and start using it when you’re absent, potentially extracting information and doing damage without you realizing. Luckily, there’s a setting you can change to prevent that from happening.
With just a click or two, you can ensure that your Mac requires your password to log back in once your screen saver appears. Open the System Settings app and head to Lock Screen in the sidebar. There, pick a time from the drop-down menu next to Require password after screen saver begins or display is turned off. Pick Immediately if you want your Mac to lock as soon as the screen saver starts. Otherwise, the time you choose is the amount of time your Mac will wait to lock after your screen saver kicks in.
Secondly, if you go to System Settings > Privacy & Security > Advanced (it’s hidden at the bottom of the page), you can enable a toggle next to Log out automatically after inactivity. If this is chosen, your Mac will log you out after the amount of time you pick (it can be as little as one minute). Logging out is more complete than simply locking your Mac, but it’s another step to consider if you don’t want someone rummaging through your Mac when you’re not at your desk.
Use a password manager

Passwords are a security nightmare. Even the most restrained Mac user will probably end up with hundreds of logins for various apps and websites, all requiring a password. With that many on the go, it’s hard to think up complex, memorable passwords — so many of us just default to reusing simple passwords that are child’s play for a hacker to guess. That’s a terrible idea.
But help is at hand if you use one of the best password managers. Not only do these safely store all your passwords for you and fill them in automatically whenever you reach a login form, but they can also generate tough-to-crack passwords for you, taking the strain out of having to think them up yourself. Using one is a no brainer for your Mac’s security.
And now, you don’t even need to find a third-party password manager or spend a dime to get one, as Apple has introduced its own manager called, simply enough, Passwords. It’s included with macOS Sequoia by default and does everything you need to keep your accounts safe. If you don’t have macOS Sequoia or don’t fancy Apple’s app, we’ve rounded up all the best password managers so you know exactly which ones are worth your time. Either way, getting one is a strong step toward securing both your Mac and your accounts.
Turn on Find My Mac
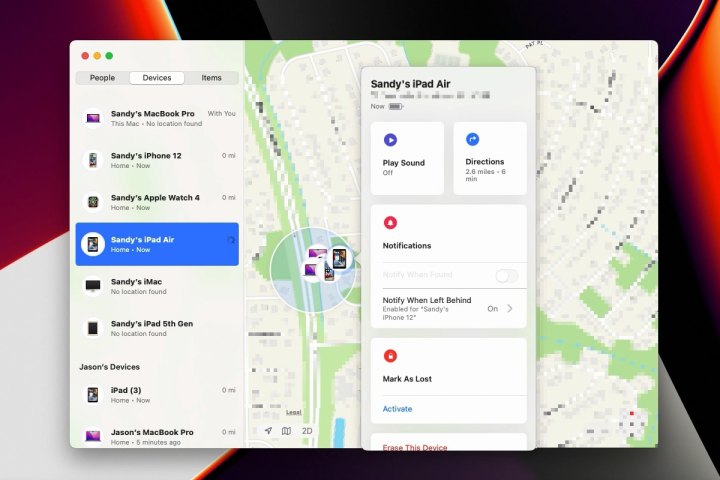
Picture this: You visit a coffee shop to do some work, pop your bag down at a table, then quickly go visit the bathroom. When you return, your MacBook has been swiped. It’s not an uncommon event, but if it happens to you, there’s a setting that can save your bacon.
It’s called Find My Mac, and it does exactly what it says on the tin. With it enabled, you can use any of your other Apple devices — or the iCloud website — to track down your Mac, helping you recover it in the process. But it’s not just useful for thefts — if you’re the forgetful type, it can help locate misplaced devices, too.
If you want to turn it on, open the System Settings app, select your name at the top of the sidebar (making sure you’re signed in with your Apple Account), then go to iCloud > Show More Apps > Find My Mac > Turn On. It’s also worth turning on the Find My network, which helps you trace your Mac even if it’s offline. Note that you’ll need to have switched on Location Services in System Settings > Privacy & Security > Location Services for Find My Mac to work.
Restrict app download locations
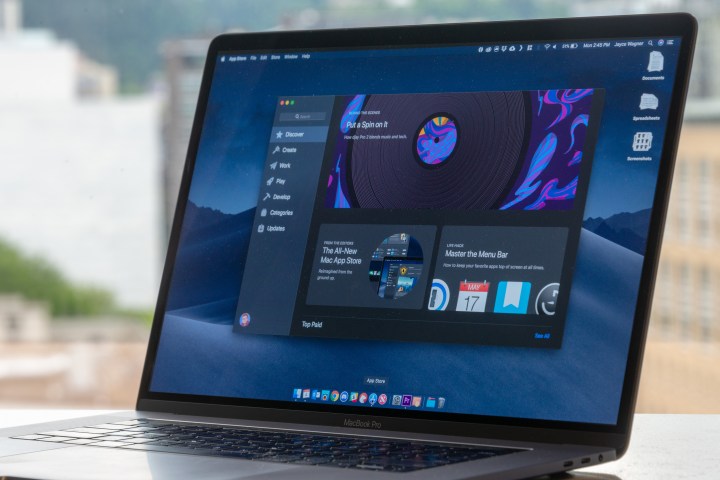
When you download an app from Apple’s App Store, you know it’s been vetted and tested by a dedicated review team to ensure there are no nasties lurking inside (bad apples do get through, but they’re rare overall). On the other hand, downloading apps from outside the App Store gives you none of those guarantees, and it can involve a little more risk if you don’t know that you can trust the developer. And if Apple doesn’t trust the developer, you can get your Mac to block the app automatically.
You might want to limit yourself to only installing apps from the App Store. But instead of having to rely on your willpower alone, there’s a setting you can change to enable this. Open the System Settings app and select Privacy & Security in the sidebar. Scroll down and, under Allow applications downloaded from, choose App Store.
From now on, Apple will block you from installing any apps downloaded from outside the App Store. Note that this this isn’t an impenetrable barrier set up by Apple — you can bypass its barricade with a few clicks. But it might give you pause and offer a little more protection against nefarious apps and developers.
Limit Location Services
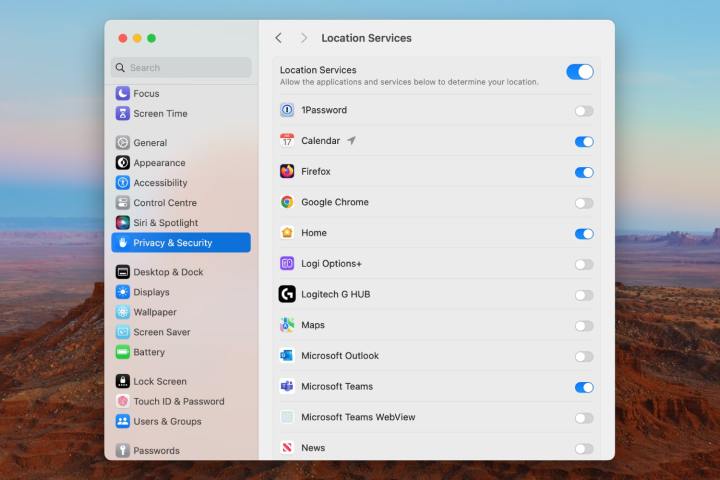
Your location can tell someone a lot about you, and it’s invaluable for advertisers and data brokers who want to sell your private data for profit. In fact, knowing which apps are sending your data to third parties is the entire premise of Little Snitch, one of the best Mac apps you can get. If you’d rather your info stayed safely on your Mac, you need to start managing how apps are accessing your location.
To do so, you’ll need to go to System Settings > Privacy & Security > Location Services. Here, you can see a list of all the apps that have asked for (and been granted) access to your location. Go through this list and think about whether the apps shown really need your location data. If they don’t, disable the toggle next to their name. Or you can just switch off location access for everything by disabling the Location Services toggle at the top of the list.
The Privacy & Security section of System Settings lets you see which apps are using other potentially sensitive data on your Mac, including your camera and microphone, your health information, full disk access, and more. It’s worth spending some time going through these settings to ensure everything is as it should be.
Update your Mac
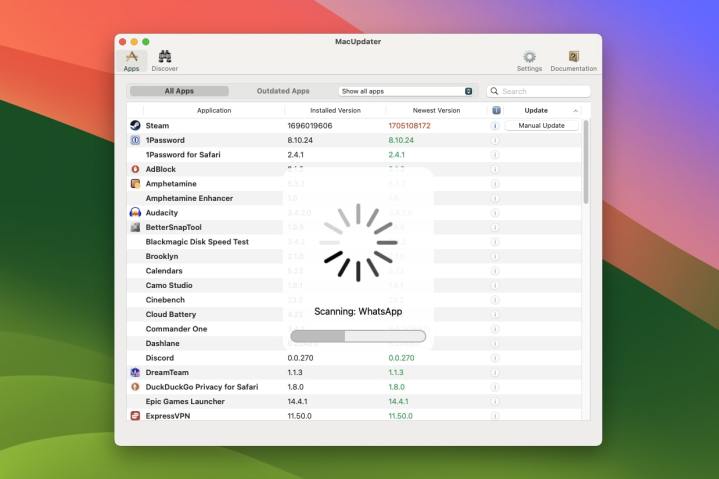
This last tip isn’t really a setting, but it’s arguably the most important one: make sure you regularly update your Mac. Apple frequently releases macOS updates that contain important security fixes and patches, and declining to install them could leave your Mac vulnerable to new threats and malware.
Updating your Mac’s operating system is easy: just open the System Settings app and navigate to General > Software Update. Wait until your Mac has finished checking for updates, then if there are any, follow the on-screen prompts to patch your Mac.
And don’t forget that the same principle applies to your apps, too. But instead of going through every app you’ve installed one -by one and searching for updates, there’s a far easier solution: use MacUpdater. This tool is one of the best Mac apps you can get because it checks all of your apps for you, finding updates and installing them on your behalf. Just set it upand it handles the whole process for you, enabling you to effortlessly boost your security.
Bonus: third-party security apps

So far, we’ve focused on native settings you can change in macOS. But there are a few third-party solutions to consider that can help ramp up your Mac’s security.
For one thing, you should think about getting an antivirus app for your Mac. The days of antivirus apps slowing down your Mac are mostly in the past, and the benefits you gain from strengthening your Mac’s security are absolutely worth it. There are plenty of great options out there, both free and paid-for, and all of them can grant you peace of mind and keep the bad actors out in one fell swoop.
Elsewhere, you might want to consider getting one of the best VPN apps. Virtual private networks like this obscure your physical location by routing your web traffic through one of many servers situated all over the world. If you’re concerned about someone pinpointing where you live, or just want to keep your browsing secure and private, they’re an excellent investment.


