

Key Takeaways
- Whether you’ve purchased a new iPhone or are a veteran iPhone user, there are still many features and settings you might not be aware of.
- For instance, you can enable the Sound Recognition option to never miss out on any important sounds around you, or you can enable the Emergency Bypass toggle to hear call rings even if your iPhone is in silent mode.
- There are many new features coming in iOS 18 like app lock and customizable lock screen controls that you can also try to make your life easier.
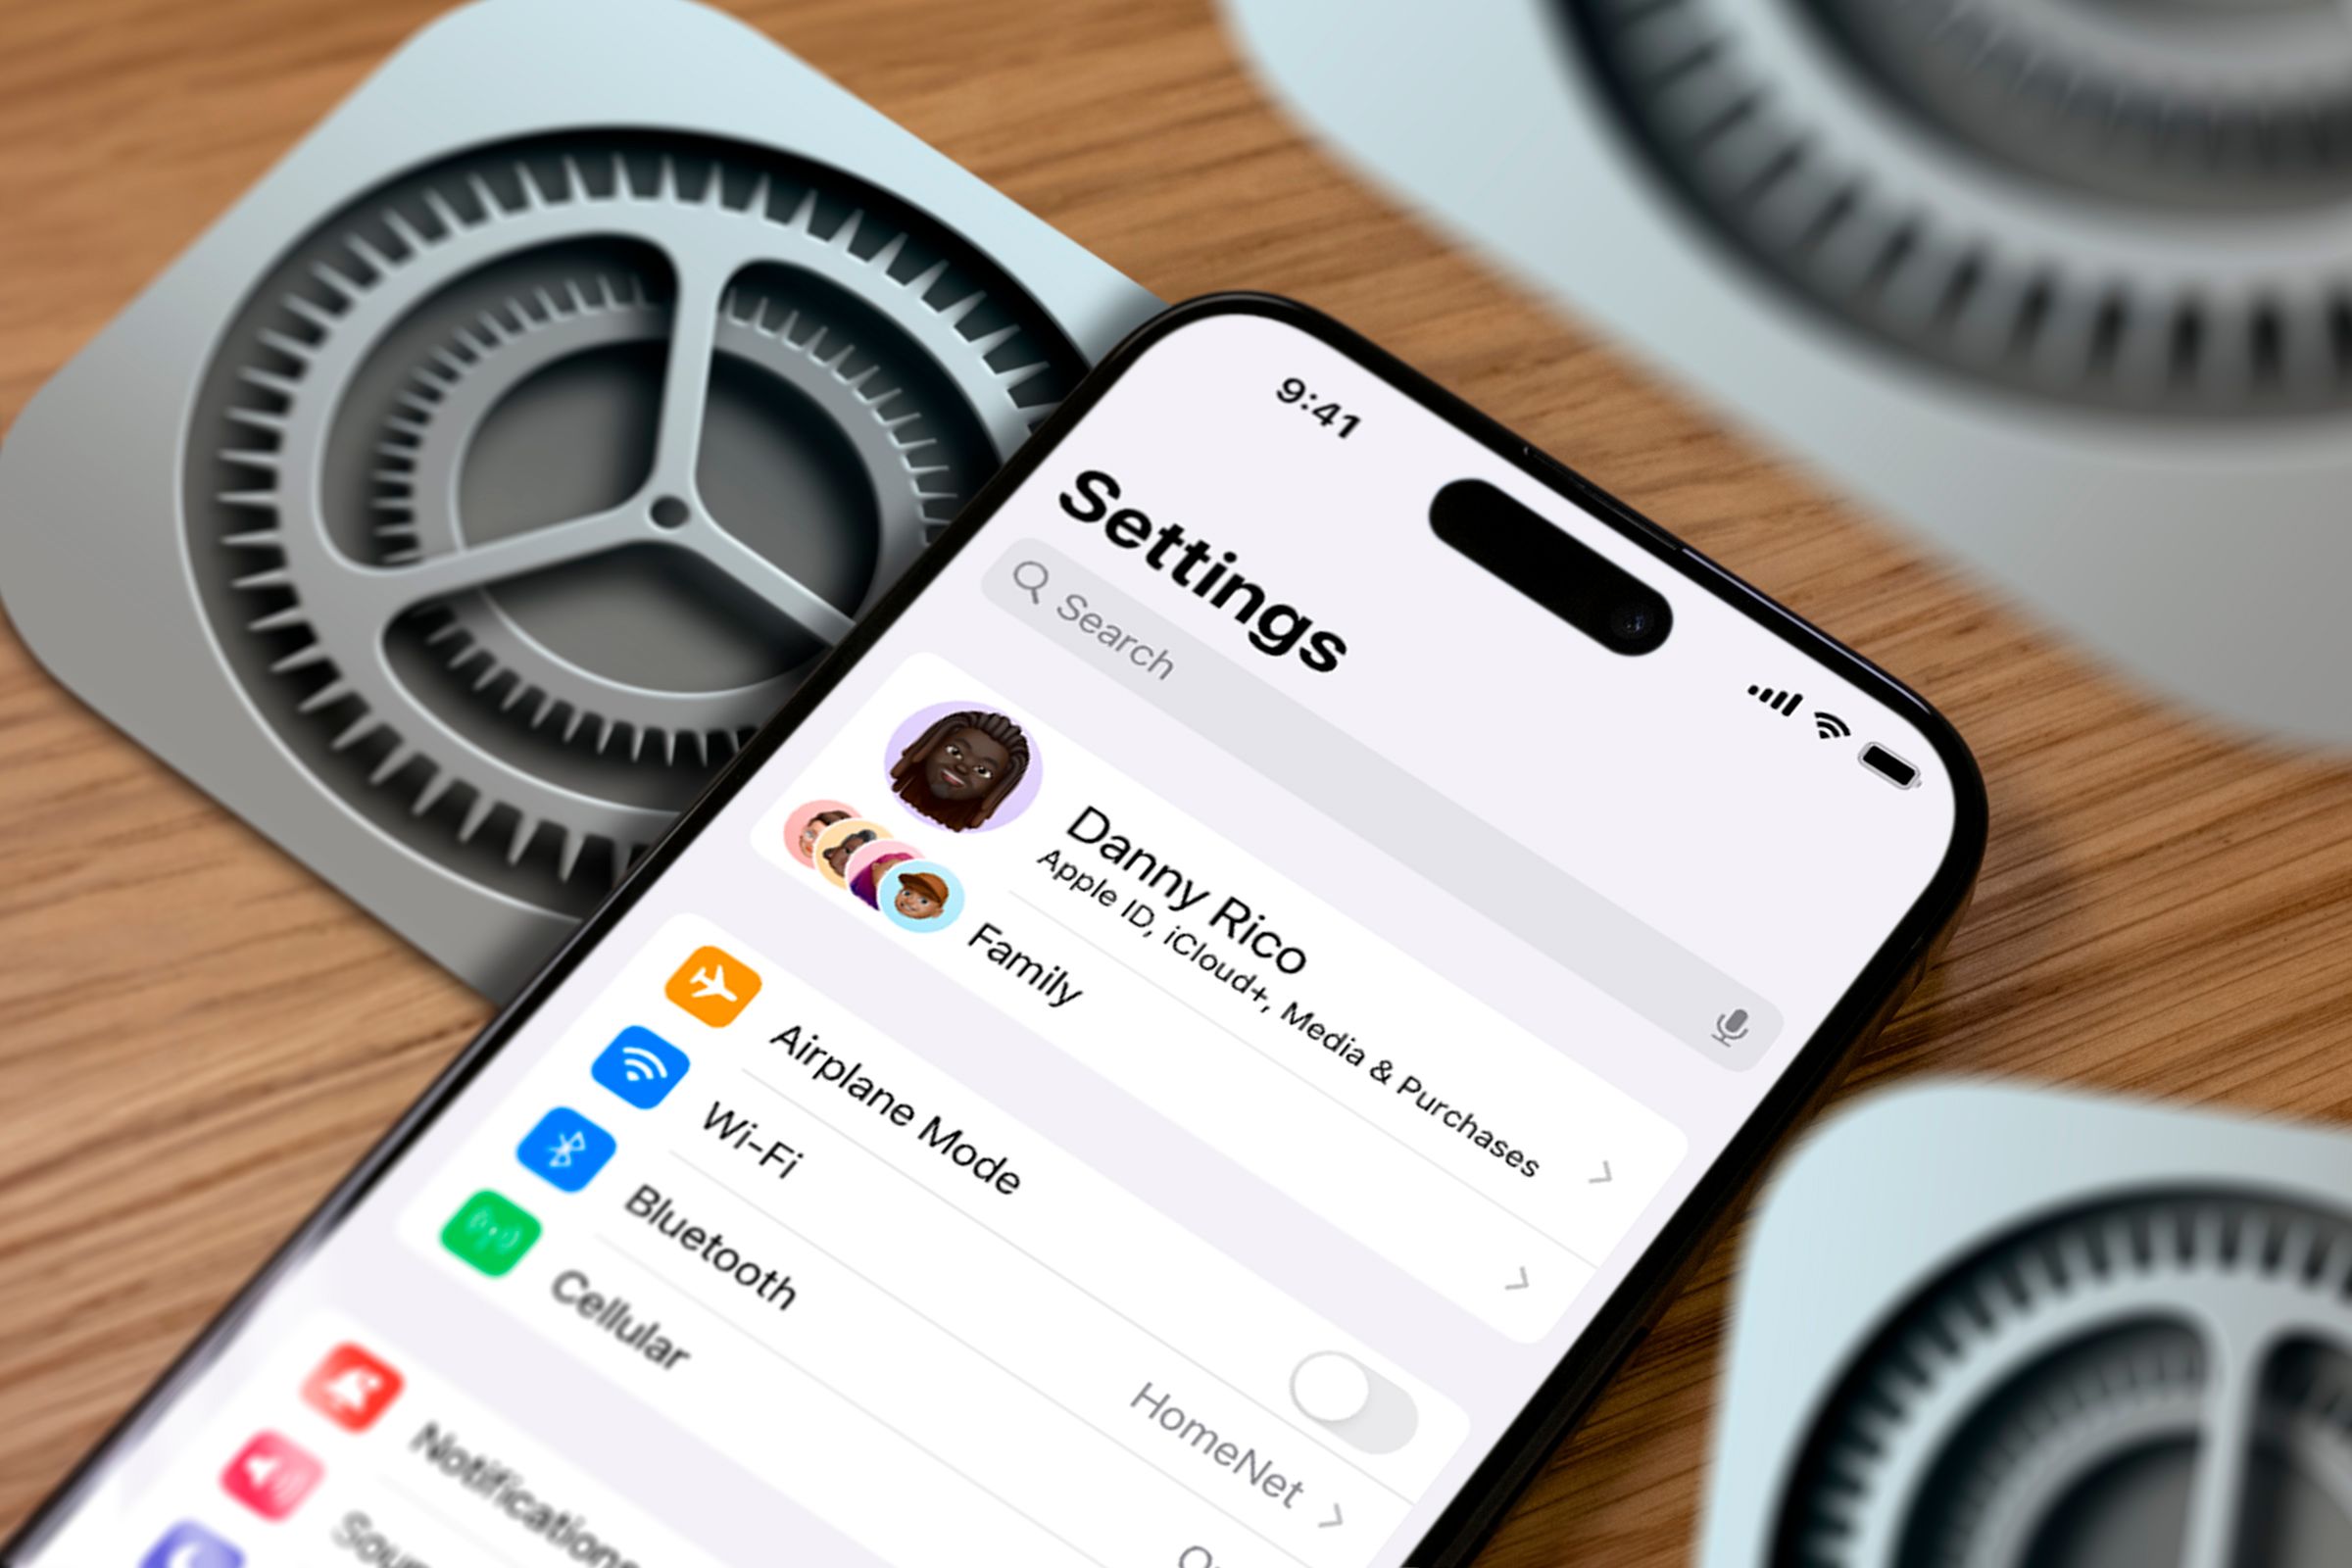
The iPhone has a treasure trove of settings, and many of the most useful are lesser known or disabled by default. So I took some time to adjust some iOS settings to make my life easier. Follow along and make some changes for the better on your iPhone, too.
1 Enable Sound Recognition
I love listening to music, and you’ll often find me wearing headphones and enjoying my favorite tunes in a world of my own. Unfortunately, because of this habit, I always miss important sounds around me like the doorbell. You won’t believe it, but I even missed the fire alarm once!
To address this issue and ensure I’m aware of important sounds in my environment, I’ve enabled the Sound Recognition feature on my iPhone. This feature detects sounds in the background that I’ve configured and lets me know about them through a notification on my iPhone.
To enable it on your iPhone, navigate to Settings > Accessibility > Sound Recognition and then enable the toggle.
Select the “Sounds” option. Then, in the following window, choose the sound you want your iPhone to recognize for you. For example, if you want your iPhone to recognize the sound of a fire alarm, select the “Fire” option and then enable the “Fire” toggle.
Now, whenever there’s a fire alarm in your surroundings, your iPhone will recognize it and send you a notification about it.
2 Hide the Hidden Folder of the Photos App
The iPhone has a Hidden folder in the Photos app, where you can keep photos and videos that you want to keep private. However, we all have that one friend who knows our password and can easily access the Hidden folder.
While you can set up Face ID on your iPhone (if supported) so that the Hidden folder can only be unlocked by your face, what if that friend somehow manages to show your iPhone your face and unlock it?
To avoid such a situation, it’s better to hide the Hidden folder from the Photos app. This way, no one will be able to access your private photos and videos even if they have your password.
To hide the Hidden folder of the Photos app, open Settings > Photos and disable the “Show Hidden Album” toggle.
The Hidden folder will no longer be available in the Photos app. Whenever you want to access the data in the Hidden folder, you’ll need to enable the “Show Hidden Album” toggle again.
3 Disable the Communication Preferences Toggle
If you are a die-hard Apple fan, you’re probably interested in any announcements and releases the company makes. However, if you are like me and not interested in those announcements, you probably don’t appreciate the emails Apple sends about their products. Fortunately, Apple gives you the option to opt out of these notifications.
To stop receiving these emails and notifications, open the Settings app, tap on your “Apple ID,” select “Personal Information,” choose “Communication Preferences,” and then disable the “Announcements “and “Apple Music, TV, and More” toggle.
4 Enable Guided Access to Stop Users From Switching Apps
It’s common to hand your iPhone to someone to watch a video, read something, or look at a photo. But sometimes, they end up quitting that app and start doing something else, especially when you give your iPhone to a child to watch a YouTube video (and they wind up playing games instead).
If you want to prevent them from switching to other apps and keep them on the screen you gave them access to, you can use the Guided Access feature.
Guided Access is an accessibility feature that lets you restrict your iPhone to a single app. Once you enable it, your iPhone will lock the app on the screen, so the other person can’t switch to a different app. You’ll find the option under Settings > Accessibility > Guided Access.
5 Use One-Handed Keyboard
The Pro and Plus versions of the iPhone have their own advantages compared to the regular iPhone variants, one of which is a bigger screen size. However, if you tend to use only one hand for typing on your iPhone, then using these larger iPhones can be a problem. In this case, you can take advantage of your iPhone’s one-handed keyboard feature.
To use the one-handed keyboard, bring up the keyboard on your iPhone, then tap and hold the globe icon. Now choose the direction in which you want the keyboard to appear. Your keyboard will become slightly smaller, making it easier to type on the screen, especially if you’re a one-handed user.
6 Enable Emergency Bypass
Most of us have the habit of keeping our phones on silent. While this ensures we aren’t disturbed by calls during important meetings, it can also cause communication problems. One such issue happened when my mother met with an accident and tried to reach me by phone. Because my phone was on silent, I didn’t hear the ring and ultimately couldn’t reach the accident spot in time.
To avoid such situations, the iPhone offers an Emergency Bypass setting. After configuring this setting, your iPhone will ring even when it is on silent when you receive a call from the person you have designated in the Emergency Bypass setting.
To configure the Emergency Bypass setting on your iPhone, open the contact of the person you want to add, tap the “Edit” option, and select “Ringtone.” Then, enable the “Emergency Bypass” toggle and tap the “Done” button.
You can also do the same for “Text Tone” to always receive an audible alert when receiving a text.
7 Control Your iPhone Without Touching the Screen
You might often find yourself in a situation where both your hands are busy, and you need to do something important on your iPhone. While Siri can be helpful in these situations, it won’t work inside an app. For example, you can’t ask Siri to open Reels on Instagram and start swiping through them.
In these cases, you can use the Voice Control feature on your iPhone. To enable it, open Settings > Accessibility > Voice Control and enable its toggle.
After that, you can use your voice to control your iPhone. The best thing about this feature is that you can control your iPhone in any language. You simply need to tap the “Language” option, download, and select the language you want to use.
Use the “Voice Control Guide” option to get to grips with commands.
The government often releases an emergency warning whenever there’s a critical weather alert in your area. While you’ll receive messages about these alerts on your phone, it’s always better to also configure your Weather app to warn you about any such situation. This way, even if you miss the message sent by the government, you might see a weather alert notification from the Weather app.
To configure the Weather app to warn you about critical alerts sent by the government, open the Weather app, tap the three dots icon in the top-right corner, and select “Notifications.”
Tap “Continue” on the prompt and then select “Allow” on the pop-up that asks your permission for the Weather app to send you critical alerts. After that, tap the “Done” button to save the changes.
9 Bonus: Lock Apps With Face ID (iOS 18)
With iOS 18, Apple has finally added the ability to lock apps with Face ID. This means you can lock individual apps on your iPhone, and they can only be opened using Face ID.
At the time of writing, iOS 18 is still in the developer stage, and it’s recommended to wait for Apple to release the public update for iOS 18 before installing it on your iPhone. However, if you already have the iOS 18 beta update installed, you can enable the Face ID lock for apps.
To do this, simply tap and hold the app you want to lock with Face ID and select “Require Face ID” from the menu that appears. Then, confirm by selecting “Require Face ID” again.
That’s it! You’ll now only be able to access that app after confirming your identity through Face ID.
10 Bonus: Change Lock Screen Controls (iOS 18)
Your iPhone lock screen has a camera and flashlight icon that lets you access both options without even unlocking your iPhone. But what if you want another option on the lock screen besides the camera or flashlight? Currently, there’s no way to do that, but with iOS 18, you’ll be able to choose what appears on the lock screen.
If you have the iOS 18 installed on your iPhone, you can test out this change. Open Settings, tap “Wallpaper,” and select the “Customize” option on your current iPhone lock screen.
Tap the minus icon on the option you want to remove. For example, if you want to remove the camera, tap the minus icon next to it. Then, select the plus icon.
After that, select the option you want to add to the lock screen. Then, tap the “Done” button to save the changes.
Your iPhone has a long list of features and settings that can be surprisingly useful. The settings mentioned above were general and not specific to any particular aspect of the iPhone. However, there are many more specific settings related to areas like your iPhone’s battery and camera that can help you get the most out of them.


