Travel is filled with too many complicated decisions as it is, so let Nomad make things simple by providing your eSIM data plan in over 170 countries.
The AppleInsider staff has some experience with travel. Between some of us with military deployments under our belts, and a few that have the ability to roam Europe, we’ve had to deal with travel SIM cards a time or two.
The biggest problem has always been the most obvious — which provider do you choose when they’re all unknowns?
Nomad, thankfully, has a simple solution to this problem. They’re in most countries people travel to, over 170.
This hands on will cover pricing, speed, and simplicity of using Nomad. We’ll say here at the top that Nomad is a great choice for a quick fix eSIM for data, but it isn’t an alternative to local providers.
So, while many Americans or residents of the UK or EU might read this and realize Nomad is available in your region, understand it isn’t going to cover your needs at home. Stick with major carriers or MVNOs in your region and use Nomad when you travel.
Nomad eSIM setup
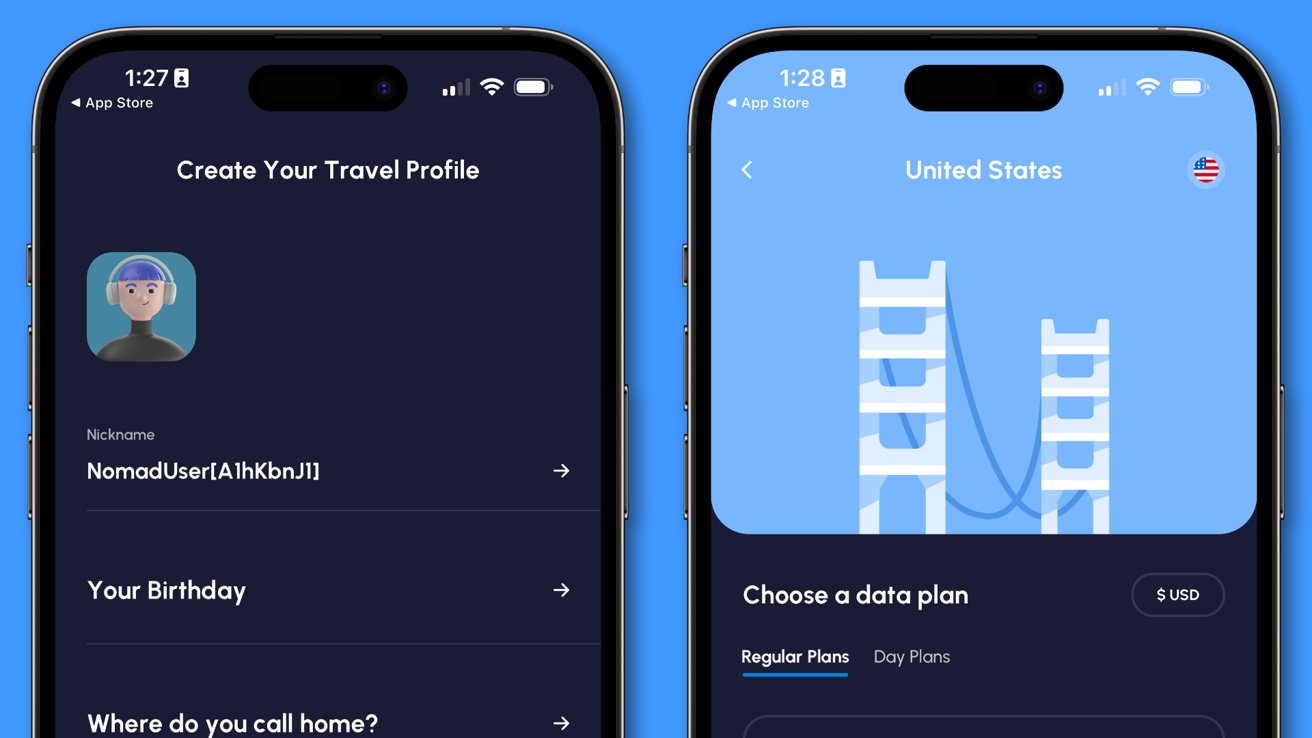
Since Nomad is managed through an app downloaded from the App Store, it can stay on your phone until you need it. Plan your trip, then open Nomad and select an eSIM for your destination. It’s simple.
Apple has included an eSIM option since the iPhone XS and went eSIM-only with iPhone 14 in the United States. So, as long as you have a recent iPhone, you’re eSIM compatible.
How to set up Nomad eSIM on your compatible iPhone
- Install Nomad from the App Store and create your user profile.
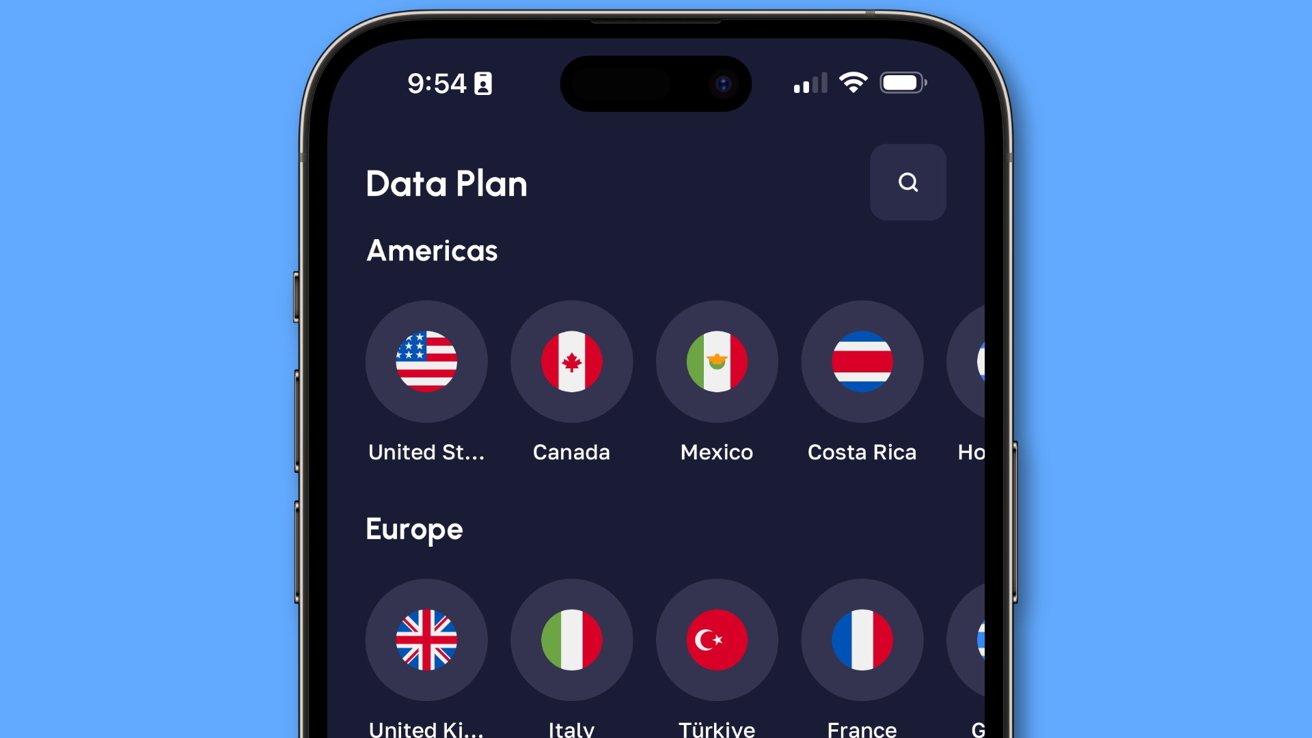
- In the Data tab, select your destination from the available countries or regions.
- Select the desired Regular or Day plans based on your length of stay or data usage needs.
- Tap Checkout to view a summary of your order.
- Verify your selection and complete the purchase.
- Follow the on-screen instructions to install the eSIM.
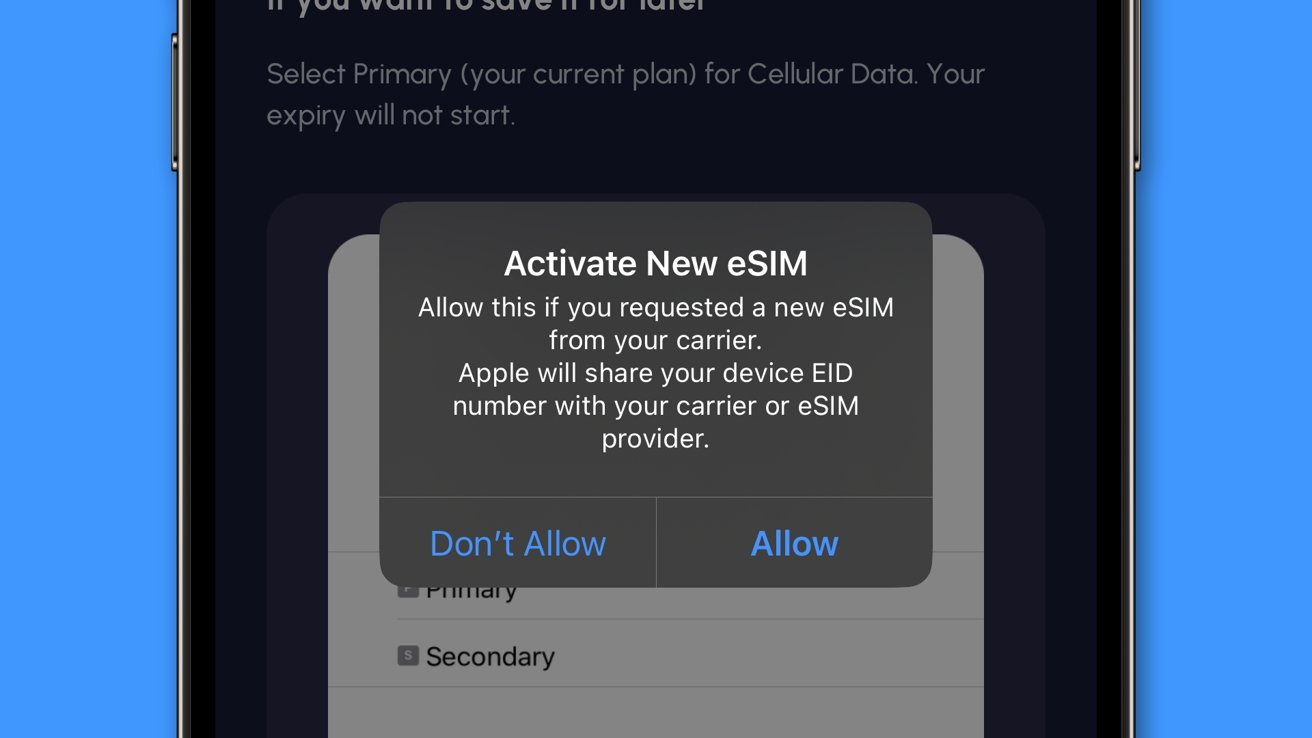
Installing the eSIM after purchase is quite straightforward. The iPhone takes over once the eSIM is purchased, and a system popup asks to activate the eSIM.
Install the eSIM immediately, even if you’ve not begun to travel just yet. It won’t be activated until you’ve reached your destination and it connects to the network.
You won’t be able to install the eSIM without an internet connection, so get it done before you travel. Otherwise, you’ll be waiting to install the eSIM until you can access Wi-Fi.
Using the Nomad eSIM
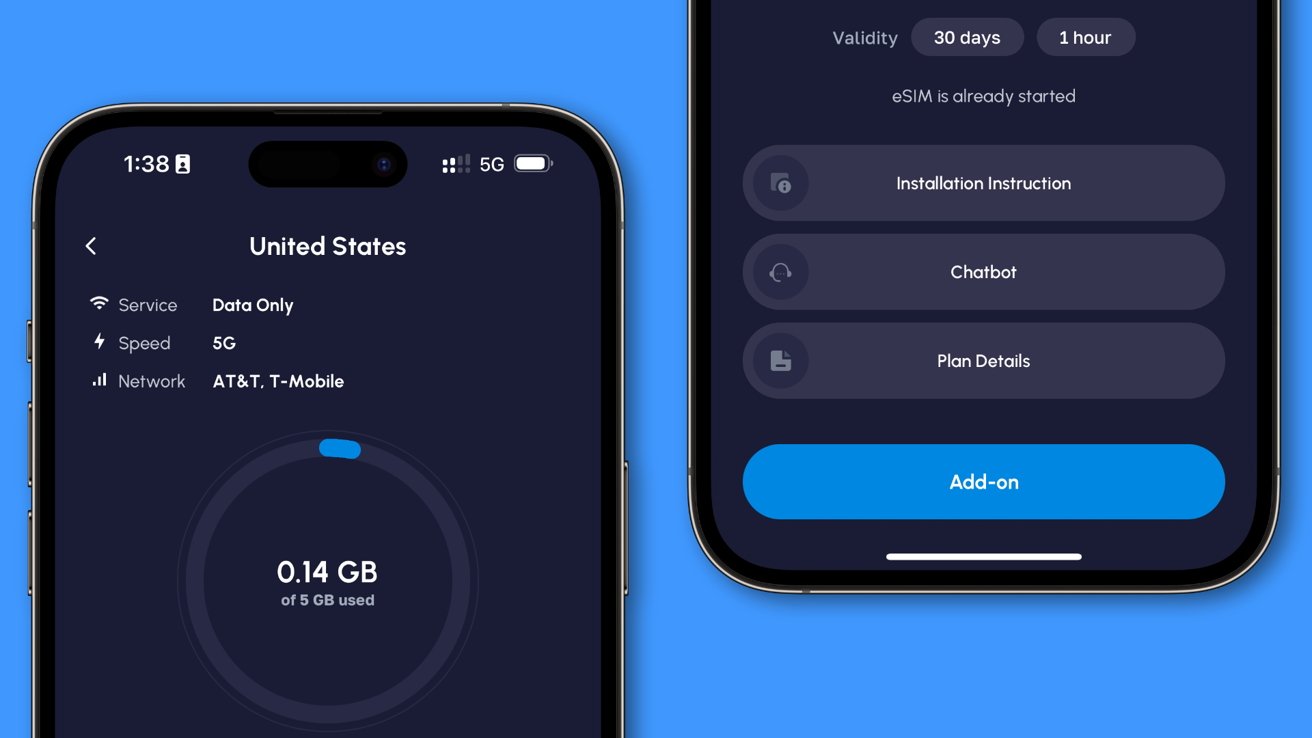
Apple makes managing eSIMs very straightforward. The Nomad app is primarily there to buy an eSIM, top off data, and see what has been used, but everything else is managed in the Settings app.
Navigate to the Cellular menu, and you should see your home carrier and the Nomad eSIM. Tap into the Nomad eSIM to view various options.
You shouldn’t need to toggle these unless you’d like to enable Low Data Mode or Wi-Fi calling.
The very top menu in Cellular is a Cellular Data selector. Tap this to switch your iPhone to a different data source like Nomad. A toggle can be found here for automatic switching based on available data and coverage.
Once you’re up and running on the Nomad travel eSIM, everything should just work. AppleInsider staff tried Nomad in the United States, the United Kingdom, and Serbia in Southeast Europe.
The good news is all of our tests went great. The eSIM setup went smoothly, navigating the web wasn’t noticeably laggy or slow, and streaming video went without a hitch.
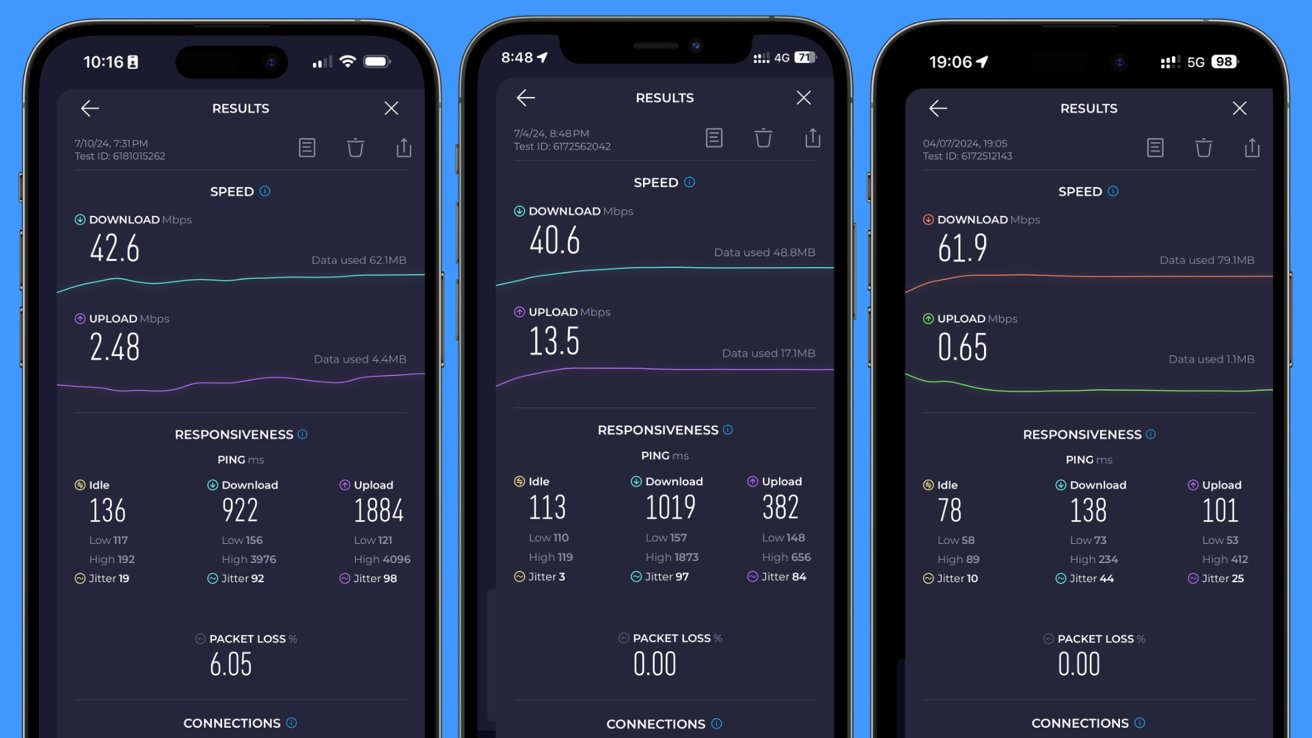
Our US tester saw a connection through T-Mobile, the UK tester saw EE, and the Serbia tester saw Yettel. The results were decent across the board, with download speeds averaging about 45 Mbps to 60 Mbps.
Upload speeds were mostly abysmal at well under 1 Mbps, which is expected. Streaming over cellular is fine, but don’t try to upload a significant file without Wi-Fi.
The user in Serbia saw a 16 Mbps upload, so as always, your results may vary.
We each downloaded a large photo, streamed an episode of “Trying” on Apple TV+, and played some online games like Sky: Children of Light. These all functioned without issue, but don’t try downloading updates to Genshin Impact or playing intensive games like Call of Duty, or else you’ll risk blowing through your data before you ever get to play.
A travel eSIM plan should be used for getting information online, directions, and communication. Save intensive gaming and uploading 4K videos to YouTube for the hotel Wi-Fi.
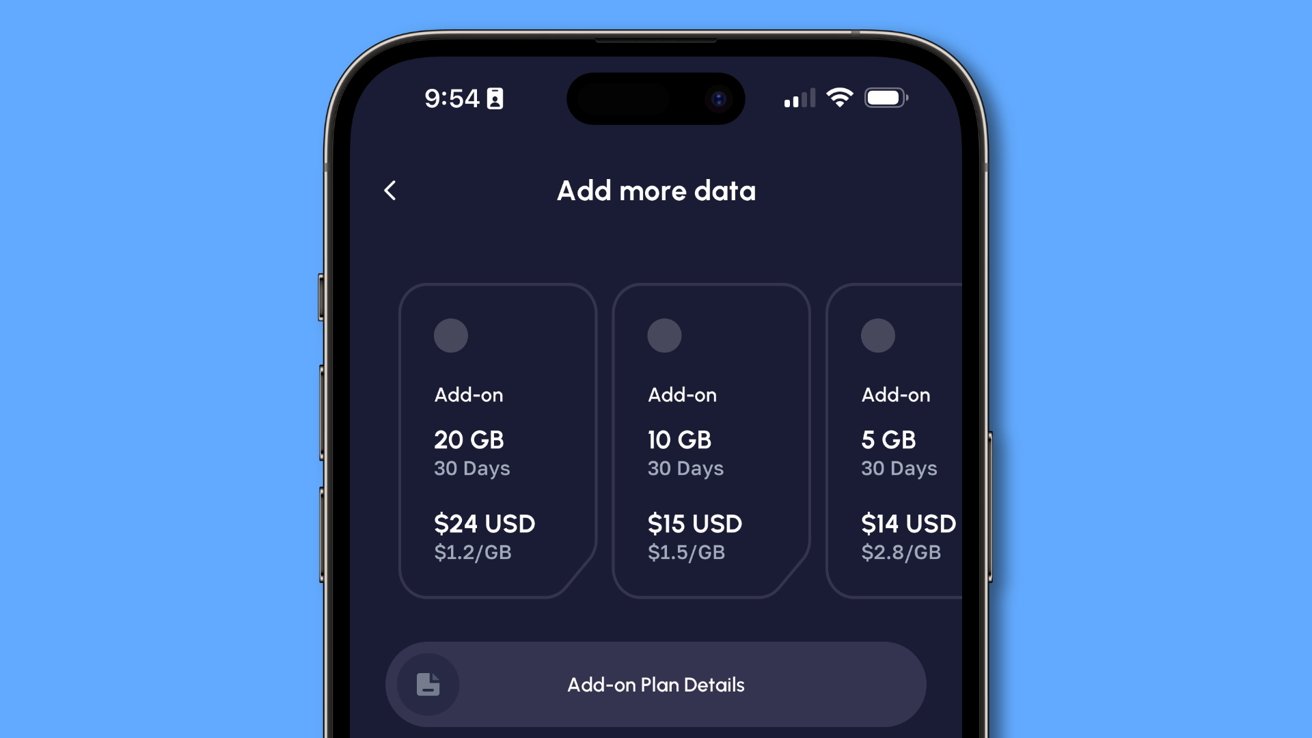
If you approach your data limit, the Nomad app will alert you and give you a chance to add data or time to the existing plan. There is also an option to get an SMS phone number while you travel if that’s something you require.
Nomad eSIM is a name you can trust around the world
From our testing, it is easy to say Nomad is an excellent option wherever you travel. While we can’t guarantee it’ll be the most affordable or fastest eSIM provider in a region, and it certainly isn’t going to beat your hotel Wi-Fi, we can say it’ll be reliable and trustworthy.
Take away the guesswork and have Nomad installed on your phone, ready to add an eSIM whenever you travel. There’s even some incentive to stick with Nomad with bonuses and earned points for discounts.
Our former military members wish eSIM options like Nomad existed when they were deployed. The ability to pull into port and have data immediately, before even leaving a ship or plane, would have been amazing.
Get Nomad with an exclusive 25% discount
Nomad plans have various costs based on where you’re traveling and the rates you choose. However, by reading AppleInsider, you can get a special one-time discount.
If you’re new to Nomad, you can get 25% off your first purchase. Just go through the process of setting up the Nomad app and selecting a plan, then enter the code APPLEINSIDER before checking out.


