Summary
- Enable dictation on your Mac by pressing F5 and then start talking to convert speech to text.
- Dictation is faster than typing, avoids spelling mistakes and typos, and is great for getting your thoughts down quickly in notes, emails, and other informal settings.
- The feature might not work well for crafting tight prose, though you can combine dictation with Apple Intelligence Writing Tools to improve your writing.
Your Mac’s dictation feature is easy to miss but worth exploring, offering a big improvement to typing speed by letting you use your voice instead of your fingers. Here’s why (and how) you should be using it.
How to Use Dictation in macOS
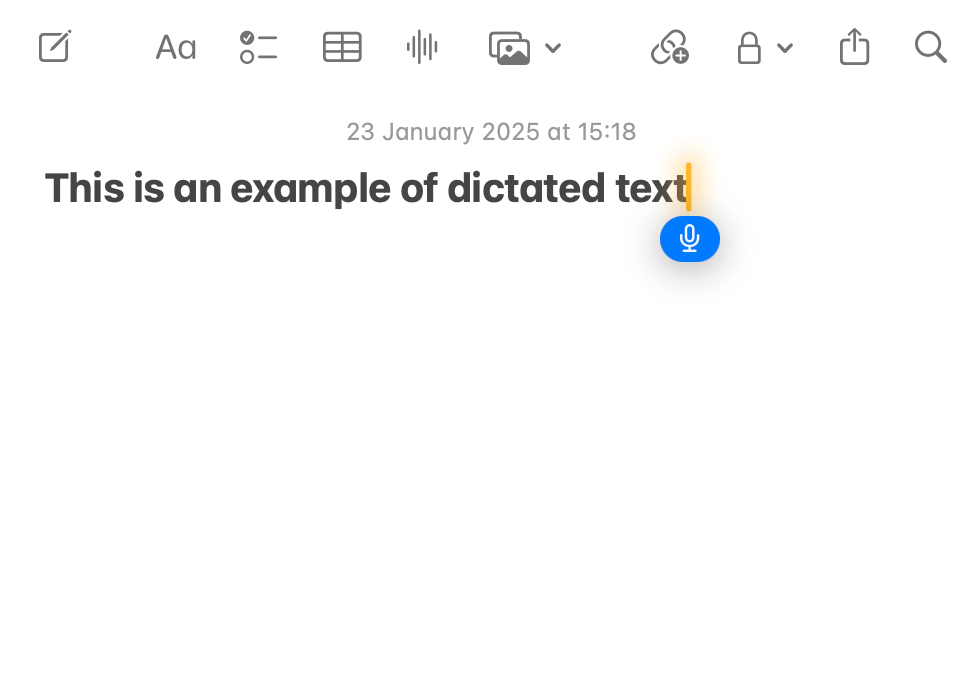
Place a text cursor wherever you’d like to start typing and enable dictation by pressing the F5 key on your keyboard. You should see a microphone icon appear next to the cursor to indicate your Mac is listening. Any audio coming from internal speakers will be silenced.
Start talking and your Mac will begin turning your speech into text. To stop dictating, press the dictation shortcut key again.
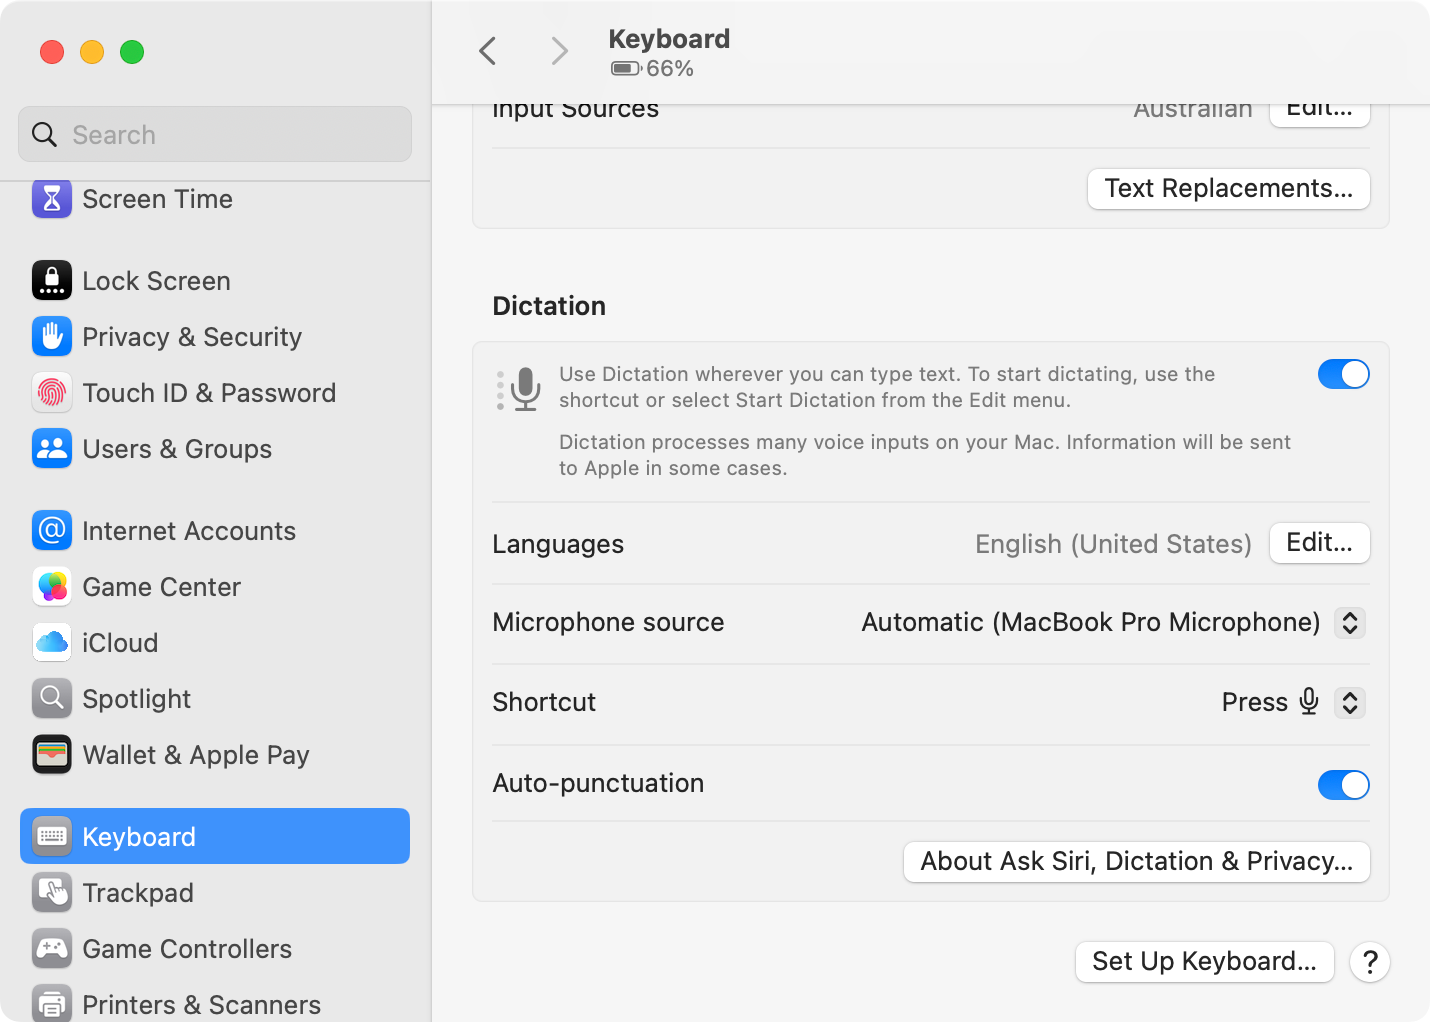
If you’ve previously disabled the feature, head to System Settings > Keyboard and toggle “Dictation” on. You can use this menu to change the keyboard shortcut or install other language packs if you’re multilingual. Dictation works with a range of languages, which you can see on Apple’s Feature Availability page.
Why Bother With Dictation?
Even if you’re a proficient typer, there’s a good chance that you can talk faster than you can type. The average typing speed (according to tests conducted on Monkeytype) ranges from 40 to 110 words per minute, with most people settling around 60-80. For most of us, dictating rather than typing can help get words on the page much faster.
This is great for those moments when your mind is racing and you literally cannot type fast enough for fear of forgetting what it is you’re about to say (it happens to the best of us). It’s also nice to give your fingers a rest from time to time.
Apple has put some effort into improving the macOS (and iOS) dictation features over the years, and now the feature is more accurate than ever. It does a decent job of detecting natural breaks for commas (if you leave auto-punctuation on), and as long as you speak clearly you shouldn’t need to perform too many corrections.
You can use a range of commands to input punctuation and symbols or manipulate the page, most of which are fairly self-explanatory. You can say “new line” or “new paragraph” to move the cursor forward, dictate in Title Case by saying “caps on,” and insert special characters like an “ampersand” or “at sign” where necessary.
When I first started using a computer, all those years ago, dictation software was expensive and didn’t come close to what macOS now does for free. Another way of looking at it is: you’ve paid for the full Mac experience, shouldn’t you be using as much of it as possible?
There’s a good chance that you have everything you need to get started. MacBook owners can use their internal microphone, while iMac and Mac mini owners using a Studio Display can use the microphone built into the display. Most microphones recognized under System Settings > Sound > Input can be configured for use with Dictation (including AirPods and USB models).
Head to Settings > Keyboard to change “Microphone source” to your microphone of choice.
Speak and Type at the Same Time
I find being tethered to a microphone a little bit restrictive, which is why I’m grateful that Apple added the ability to type without disabling dictation. This allows you to make changes to the text using standard keyboard controls without having to enable or disable dictation all the time.
It’s great for those moments when you stumble over your words, forget to add punctuation, or simply want to revise something and get straight back to dictating. I prefer a mix of typing and dictating, where I add paragraphs and line breaks manually or even highlight sections of text that I can then replace by talking.
This feature was introduced in 2023 with the arrival of macOS 14 Sonoma, and further refined in macOS 15 to be more reliable. Best of all, it works all over the operating system so it can be used anywhere you can type.
Occasionally, I find that dictation disables itself in third-party apps whenever I touch the keyboard. To remedy this, I open an Apple app like Notes and use the dictation feature there, making sure that type and dictate works correctly. When I return to a third-party app like Asana, Slack, or Ulysses, the feature works as advertised again.
The Right Time and Place to Dictate
Despite being a powerful productivity feature, dictation isn’t well suited to all typing scenarios. It should go without saying that you need to be able to speak freely without disturbing others (or embarrassing yourself). The more you mumble, the more mistakes you’ll make.
I use dictation often for taking notes, responding to colleagues via email or on Slack, planning projects in Asana, and very occasionally for partially writing articles like this. Unfortunately, I find it hard to craft tight passages of text when I’m speaking aloud.
Dictation doesn’t do a great job of recognizing fiddly terms like “undervolting” or “RAID array.” Proper nouns can be a challenge unless they’re Apple products (of course). If you pause and think for too long, dictation will disable itself, and you’ll need to hit the button on your keyboard to start again.
But even with these limitations, macOS dictation can really speed up your workflow. And, while it may get a few words wrong, it won’t make spelling mistakes or typos either.
If you have an M series Mac running macOS Sequoia 15.2 or later, you can now use Apple Intelligence Writing Tools. If you find that you tend to ramble when dictating, Writing Tools is just the ticket to help you out.
Simply dictate your text, highlight it, and then use the right-click (Control+click) menu to select Writing Tools > Show Writing Tools. From here you can pick a tone like “Concise” to condense your writing to the most important parts.
If you like dictating emails, but find that they lack that professional touch, use the “Professional” tone instead. You could also use the “Friendly” tone when conversing with friends, but this seems unnecessary for a casual conversation.
Do you use Office? Microsoft Word also has an excellent dictation feature you should be using.
Looking for more Mac tips? Check out some of the best macOS productivity tweaks and the apps you should install on every new Mac.


