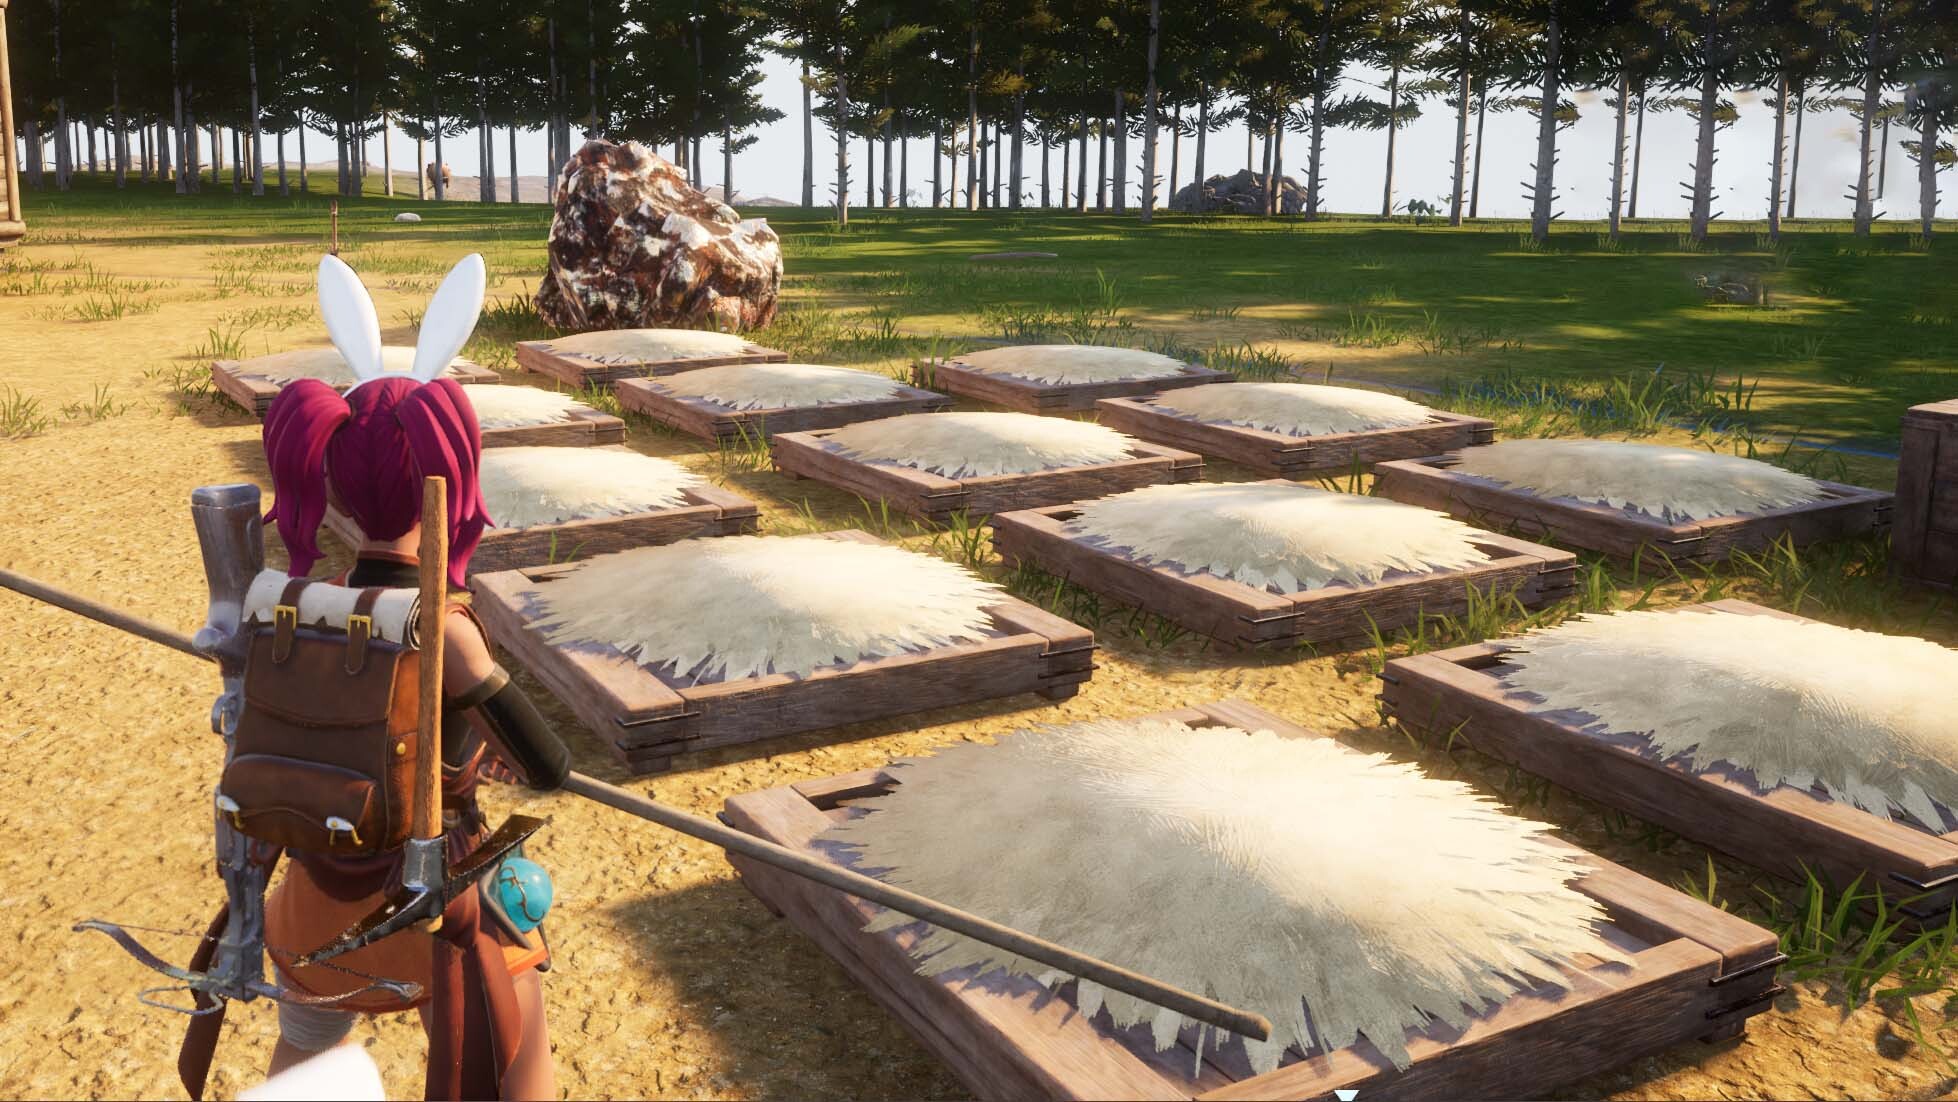
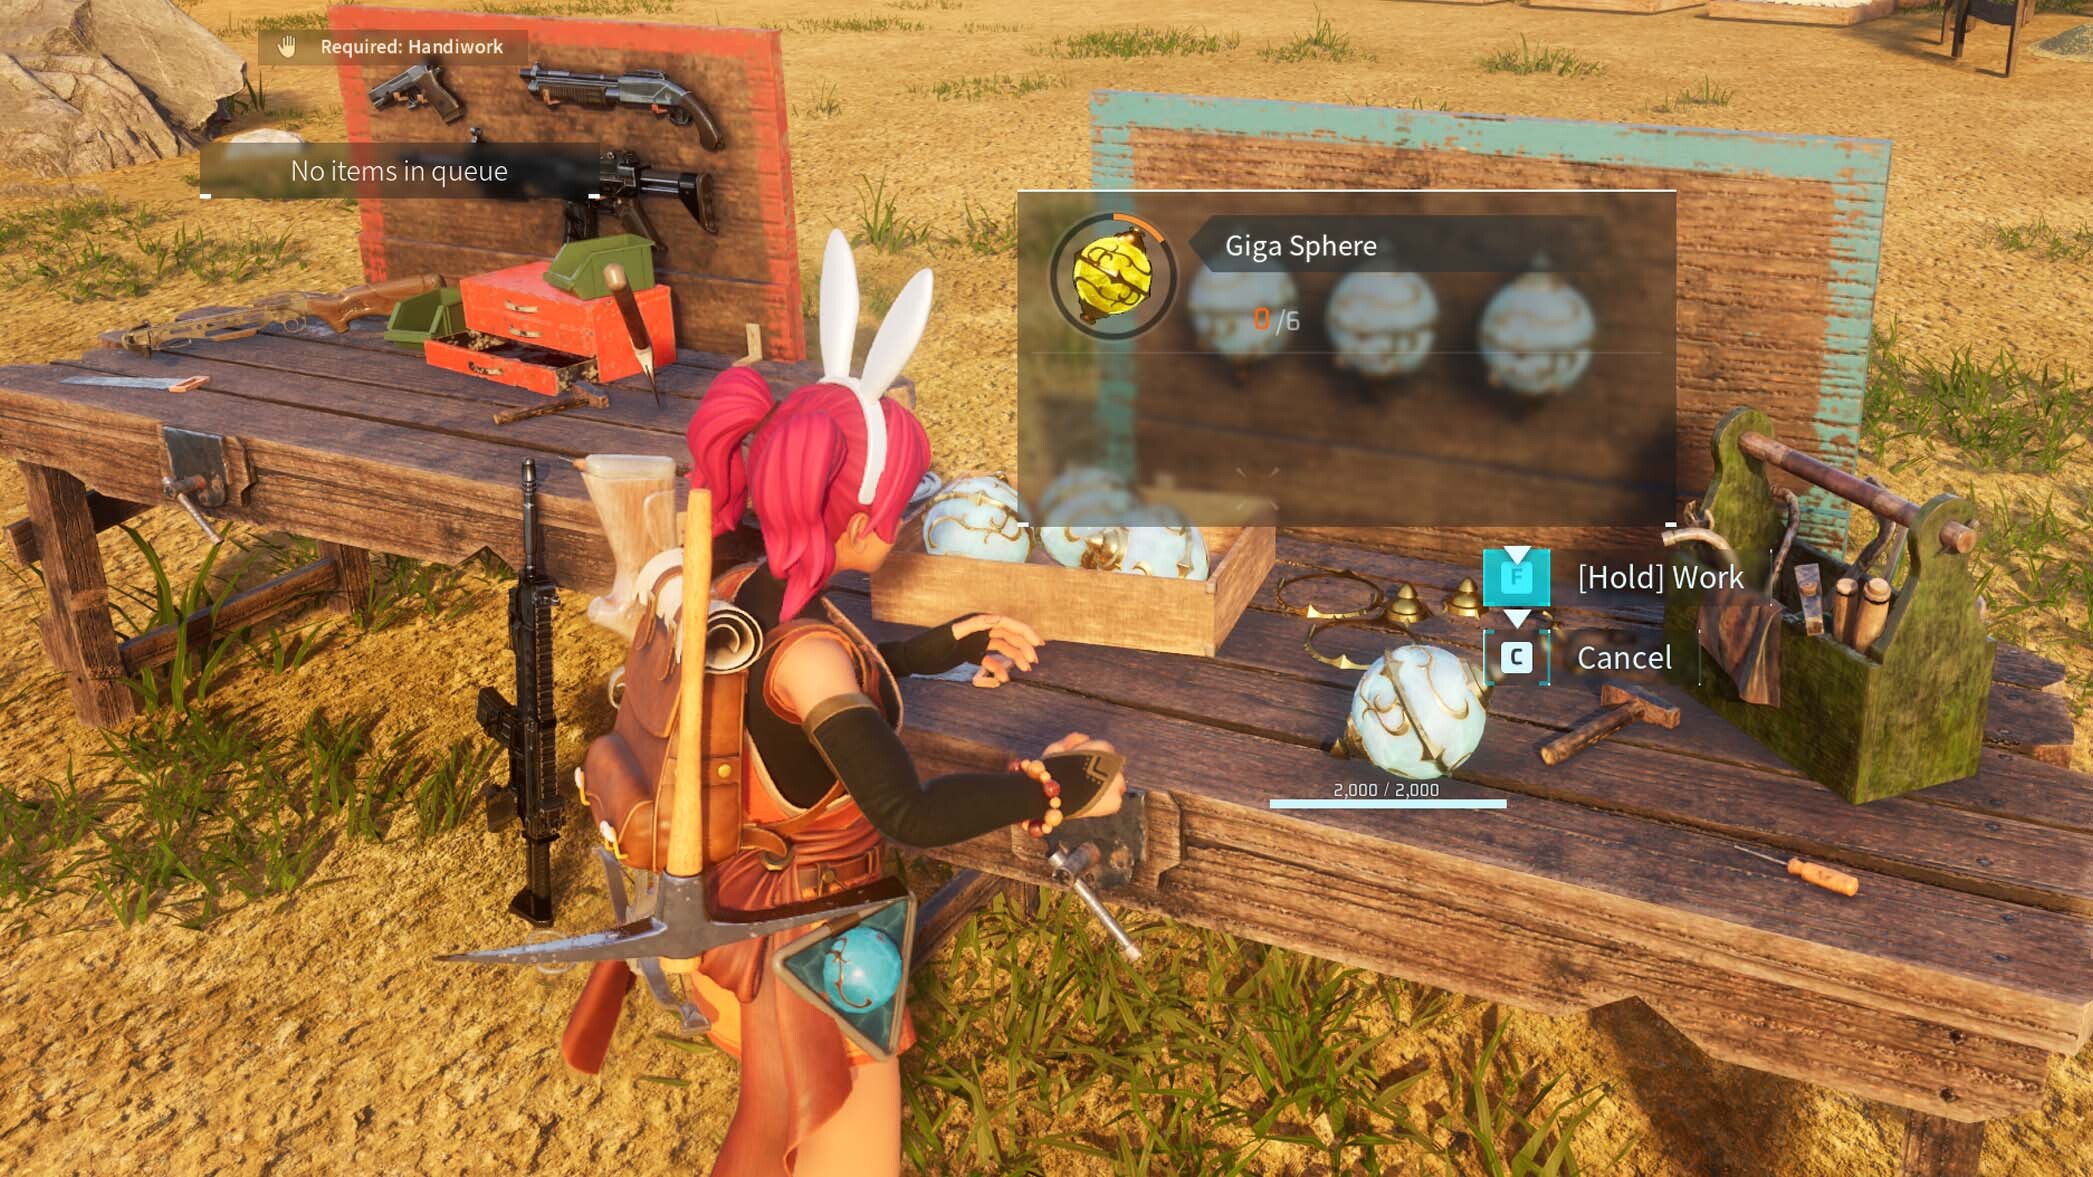
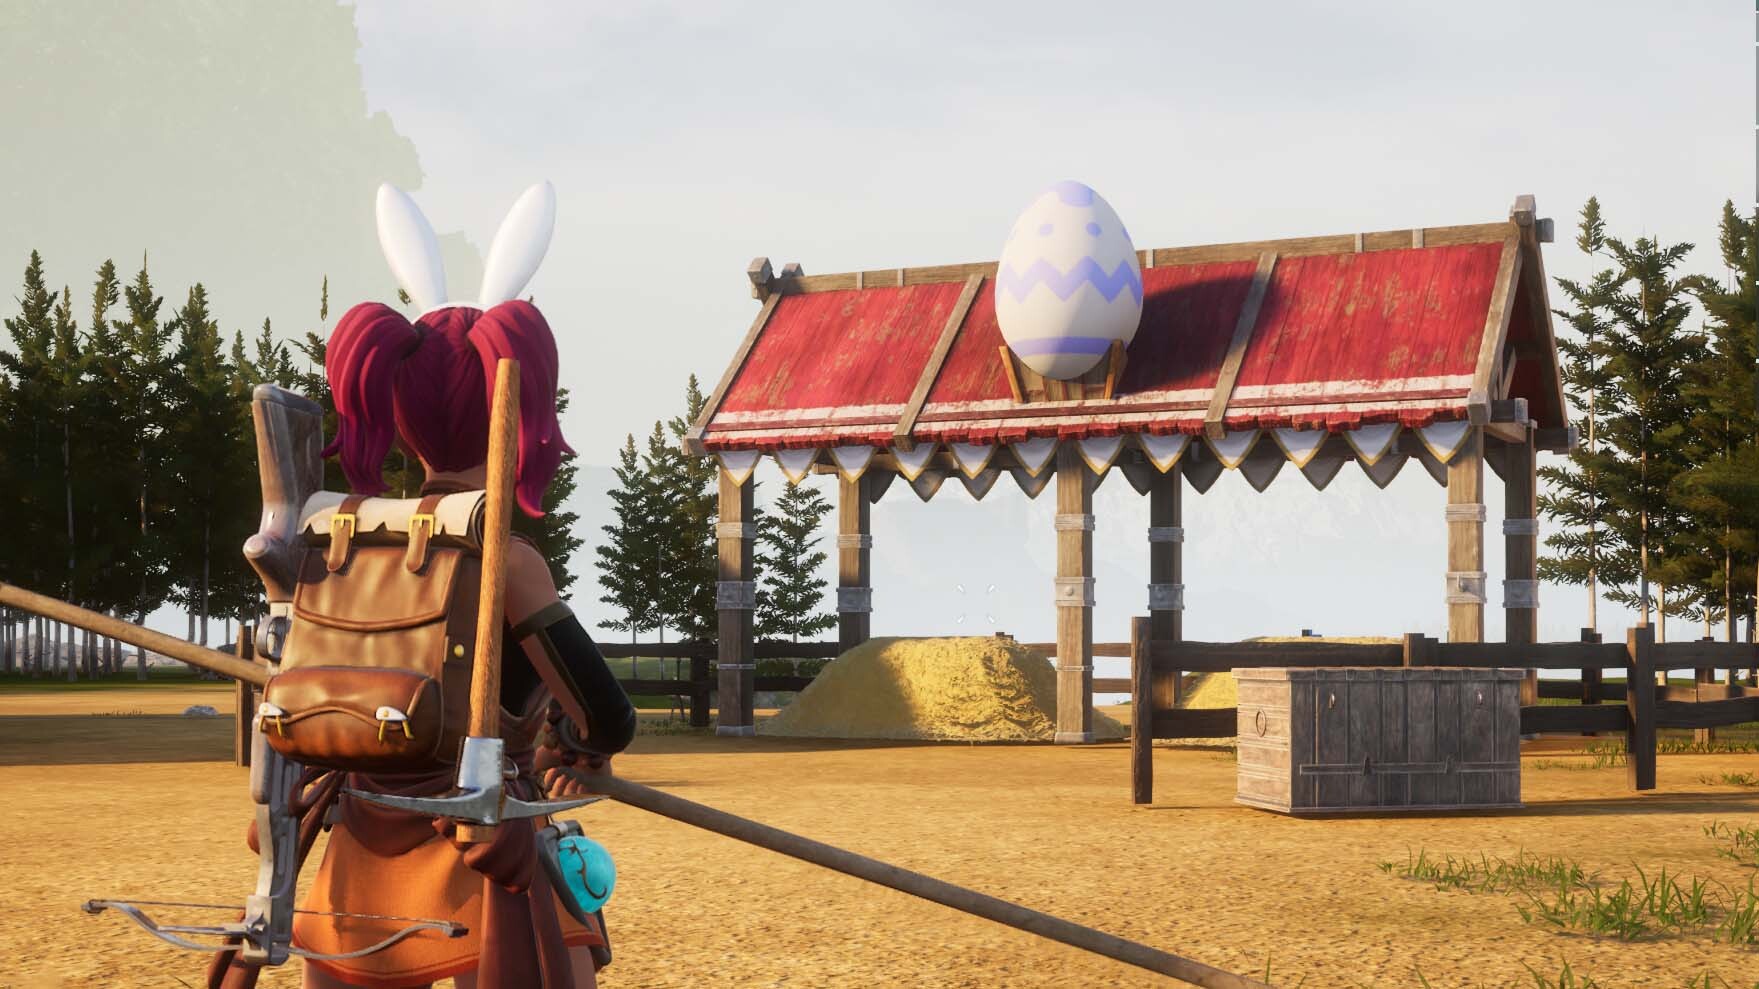
Base-building is a crucial part of pretty much every survival game ever made, and Pocketpair’s new explosively successful Early Access title Palworld is no different. Though it’s tempting to spend all your time exploring the Palpagos Islands and battling or catching every Pal you see, you need a safe and secure location where you and your Pals can rest, gather materials, craft important supplies, and more.
You can build a base anywhere you want in the open world of Palworld, but some spots are definitely better than others. Similarly, any combination of worker Pals that covers all your base’s needs is fine, but by using top-tier Pals, you’ll optimize resource production and speed up crafting progression.
To help you figure out where to put your bases and which Pals to use in them, I’ve put together this thorough base-building guide that goes over everything you need to know. You’ll find details about how moving your bases works, too, as well as some design ideas and suggestions.
Palworld: Best base locations and spots
Before building yourself a base, the first thing you need to do is choose where it’s going to be. Tons of different places on the map work great — and I go over everything you should look for in a base spot later in this section — but the ones listed below are the best base locations. Building at any of them is a surefire way to set yourself up for success, so I highly recommend doing so.
Best base locations in Palworld
This damaged castle (190, -383) near the Fort Ruins fast travel statue is one of the coolest spots to build a base in the whole game, and since it’s only a short distance from spawn, it’s one of the best early game locations. Though it’s not as spacious as other options, it’s flat, and the impenetrable stone walls funnel raiders into chokepoints you can patch up with wooden structures. There are lots of trees and boulders around it for Wood and Stone, too, and the valley to its southwest leads to several Ore deposits.
This plateau (157, -395) just southwest of the Fort Ruins is another exceptional base location for the early game, and works well for mid-game bases as well. Though it’s a hike to get up to until you get a flying mount or the Grappling Gun, that’s a trek invaders will have to make, too — and you can rain arrows down on them the whole time. On top of that, there are also several Ore deposits up here that you or certain types of Pals can mine, and they respawn once a day.
These two plateaus (10, -522) directly southwest of the Small Settlement are arguably the best place to build a secondary base dedicated to Ore farming specifically in the mid-game (your main base has to be Level 10 before you can make another) though you could absolutely put your primary one here, too. Tons of Ore deposits and flat ground make it an excellent location, even if it’s not on high ground and doesn’t feature natural chokepoints. Make sure you build a stairway that connects the two plateaus to each other so that you and your Pals can get around easily.
This extremely high mountaintop (305, -43) southeast of the Sealed Realm of the Swift fast travel statue is one heck of a journey to get to, but it’s not too bad with a flight-capable mount. Invaders won’t have one, though, and most times, their raids end before they even get up to you. Between that and its Ore deposits, it’s a phenomenal late-game base location. It’s also a gorgeous one, with forests and mountains as far as the eye can see and a lake that feeds a waterfall for you to set up next to. Perfection.
Another mountaintop (190, -40) directly west of the previous base and northeast of the Sealed Realm of the Guardian fast travel statue is an awesome spot to build the third and final base you unlock when your main one hits Level 15. Like the other mountain, the absurd height basically makes it raid-proof, and while the ground isn’t the flattest, there’s a good amount of both Ore and Coal that spawns. That means you’ll easily be able to farm all the resources you need to make Refined Ingots in the late-game if you build a mining base here.
Where should I build my base in Palworld?

The above spots are undoubtedly some of the best base locations in Palworld, but if you’d prefer to build elsewhere, don’t hesitate to do so. There are plenty of other fantastic places for bases around the map, after all — and if you’re playing on a dedicated server in multiplayer, all the prime pieces of real estate will likely be occupied.
Any large, flat piece of land that’s either on high ground or near natural chokepoints (both, ideally) is a good place to build a base. Additionally, you should also try and find spots with or near Ore (and Coal, if possible), as it’s an incredibly important resource you can’t build production structures for like you can with Wood (Logging Camp) and Stone (Stone Pit).
It’s also not a bad idea to try and find a location that’s not close to a fast travel statue, as your base can then function as one that makes getting to the area it’s in easy. This is more of a tertiary concern, though, and not one that you should consider a deciding factor.
Palworld: Best Pals for base

So, you’ve got yourself a sweet plot of land. What’s next? Well, your base needs laborers, and that’s where finding and catching Pals to put to work comes in.
In the first several hours of your Palworld adventure, you’ll be just fine with Pals like Lamball, Cattiva, Lifmunk, Foxparks, Pengullet, and Tanzee on your workforce. All important tasks like Planting, Mining, Kindling, Transportation, and others will be fully taken care of with these Pals, allowing you to maintain a self-sustainable base without much trouble. Notably, all of these can also be commonly found in the regions surrounding the Rayne Syndicate Tower where the first boss Zoe and Grizzbolt is fought, so finding them is a breeze.
As you level up and start venturing into higher level areas, though, you’ll want to track down more capable Pals that have more levels in the jobs they’re proficient in. These Pals work faster and more efficiently than early game ones, resulting in more resources and materials to fuel your increasingly expensive crafting and building efforts.
Best Palworld pals for each job
Below, you’ll find a list of the best Pals for each job that needs to get accomplished in the bases you construct, as well as the coordinates on the map where you can find them. Nearly all of them have Level 4 in the Work Skill they’re most proficient in, and hold top positions in our Palworld tier list.
In most cases, it’s better to use specialized Pals rather than versatile ones like Penking that are capable of many tasks, as the latter often get distracted when there are multiple things they can do. Generalist Pals can be pretty handy in the early game, though.
If you’re having trouble finding these (or any) Pals using coordinates alone, note that you can always use this nifty Palworld interactive map for further guidance. It visually shows precisely where each Pal in the game is located, and is a resource I strongly recommend taking advantage of.
| Pal | Work Skill | Location |
|---|---|---|
| Anubis | Handiwork Lv. 4, Mining Lv. 3, Transporting Lv. 2 | (-134, -94) |
| Astegon | Mining Lv. 4, Handiwork Lv. 1 | (666, 664) |
| Bushi | Lumbering Lv. 3, Kindling Lv. 2, Transporting Lv. 2, Gathering Lv. 1, Handiwork Lv. 1 | (-621, -721) |
| Frostallion | Cooling Lv. 4 | (-356, 511) |
| Verdash | Gathering Lv. 3, Handiwork Lv. 3, Lumbering Lv. 2, Planting Lv. 2, Transporting Lv. 2 | (285, 10), (-675, -115) |
| Jormuntide Ignis | Kindling Lv. 4 | (-690, -138) |
| Jormuntide | Watering Lv. 4 | (-175, -265) |
| Lyleen | Planting Lv. 4, Handiwork Lv. 3, Medicine Production Lv. 3, Gathering Lv. 2 | (645, 615) |
| Orserk | Generating Electricity Lv. 4, Transporting Lv. 3, Handiwork Lv. 2 | (665, 595) |
| Wumpo | Transporting Lv. 4, Lumbering Lv. 3, Cooling Lv. 2, Handiwork Lv. 2 | (-190, 400) |
Keep in mind that the vast majority of these Pals are mid-to-high level, and as such, will be all-but-impossible to capture without some of the higher tier Pal Spheres that improve capture chances. Also, you’ll definitely either need to weaken or surprise them.
Also, you might become Wanted when you try to go after the rare Pals that only spawn at one of the three Wildlife Sanctuaries (the circular islands on the map that don’t have fast travel statues and can only be accessed by air), as these areas are guarded by PIDF soldiers and are considered off-limits. If you’re spotted trespassing, you can shake off the heat by exiting out to the main menu and then loading back in.
Palworld: Base design ideas and tips

Not sure how you want to organize your base, or where you should put your various different structures? Here are some tips, suggestions, and design guidelines to follow. They’ve worked great for me, and will for you as well.
- Try to keep structures of the same type close together for the sake of organization. For example, build all your workbenches in one area, beds in another, food farms in another, etc.
- Put chests near each production structure. Your Transporting Pals will always take the shortest route to storage, and will store the resource that structure produces in the chest next to it. This improves efficiency and keeps everything well-organized.
- Don’t make your layout overly complex. Doing so will slow down your Pals as they struggle to navigate, resulting in a less efficient workflow.
- Don’t put walls anywhere other than around your base’s perimeter. You’ll want as much space as possible for more important structures, and outer walls are all you need, anyway.
- Place defenses up high, and overlooking your base’s chokepoints. Mounted weapons are most effective when the Pal operating them can’t be attacked easily, and when their sightlines cover the areas raiders will try and break in from.
- Upgrade to stone (and then metal) fortifications as soon as you can. You get the Stone Structure Set at Level 18, and the Metal Structure Set at Level 30. Fire will quickly burn down and spread to wooden structures, threatening your entire base if it’s completely made out of wood.
Palworld: Can you move your base?

Palworld’s map is gigantic, and as you explore more and more of it while leveling up, you’ll probably want to build a base close to wherever your adventures take you. Naturally, this has many players wondering if it’s possible to move your base, or at the very least, dismantle it so that you can transport all of its supplies elsewhere.
Thankfully, you can, though it’s a bit of a process and will likely require at least a few back-and-forth trips through fast travel or with a flying mount. I’ve gone over everything you need to do below.
How to move your base in Palworld
While you can’t exactly just pick your base up and set it down in another location, you can get a full refund on all the resources you used building it and then take them to the spot you want to build a new base at. Here’s what I recommend doing:
1. First, move all your Pals in your current base to Palbox storage to get them out of the way. They’ll make the next few steps take longer if you don’t.
2. Next, create a few Wooden Chests (15x Wood, 5x Stone) at both your current base and the spot you’re moving to. You’ll use these to make moving all your supplies easier.
3. Then, from Build Mode, go into Disassembly Mode and dismantle all of your current base’s structures. This gives you a full refund on everything.
4. Fill up your inventory with as much of the base’s materials as you can carry, then put the rest in the Wooden Chests you built. It’ll be safe here while you’re moving things.
5. Use your current base’s Palbox to fast travel close to where you’re moving your base. If no such fast travel is available, you’ll have to use a mount instead (flying, preferably).
6. Drop off the base supplies you’ve got in the Wooden Chests at the new location, then fast travel back to get more. Getting everything transported shouldn’t take more than a few trips.
7. Once everything’s at the new location, hover over your current base on the map from it and press the “Dismantle the base” input. Continue past the warnings to successfully demolish your Palbox.
8. Finally, build a new Palbox at your new base location, and start rebuilding everything using all the resources in the chests. I’d get your Pals out before doing anything else, in case you’re unlucky and something hostile comes along while you’re working.
And voila! You’ve successfully moved your base. Though this can be rather tedious since there’s no Valheim cart-like tool that makes transporting large quantities of resources easier, it’s ultimately still a simple process.
Palworld is available now on Xbox Series X|S, Xbox One consoles, and Windows PC via either the Microsoft Store or Steam. It’s quickly become one of the best Xbox games and best PC games of 2024 so far, and it’s also playable through Xbox Game Pass.


