If you’re stuck with your options for data recovery software you could do far worse than install Tenorshare 4DDiG data recovery tool. The software itself is available free of charge and you can use it to preview missing files before signing up.
The utility supports a number of file types and different file systems, so it’s likely whatever your device or what type of data you’ve lost 4DDig can come to the rescue.
Tenorshare 4DDiG: Plans and pricing
Technically you can download Tenorshare 4DDiG free of charge. It’s available for both Windows and macOS. Whilst using the free version you’re able to preview certain file types but you’ll need to upgrade to do this for all data types, as well as copy recovered files outside the utility.
Paid versions of 4DDiG begin at $45.95 for a 1 month license. For just $14 more you can buy an annual license for $59.95. A lifetime license costs $79.95. There are also business packages starting at $89.95 for installation on up to 5 PC’s.
Given that you can upgrade from within the program, we recommend installing the free version first to check if your files are detected using the “Preview” feature.
Tenorshare 4DDiG: Features
Tenorshare’s 4DDiG’s product page makes some very bold claims. The utility can apparently recover over 1,000 different file types. This places it in the big leagues as far as Data Recovery tools go.
The main website says that 4DDiG for Windows supports the NTFS, exFAT, and FAT16/FAT32 file systems. However there’s also a page stating that it’s possible to recover data from ext4 partitions for Linux. As always we recommend trying the free version to check your drive’s detected before subscribing.
One advertised feature we thought might be useful, is the ability to pause scans, then resume them later. This certainly would be appreciated by users who are trying to recover files on a work device.
There are also built-in features for repairing corrupted pictures or videos. These files need to already be saved somewhere on a drive : it doesn’t seem you can repair from within the app. This is a shame, as we’ve reviewed data recovery utilities in the past that will automatically detect damaged files and try to repair them and display a preview so they can be recovered.
If you install the utility on a working computer, you can also use it to create a bootable USB device to try and recover data from a crashed computer.
Tenorshare 4DDiG: Setup
Tenorshare 4DDiG for Windows was one of the simplest tools to set up that we’ve ever reviewed. You can download the small installer from the Tenorshare website, then launch it to download additional files.
A helpful “Start” button appears immediately once this is complete and the installer even places a handy shortcut on your desktop.
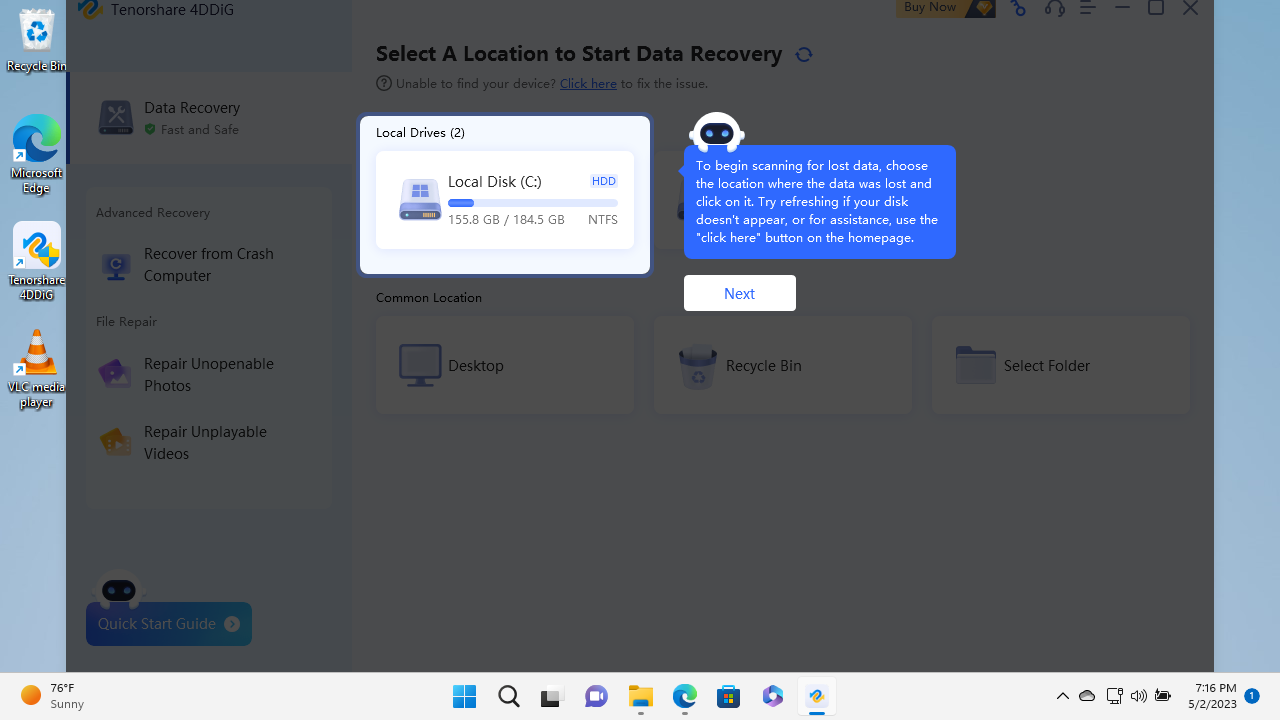
On first launch we particularly enjoyed the “Quick Start Guide” which greys out the rest of the screen then takes you step by step through the process of selecting the drive, then begin scanning. You can run the Quick Start Guide again at any time by clicking on the icon at the bottom left of the program window.
This was the point where we decided to put 4DDiG through its paces.
Tenorshare 4DDiG: How we tested
For our data recovery tests we used a virtual machine with a clean install of Windows 11. The only third-party tools installed besides Tenorshare 4DDiG were VLC Media Player and GIMP.
Data files
The files we chose for recovery are an album of Mozart’s Music available from the Internet Archive.
We did this as we wanted to see how the utility performed with a wide variety of files.The album included 4 music files (2 in Mp3 and 2 in FLAC) format, 6 JPG image files of album covers (with thumbnails) and 4 PNG image files. The files also included 2 XML files, a torrent file and an ‘SQLite’ file containing details of the album. There were 25 files in total.
We copied the files in the music album to a 512MB virtual NTFS-formatted hard drive, which was then attached to the Windows 11 virtual machine.
Data tests
The tests were performed one after the other on three separate virtual drives:
1. File deletion : the album files were simply deleted from the drive and the Recycle Bin emptied. No other data was copied to the drive. We then tried to recover the files.
2. Delete & Format : The files were deleted as outlined above and we also performed a ‘Quick Format’ using the ‘Disk Management’ utility built into Windows 11. We then tried to recover the files from the formatted partition.
3. Recover corrupted files: We used the freeware program ‘Victoria’ to overwrite the volume header of the drive containing the files with zeroes. The drive didn’t mount automatically in File Explorer and showed as being unpartitioned in Windows “Disk Management” utility. We then checked if the utility could see it and if so, recover the files.
We do not believe that running data recovery tools in a virtual environment has a significant effect on how they function. Still, if you’re considering buying software we encourage you to read all reviews thoroughly and make sure that the developer offers a refund policy.
Test results
Given that the results of trying to recover fragments of files can be very overwhelming, we were very pleased to see that Tenorshare 4DDiG tries to display them in an organized way.
You can choose to scan drives but the utility also supports analysis of the Desktop, Recycle Bin and most importantly single folders.
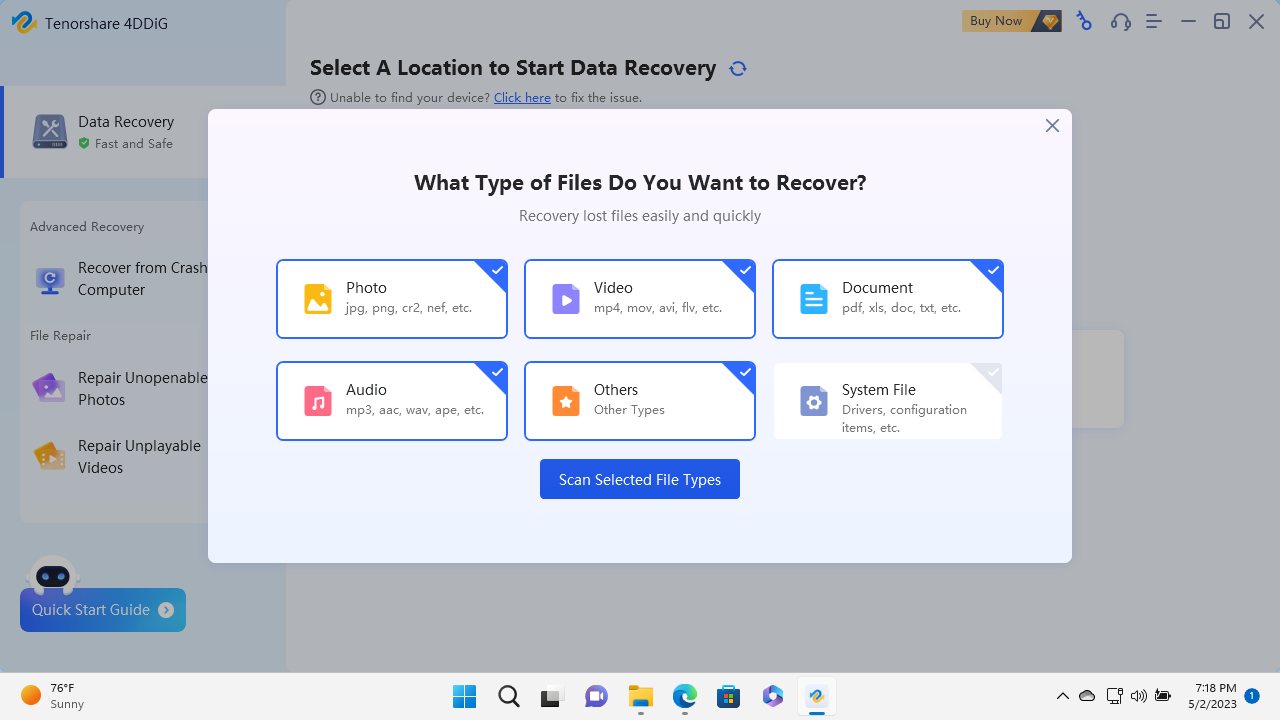
When you’re offered the chance to scan you can choose to look for a particular type of file such as images. By default system files are disabled.
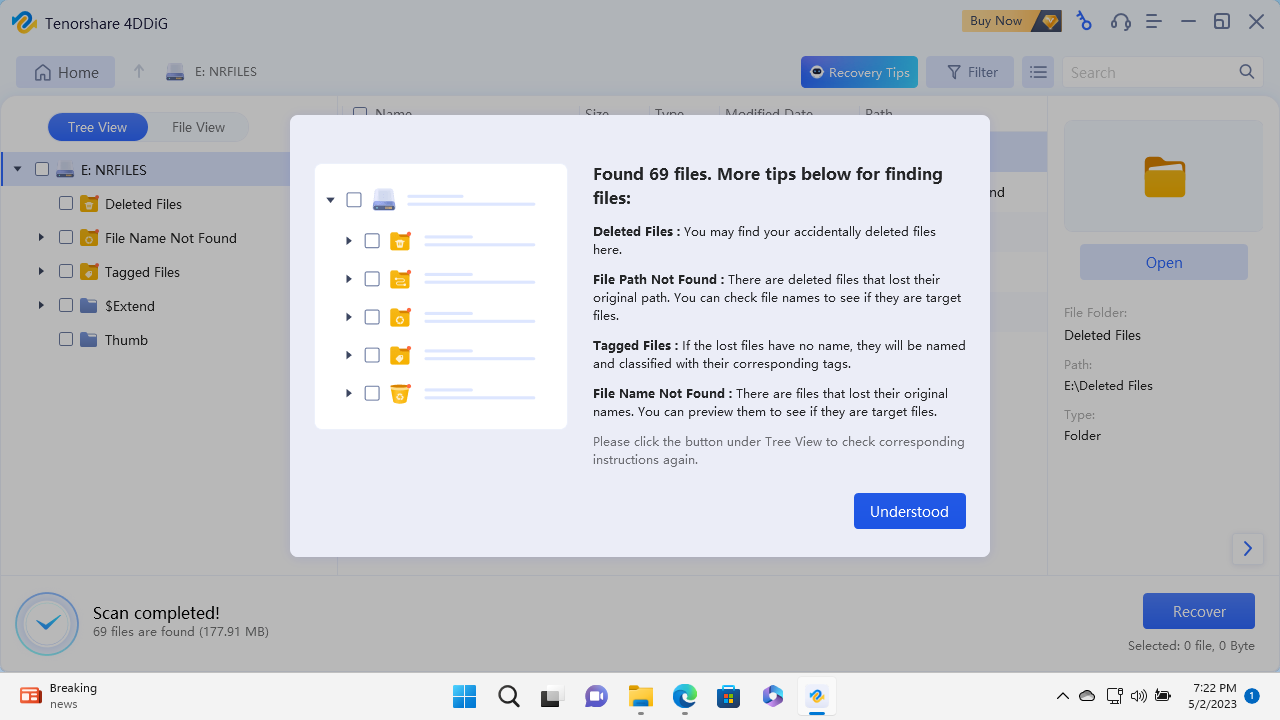
For each scan we ran, files were grouped into 4 categories.
1. Deleted Files (Where you can usually find accidentally deleted files)
2. File Path Not Found (Deleted files who’ve lost their original path)
3. Tagged Files (Files with no name that are associated with their corresponding tags)
4. File name not found (As the name says, these are files where the name isn’t found but you can still preview them to check if they’re the ones you’ve lost).
Our first test on the drive where files had simply been deleted from the Recyle Bin was a resounding success. The scan revealed 69 files in total. The original 25 files were all found under the ‘Deleted’ category with filenames intact. They all opened without any issue.
Our next test was on the drive which had been formatted after the files were deleted. In this case, we had to do some hunting to find intact files.
44 files were found in total. 14 files were listed in the ‘Tagged’ category. These were 12 of the 12 JPG images and both MP3 files. We also found both audio FLAC files under the “File Name Not Found” category along with the torrent file, .sqlite file and all 4 PNG files. The filenames for all files weren’t recovered. The remaining files were corrupted, so couldn’t be viewed. That makes a total of 17 out of the 25 files successfully recovered.
When we attached the drive with the corrupted volume header, Tenorshare 4DDiG recognized the “Lost Partition” immediately. The utility automatically began “Deep Scanning” and 54 files were detected in total.
After reviewing “Deleted Files” we found the two XML files were intact. The remaining files were listed but couldn’t be opened. 11 files were listed under “Filename not Found” but only the bittorrent one was readable. We checked the “Tagged Files” category and also recovered 11 JPGS intact. This makes a total of 14 out of the 25 files successfully recovered without their filenames.
Tenorshare 4DDiG: Performance
Although the recovery process could be hit and miss, we were impressed to see that all scans were completed in seconds. Even when scanning the 200GB virtual C drive, Tenorshare 4DDiG used less than 20% of CPU power with a memory footprint of only around 250MB.
The ‘Preview’ feature is an excellent way to view images, as well as play media files but be warned the free version only allows previewing of a few file types. After that you’ll run up against a software paywall asking you to upgrade.

Tenorshare 4DDiG: Support
The ‘Help Center’ option from within Tenorshare 4DDiG will take you to a contact form within the app. Tenorshare also have a dedicated, installable guide to talk you through the data recovery process.
This is available as a free download, which you can access by clicking ‘Guide’ from the help menu from within the utility.
Tenorshare 4DDiG: Final Verdict
There’s a lot to like about this utility. It’s xtremely easy to download and install. The ‘Quick Start Guide’ also gently walks you through the process of selecting the location from where you want to recover missing files.
Unlike some other data recovery utilities, it’s also possible to specify a particular folder for recovery.
Tenorshare 4DDiG performed well on our tests for files that had simply been deleted and it wasn’t fazed at all by more unusual formats like FLAC audio. Recovery was less successful when we simulated a corrupted/damaged drive.
Still, given that it costs nothing to download the free version of the app in order to scan and preview files, you have nothing to lose by trying it out.


