

I love getting a new MacBook. The slow-opening box, the fresh install of macOS, even the enchanting new Mac smell (which people have been rhapsodizing about for decades) — it’s all part of the experience.
But you know what? MacBooks don’t arrive perfect out of the box. There are a few things that I always have to adjust, regardless of how powerful the laptop is. From changing the default apps to unlocking a few hidden extras, here are the first six things to do with your new MacBook before putting it to work.
Unlock some trackpad tricks
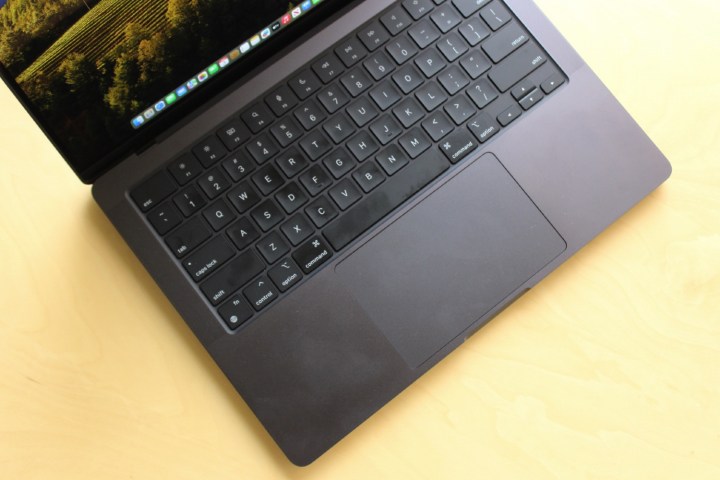
Apple’s trackpads are the best in the business, bar none. They’re spacious, responsive, and feel exceptionally well made. So why does Apple hide some of their features by default?
If you open the System Settings app and scroll down to the Trackpad section in the sidebar, you’ll see what I mean. There are tons of features here that you can enable, disable, or customize to your heart’s desire. Yet one super-useful feature called App Exposé remains switched off. This lets you swipe downwards to show all the open windows for the currently selected app. It’s like Mission Control, except far less busy and chaotic. And yet most people don’t even know it exists.
To fix that, go to the More Gestures section of the trackpad settings and, next to App Exposé, choose to enable it by swiping down with either three or four fingers. I also like to change right-clicking to include both tapping and clicking with two fingers, change moving between full-screen apps to be triggered by a four-finger swipe, and a few other things. It all ensures Apple’s excellent trackpad is working to its full potential.
One more thing: Go to System Settings > Accessibility > Pointer Control > Trackpad Options, then enable Use trackpad for dragging and select With Drag Lock from the menu. With this done, if you double-tap a file and keep your finger down on the second tap, the item “attaches” to your pointer, and it will stay there until you click. Why do this? It makes it far easier to move items without bumping into the edge of your trackpad, as you can let go of the trackpad and your file will not be dropped in place. If you’ve ever struggled to move things around on a MacBook without hitting the sides of your trackpad, you’ll want to enable this setting.
Optimize battery life
When you’re on a laptop, battery life matters. Apple knows this, and these days, many MacBooks can last close to 30 hours on a single charge, blowing past their rivals with consummate ease. But that’s not to say you won’t want even more juice from your Apple laptop, and there are a couple of tweaks I make to tune things up.
One of the ways I do this is by going to the Lock Screen section of the System Settings app and telling macOS to start a screen saver after about five minutes (down from the default 20). I also make sure my MacBook isn’t waiting too long to turn the display off when it’s on battery power.
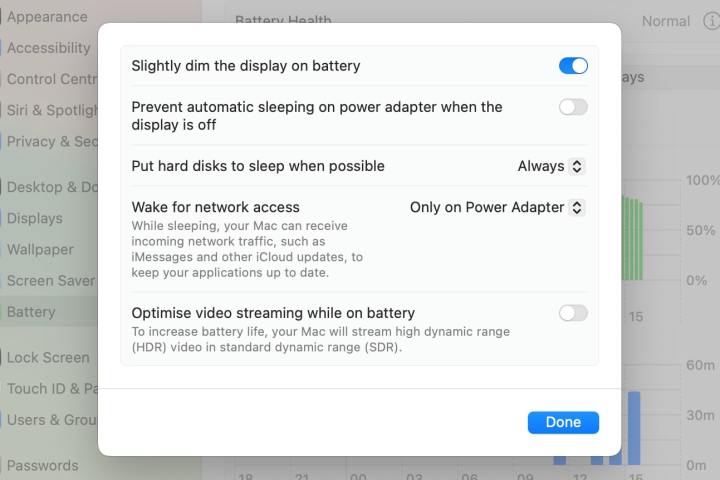
I also head to the Battery section in System Settings and adjust one parameter. If you scroll to the bottom of the page and select Options, you’ll get a few extra choices. I make sure Slightly dim the display on battery is enabled, but I leave the rest of the settings as they are.
I could enable options like Put hard disks to sleep when possible or Optimize video streaming while on battery, but my laptop’s battery life is so impressive that I don’t feel like I need to wring every last drop of juice out of it. But by ensuring the display dims a little when required, one of the biggest battery hogs — the screen — is kept in check.
Turn off the auto brightness adjustment

Given how portable MacBooks are, chances are that you’ll be using yours in a variety of locations and conditions. What might be easily visible in a dimly lit room is suddenly barely readable when you’re trying to use your laptop in bright sunlight, but you can fix this by going to System Settings > Displays and enabling Automatically adjust brightness. With that turned on, your MacBook will use its ambient light sensor to ramp the brightness up or down as needed, with no input from you required.
There’s another good setting to check if you go to Displays > Night Shift. Here, I always create a custom schedule that lasts from 9 p.m. to 7 a.m. This ensures that my MacBook cuts out blue light and adopts a warmer tone right as my eyes are starting to get tired, which helps if I’m still going late in the evening.
Finally, don’t forget to make sure that the True Tone toggle is enabled and I’ve selected ProMotion from the Refresh rate dropdown menu. It’s worth turning these on so that you don’t miss out on Apple’s adaptive color setting and variable refresh rate feature.
Set new default apps
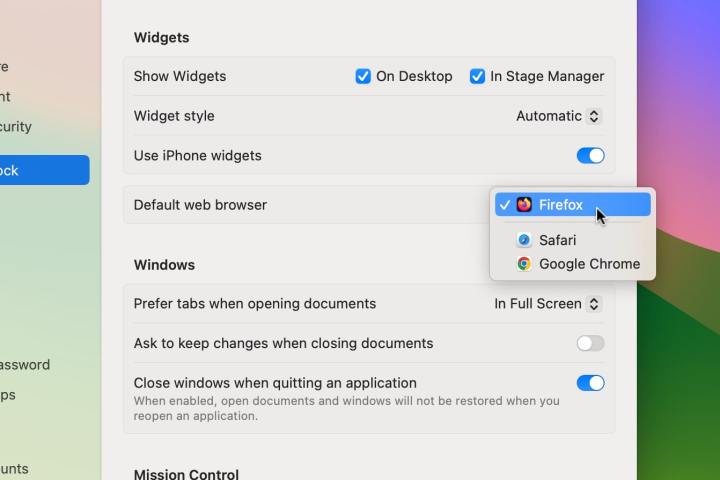
One of the first things I do with any new MacBook is dive into my macOS settings and change the default apps. Some ways of doing this are extremely simple, while others take a little bit more effort, but I find they’re all worth doing, especially when it comes to web browsers. Listen Safari, I think you’re great, but I’m really more into Firefox. We just vibe. I’m sorry, you’re no longer my default web browser.
Once you’ve installed a new browser, open the System Settings app and go to Desktop & Dock. Scroll down until you see Default web browser (it’s under Widgets, for some reason) and pick your choice from the dropdown menu.
To change your email app, open Mail, then go to Mail > Settings in the menu bar. Select the General tab and pick a new app from the Default email reader menu.
Finally, the following method will let you change the default app for any other file. Just repeat it for each file type. First, find a file where you want to change the app that opens it, then right-click it and pick Get Info from the context menu. Under Open with, choose a new app from the dropdown menu, then select Change All > Continue.
Web browser extensions
Any web browser is made a whole lot better with the help of some carefully curated extensions. I’ve already written about my favorite Safari extensions (I install these even after I change my default browser to Firefox, just in case I have to switch back for whatever reason), and these are essential additions to any MacBook I buy.
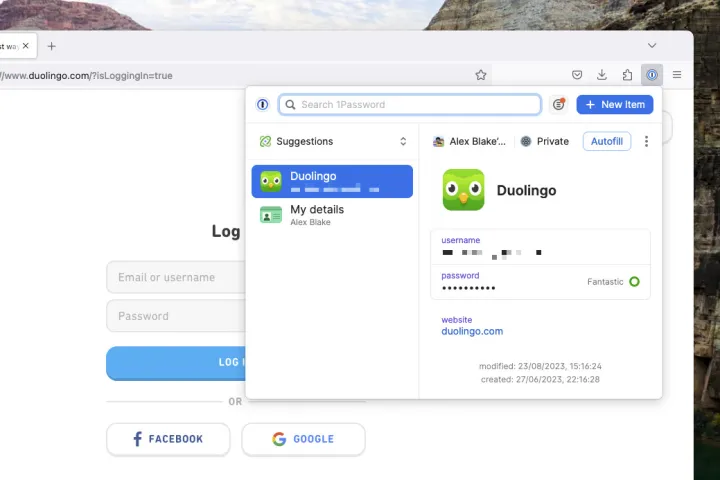
Consent-O-Matic, for example, automatically opts me out of all those incredibly irritating (and deeply shady) cookie consent notices. Honey saves me cash by suggesting coupon codes on a huge range of websites. And the 1Password password manager stores all my logins and helps me create tough-to-break new ones. All these extensions and more are some of the first things I reach for when I get a new MacBook.
You can find Safari extensions in the App Store — just open Safari and go to Safari > Safari Extensions in the menu bar. Other browsers like Chrome, Edge, and Firefox have their own extension stores, which you can find by searching “[browser name] extensions” on the web.
Turn FileVault on

Apple devices are well-known for their strong stance on privacy and security, but there are still a few improvements I make on a new MacBook that strengthen these credentials even further.
First things first, I open the System Settings app and head to Privacy & Security. Here, I make sure that FileVault is switched on. This encrypts the contents of your laptop so that they are inaccessible to anyone who doesn’t have your login password, which can help keep your personal data out of the wrong hands if your MacBook gets stolen.
Still in Privacy & Security, I also go to the Analytics & Improvements and Apple Advertising sections and opt out of every entry, as I’d rather not have my usage info leave my laptop (even if it is anonymized). That means opting out of personalized advertisements and macOS analytics, among other things.
It’s also a good idea to periodically come back to macOS’ Privacy & Security settings and check through the sections there, noting down which apps have been granted access to your location, camera, microphone, and more. If you don’t think an app should be in there, revoke its access using the toggle next to its name.
Editors’ Recommendations


