Home Assistant is powerful open-source home automation software that allows you to control a huge number of different smart home devices, regardless of which smart home ecosystem they’re designed to work with. You can use it to create powerful automations to make your smart home do almost anything you can think of.
To get started, you need a platform on which to run the Home Assistant software. If you’re thinking about giving Home Assistant a try, or want to upgrade from your current setup, there are plenty of devices you can use. These range from a low-cost Raspberry Pi to a powerful Intel NUC.
7
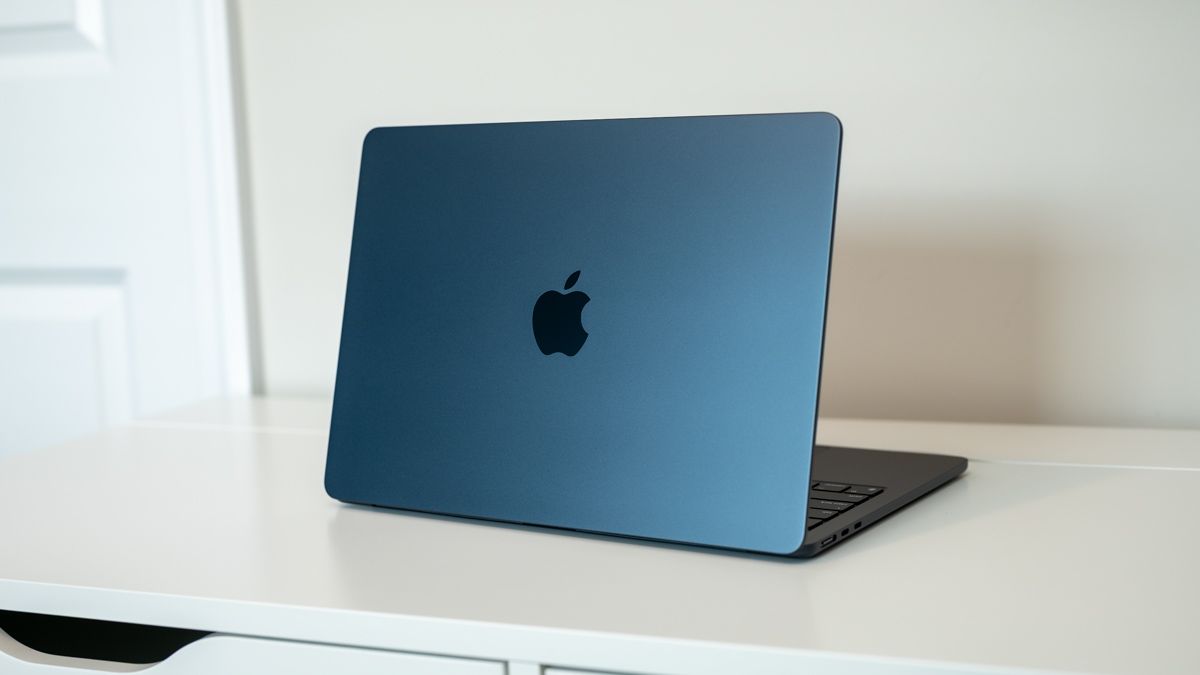
Try Out Home Assistant on Your PC or Laptop
While Home Assistant is more user-friendly than it used to be, it still comes with a fairly steep learning curve. If you’re not particularly tech-savvy it can feel a little overwhelming to start with, although there is a large and helpful community that has usually encountered and solved the problems you may be facing.
You might prefer to give Home Assistant a trial before you pull the trigger on buying a dedicated machine to run it on. The good news is that you get Home Assistant running in a virtual machine (VM) on your desktop or laptop using free software such as VirtualBox. You can then use Home Assistant exactly as you would if it were installed on a dedicated machine.
This is a great way to try out Home Assistant without any additional cost, but it has some drawbacks. Firstly, for the full benefits of home automation, you’ll need to leave it running 24/7, which isn’t ideal for a power-hungry desktop or laptop.
Running Home Assistant on your computer will also take up some of your computer’s resources, which may impact its performance. It’s also a little more complicated to install on a desktop or laptop than it is using some of the devices below.
6
Home Assistant Green Is About as Easy as It Gets
If you want the simplest way to get started with Home Assistant, then it doesn’t come any easier than the Home Assistant Green. This is a plug-and-play purpose-built device that comes with the Home Assistant software already installed. All you need is an Ethernet connection, and you can get Home Assistant up and running in a matter of minutes.
Home Assistant Green is made by Home Assistant and features a 1.8GHz quad-core ARM processor, 4GB of RAM, 32GB of eMMC storage, two USB 2.0 ports, and Gigabit Ethernet, all of which should be enough for most people’s needs when first starting with Home Assistant. The recommended retail price is $99, and Home Assistant Green is available from a wide range of suppliers around the globe.
The beauty of the Home Assistant Green is that everything you need to get started is already installed on the device. Just connect it to your router with an Ethernet cable, hook up the power supply, and wait for a few minutes for everything to initialize. You should then be able to access your brand-new Home Assistant server via a browser or the mobile app and see which of your smart home devices have already been discovered.
Home Assistant Green only supports Wi-Fi devices out of the box, however. If you have devices that connect via Zigbee, Z-Wave, Bluetooth, or Thread, you’ll need additional dongles to connect to these devices.
5
The Raspberry Pi is a Perfect Starter Option
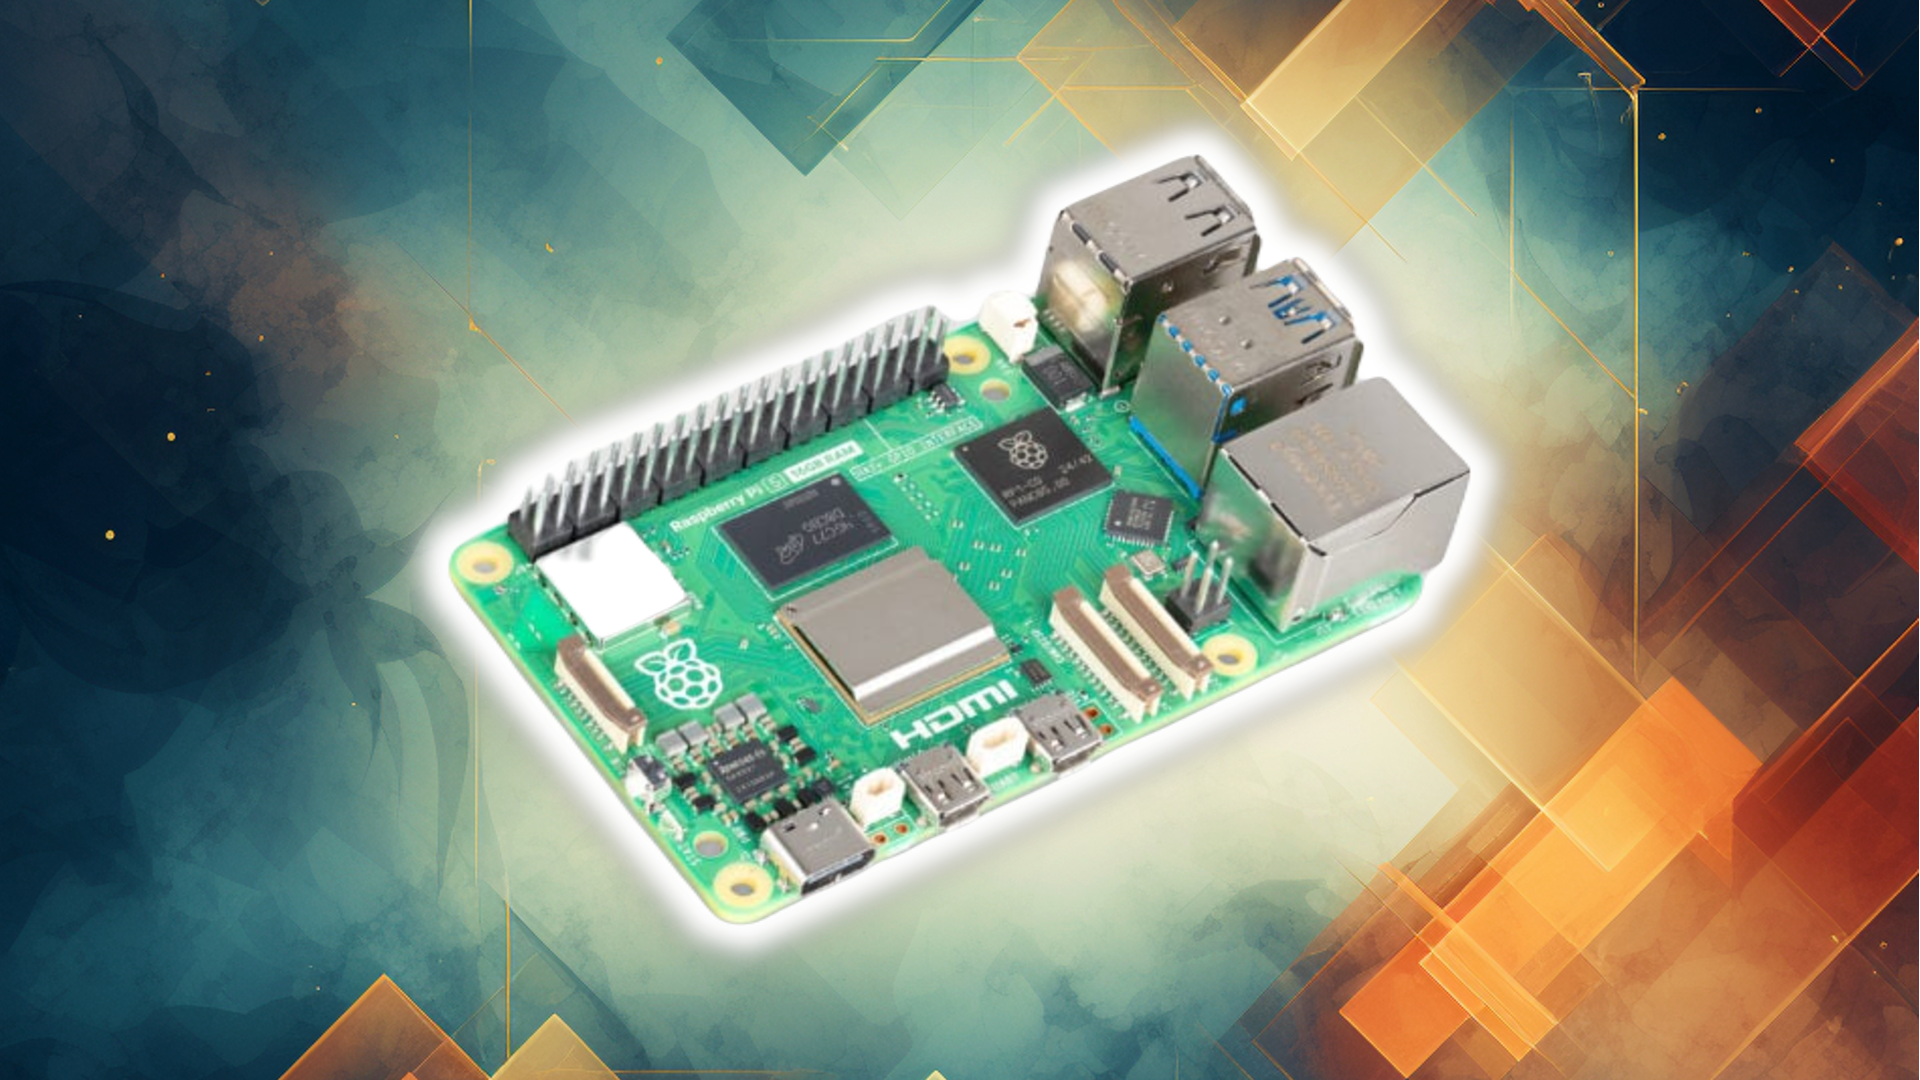
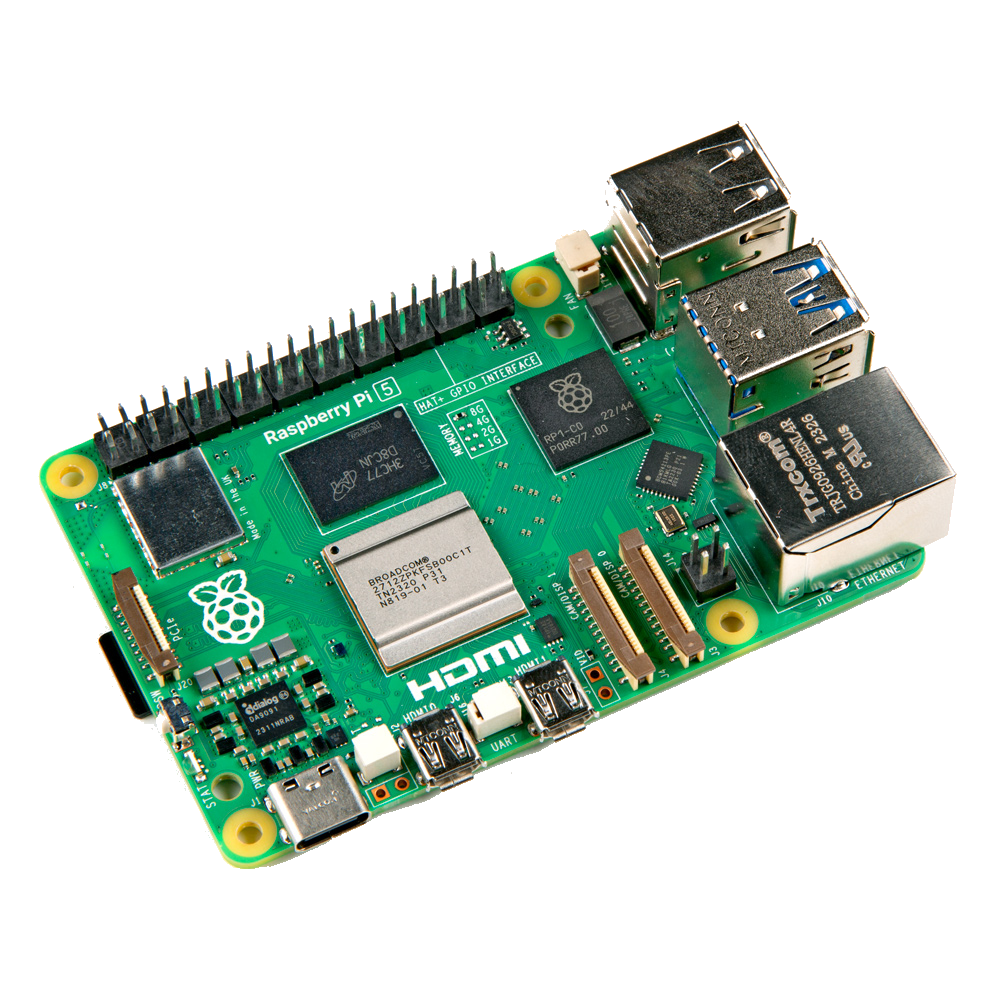
The Raspberry Pi is one of the most popular choices for a first Home Assistant server. These single-board computers (SBCs) are low-cost and can offer decent specs. The more powerful your Pi, the better your experience will be.
The Raspberry Pi 5 has a more powerful processor than the Home Assistant Green, and you can configure it with up to 16GB of RAM. It also has on-board Bluetooth, more USB ports, and Power over Ethernet (PoE) support with an additional HAT.
If you already have an older Raspberry Pi lying around somewhere, however, it can still be a great option for your first Home Assistant server. I ran my Home Assistant server on a Raspberry Pi 3B for a couple of years with very few issues.
Installing Home Assistant on a Raspberry Pi is a little more difficult than simply powering up a Home Assistant Green, but not by a huge amount. You use the Raspberry Pi Imager software to install Home Assistant OS on an SD card, install the SD card in your Pi, and start it up.
The one significant issue with using a Raspberry Pi as your Home Assistant server is that SD cards aren’t intended to be used for the constant reading and writing that happens as your smart home devices communicate with your Home Assistant server.
Raspberry Pi 5
It’s only recommended for tech-savvy users, but the Raspberry Pi 5 is a tinkerer’s dream. Cheap, highly customizable, and with great onboard specs, it’s a solid base for your next mini PC.
Many people find that the SD cards eventually fail, although I was lucky enough to go more than a year without mine ever dying. Eventually, however, I bought a USB SSD and connected that to my Raspberry Pi, which is a more robust solution.
Related
The Best Raspberry Pi Kits of 2024
Want an affordable computer? Take a look at these compact options.
4
Home Assistant Yellow Gives You Zigbee and Thread
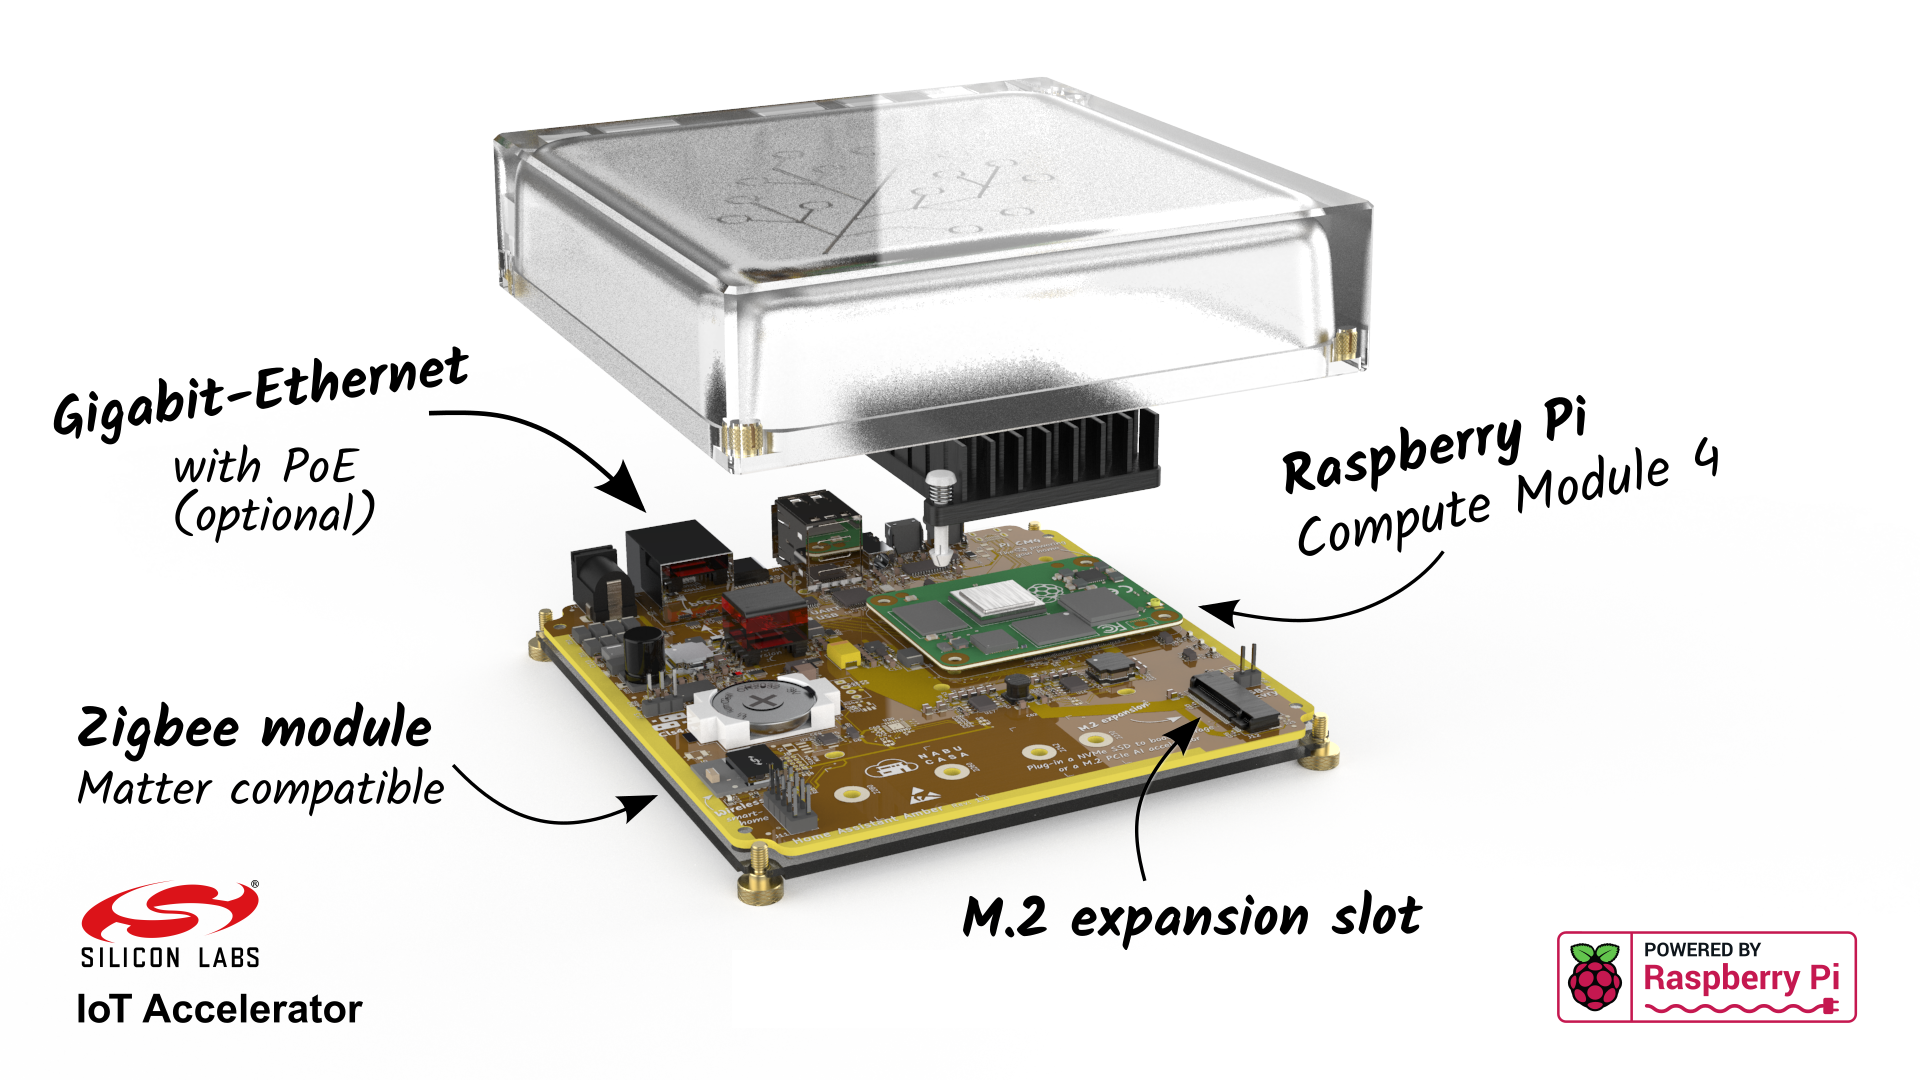
Home Assistant Green isn’t the only hardware that Home Assistant sells for running its software. The other option is Home Assistant Yellow. This model comes with Zigbee and Thread connectivity out of the box but is much more complicated to set up.
Home Assistant Yellow is built around the Raspberry Pi Compute Modules, which are more compact versions of the Raspberry Pi, designed to be built into projects. You can buy a Home Assistant Yellow with a Compute Module 4 preinstalled or buy kits that let you install your own Compute Module 4 or the more powerful Compute Module 5. You then need to assemble the components, including installing the Compute Module and a heat sink.
There’s an M.2 expansion slot that allows you to install a hard drive and you can swap out the Compute Module to upgrade your system without too much effort. If you’re happy messing around with hardware, then the Home Assistant Yellow is far more future-proof than its green counterpart.
3
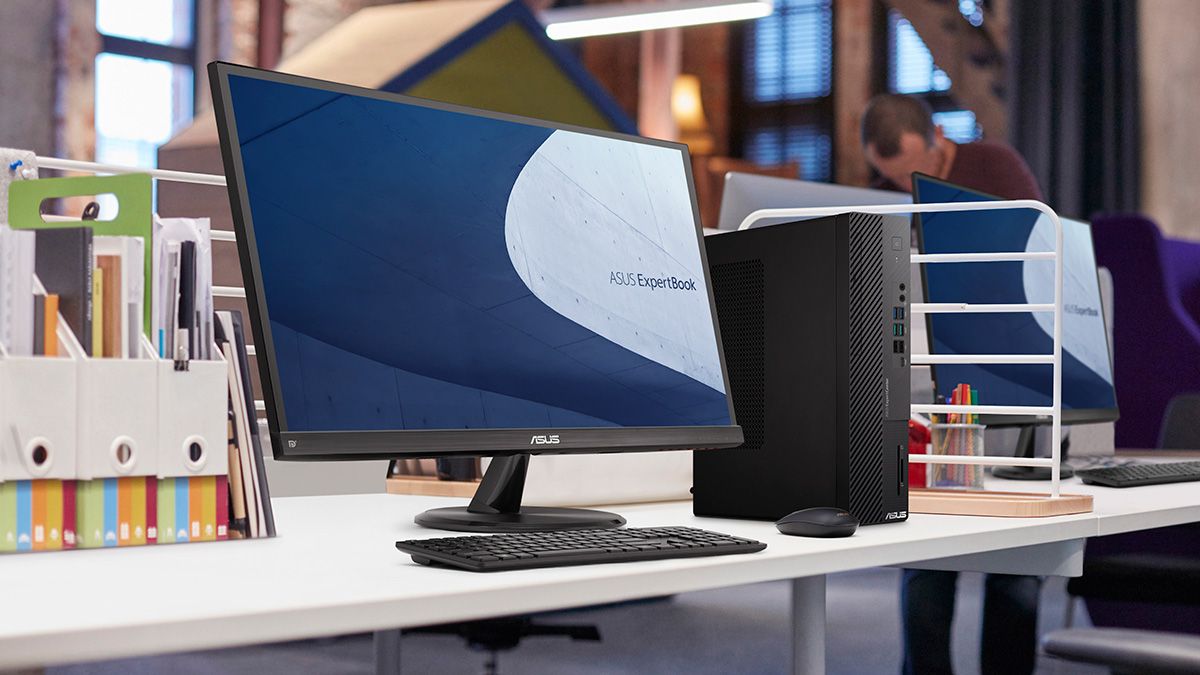
Look for a Small Form Factor PC
Running Home Assistant on your desktop isn’t a great long-term solution. However, a small form factor (SFF) PC can be a solid option. These are small PCs that are still powerful enough to cope with running your Home Assistant server but take up less space and consume less power. The best part is that you can usually find some good second-hand options at great prices.
If you’ve been running Home Assistant on a Raspberry Pi, an SFF PC can be a cost-effective way to upgrade to something with a little more power. You’ll then be able to run more complex automations, connect more devices, and use more resource-intensive add-ons without worrying about your hardware beginning to struggle.
Older SFF PCs such as the Dell OptiPlex, HP Thin Client, or Lenovo ThinkCentre can be found on sites such as eBay at very reasonable prices and can run your Home Assistant server and more. You may also be able to pick one up for a bargain on places like Facebook Marketplace. With a bit of luck, you can find a machine that can easily run Home Assistant, won’t take up much space, and isn’t going to send your electricity costs through the roof.
2
An N100 Mini PC Gives Plenty of Headroom
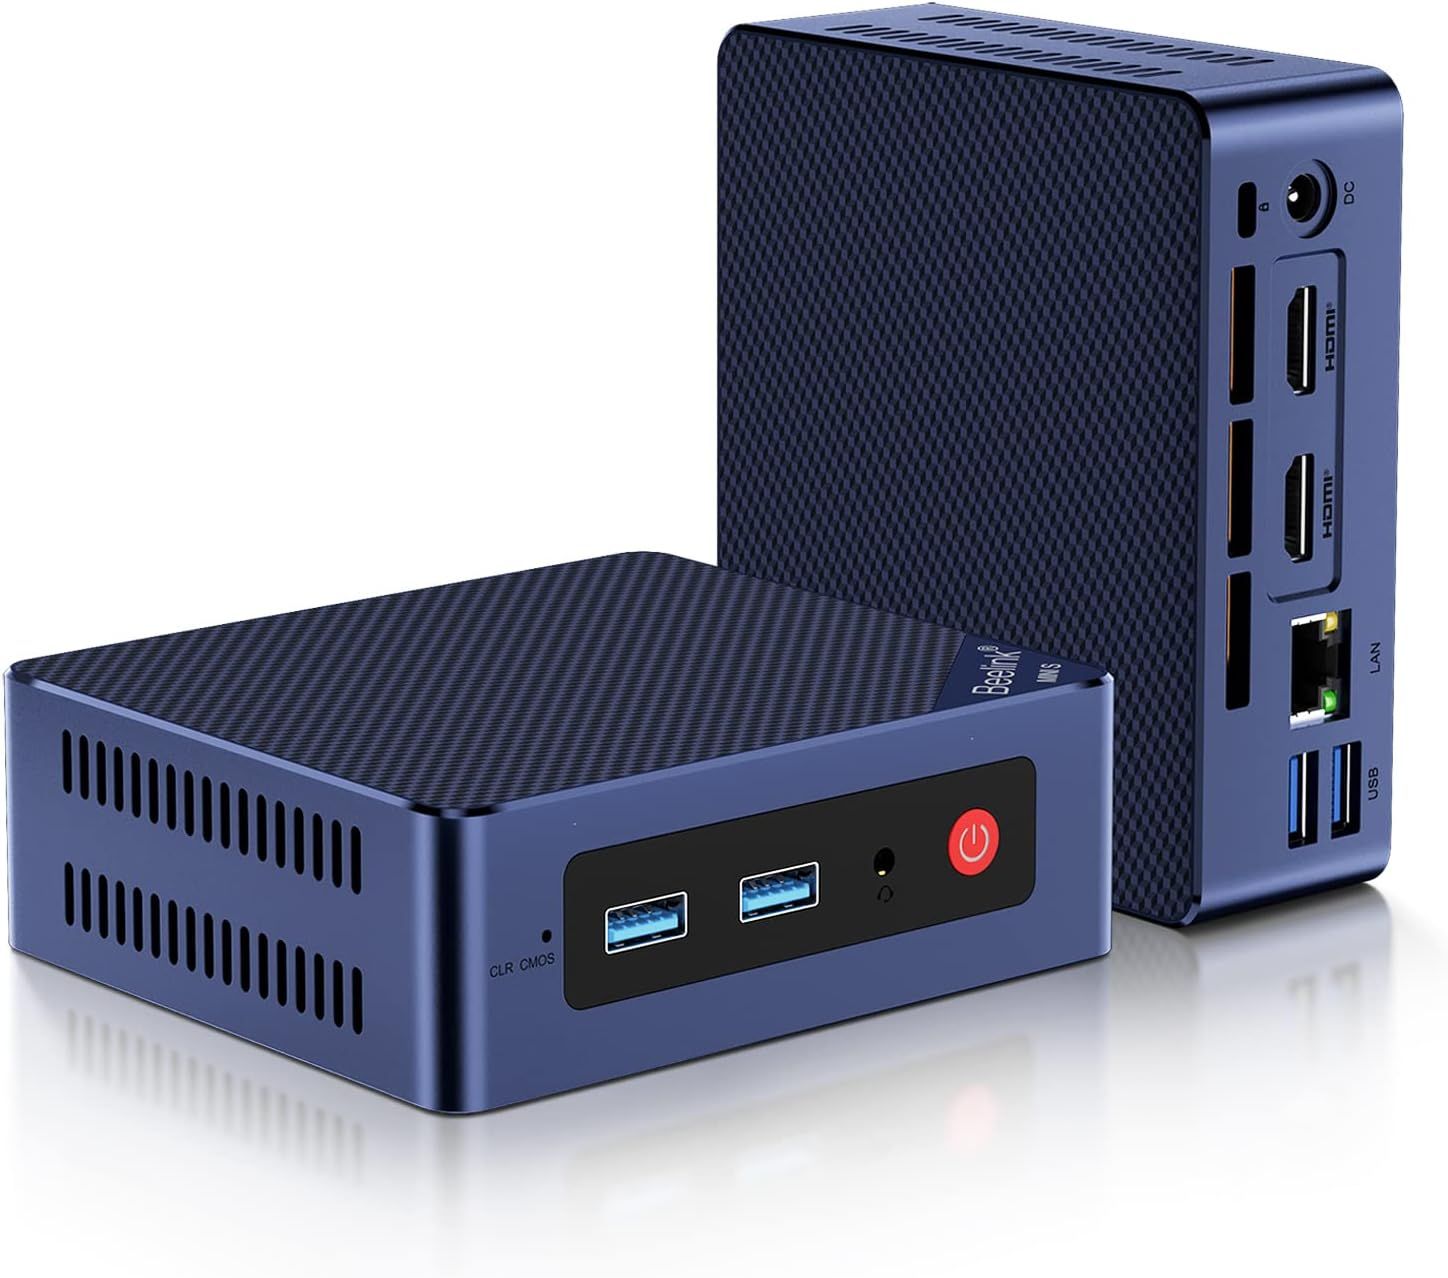
If you don’t want to go second-hand, you can find a good N100 mini PC for reasonable prices. These are mini PCs that run on the Intel N100 processor; they’re energy-efficient so you don’t have to be concerned about running them 24/7, but they’re powerful enough to run Home Assistant alongside some other services.
I’m currently running Home Assistant on a Beelink Mini S12 Pro, that includes a 3.4GHz N100 processor, 16GB of RAM, and a 500GB SSD. It’s more than enough to run Home Assistant, but I use the Proxmox virtualization platform, which allows you to create multiple virtual machines and Linux containers that can run different software simultaneously. As well as Home Assistant, I run services such as Node Red, an MQTT broker, Plex, NextCloud, Pi-hole, and more, each in its own VM or container, and so far it’s been rock solid.
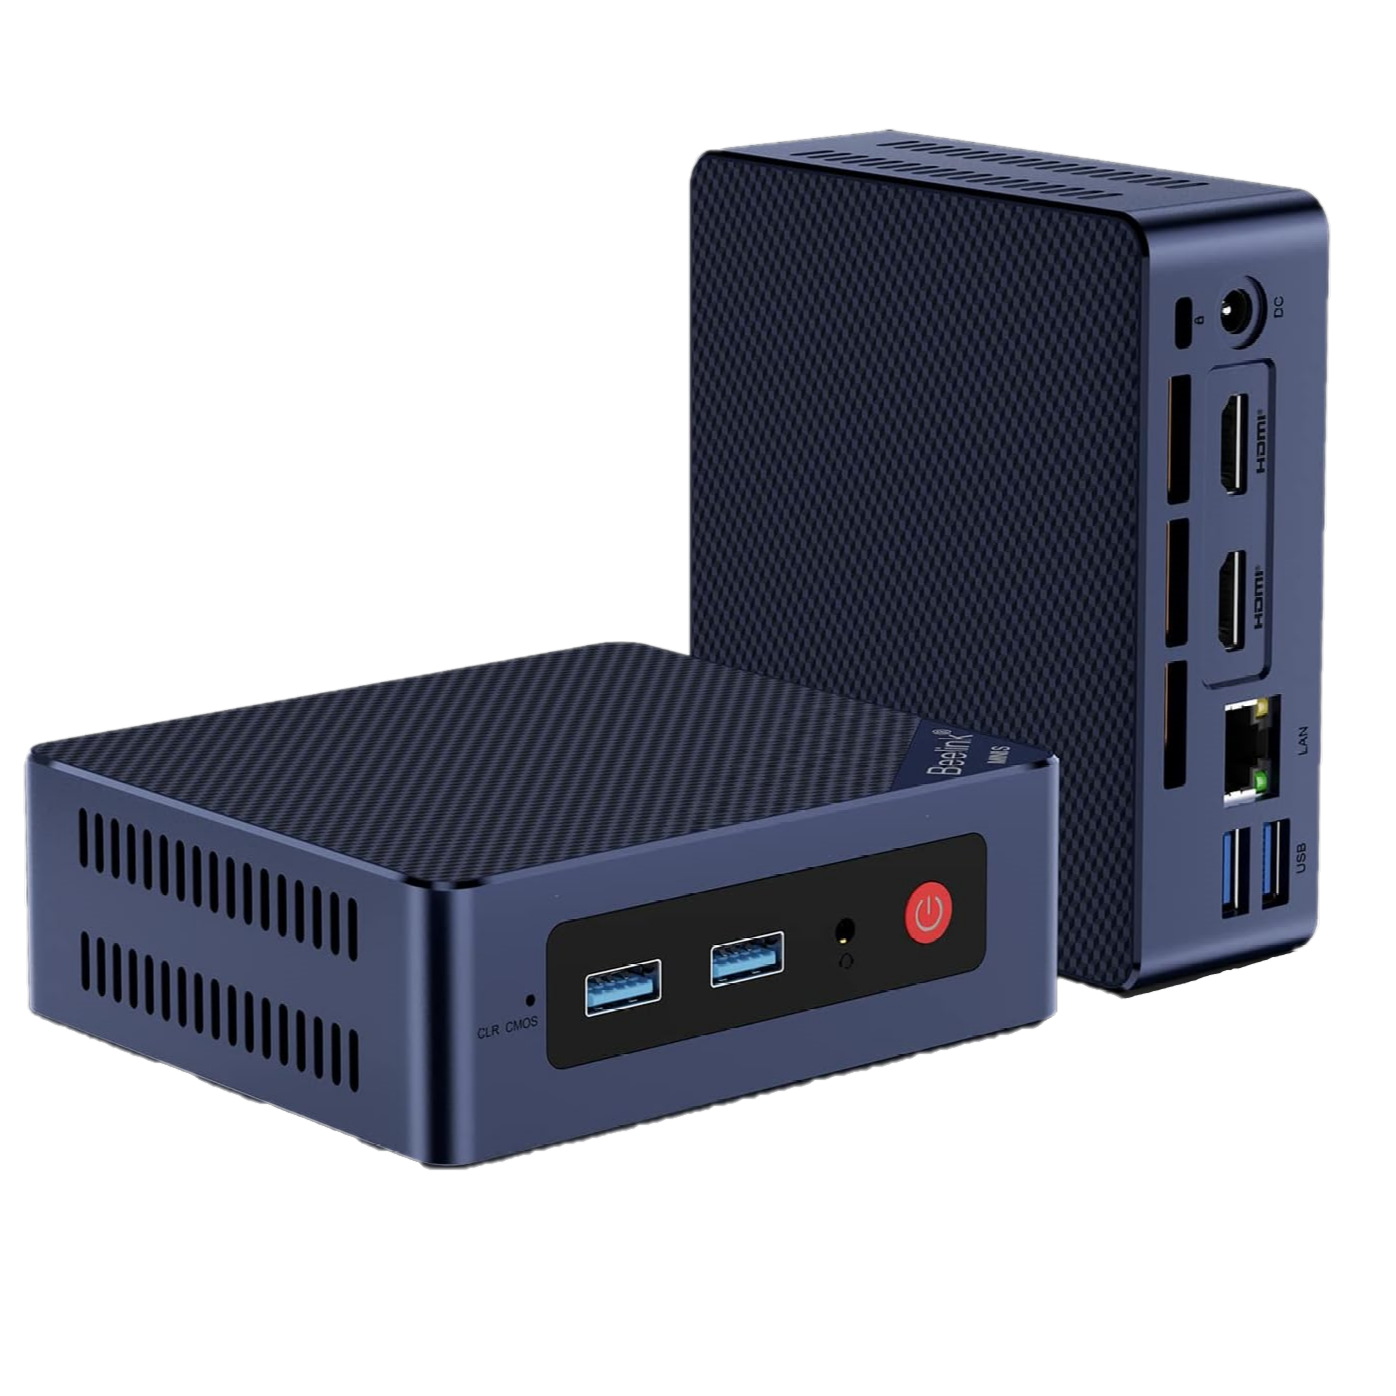
Beelink Mini S12 Pro
The Beelink Mini S12 Pro packs a lot for less than $200. The CPU is powerful enough for everyday tasks, there is16GB of memory, an iGPU capable of playing 4K videos, a 512GB SSD, Wi-Fi 6, all inside a tiny case that can fit anywhere.
You can also get mini PCs with the N150 processor, such as the Beelink Mini S13, although the bump in performance isn’t that huge. If you can find one for a similar price to an N100 model, however, then it’s worth going for.
Related
From tiny single-board computers to compact gaming machines with room for a full-sized graphics card.
1
Choose a NUC For Home Assistant and More
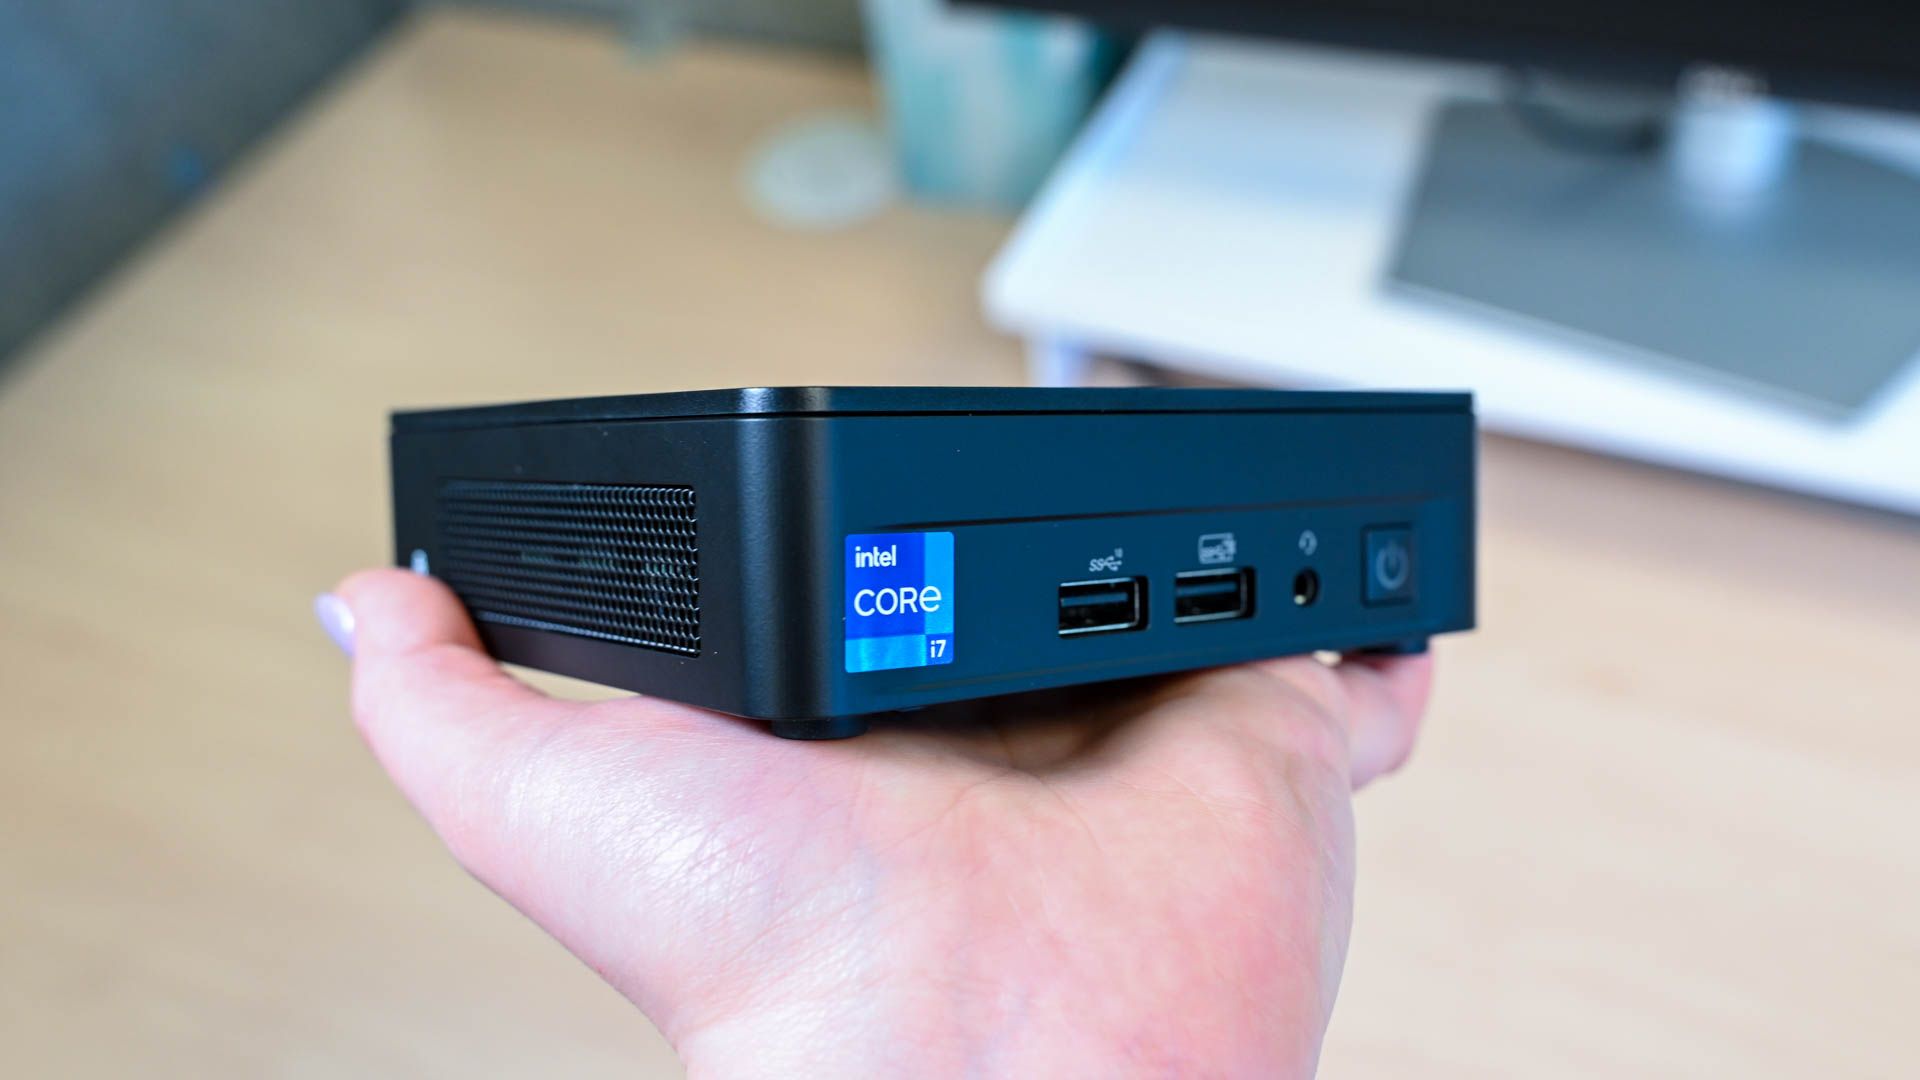
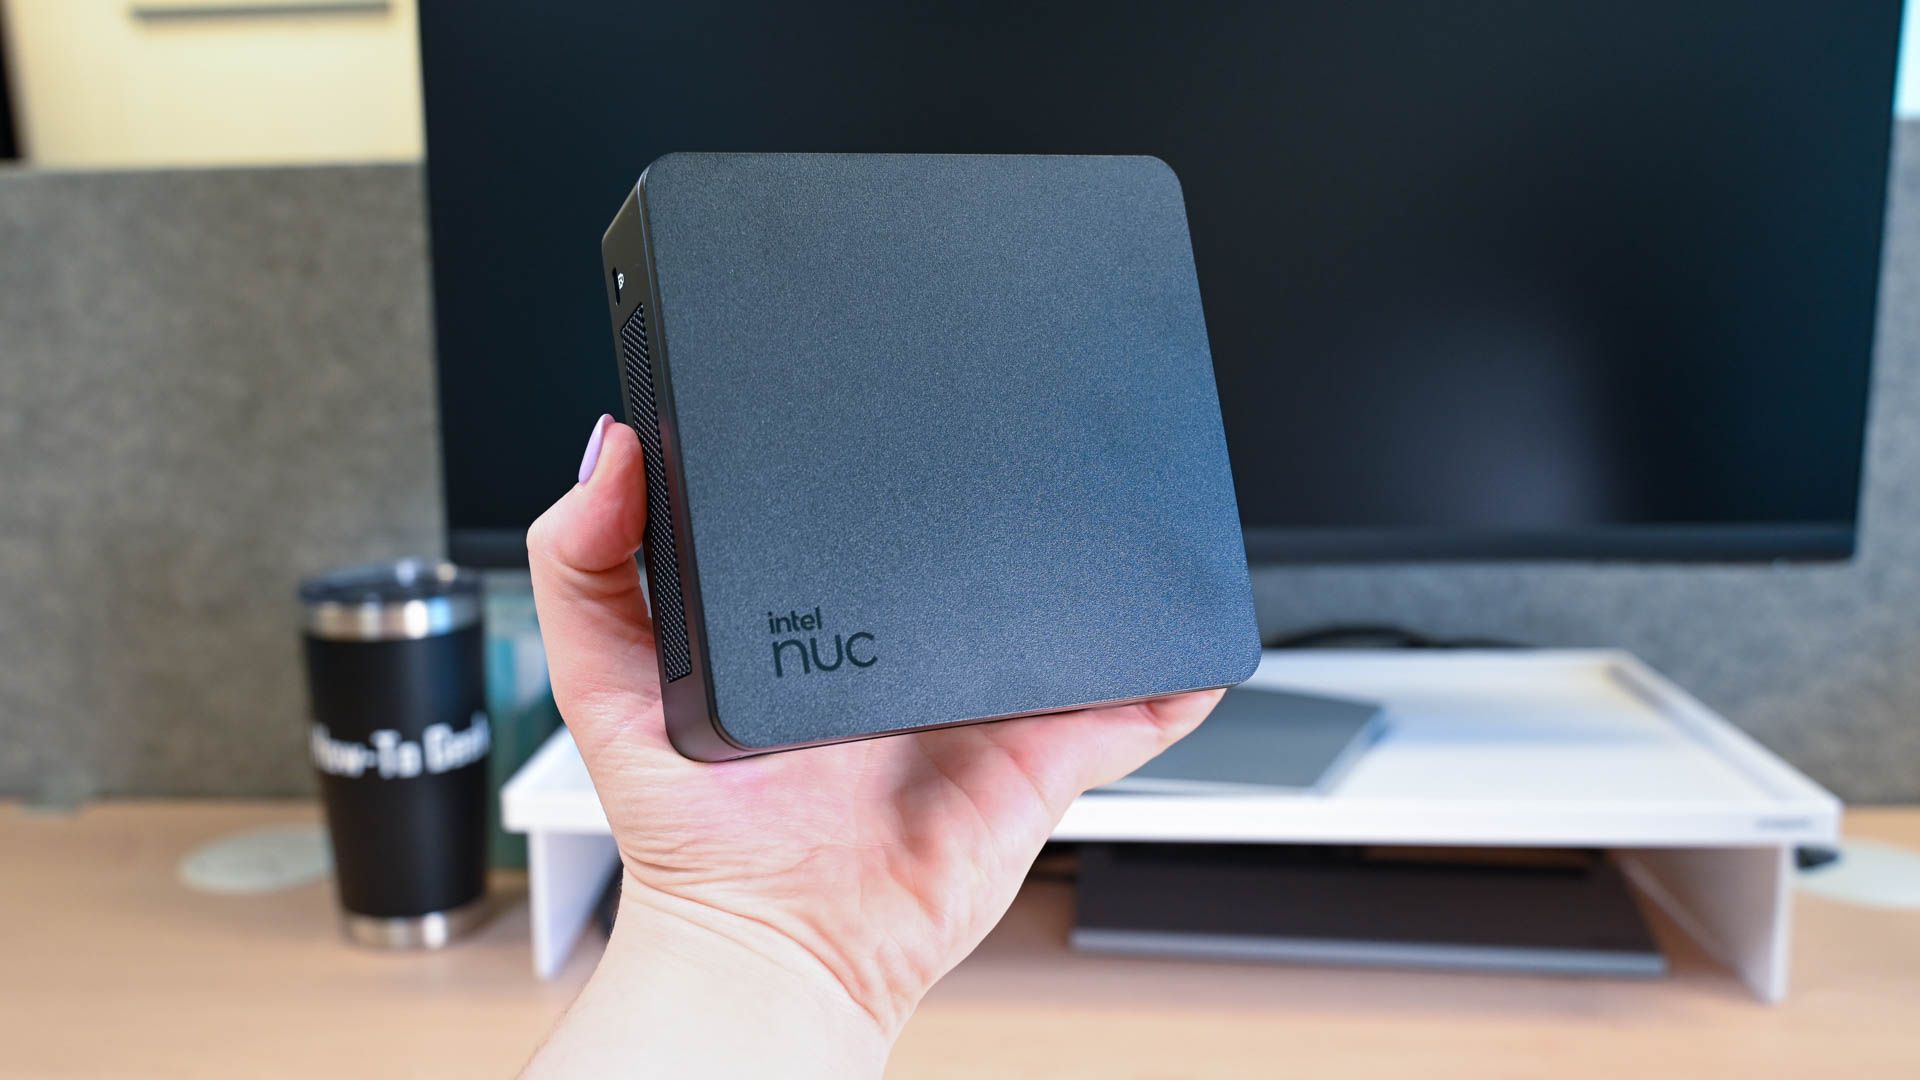
If you want something that can run Home Assistant alongside a lot of other homelab services, then an Intel NUC could be a good choice, although it’s a more expensive option. These are Intel’s own mini PCs, and you can find models that are more powerful and offer far more RAM than N100 mini PCs can support.
Home Assistant itself isn’t typically hugely resource-intensive, so a powerful Intel NUC is overkill for Home Assistant alone. However, that additional headroom means you can run a lot more, such as Nextcloud, Immich, and Plex with multiple streams, all on the same machine.
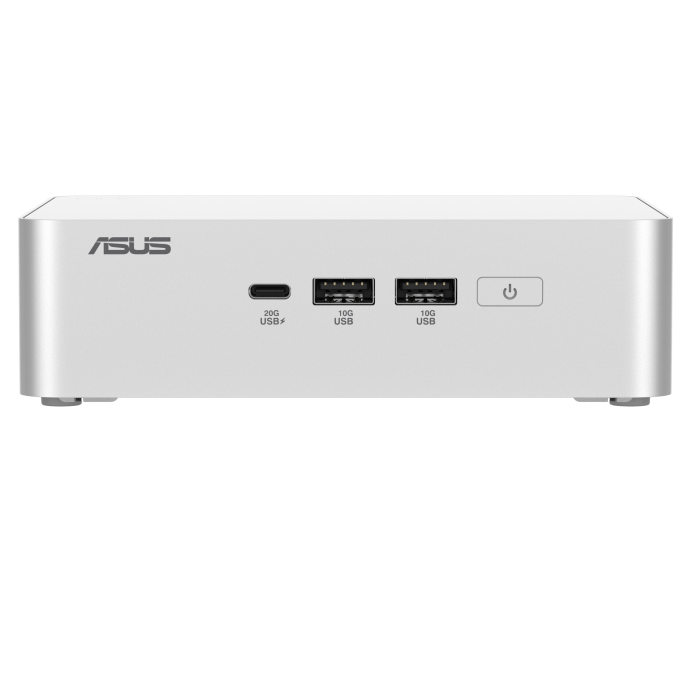
ASUS NUC 15 Pro+
Available in pre-loaded and barebones configurations, the ASUS NUC 15 Pro+ features a powerful Intel Core Ulta 9 285H processor in its top-end configuration. The mini PC can also handle up to 96GB of RAM and 4TB of SSD storage.
Intel announced in 2023 that it would discontinue its line of NUC computers, but thankfully, Asus took over the mantle and continues to release new NUC models. You can still get hold of older Intel models, too.
You don’t need to buy expensive equipment to run Home Assistant. You can try it out on your desktop or laptop for free or install it on a Raspberry Pi for very little cost.
As your smart home grows, however, you might decide you need to upgrade. The good news is that there are plenty of options out there to suit your specific needs, whether you’re looking for a low-power option or a more powerful machine to run Home Assistant alongside other services. Whatever option you go for, just be prepared for the endless hours of tinkering that Home Assistant will bring.


