Photographing nature has traditionally been done with DSLR or mirrorless cameras. Smartphone cameras have come a long way, but quality images still depend on how you use them. From developing simple habits to adding equipment and third-party apps, stunning photos of nature are just a few taps away.
Learning Basic Composition Skills
Whether you’re shooting nature, street photography, or any other genre, basic composition skills are essential for capturing stand-out images. The following techniques are fairly straightforward and don’t require any specialist gear or technical knowledge. With just your smartphone and a little attention to framing, you can capture more balanced and beautiful shots in nature.
The Rule of Thirds
This is a classic photography guideline where you divide your frame into three horizontal and three vertical sections. Most smartphones let you turn on this 3×3 grid in the settings, but you can also estimate it by eye.
The lines divide your image into nine equal parts. The pink dots in the image above mark the four key spots where the lines cross. These are the spots where the rule of thirds suggests placing your main subject—not in the center, but just off to the side.
For example, if you’re photographing a snow-capped peak, try placing it on the left or right side of the frame. This creates a sense of balance and gives the viewer room to take in the rest of the scene, like the sky or foreground.
Likewise, when shooting a sunset, avoid putting the sun dead center. Instead, frame it off to one side to leave space for dramatic colors or a silhouette.
You can also use the top or bottom third of the frame to position horizons. When placing the sky or foreground close to or on one of these lines, you’ll get a more balanced and visually pleasing composition. You should also ensure horizons are straight.
Leading Lines
Leading lines can make your images stronger. They draw the viewer’s eye through the image. This could be a riverbank, rows of crops, or driftwood on a beach. They guide attention toward your subject or deeper into landscapes, creating a sense of depth and movement. A winding hiking trail might lead up toward a peak, or a river could draw the eye to a distant fishing boat.
Lines also influence mood. Horizontal lines, like a calm ocean horizon or a low blanket of fog, can convey tranquility. Diagonal elements, such as a mountain ridge cutting across the frame or beams of sunlight streaming through a canopy, add energy and motion.
Jagged rock formations or rough coastlines can introduce tension and drama, while vertical lines like tall tree trunks suggest strength and height. This can be from the ground looking up to emphasize grandeur or from a distance, where the trees stand like pillars against the sky.
Symmetry and Patterns
Our eyes are drawn to symmetry and repetition. In nature, you can look for reflections in a still lake or a row of evenly spaced trees. Ripples in the water, the overlapping scales of a pinecone spiraling outward, or the repetitive lines of a spiderweb caught in the sunlight add structure and visual interest to nature shots and can evoke feelings of harmony and calm.
Point of View
Changing your shooting angle can have a dramatic effect on your pictures. Most people will shoot from eye level, and why not? It’s more comfortable. But it’s better to get down to ground level to capture some things.
Crouching down to shoot a field of tulips means you can fill the foreground with flowers. The low angle makes the viewer feel closer to the scene and can emphasize the sense of depth between the flowers and the landscape behind.
Climbing up to a higher vantage point to shoot a forest canopy can reveal fresh patterns, textures, and symmetry and an altogether different perspective from shooting from the ground.
Background
Backgrounds can be distracting in any kind of photo, even in nature shots. Cluttered branches behind a bird or harsh sunlight filtering through trees can pull attention away from your subject. Be aware of what’s in your background, and if it looks disruptive, shift your position for a clearer frame. For example, if messy branches and twigs are behind a butterfly on a leaf, reframe the shot so that your subject is backed by blue sky or soft greenery to keep the focus on where it should be.
You can also use your phone’s settings to create nice blurry backgrounds, known as bokeh.
Timing Shots to Make the Most of Natural Light
Even with the powerful HDR on phones like the iPhone 16 Pro or Samsung Galaxy S25 Ultra, natural light still makes a huge difference to smartphone photos. When shooting in nature, it can completely change the look and mood of an image.
The best times to capture natural light are during the golden and blue hours. Each of these times offers unique light to help you capture beautiful shots with your smartphone.
Golden hour
This is the time shortly after sunrise or just before sunset. The sun is low in the sky, which creates warm colors and long, soft shadows. Everything from trees to mountain peaks looks more textured and dramatic without overly harsh contrast.
Blue hour
Right before sunrise or just after sunset comes the blue hour. The sun has just dipped below the horizon, but the sky still glows. The light is cooler and more even, making for quiet, moody shots of lakes, misty valleys, and wide-open landscapes.
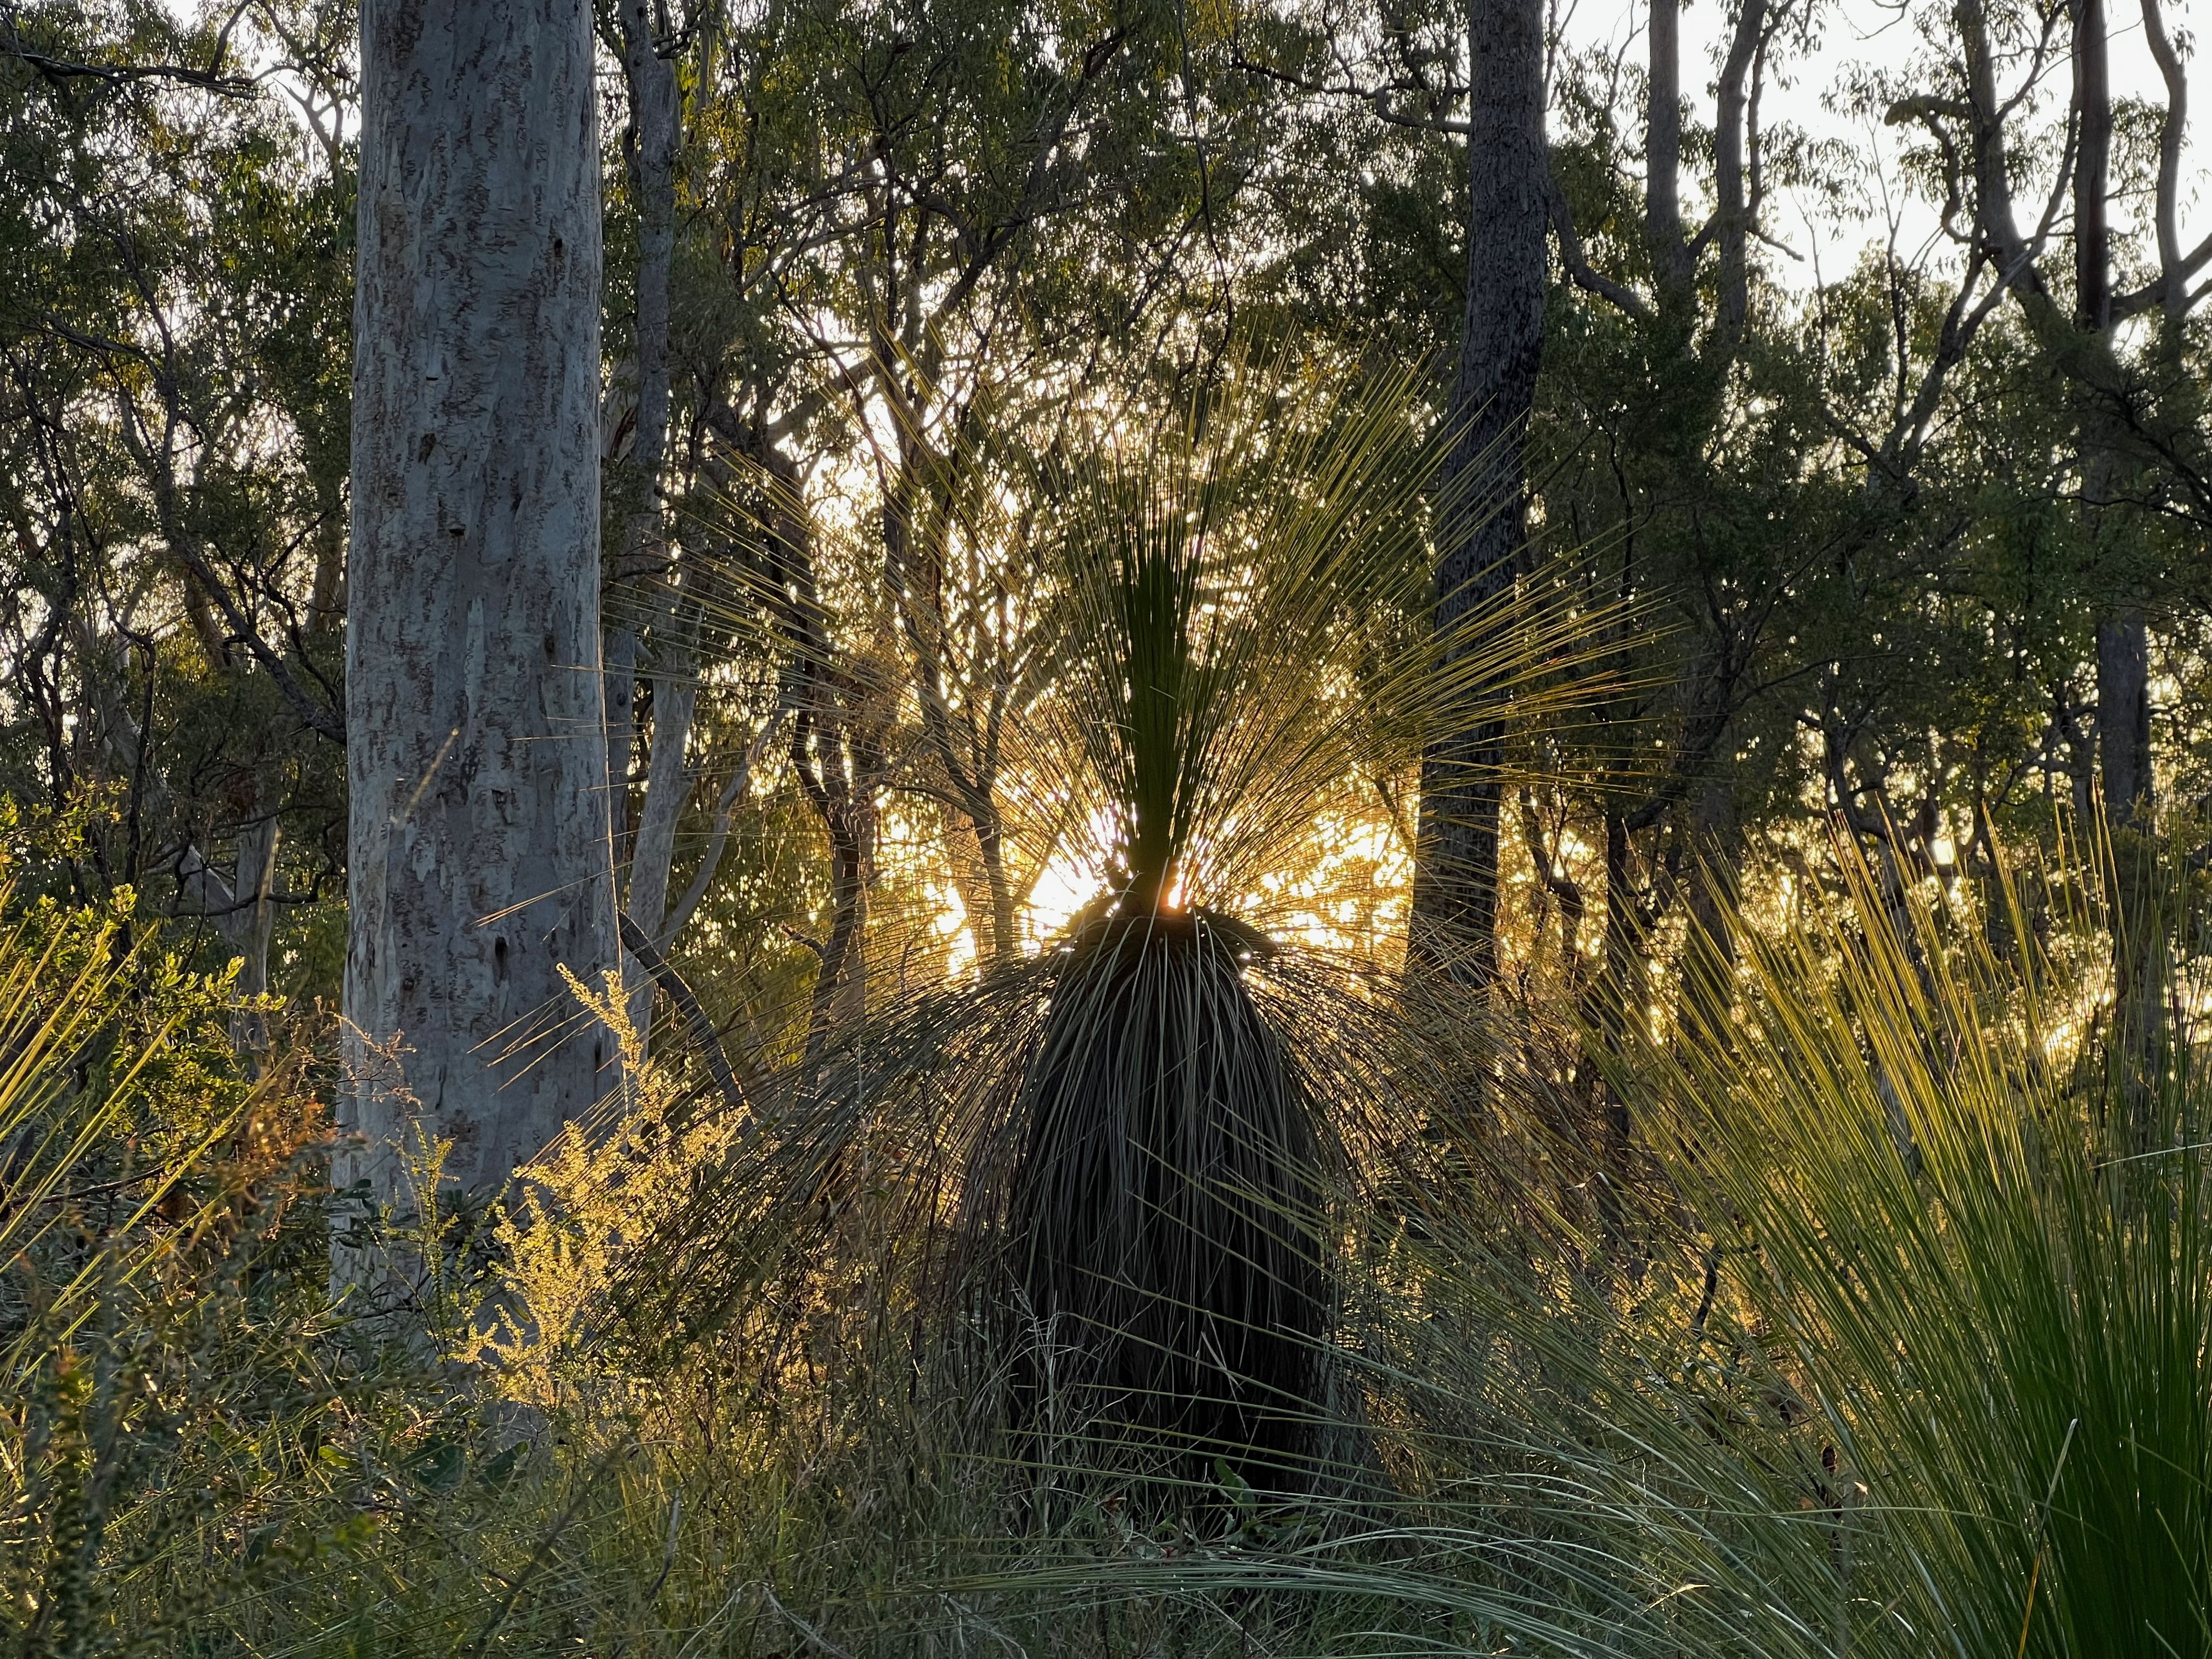
To bring out details and avoid glare at these times, pay attention to the direction, color, and softness of the natural light. Side lighting helps reveal the texture of rocks and tree bark, while backlighting might create a soft glow around your subject. Low-angle sunlight during these times also helps scenes appear more balanced and natural.
Keeping Shots Sharp With Simple Techniques
When shooting in nature, you can keep shots sharp by using a tripod or propping your phone on a rock to help prevent blur. This is especially true when shooting in low light, taking close-up macro shots, or when using long exposures to capture cascading waterfalls or moving clouds to create soft, flowing motion.
A smartphone tripod is useful even if you have a flagship model featuring superior optical image stabilization like the iPhone 16 Pro. It can help to stabilize just that little bit more for better detail and sharper images. With standard iPhones and mid-range Android phones, a tripod will greatly benefit your images when the light drops or when detail is vital to your composition.
Using a Clip-On Macro Lens to Reveal Nature’s Fine Detail
A clip-on macro lens still has its place in modern smartphone photography. While flagship phones now offer excellent built-in macro modes, a clip-on lens can still enhance results. They may be a luxury for owners of the Pixel 9 Pro, iPhone 16 Pro, or Galaxy S25 Ultra, but they’re very useful for anyone using a mid-range or older phone.
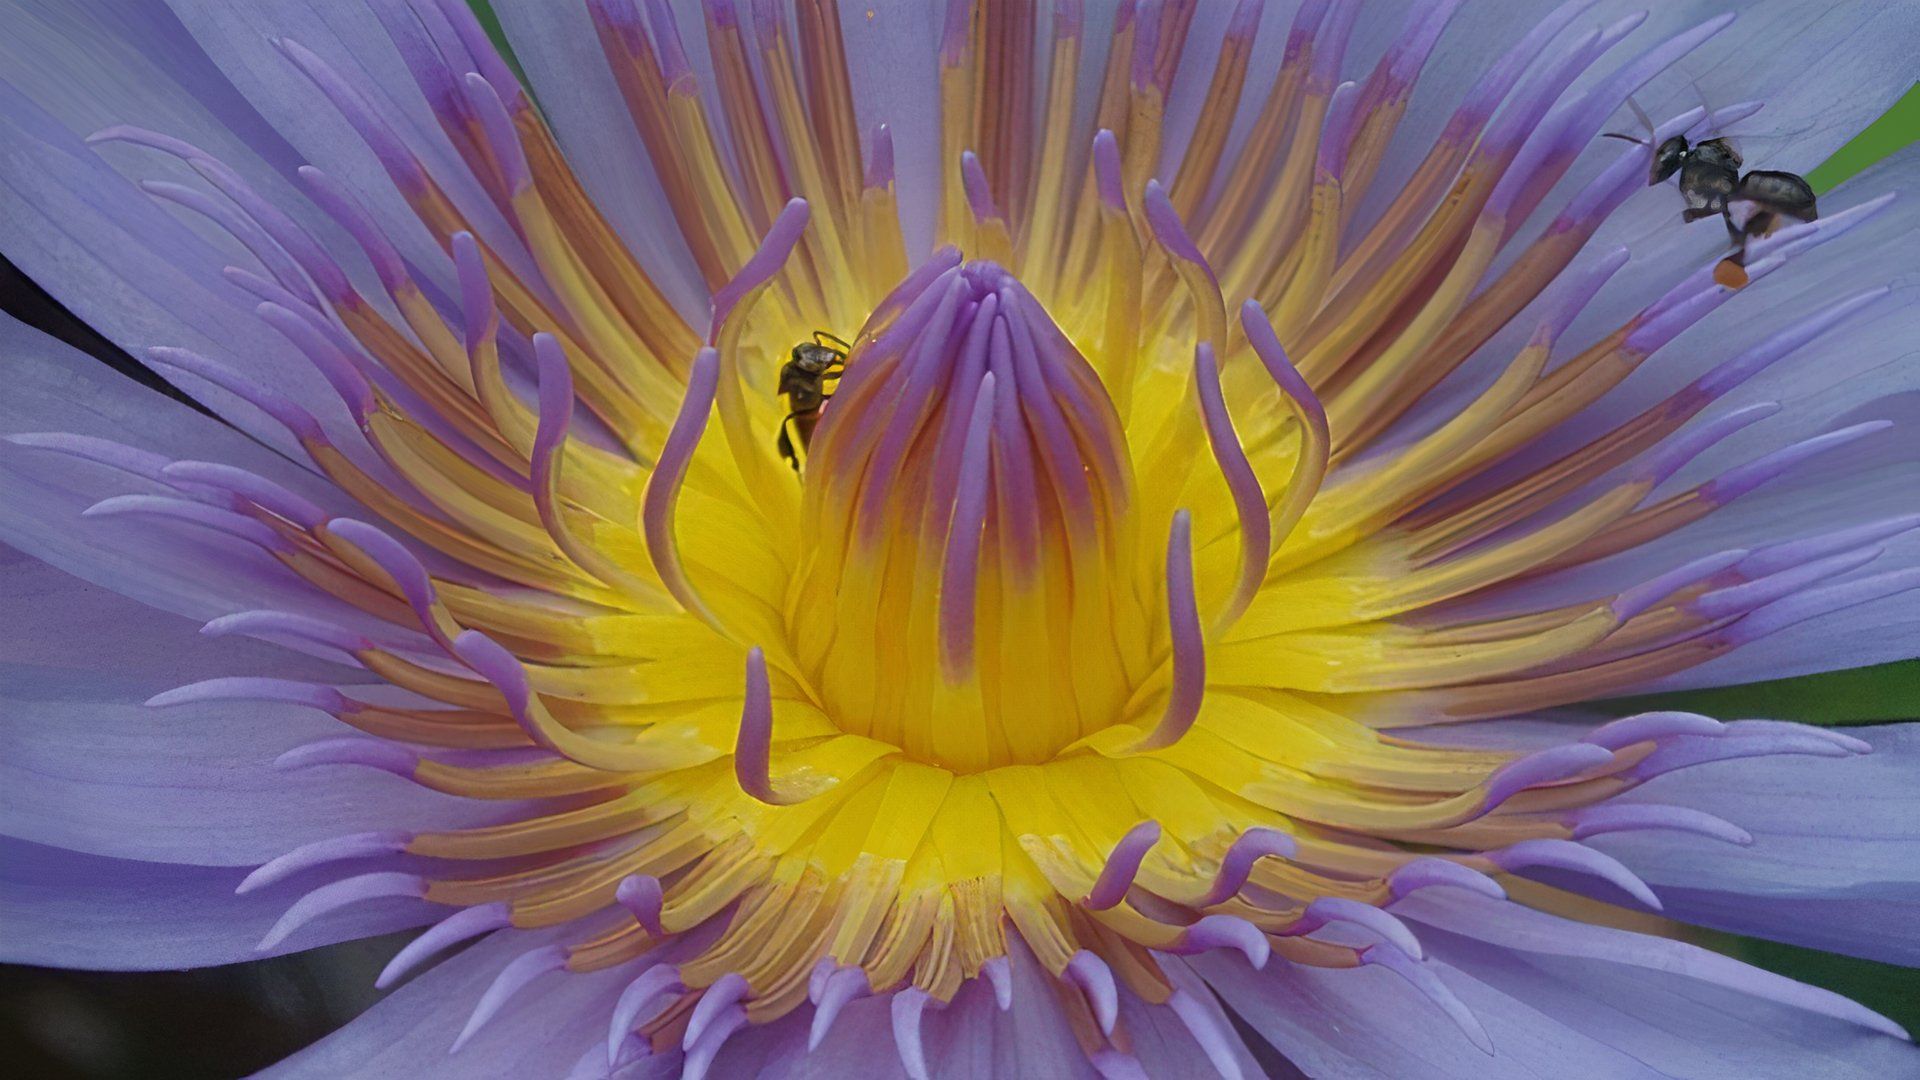
You can get extremely close to small subjects like insects, leaves, or the textures in tree bark and rocks, revealing detailed patterns you might not see with the naked eye. These lenses are lightweight, affordable, and easy to attach—but stability and precise focus are key when shooting this close.
Adding a Polarizing Filter to Cut Glare and Enhance Natural Color
A polarizing filter isn’t essential for every shot. However, when used properly, it can make nature look richer and more balanced. Flagship phones do offer advanced HDR and image processing, but they still can’t fully replicate what a physical polarizer does.
A circular polarizing filter (CPL) will deepen skies, enrich color, and improve contrast by blocking certain light waves before they reach your phone’s sensor. They are particularly effective with bright, glare-heavy images. So, when you’re shooting nature scenes around water, a CPL can help cut out harsh reflections and bring out the natural color and texture that might otherwise be lost.
Tackling Shifting Light and Moving Subjects With Manual Settings
Using manual camera settings lets you take better control of how you capture light, motion, and focus. In automatic mode, your camera makes all the decisions for you. But if you want to freeze a bird in mid-flight or soften the flow of a rapid river, you’ll need to adjust the shutter speed.
You can also raise the ISO as the light fades or fine-tune the focus when taking close-up macro shots of insects or leaves. It takes the guesswork away from your phone and puts you in control when shaping the mood and clarity of your images.
Some top-of-the-range smartphones, such as the Galaxy S25 series or the Google Pixel 9 Pro, have full manual modes built in. Others, including the iPhone 16 series and the Pixel 9, have limited or no manual controls and require a third-party app for this purpose. Other Android phones may offer comprehensive manual camera controls or may require a dedicated app.
ProShot is one of the best apps to use with Android for manual photography, with Open Camera an excellent free option. For iPhone users, Pro Camera by Moment is one of the most respected, while Lumina will do the job for any Apple users seeking a free app.
However, there are many other excellent options for both iOS and Android, so try a few to find the right one for you. Many of these apps also support RAW shooting, which opens up more flexibility when editing.
Shooting in RAW for Way More Flexibility When Editing
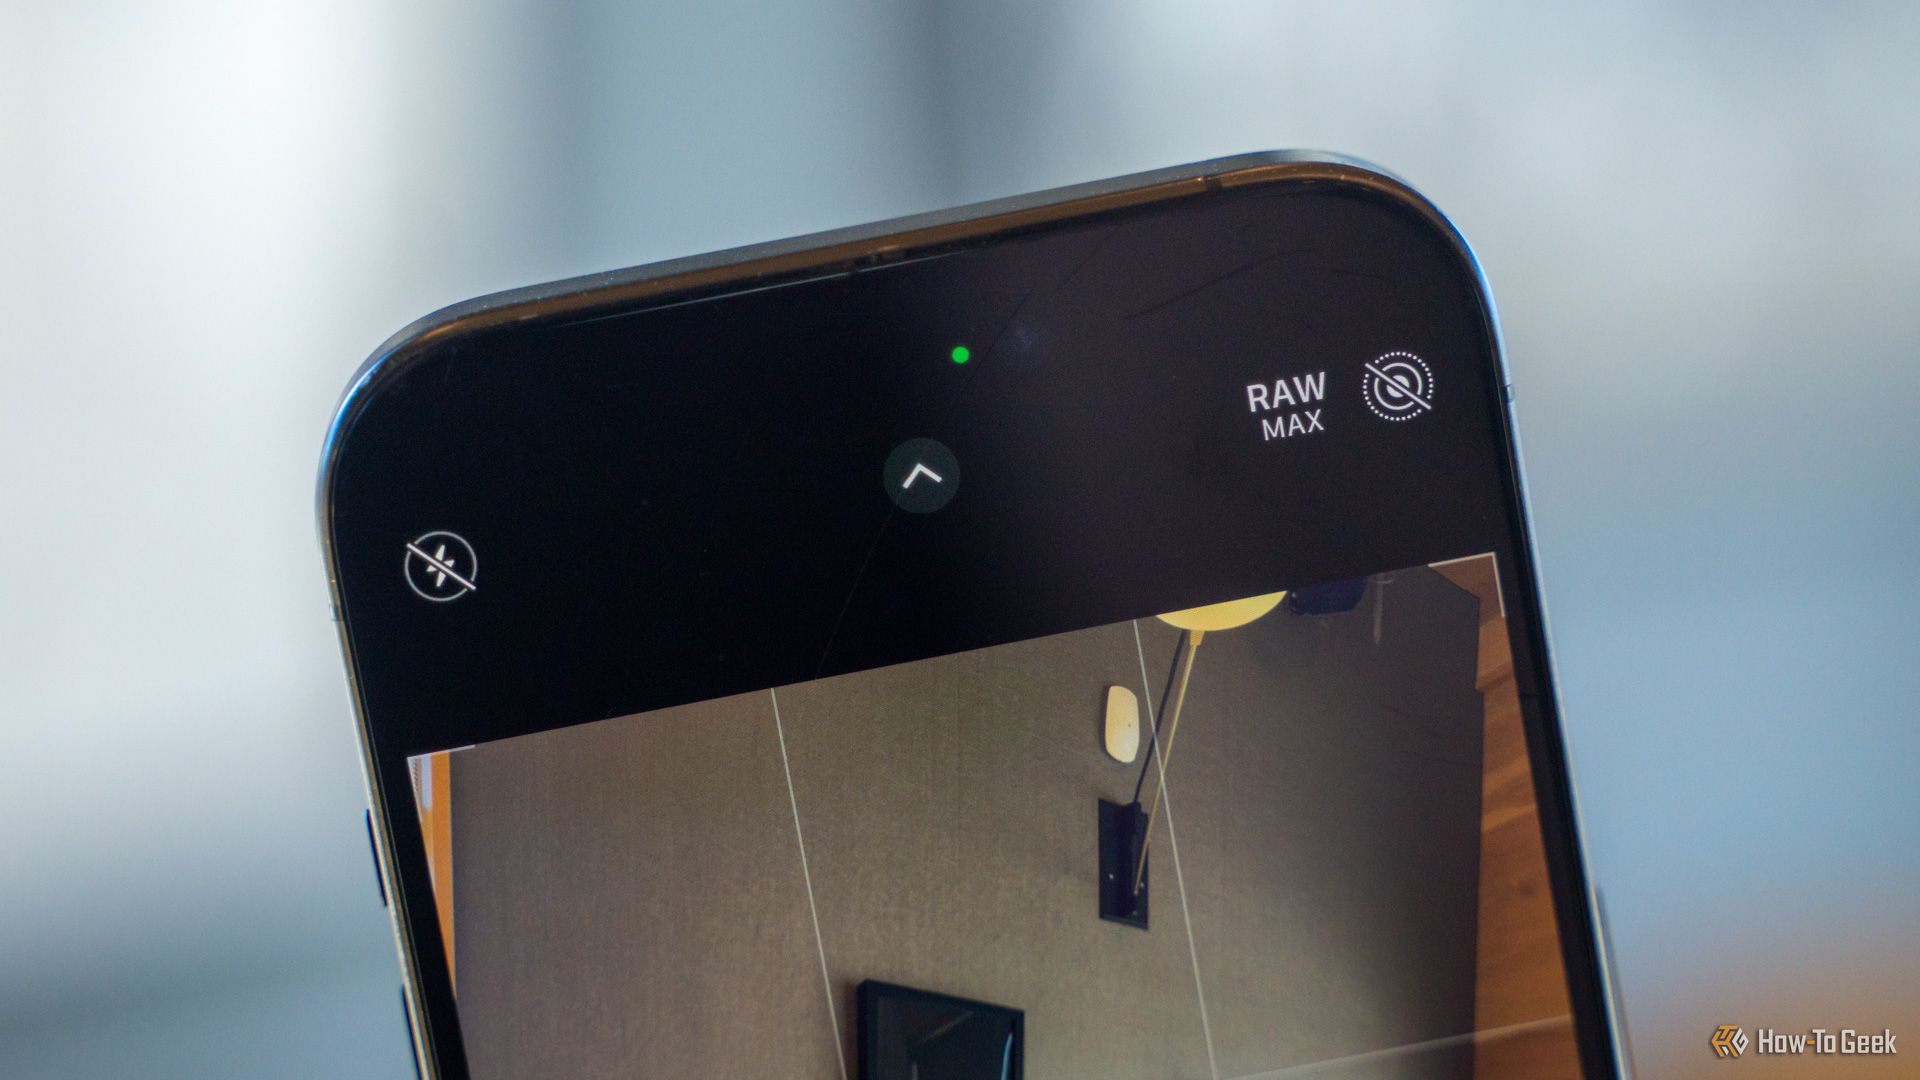
The above apps also support RAW photography. Shooting in RAW format means your phone saves all the unprocessed image data, unlike JPEGs, which create smaller files by compressing and discarding some information.
Images in RAW format keep all the details in highlights, shadows, and color and allow you to fix exposure, recover details, and adjust white balance without ruining your image. This can be helpful when shooting outdoors where the light is not always ideal.
RAW format also helps you improve any high-contrast images you have taken, such as snow-capped peaks against blue skies. If you’re serious about improving your nature photography, RAW shooting gives you a lot more to work with.
Most newer smartphones and many mid-range Android phones support RAW shooting, while some require a third-party app like the ones mentioned in the previous section.
All it takes is a few simple techniques and the right tools to set you on your way to becoming a better smartphone photographer. With a bit of learning and a lot of practice, your smartphone can even capture nature in ways that rival the best DSLRs or mirrorless cameras. Think about composition, master the light, and sharpen your shots to create more thoughtful, detailed, and stunning photos in nature.


