Key Takeaways
- FreedomBox allows users to host services like chat, Git, and MediaWiki on a Raspberry Pi, prioritizing privacy and security.
- FreedomBox is well-supported on Raspberry Pi 3 and 4, making it an excellent option for setting up services at home.
- After flashing FreedomBox onto an SD card for the Pi, users can access the web interface to set up, configure, and monitor various applications.
Want to host your own chat, wiki, or file storage on a Raspberry Pi in your home? FreedomBox is a free and open-source server solution that makes it easy. Here’s how to get FreedomBox up and running.
What is FreedomBox?
FreedomBox is a privacy-centric software suite that transforms your Raspberry Pi into a personal server. By converting your Pi into a FreedomBox server, you can host services typically provided by online cloud platforms.
FreedomBox prioritizes privacy and security, giving you complete control over your data. With it, you can host your own chat service, Git source control, MediaWiki, and more.
Although this guide focuses on using FreedomBox on the Raspberry Pi, it’s not the only supported platform. FreedomBox can also be installed on a wide range of single-board computers and VirtualBox or QEMU/KVM virtual machines.
Why Run FreedomBox on Raspberry Pi?
There are many ways to run FreedomBox, but it’s a great fit for the Raspberry Pi. For one, the Raspberry Pi enjoys excellent support from FreedomBox (specifically models 2, 3, and 4), ensuring you’ll always have access to updates. Additionally, the Pi line of products is extremely well-supported, with excellent community backing and an affordable price point.
If you’re looking to set up a few services to run in your home, FreedomBox on a Pi is one of the best options – especially since you don’t need extensive technical knowledge to get it up and running.
Flashing FreedomBox to Raspberry Pi
To get started, you’ll need to install the Raspberry Pi Imager tool on your computer. This tool is necessary for creating a bootable SD card for FreedomBox on your Raspberry Pi. To download the tool, visit the official website.
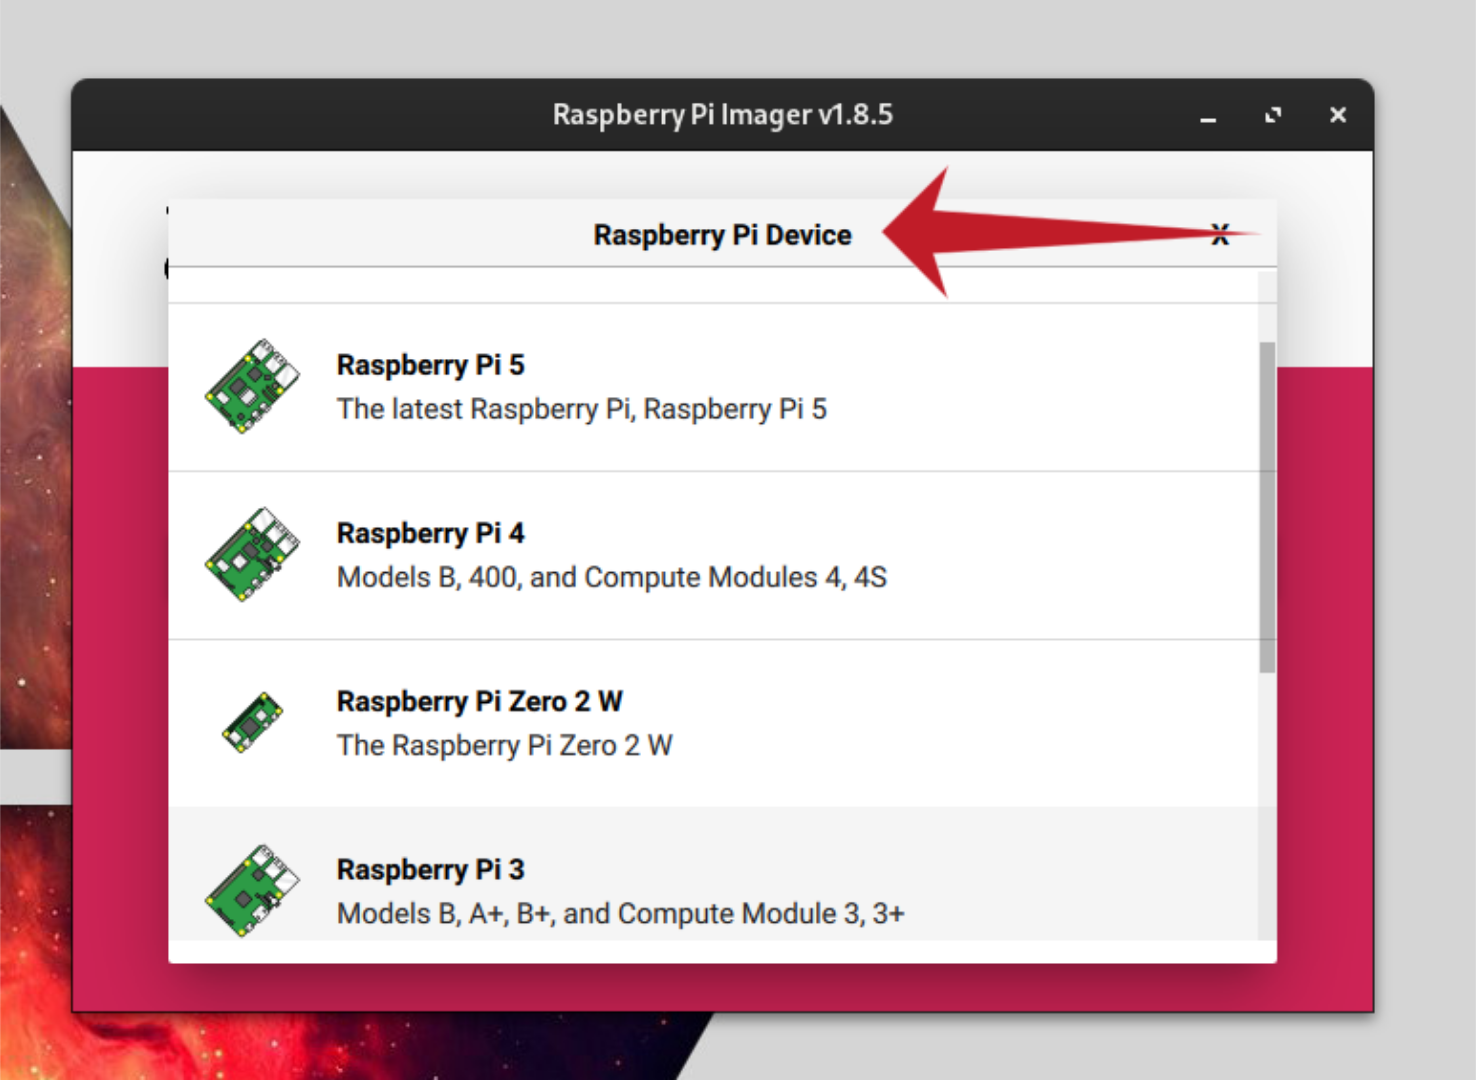
Once you’ve downloaded the Raspberry Pi Imager tool, install and launch it on your computer. With the tool open, click the “Choose Device” button and select your Raspberry Pi device to use with FreedomBox. Currently, FreedomBox is supported on the Pi 3 and 4.
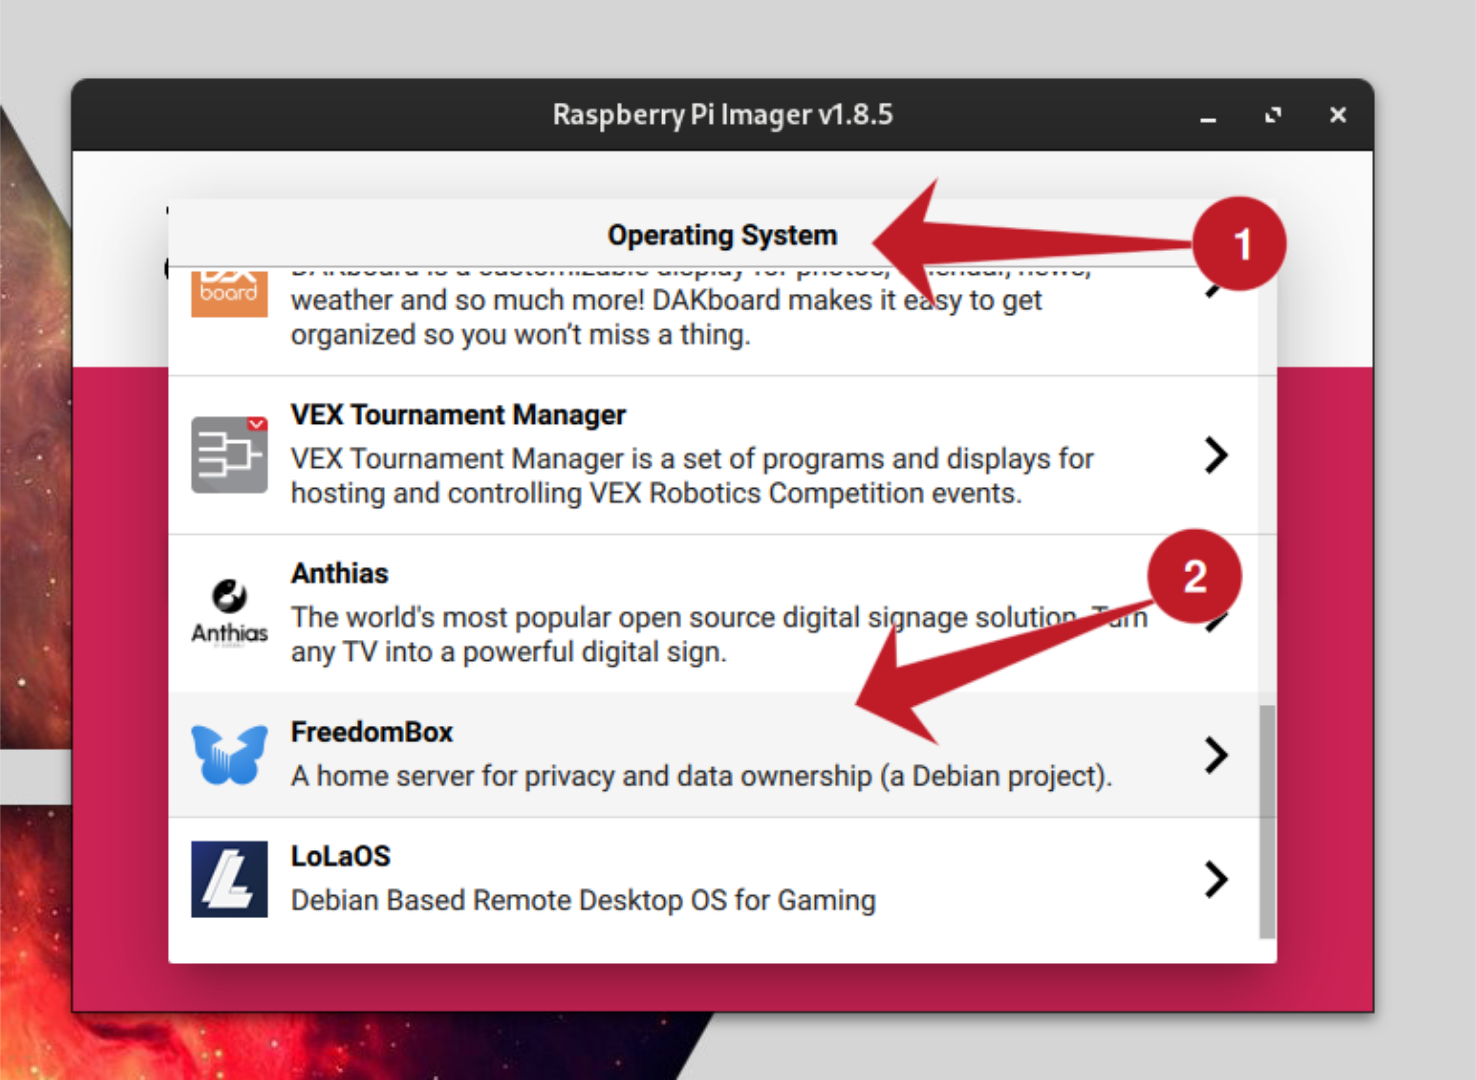
Next, click the “Choose OS” button, navigate to “Other specific-purpose OS,” and select “FreedomBox.” This will set FreedomBox as the OS to be flashed with the RPi Imager.
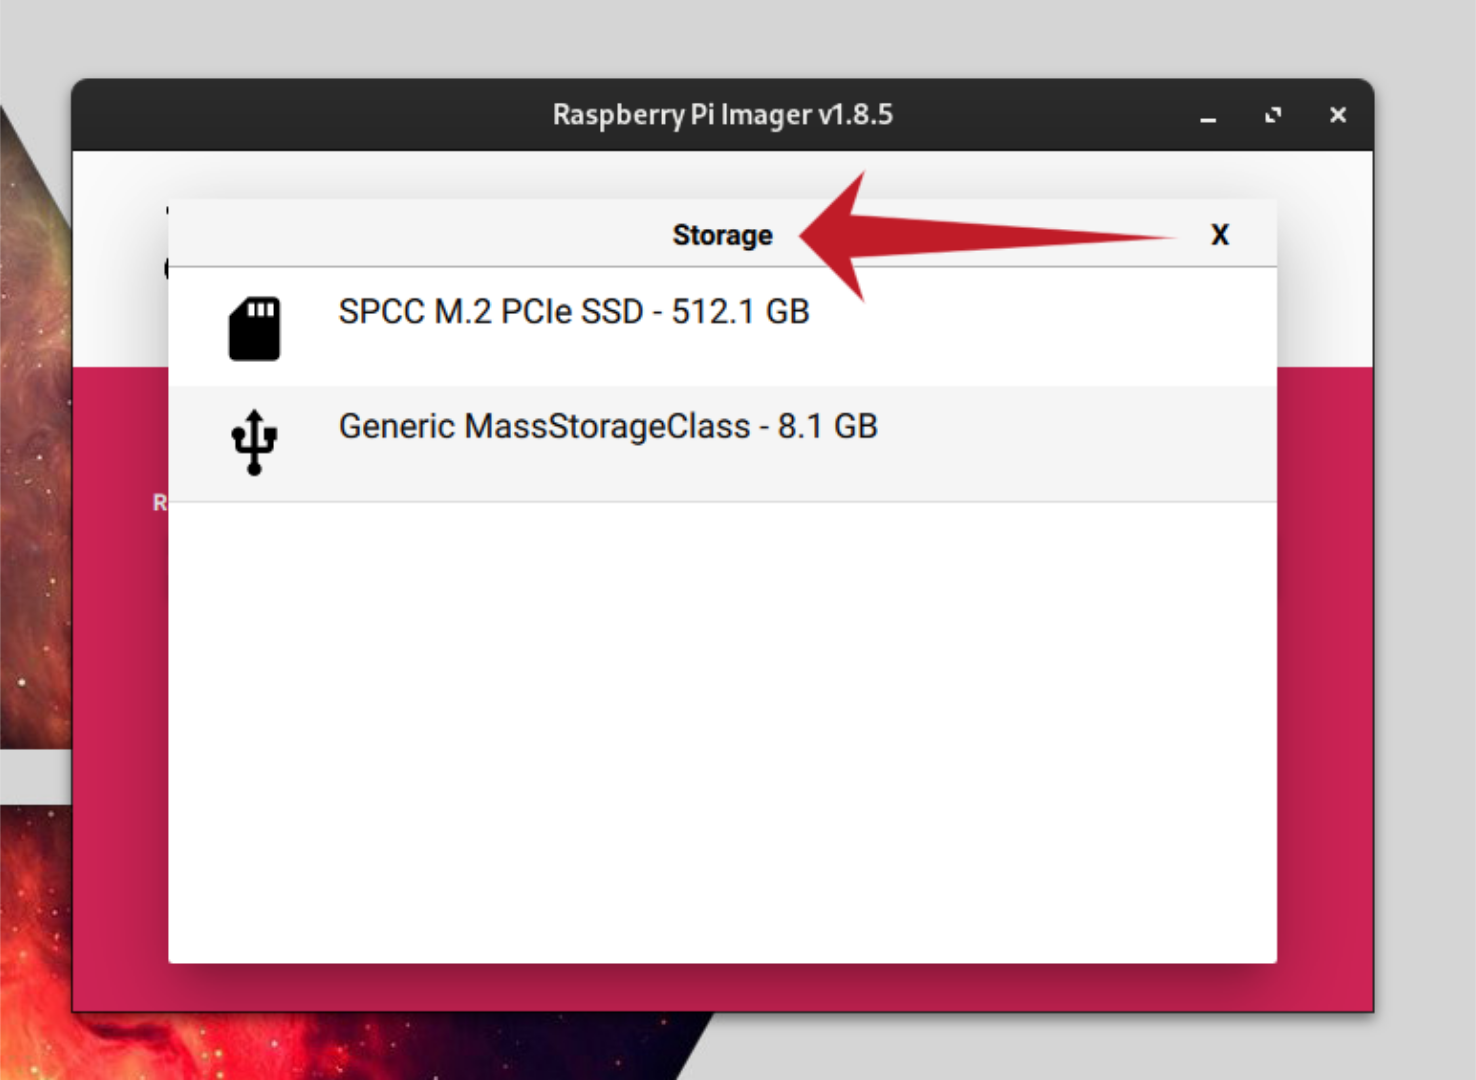
Now, choose the storage to flash FreedomBox onto. Insert your Pi’s SD card and click the “Choose Storage” button. Then, select your SD card from the menu.
With everything configured, click the “Next” button. The RPi Imager tool will begin flashing FreedomBox on your SD card. This process may take some time to complete. Once finished, eject your SD card, insert it into the Pi, connect the Pi to Ethernet, a monitor, and open a new browser tab on your computer.
Setting Up FreedomBox Raspberry Pi
Look at the monitor connected to your FreedomBox Raspberry Pi. It should display an IP address. Enter this IP address into your web browser. You may initially see an error page, but you’ll eventually be directed to the FreedomBox web server.
Note: Your browser may prompt you to approve an exception since FreedomBox isn’t in SSL mode. It’s safe to accept this exception.
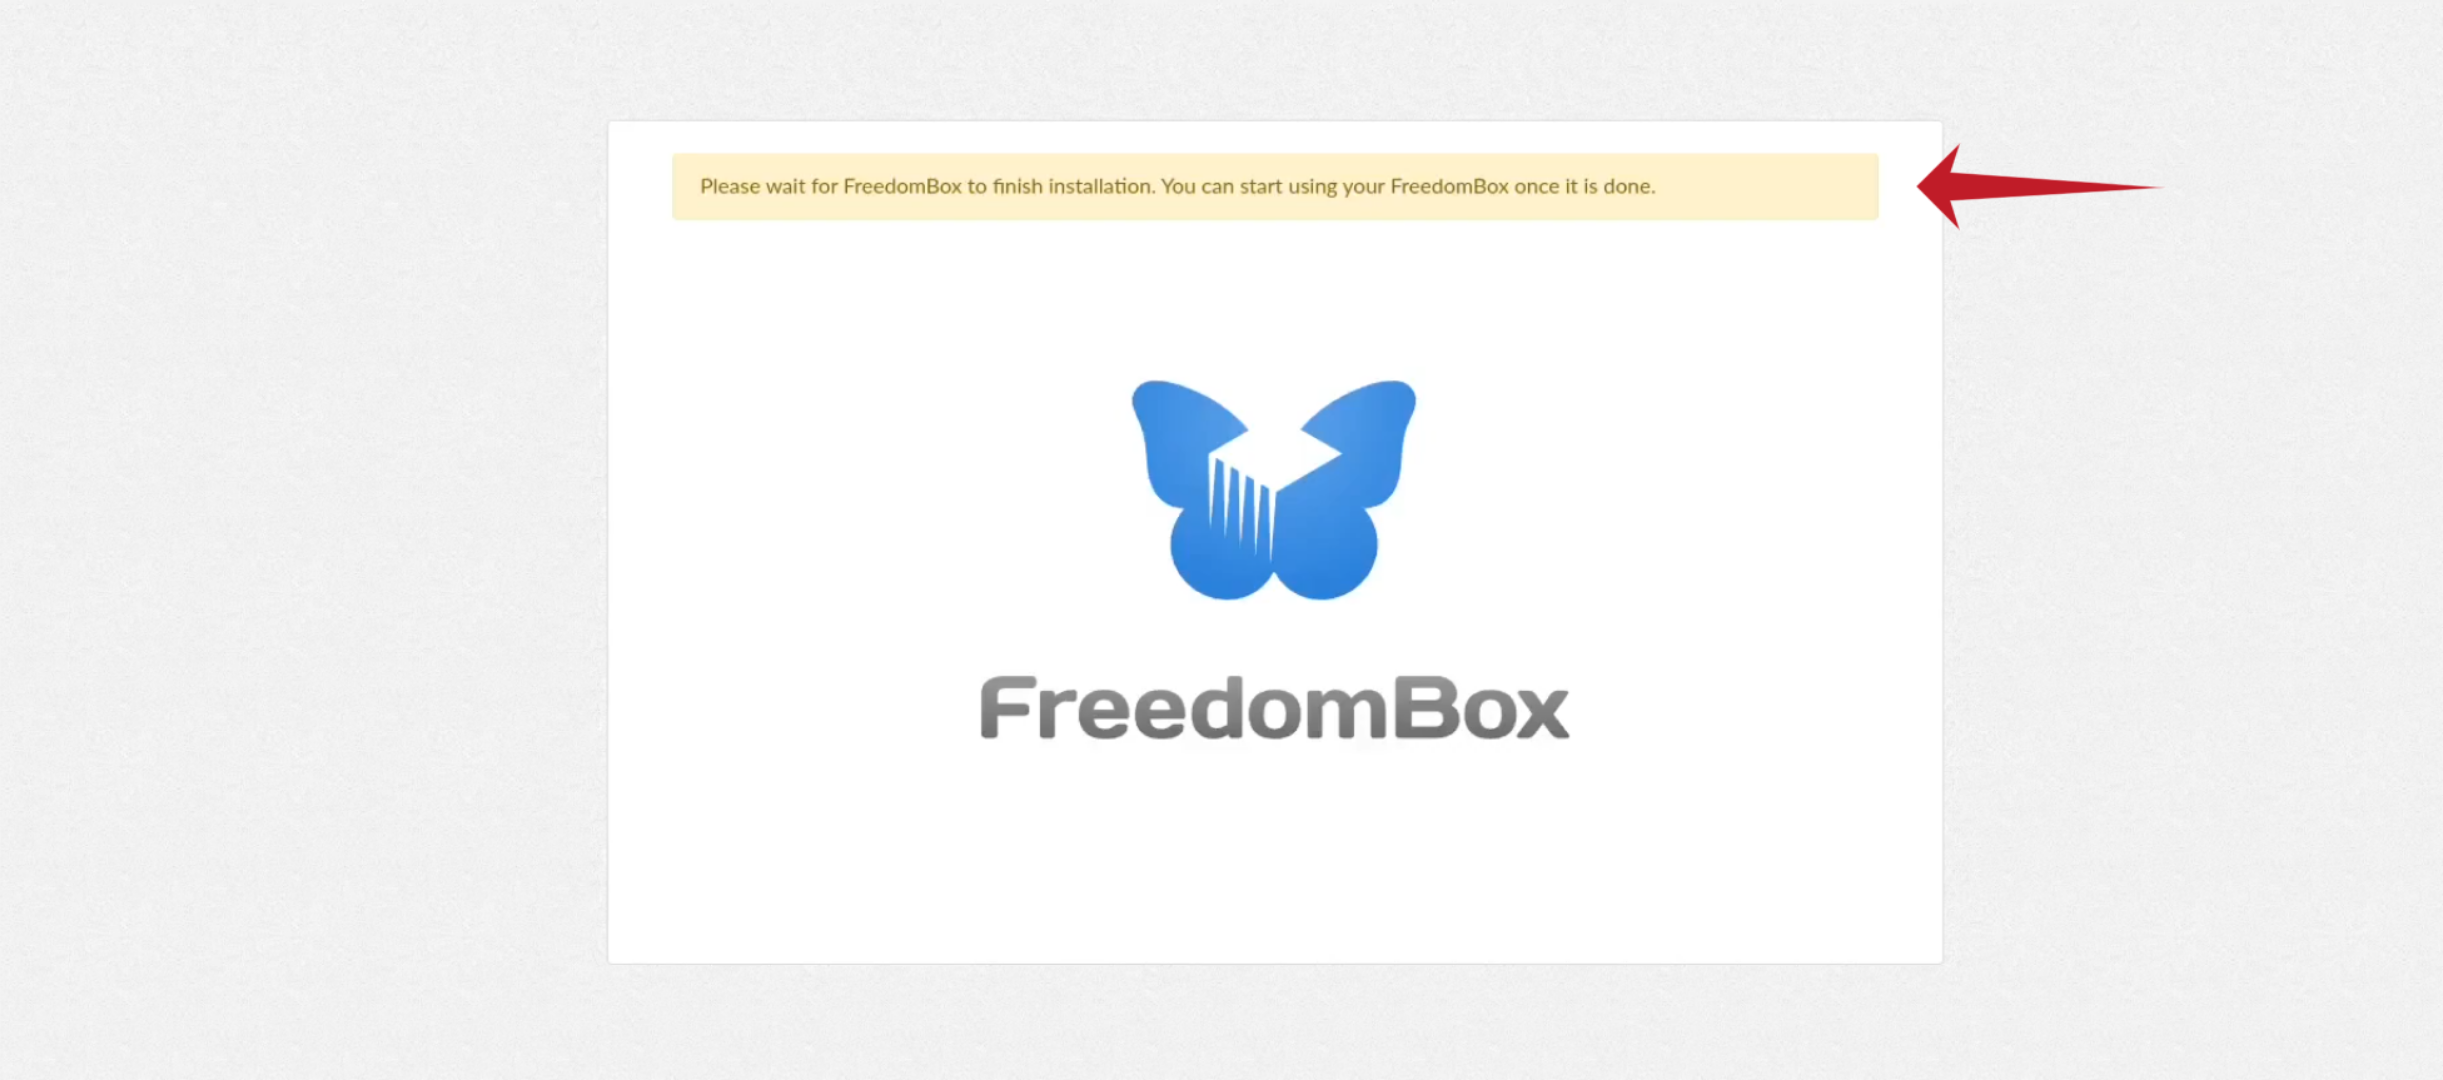
Once the FreedomBox page loads, you’ll see a message stating, “Please wait for FreedomBox to finish installation. You can start using your FreedomBox once it’s done.” Wait for the installation to be completed.
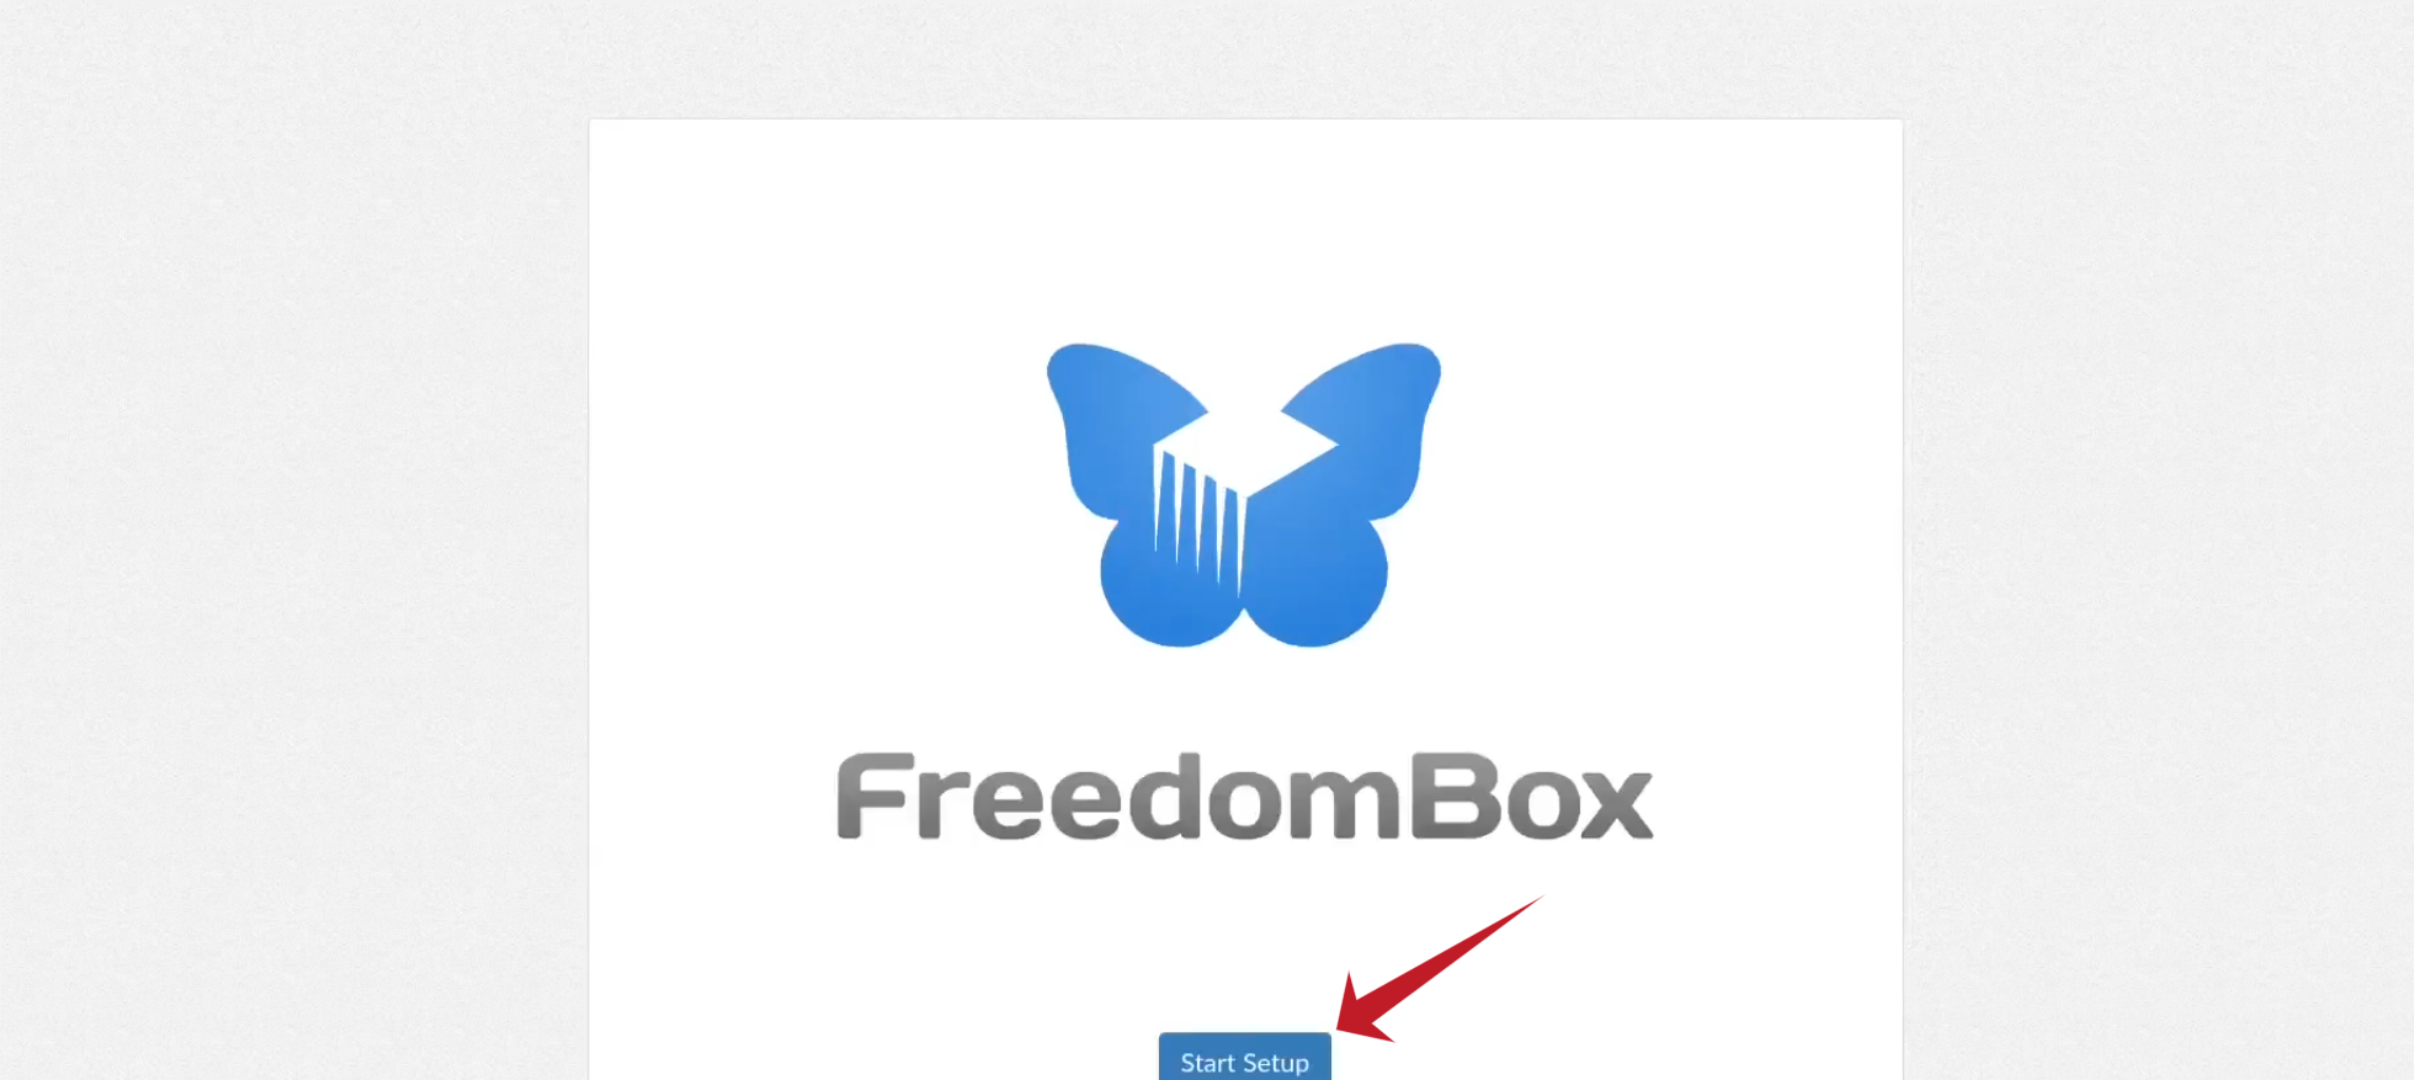
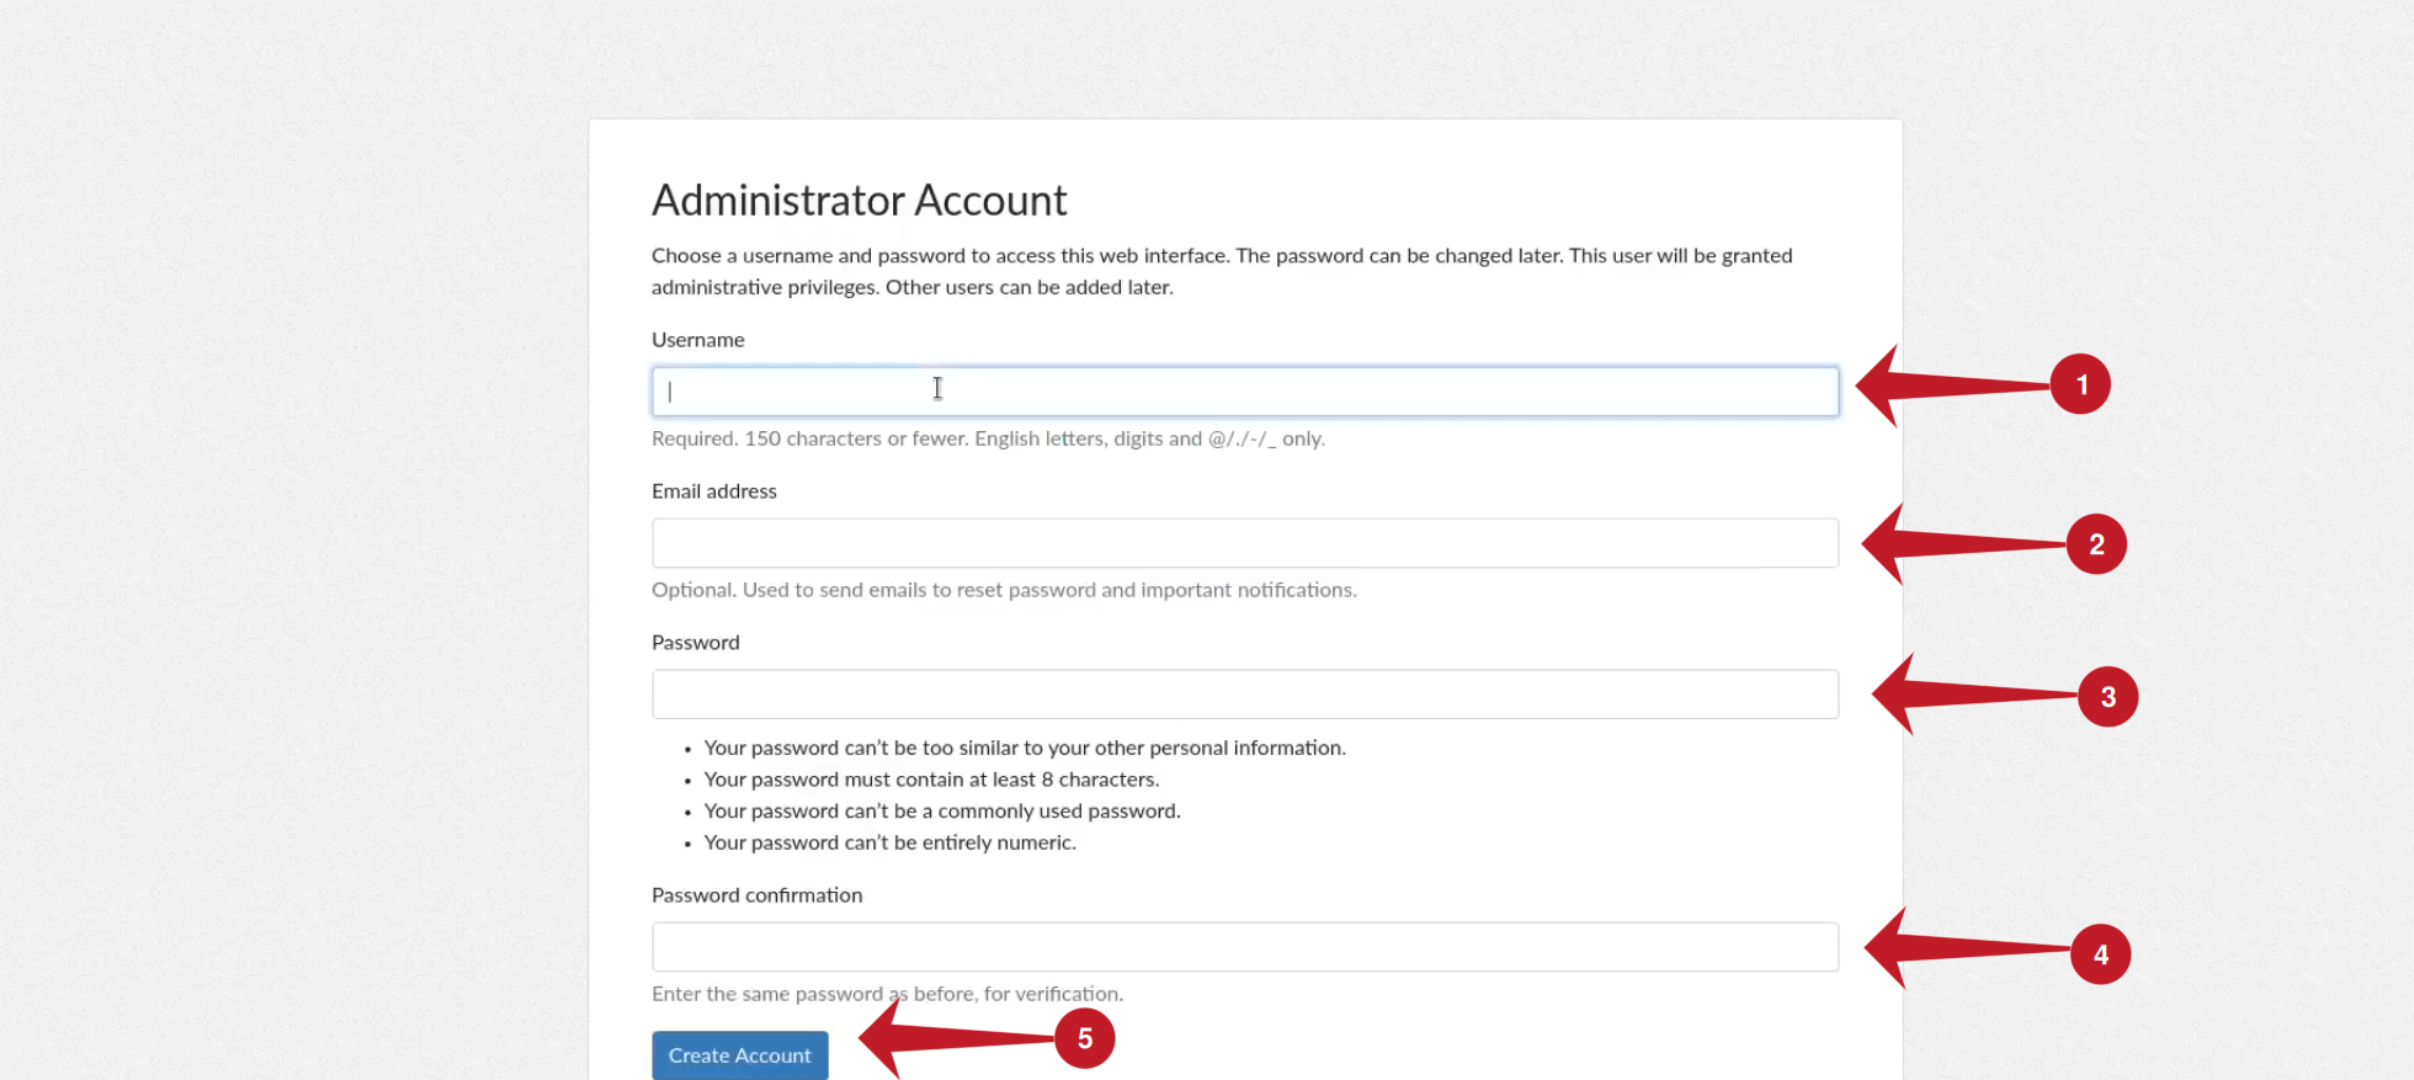
After the message disappears, click the “Start Setup” button. You’ll need to create an Administrator Account, providing a username, password, and optional email address. Click “Create Account” to proceed.
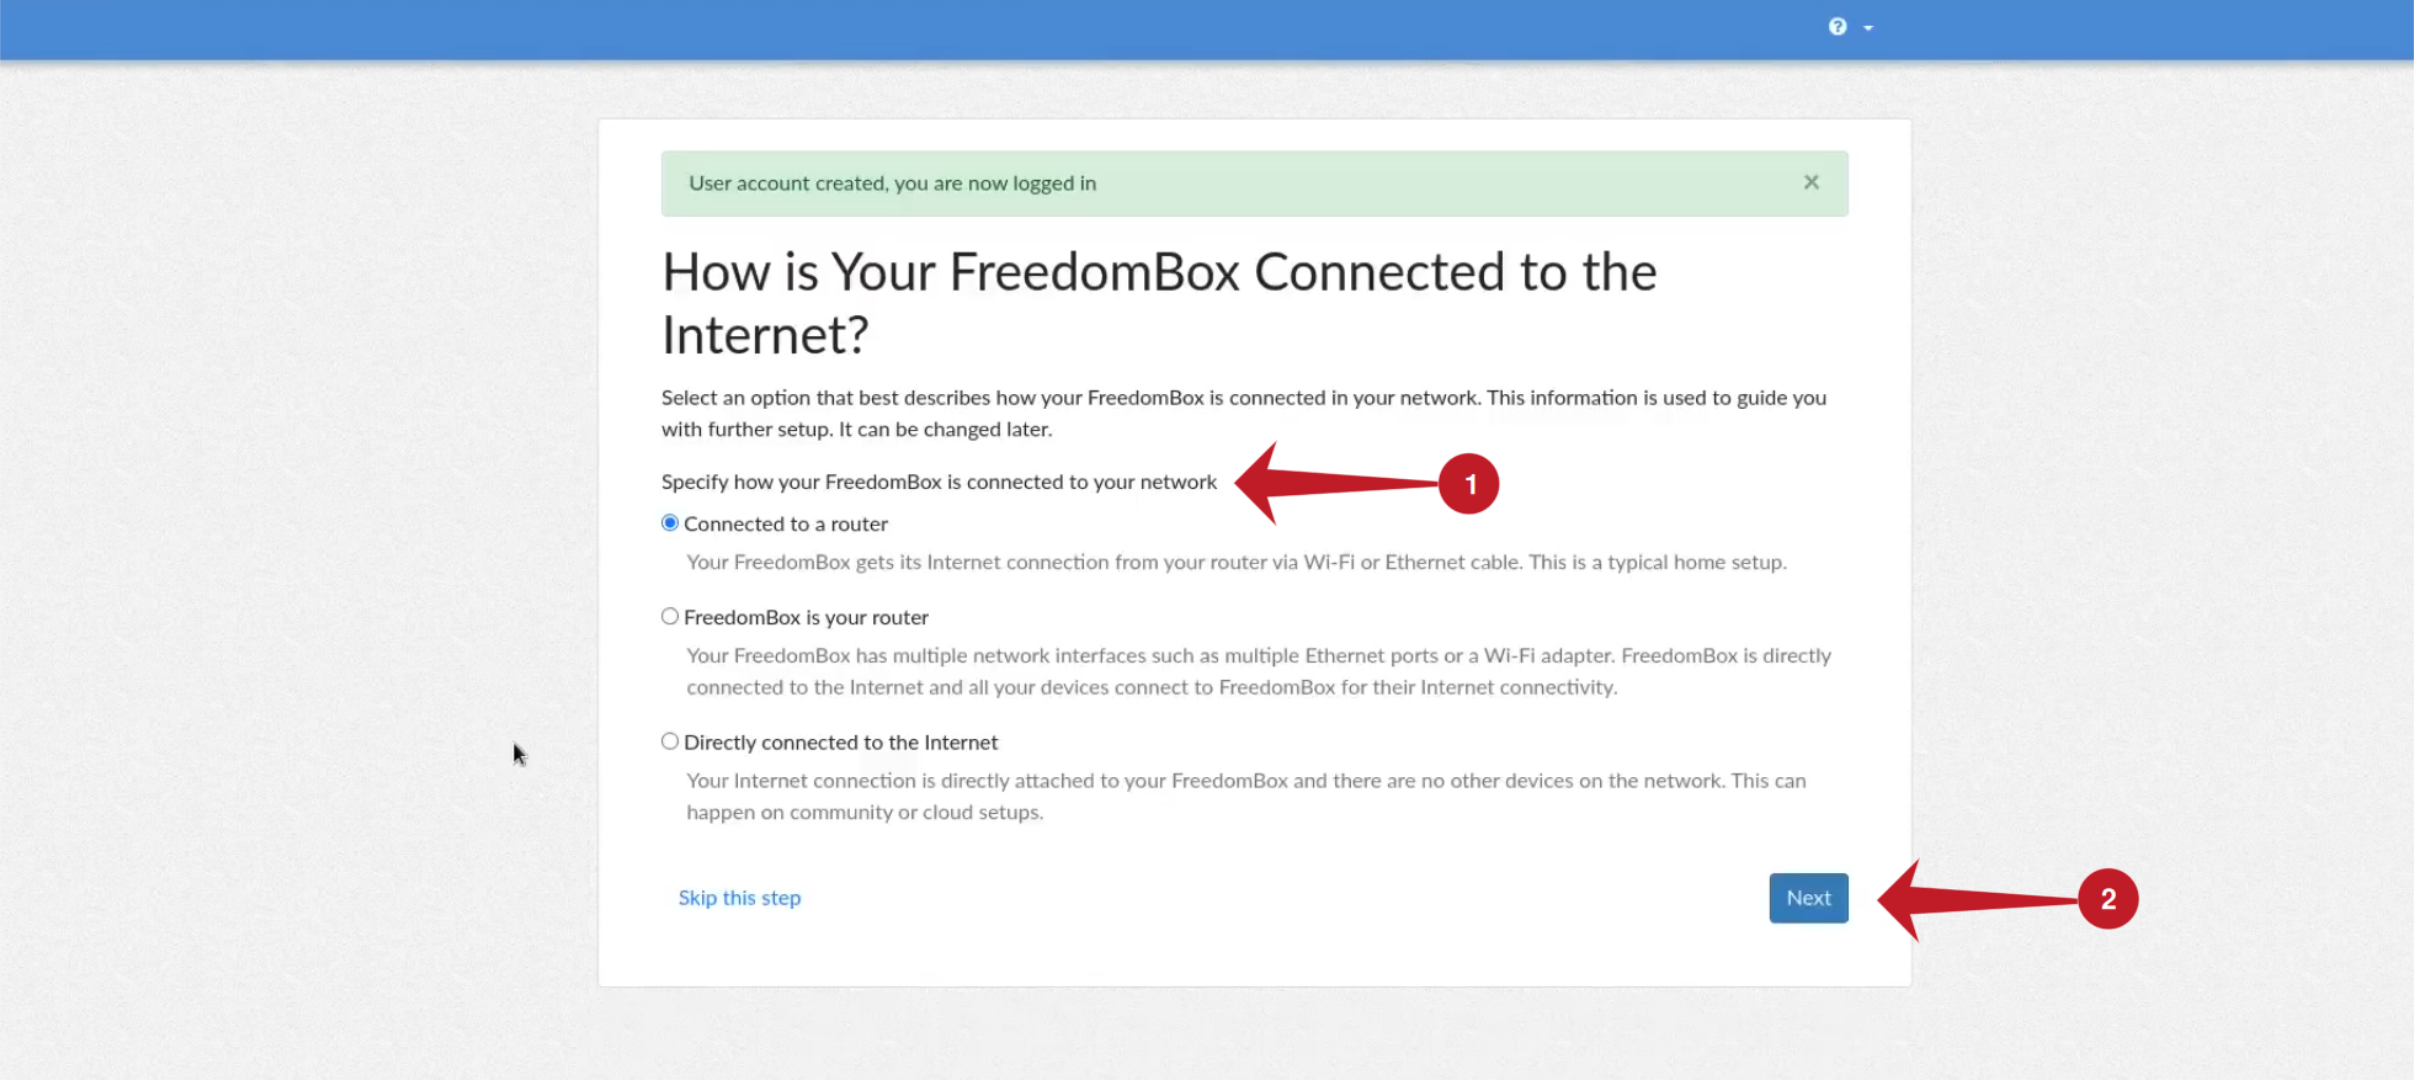
Next, FreedomBox will ask about your internet connection. Select how your device is connected to the internet. If your device is connected via a router, select “Connected to a router.” If you’re using FreedomBox as a router, select “FreedomBox is your router.” If you have it directly connected to a modem, select “Directly connected to the Internet.” Click “Next” after making your selection.
If you choose “Connected to a router,” find the “Preferred router configuration” section and select “Use DMZ feature to forward all traffic (recommended).” This simplifies the internet access setup. Click “Next” to continue.
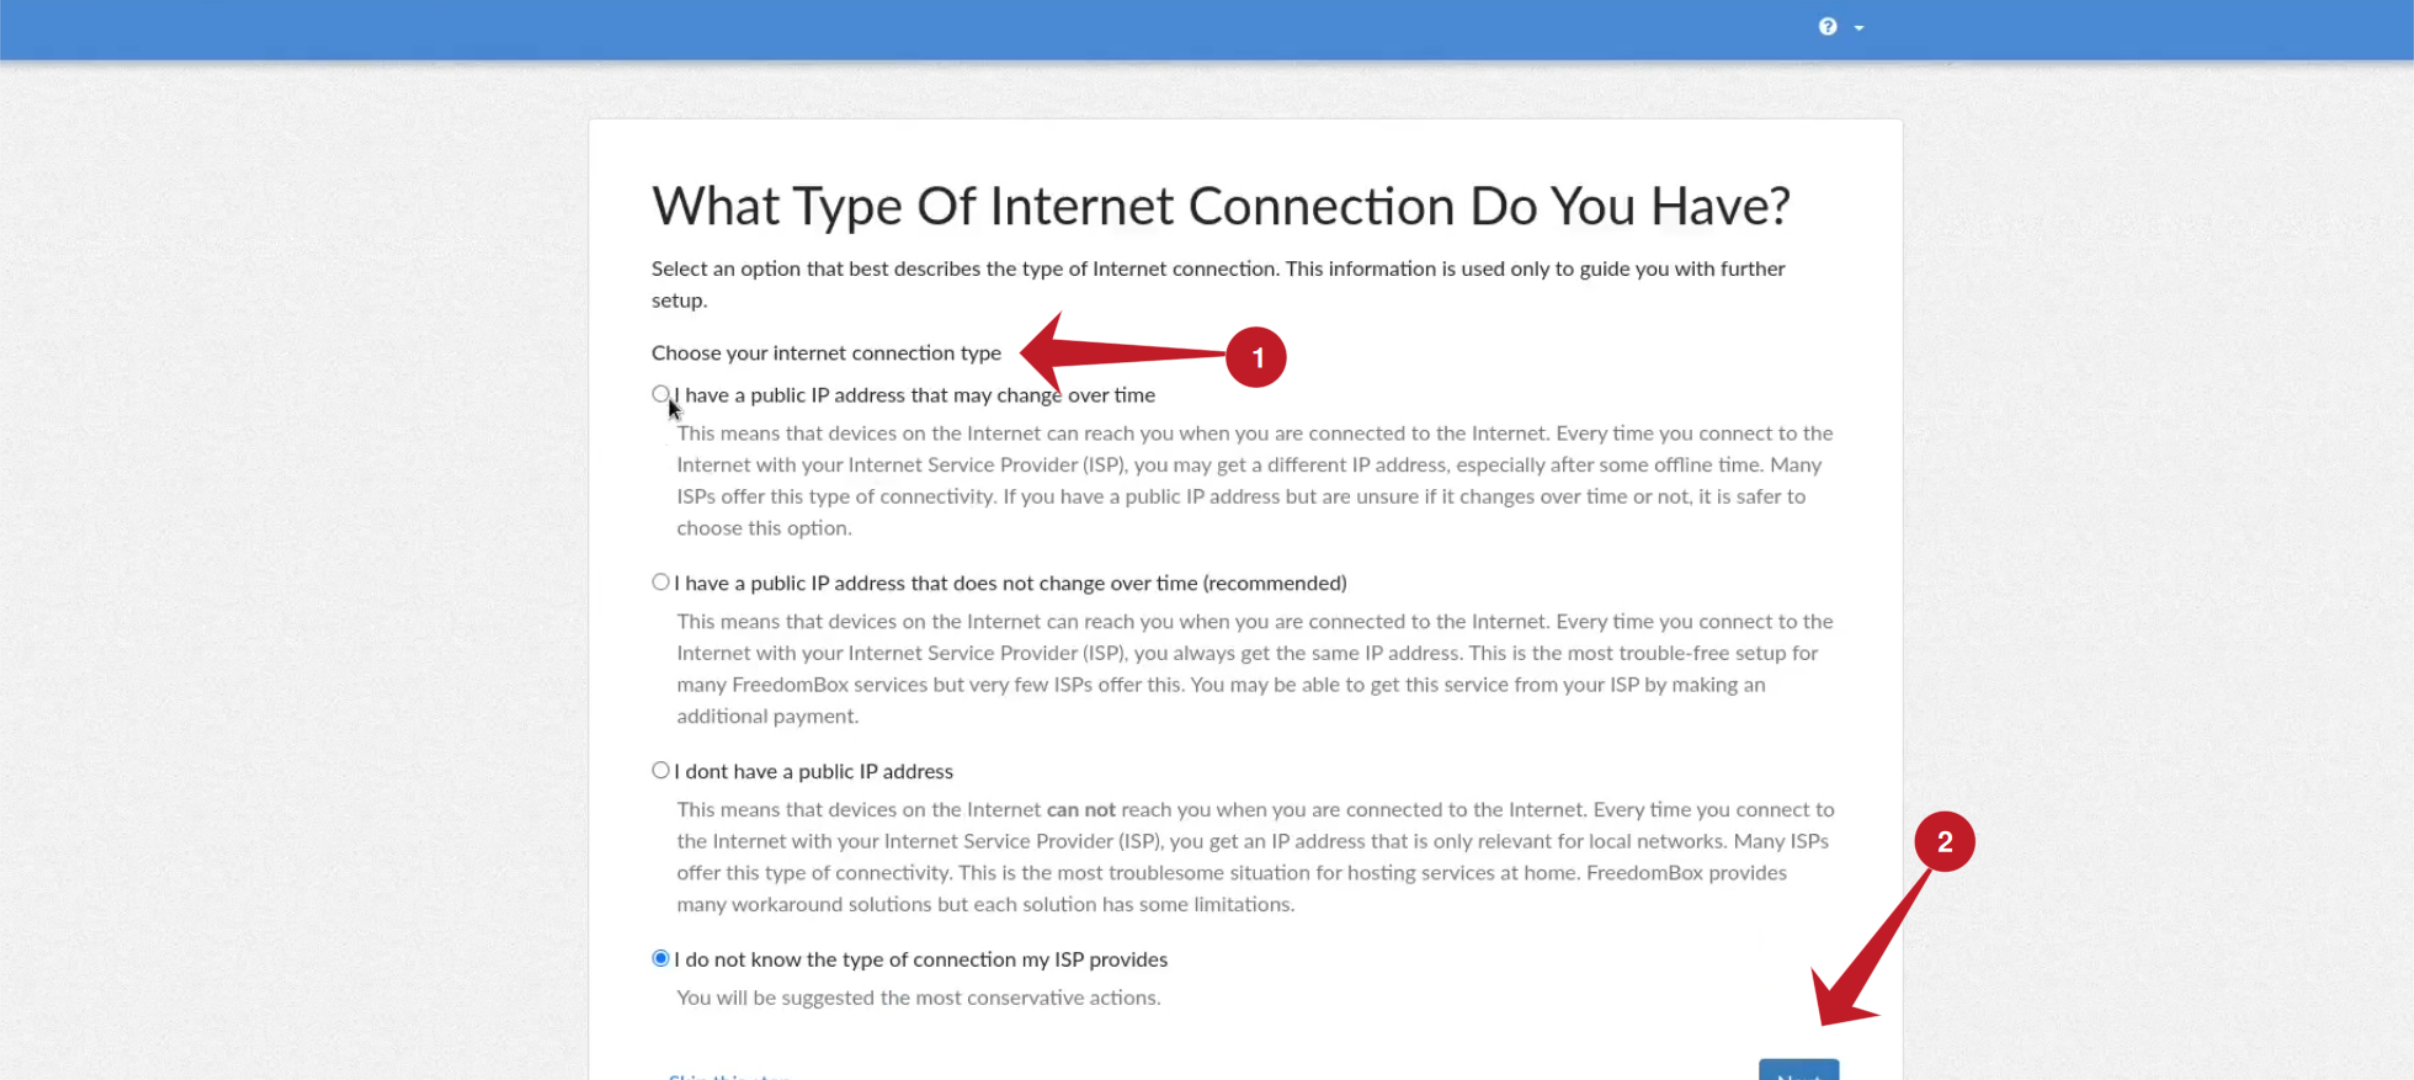
Now, choose your internet connection type. If you have a public IP address that changes periodically, select that option. If your IP address doesn’t change, select that option. If you are unsure, select “I do not know the type of connection my ISP provides.” Click “Next” after selecting your connection type.
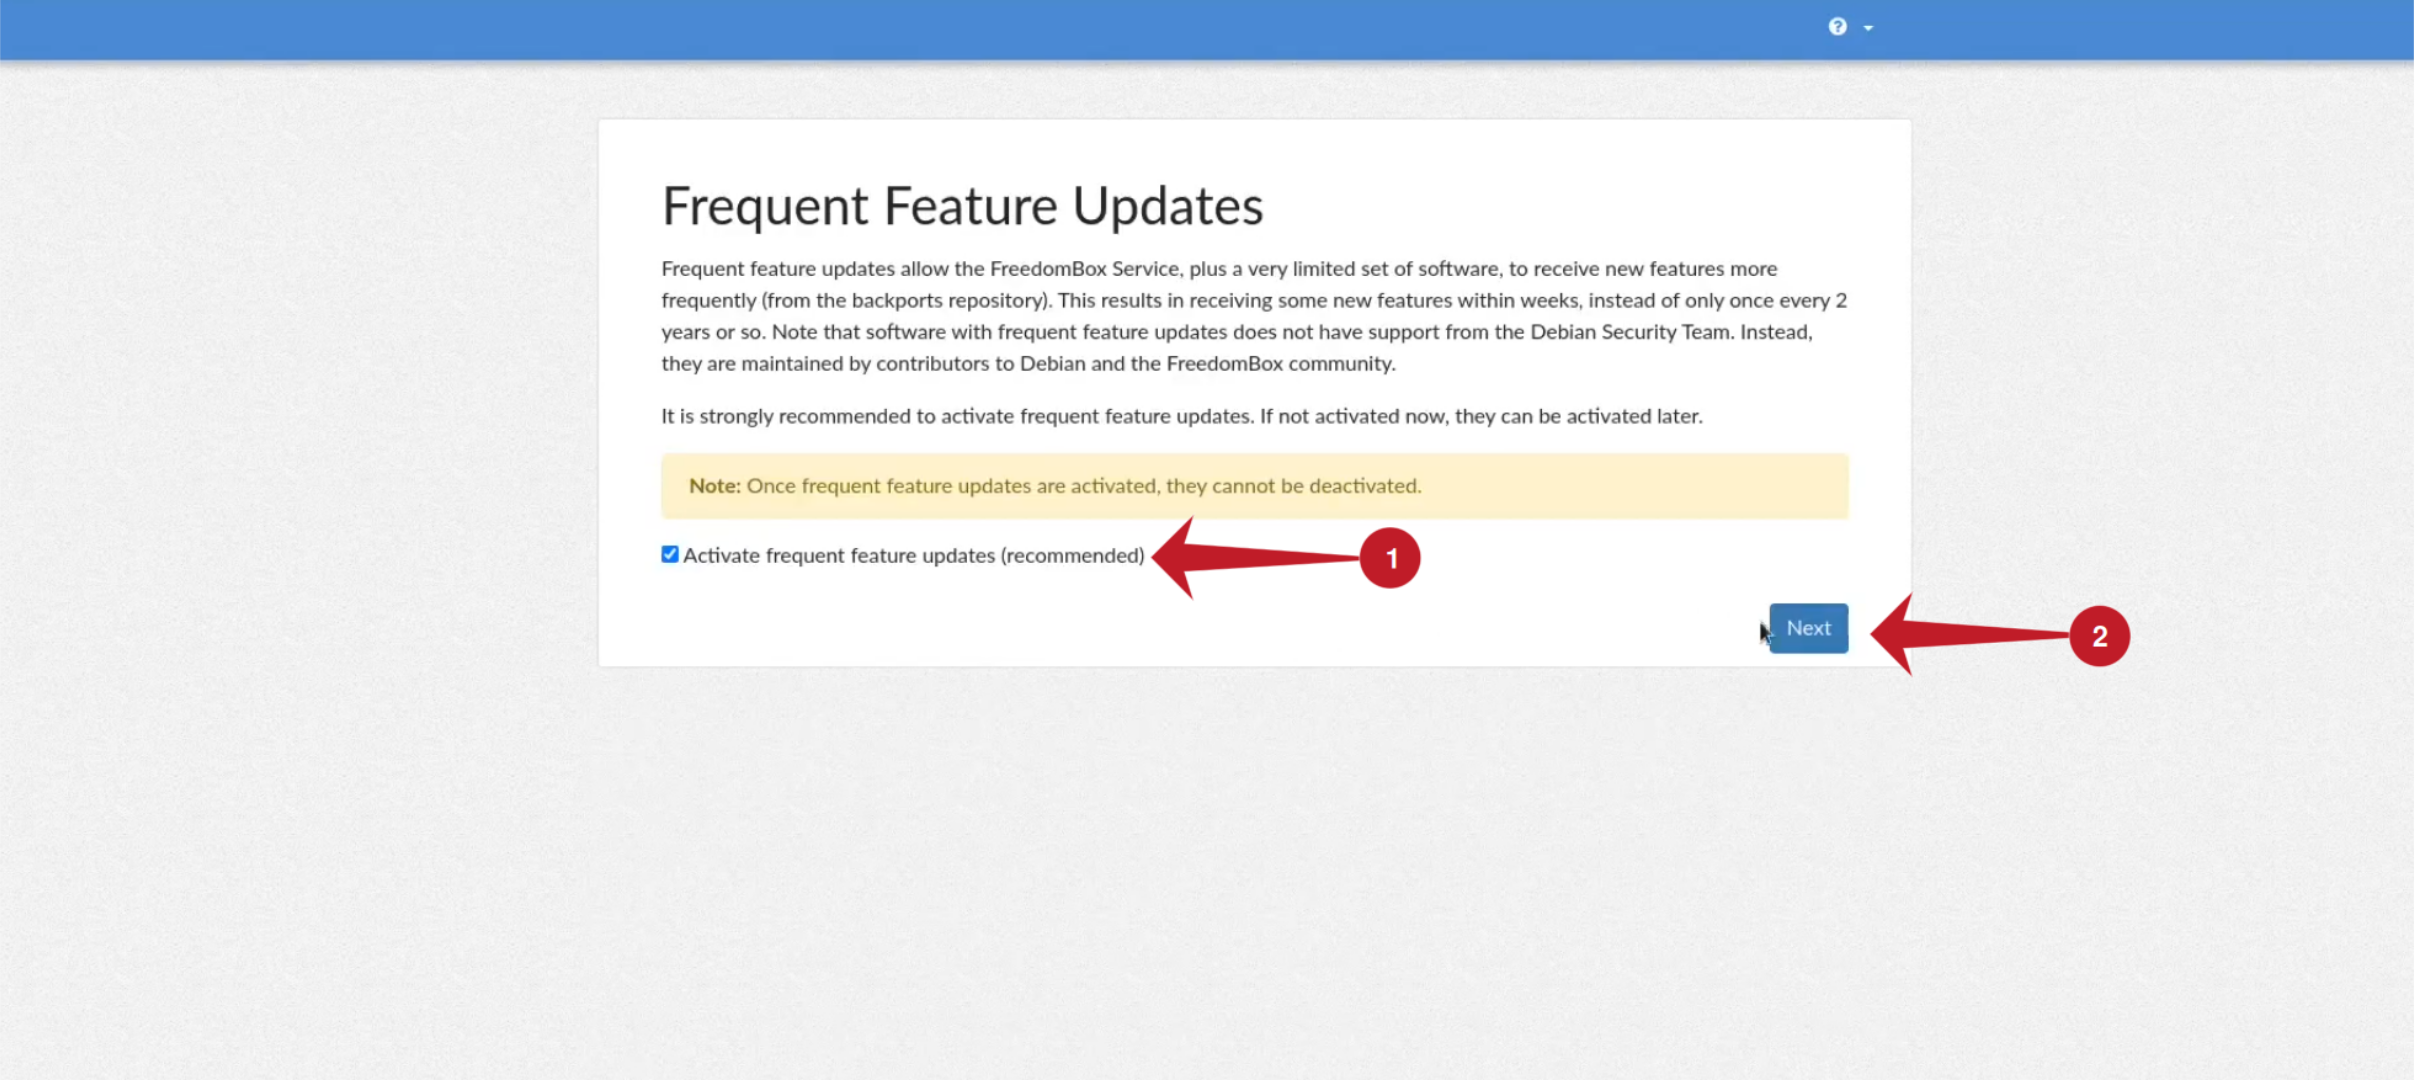
On the “Frequent Feature Updates” page, check the box to “Activate frequent feature updates (recommended)” to ensure your FreedomBox stays up-to-date.
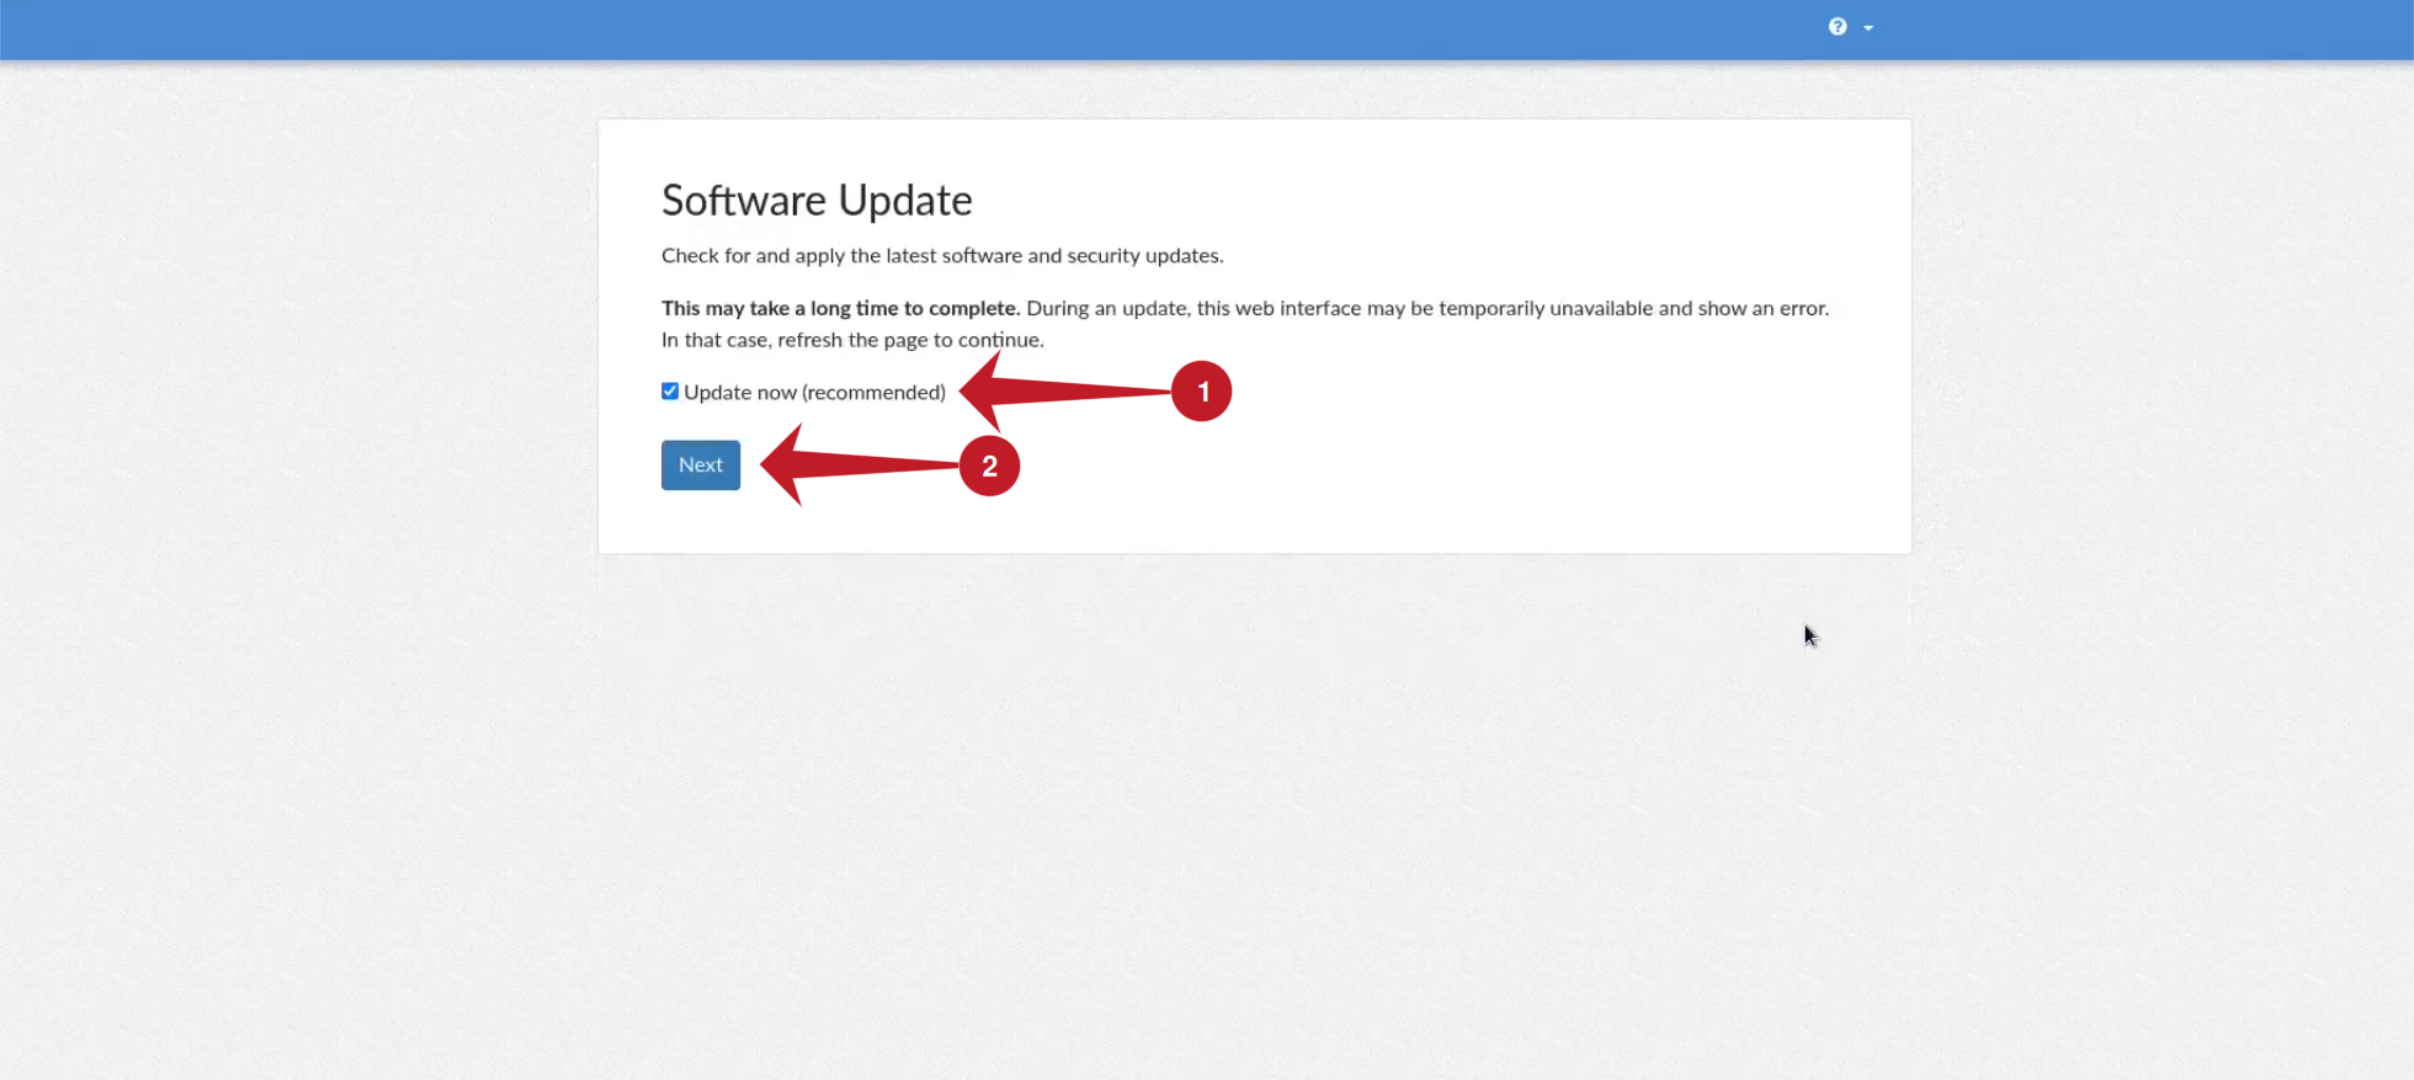
Next, proceed to the “Software Updates” page and click “Next.” FreedomBox will update and once finished, you’ll see “Setup complete!” You can now install apps on your FreedomBox.
How to Use FreedomBox
Now that you’ve set up your FreedomBox, it’s time to start using it! FreedomBox offers a wide range of applications and services that you can easily deploy on your network.
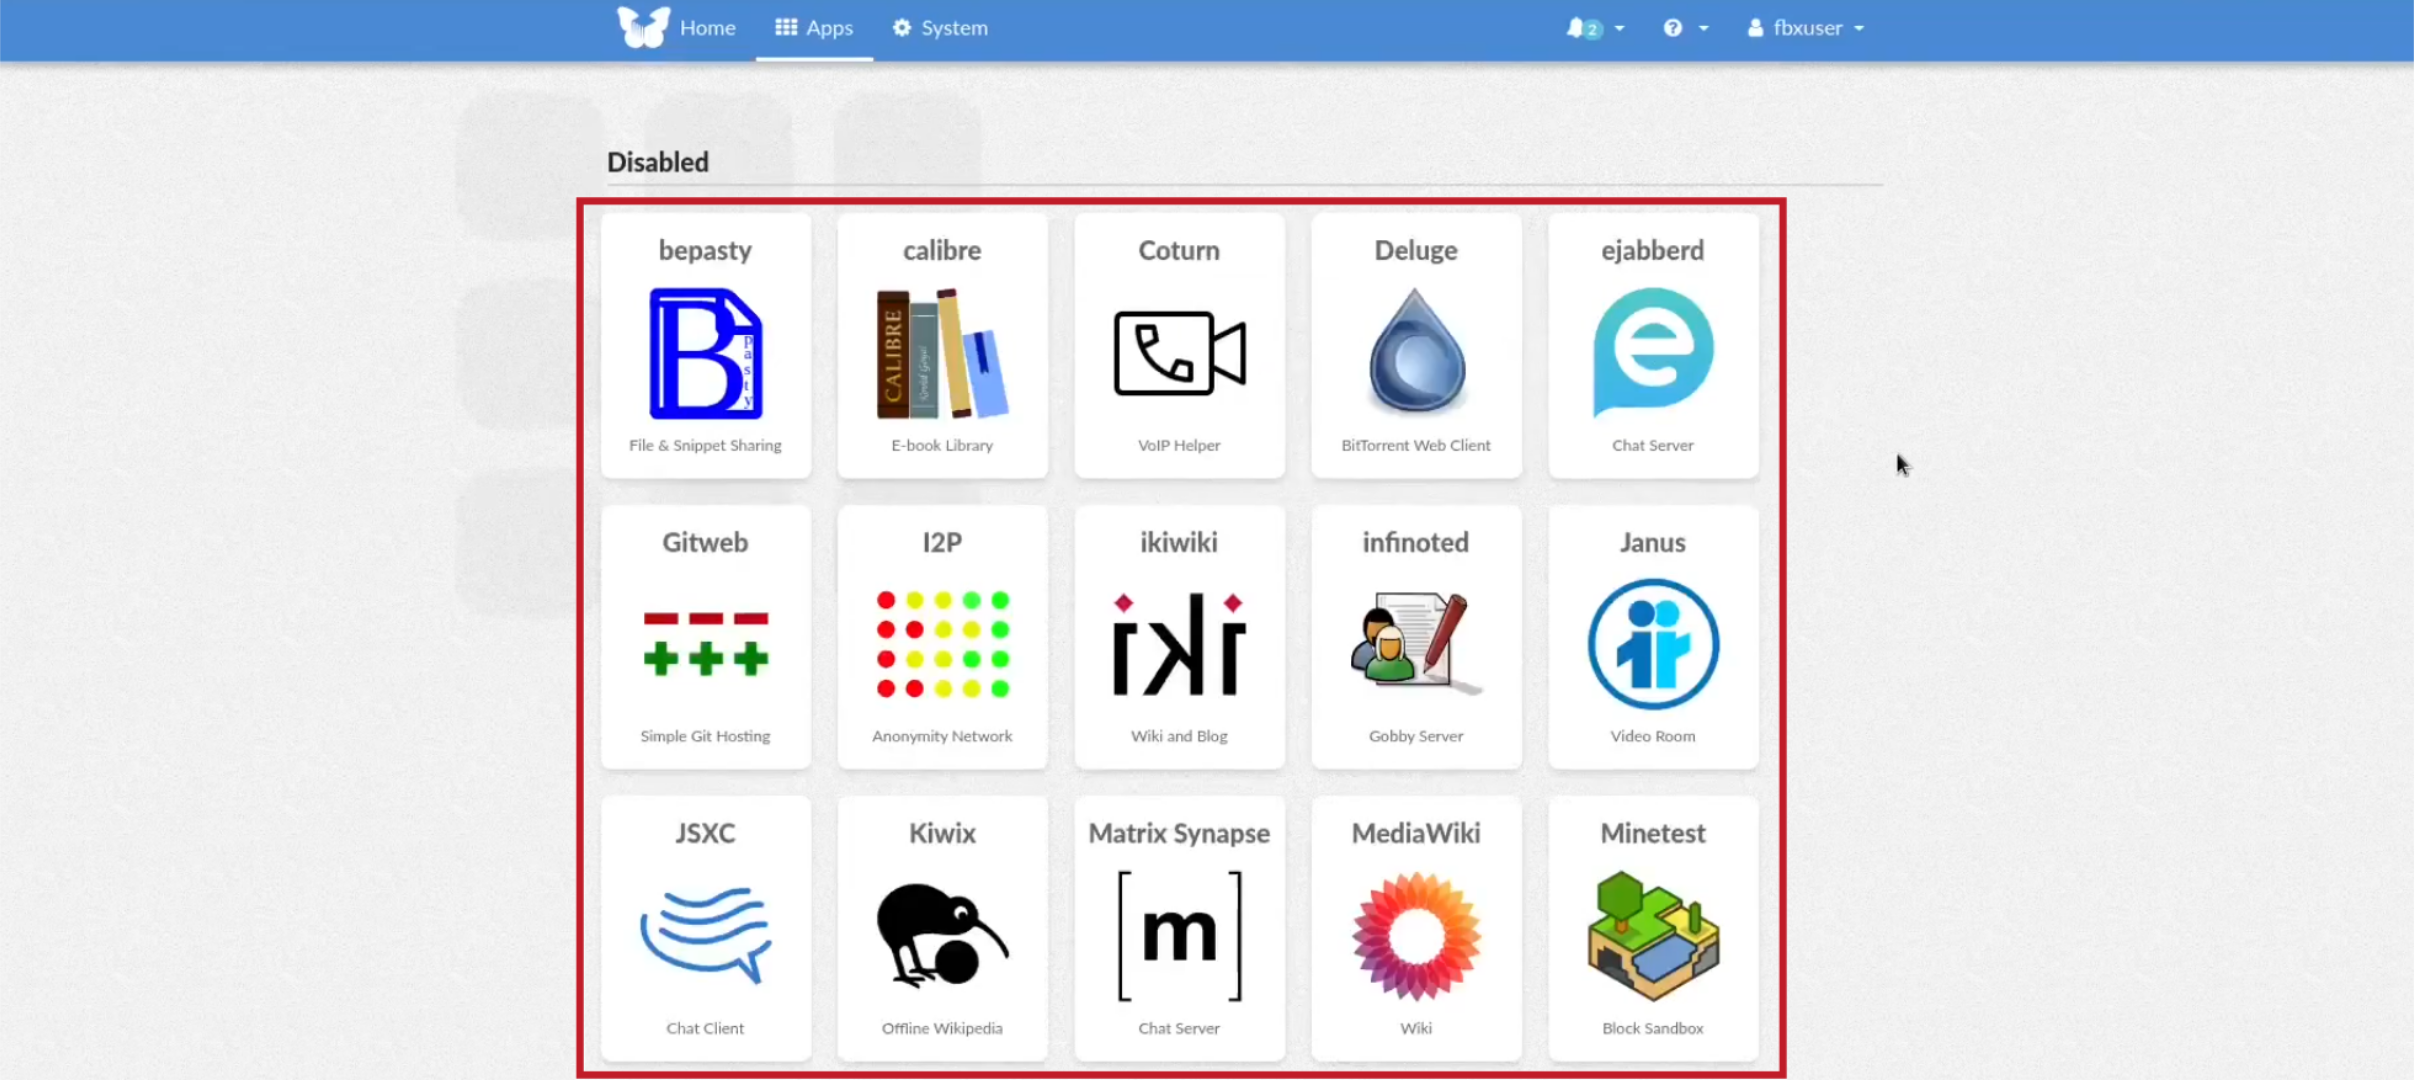
To get started, log in to your FreedomBox web interface using the admin account you created during the setup process. Navigate to the “Apps” tab and explore the available applications. Such apps include WordPress, Nextcloud, and Mediawiki. When you find the application you want to deploy, click on it and follow the prompts to configure it. This typically involves setting basic parameters such as usernames, passwords, and domain names. Once you’ve completed the configuration, FreedomBox will handle the underlying complexities of deploying the application.
After deploying an application, you can customize it to suit your needs. This may involve setting up user accounts and permissions, configuring domain names and SSL certificates, or adjusting application settings and options. Each application available in FreedomBox has its own configuration options, accessible through the web interface.
FreedomBox provides tools to help you monitor and troubleshoot your applications and services. You can view system logs to diagnose issues and troubleshoot problems or view application-specific logs to troubleshoot issues with individual apps. Additionally, you can monitor resource usage to ensure your FreedomBox is running smoothly.


