Valheim takes place in the mysterious 10th realm of reality. It’s a place so shrouded in mystery that even the gods are afraid of its existence, yet it has been bestowed upon you — and up to ten of your comrades-in-arms — to make it a paradise unto itself.
As is expected with a mysterious new world, there is almost no one to hold your hand and tell you what to do as you venture forth to face Valheim’s many bosses and thrive in what’s quickly become one of the best survival games on the PC.
Now that the game is now available on Xbox Game Pass in early access too, we’re back to give you some Valheim tips and tricks that will help guide you through day one and give you the tools to survive for eternity in the life beyond.

A thousand generations of wisdom
Valheim won’t hold your hand, so it’s going to take cunning and wisdom to stay alive in this epic Viking-themed survival adventure game.
What to do on your first day in Valheim

Each world in Valheim is completely randomized upon creation via a generation seed, thus, each player’s first-day experience is going to be a bit different. Upon waking up at what looks to be a sacrificial altar surrounded by large, chained standing stones, you’ll want to immediately venture forth and pick up all the sticks and stones you can find. The use button will dislodge stones from their earthy (or is that Valheimy?) cage for collection, and will turn sticks into a nice plank to pick up.
Once you’ve gathered a few of each of these materials you’ll want to open up your inventory. This is done by hitting Tab on a keyboard or Y on an Xbox controller. The hammer and axe will be the first tools you want to make, as a hammer is used for building while an axe expediates the wood-harvesting process.
Once you’ve got a hammer, equip it by right-clicking it in your inventory — or, better yet, add it to your numbered hot bar for quicker access — close your inventory menu and right-click again to bring up the build menu. You can only access this menu while holding the hammer, so keep that in mind. Many other tools have alternate functions accessed via this same method.
Building a workbench is essential to life in Valheim, as it allows you to build structures and other important pieces of furniture. Placing down a workbench creates a large dashed-line circle that indicates the build radius and in order to construct any building, use this area. Workbenches, beds, and other usable furniture often need a roof in order to function, so be sure you have enough wood to get these built. If you don’t head back to the nearest grouping of trees and start cutting with that axe.
The quickest way to get started on the workbench is to build a lean-to, usually achieved by erecting a three-sided structure with two angled roof pieces. Pieces can be rotated to fit any way you want, and each building piece will snap onto the corners of others nearby for best fit. Once you’ve got the workbench covered with a roof and mostly enclosed with walls you’ll be able to use it to craft more advanced tools, repair, and even upgrade existing tools by pressing the use key — E on a keyboard, A on an Xbox controller.
After the workbench is all set, go ahead and finish up your first house by erecting more walls to finish the enclosure. Don’t forget a door, of course, and be sure to use those 45-degree angled thatch roof pieces to assemble a simple roof. You’ll want to leave a space in the roof for smoke to escape from your firepit, as smoke inhalation will kill you in Valheim just as it does on Earth.
Smoke inhalation will kill you in Valheim just as it does on Earth.
You can choose to make a proper hearth by building a dirt pit with three walls around, the open wall to the inside of the house as you’ll see in the image above, and an angled roof above to vent the smoke and keep rain from dousing your fire. Firepits are made with stones and wood and must be placed on dirt. Once your firepit is done, fashion a bed and place it closeby so your character can rest. Using a bed will set it as your respawn point (the place you’ll return to when you die) and is also used to sleep at night. Congratulations, warrior, you have survived your first day!
Cooking, eating, and harvesting in Valheim
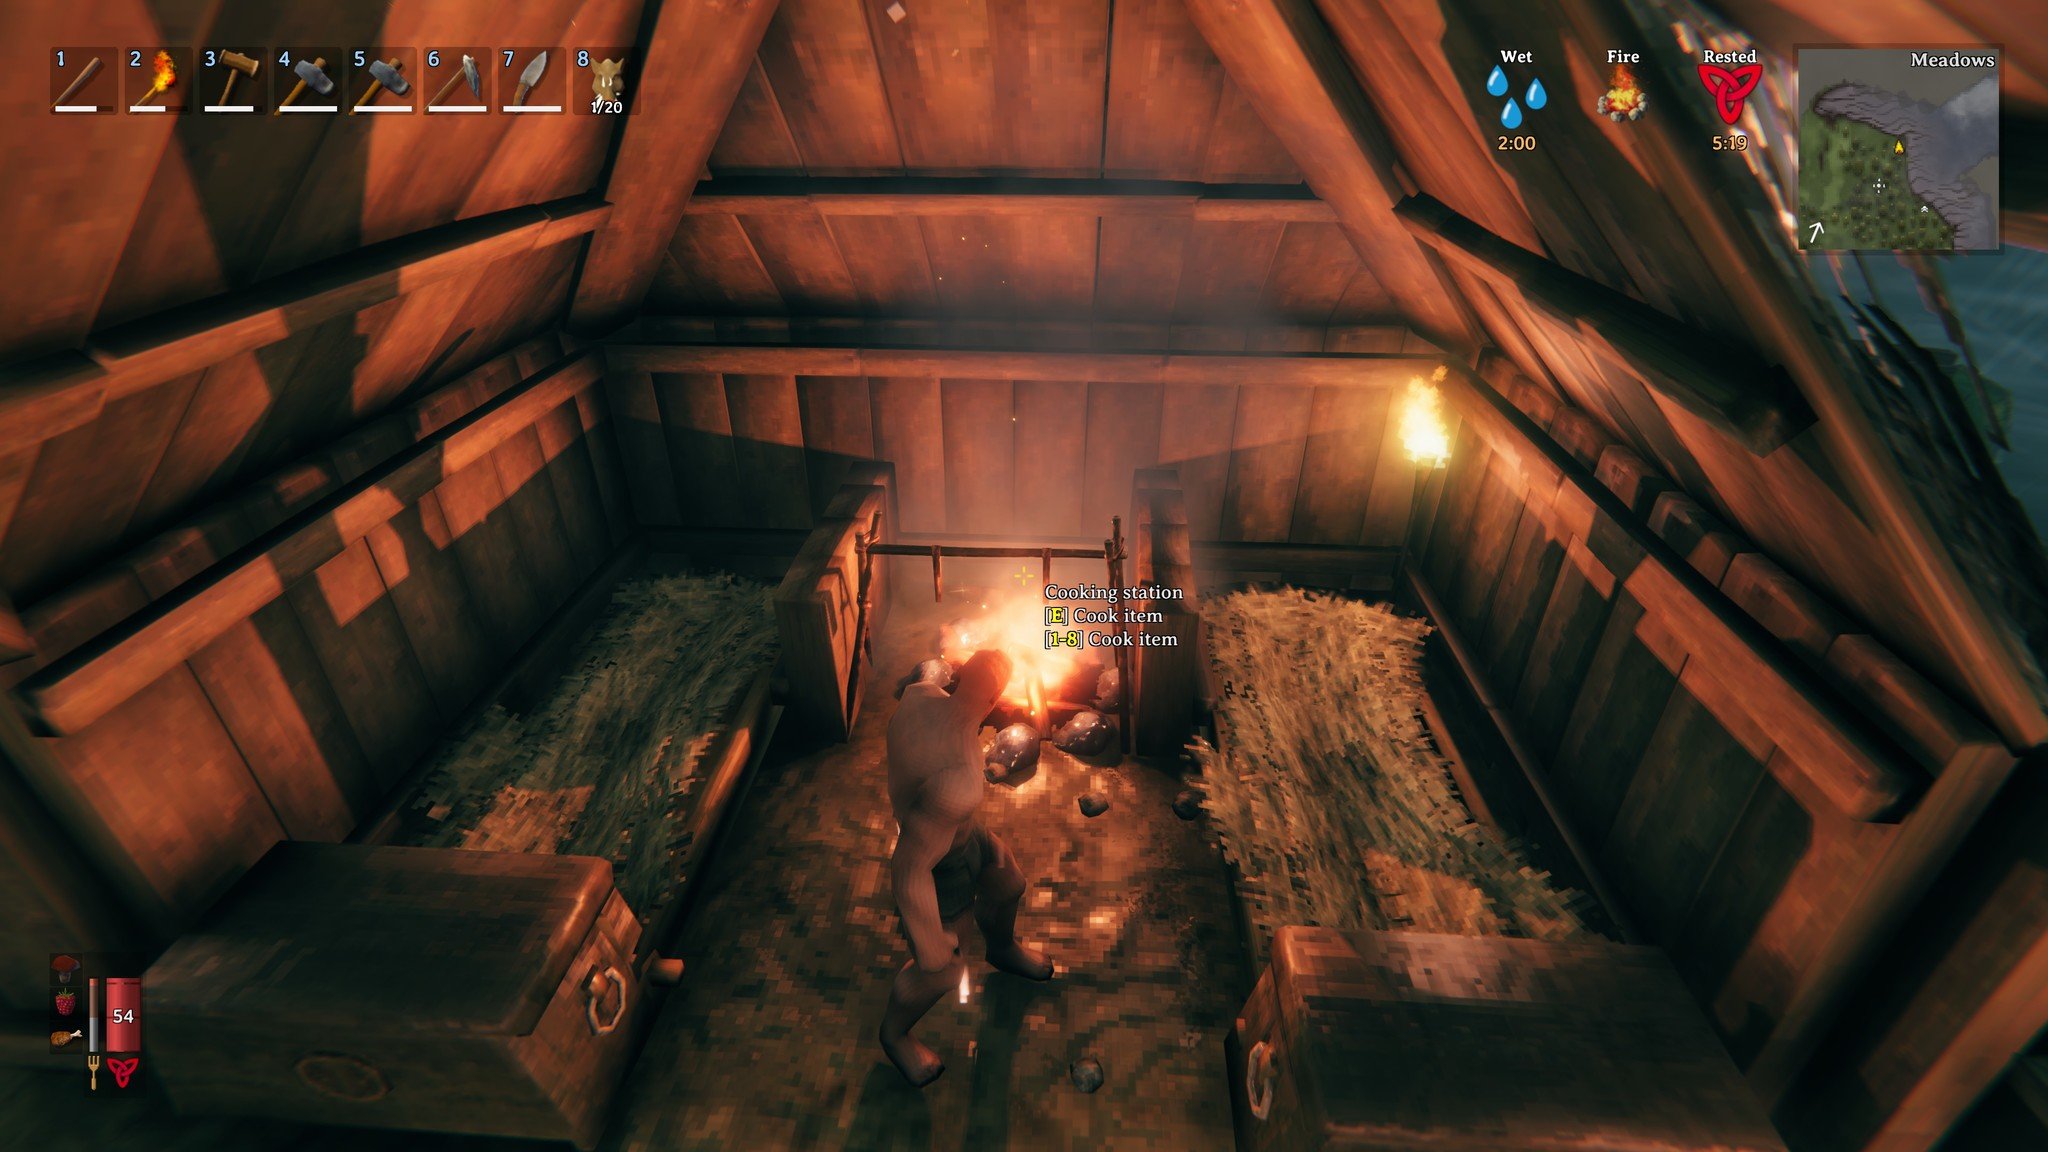
Now that you have a place to call home, it’s time to figure out how to actually live in a place as hostile as Valheim. During your first day, you’ve no doubt noticed the stamina bar at the bottom of the screen, as well as the health bar on the bottom-left. Stamina will always regenerate over time, but health needs a little bit of coercion to get going. Scattered around the meadows and forests are berries and mushrooms of all kinds, each of which can be eaten to help regenerate health.
But berries and mushrooms are only an additive to a balanced diet, just like mother always said, and should be eaten in conjunction with meat. Meat is obtained by killing wild boar and “Necks,” a frog-like creature with a delicious and nutritious tail, and then cooked on a spit over the campfire. That cooking station can be crafted with your hammer and placed over the fire. Using the cooking station will place up to two lumps of meat at a time on it for cooking. Make sure to keep your fire fed by clicking the use button on it to add wood; up to 10 pieces can be laid at a time and will last several hours.
Listen to your mother’s advice: eat your meat and veggies to stay strong in Valheim.
Meats will smoke until done and then “pop” to let you know they’re ready, similar to something like Monster Hunter World. Let the meat sit too long and it’ll become charcoal; a substance of no use right now, but of much use later on in the game. Properly cooked meat can be consumed for additional health regeneration and, ideally, you should always consume one cooked meat, one cooked Neck tail, and one berry or mushroom before venturing out into the wilds of Valheim.
Eating will help regenerate health, but negative status effects can lessen the benefits of food. If your character is cold or wet, HP and stamina regeneration rates are much lower — -25% HP and -15% stamina regeneration, to be exact. Stay by a fire to dry off and remove those debuffs. As you spend time in your home, either resting or actually sleeping, your character will feel rested. This is denoted by a red rested icon on the top-right of the screen next to the mini-map.
The rested buff lasts a certain number of minutes, which is directly affected by the comfort level of your home. The higher the comfort level, the longer the rested buff will last. Campfires, beds, furniture, deerskin rugs, and other items nearby will raise that comfort level. When your character is rested they’ll receive a +50% HP and +100% stamina regeneration buff. It’s pretty easy to see why staying rested while adventuring is important.
Map, navigation, and what happens when you die in Valheim
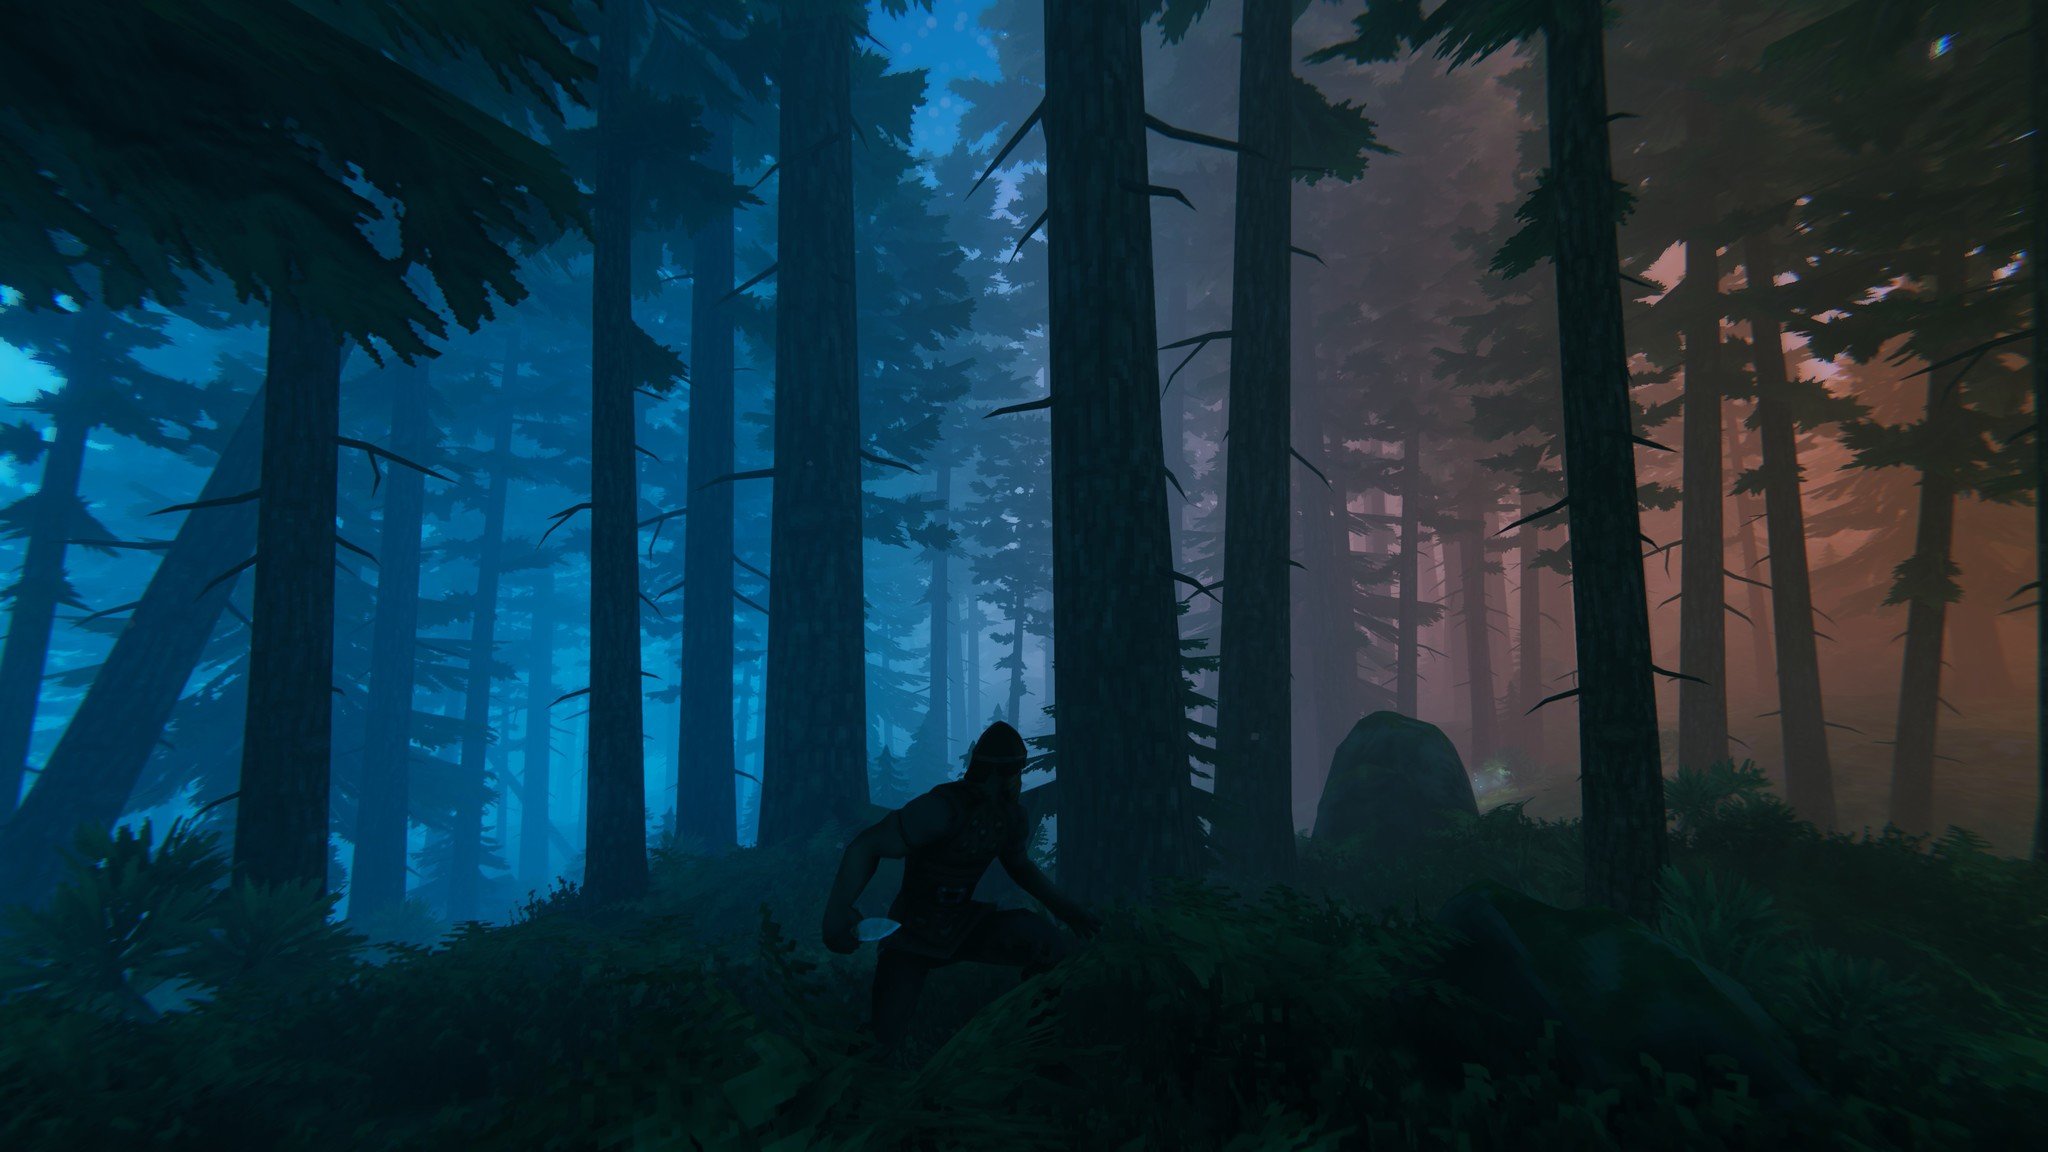
With your character all rested up and your best knife and shield crafted, it’s time to venture out into the world of Valheim. Since each world is randomly generated, you’ll be relying on the map and your instincts to get around. At the beginning of the game, a large raven named Hugin will give you a few clues as to what to do with items and things you find around the world, as well as the location of the first of Valheim’s many bosses, Eikthyr.
Press M key, or the menu button on an Xbox controller, to open the map. Here, you’ll find every area you’ve explored in your particular world. Markers can be added anywhere to the map by selecting one of the icons on the right side, then double-clicking anywhere on the map. Each marker can also be named after placing it.
Valheim is best explored during the day. That’s not just because it’s easier to see, but night time is also when additional monsters will spawn. You’ll also notice that, the deeper you go into the forest, the harder enemies become. If you run across a Black Forest biome, you’re liable to come into contact with skeletons or a huge troll, both of which can make quick work of new players.
Place markers on your map when you find a point of interest so you can find it later.
You’ll also want to avoid colder areas until you have warmer armor, else you’ll freeze to death. As was said previously, it’s best to be rested while out adventuring. For this reason, you might want to keep a few stones and pieces of wood with you so that you can place a campfire down and get a simple resting buff. Even a single campfire in the wilderness will give you a few minutes of resting advantages, so drop one in a convenient location and have a seat for a minute.
When you die in Valheim, everything on your character drops into a grave marker. You’ll respawn at the most recent bed you slept in and will need to make your way back to the grave marker. Thankfully, a little skull and crossbones icon is automatically placed on the map so you can find it more easily.
Once you’ve trekked back to the gravestone, click the use button on it to retrieve all your belongings in one fell swoop. You’ll be given the corpse run buff once you pick up your stuff, giving you the ability to run faster and use very little stamina to get out of Dodge and to safety.
Hunting, crafting, and tools in Valheim
That workbench you built earlier will be endlessly used as you spend more and more time in Valheim. The entry-level workbench can be upgraded by building special companion pieces of furniture, which will be automatically added to your crafting book as you pick up new items and level up your hammer. These are things like a chopping block or leather tanning station which must be placed within the vicinity of your workbench. You’ll know they’re working when you see a glowing gold line connecting the pieces while using the workbench.
The workbench can be used to upgrade items to the same level as your workbench. For example, if you have a workbench and the two aforementioned pieces, you’ll be able to upgrade all your tools and armor to level 3. Valheim uses star ratings to denote levels. Upgrading items will cost materials, all noted on each upgrade on the workbench, but repairing items is completely free. Yes, free, so be sure to repair early and often.
Crafting is free, so repair early and often.
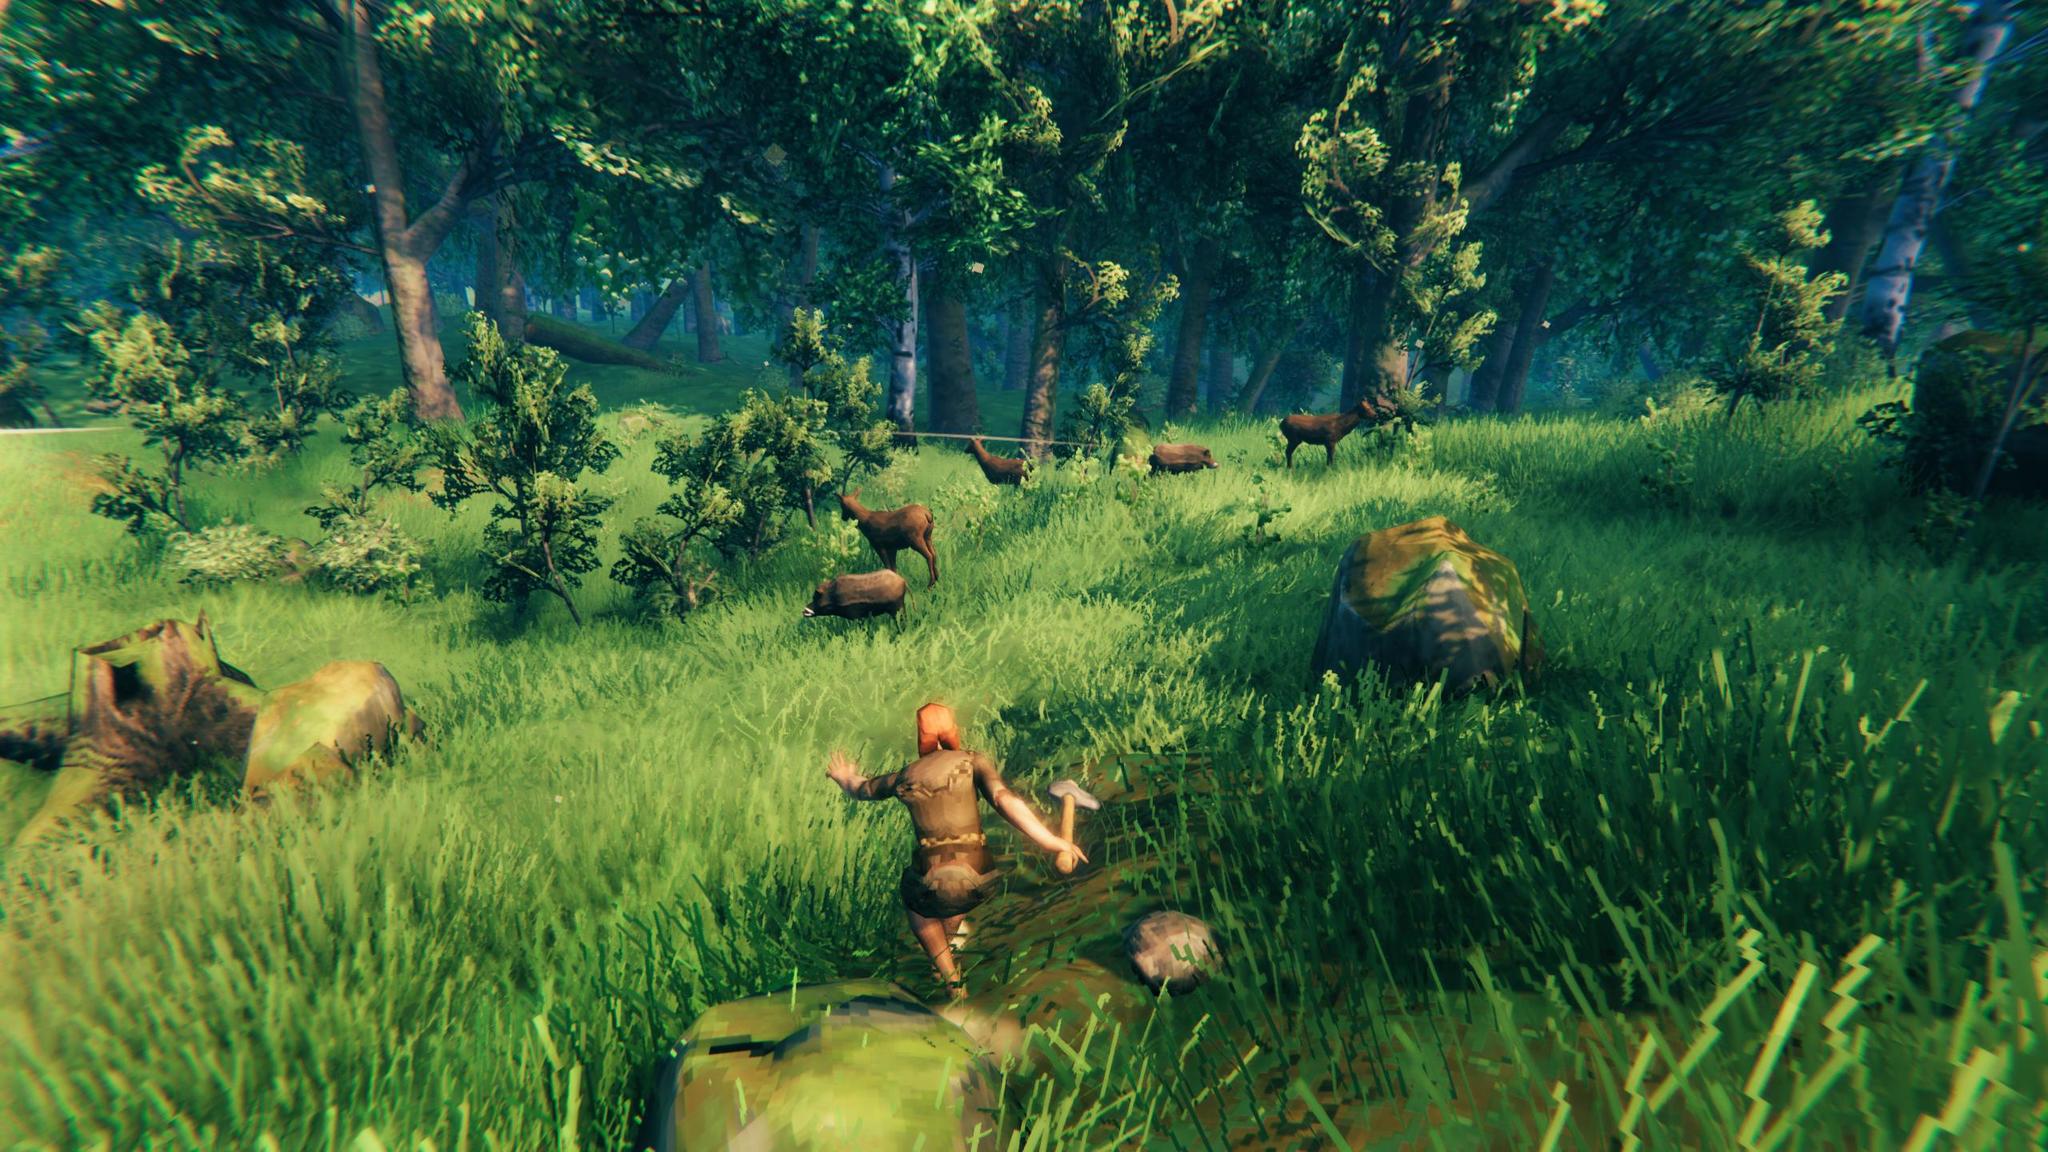
Most tools are pretty straightforward; the axe is best used as a weapon or to chop wood, the hammer is for building, and the knife is for killing. Some tools work best when using them a specific way; the knife has excellent backstab damage and works extremely well for hunting deer.
To fully utilize this, press the control key or click-in the left thumbstick on an Xbox controller to crouch, then proceed to sneak toward a deer and slice it in the back. It’s usually a one-hit kill and will yield deerskin and other lovely rewards. You can also roll by pressing the jump button while crouching or guarding.
Some tools, like the hoe, have an alternate-use menu that allows them to switch functions. Early-on in the game, you’ll be able to use the hoe to level ground, raise the ground, and even create pathways through the grass. Once you’ve defeated Eikthyr, you’ll get antlers that can be used to craft a pickaxe. The pickaxe can be used to break apart rocks, mine ore in the Black Forest, and even lower the ground or carve out tunnels and ditches.
Make sure to sneak while hunting deer and then backstab them for massive damage
Each tool has a different variation depending on the material you build it with. Early weapons are all built out of stone, but a quick journey to the water’s edge will reveal flint lying on the shore. Use these to craft stronger knives, axes, and even a spear. Armor can be crafted with leather scraps found by killing boar and skins by killing deer. Later on, you’ll find metals that will make even better weapons and armor.
How to build in Valheim
You might have already learned how to build a basic house on your first day in Valheim, but how about something a little more advanced? Valheim offers a surprising number of options right from the get-go; all you’ll need is some wood and a little ingenuity. But Valheim’s building system isn’t like Minecraft — you can’t just let pieces float in the air — rather, you’ll need to make sure things are structurally sound.
Valheim uses a color-coding system to clue players into how structurally sound their inventions are. Green is as solid as a rock, while red means it could fall at any moment, with a gradient hue to yellow and orange as integrity is reduced. As you would expect of a real-world building, Valheim’s buildings need to be built with gravity in mind. Floors need to be supported by columns, while beams can help level a floor and keep a roof in good condition.
When starting the floor, it’s best to frame the whole floorplan out with wood beams. You can use any size beams you’d like, just make sure to get that outline set before you place flooring panels, otherwise, you’ll end up with an uneven floor. Walls can be placed on these same frames, making for an easy snap-in-place solution once you’ve got the floor framed out.
Most early-game building components can be broken down to get exactly the same amount of materials that it cost to build. For example, if you build a floor piece, it costs two pieces of wood. Breaking a floor piece gives you back two wood. Don’t be afraid to break components and fix them if you placed them wrong!
Don’t be afraid to destroy building pieces if you placed them wrong; you won’t lose raw materials!
Once you make your way up to the roof, be sure you’re actually using roof pieces. Early game, these are thatched roofs. If you try to use a flat floor piece to create a roof, you won’t be considered sheltered; a status denoted by an icon of the same name on the top of your screen. Roof pieces are available in several different angles, lengths, and even corners.
When constructing your buildings, never forget to leave a pathway for smoke to vent out of your home. Whether you create a fireplace or prefer an open floorplan, having a smoke vent is the key to not choking to death while you craft, rest, or sleep at night. One of my favorite designs is to place the short pillars at the middle opening of the roof and then place ridge pieces on top of those; it’s a great way to give your house natural light during the day, keep the rain from coming in, and still let the smoke out!
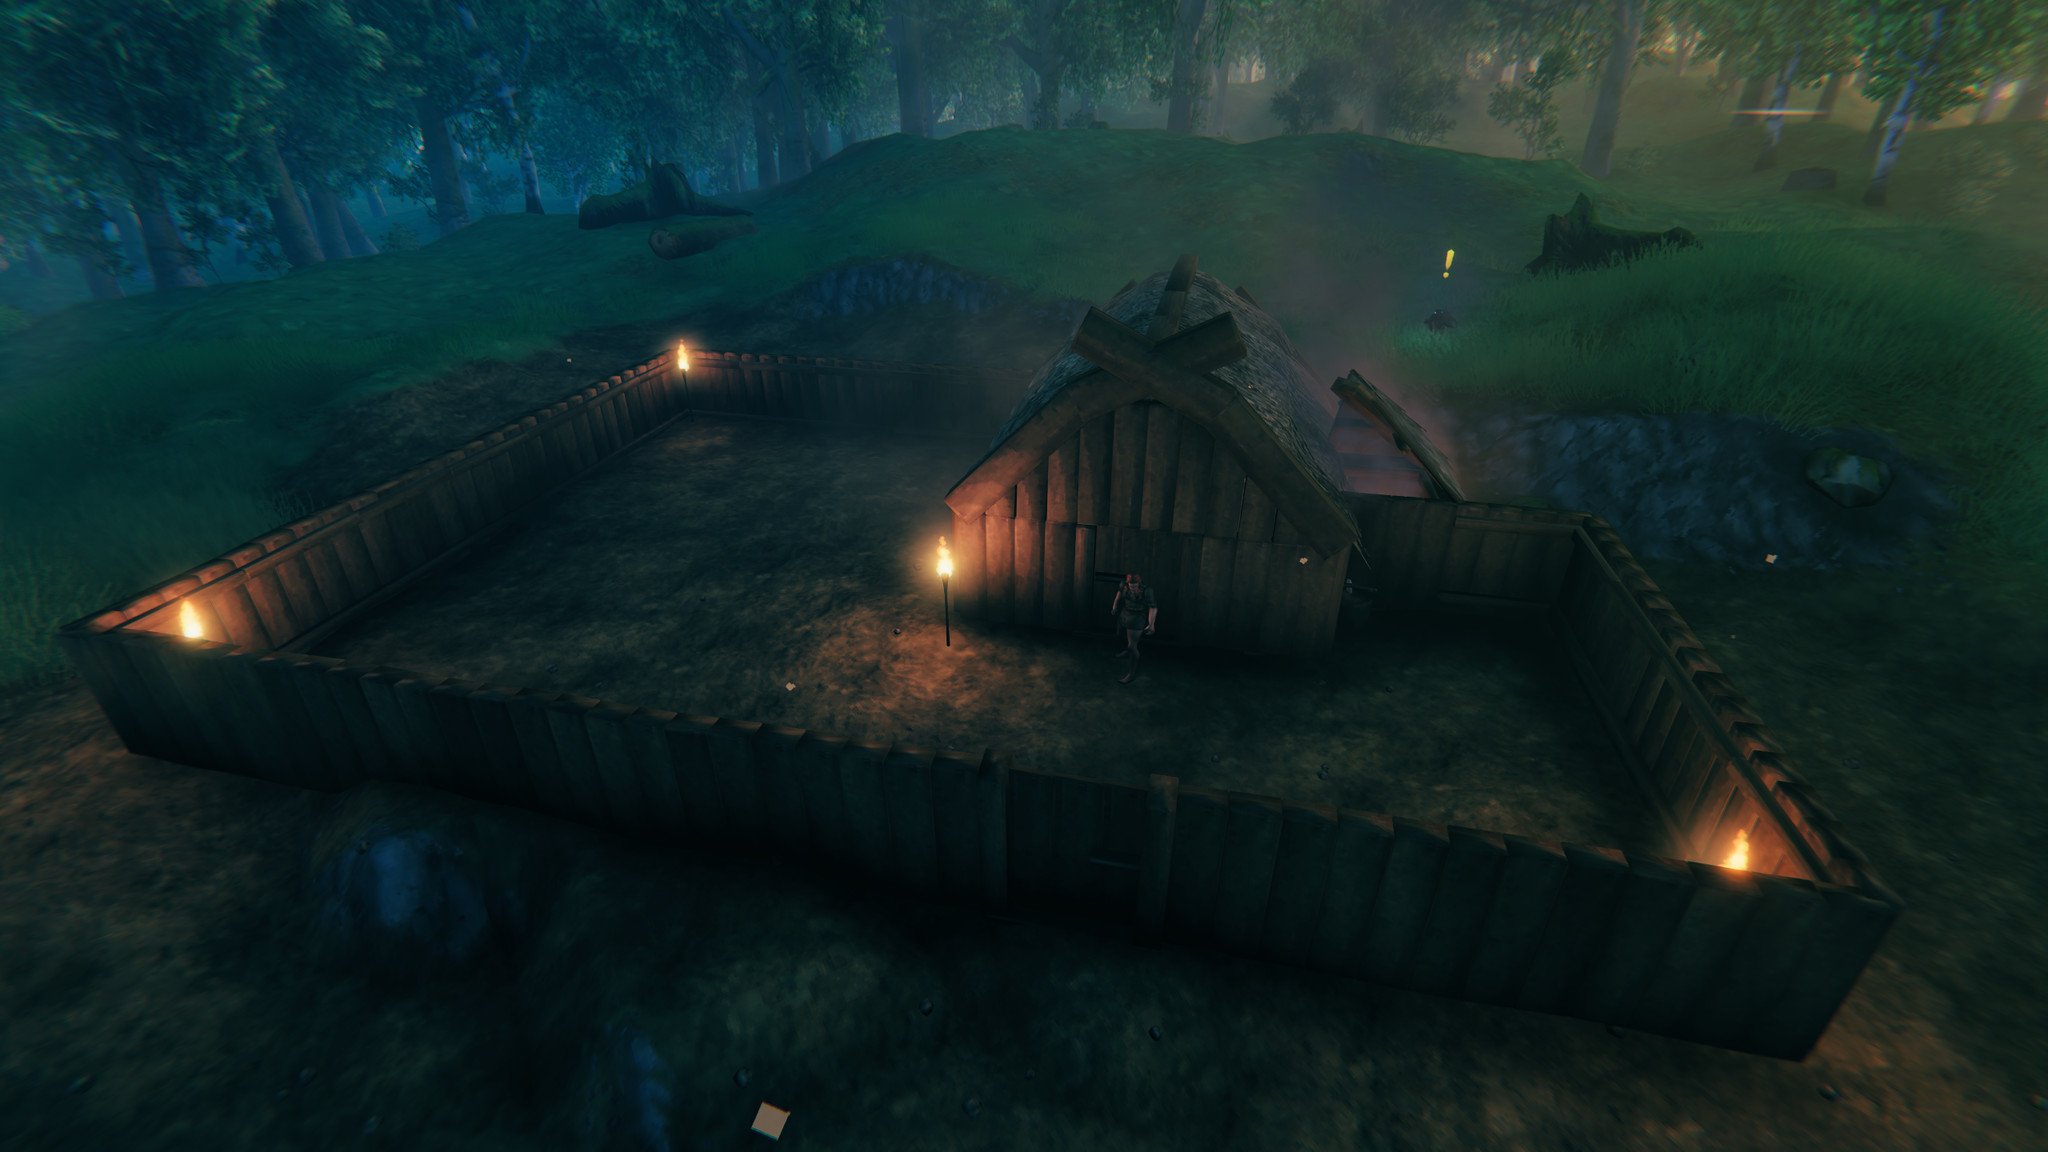
As you explore and build bigger and grander places, or just expand your territory with multiple dwellings scattered across the world, don’t forget to build some sort of fence or another barrier between your house and the land around you. While the initial meadows holds little more than a few nuisance enemies, later biomes contain much tougher crowds who will decimate your home if left unprotected.
You’ve eternity ahead of you, warrior!
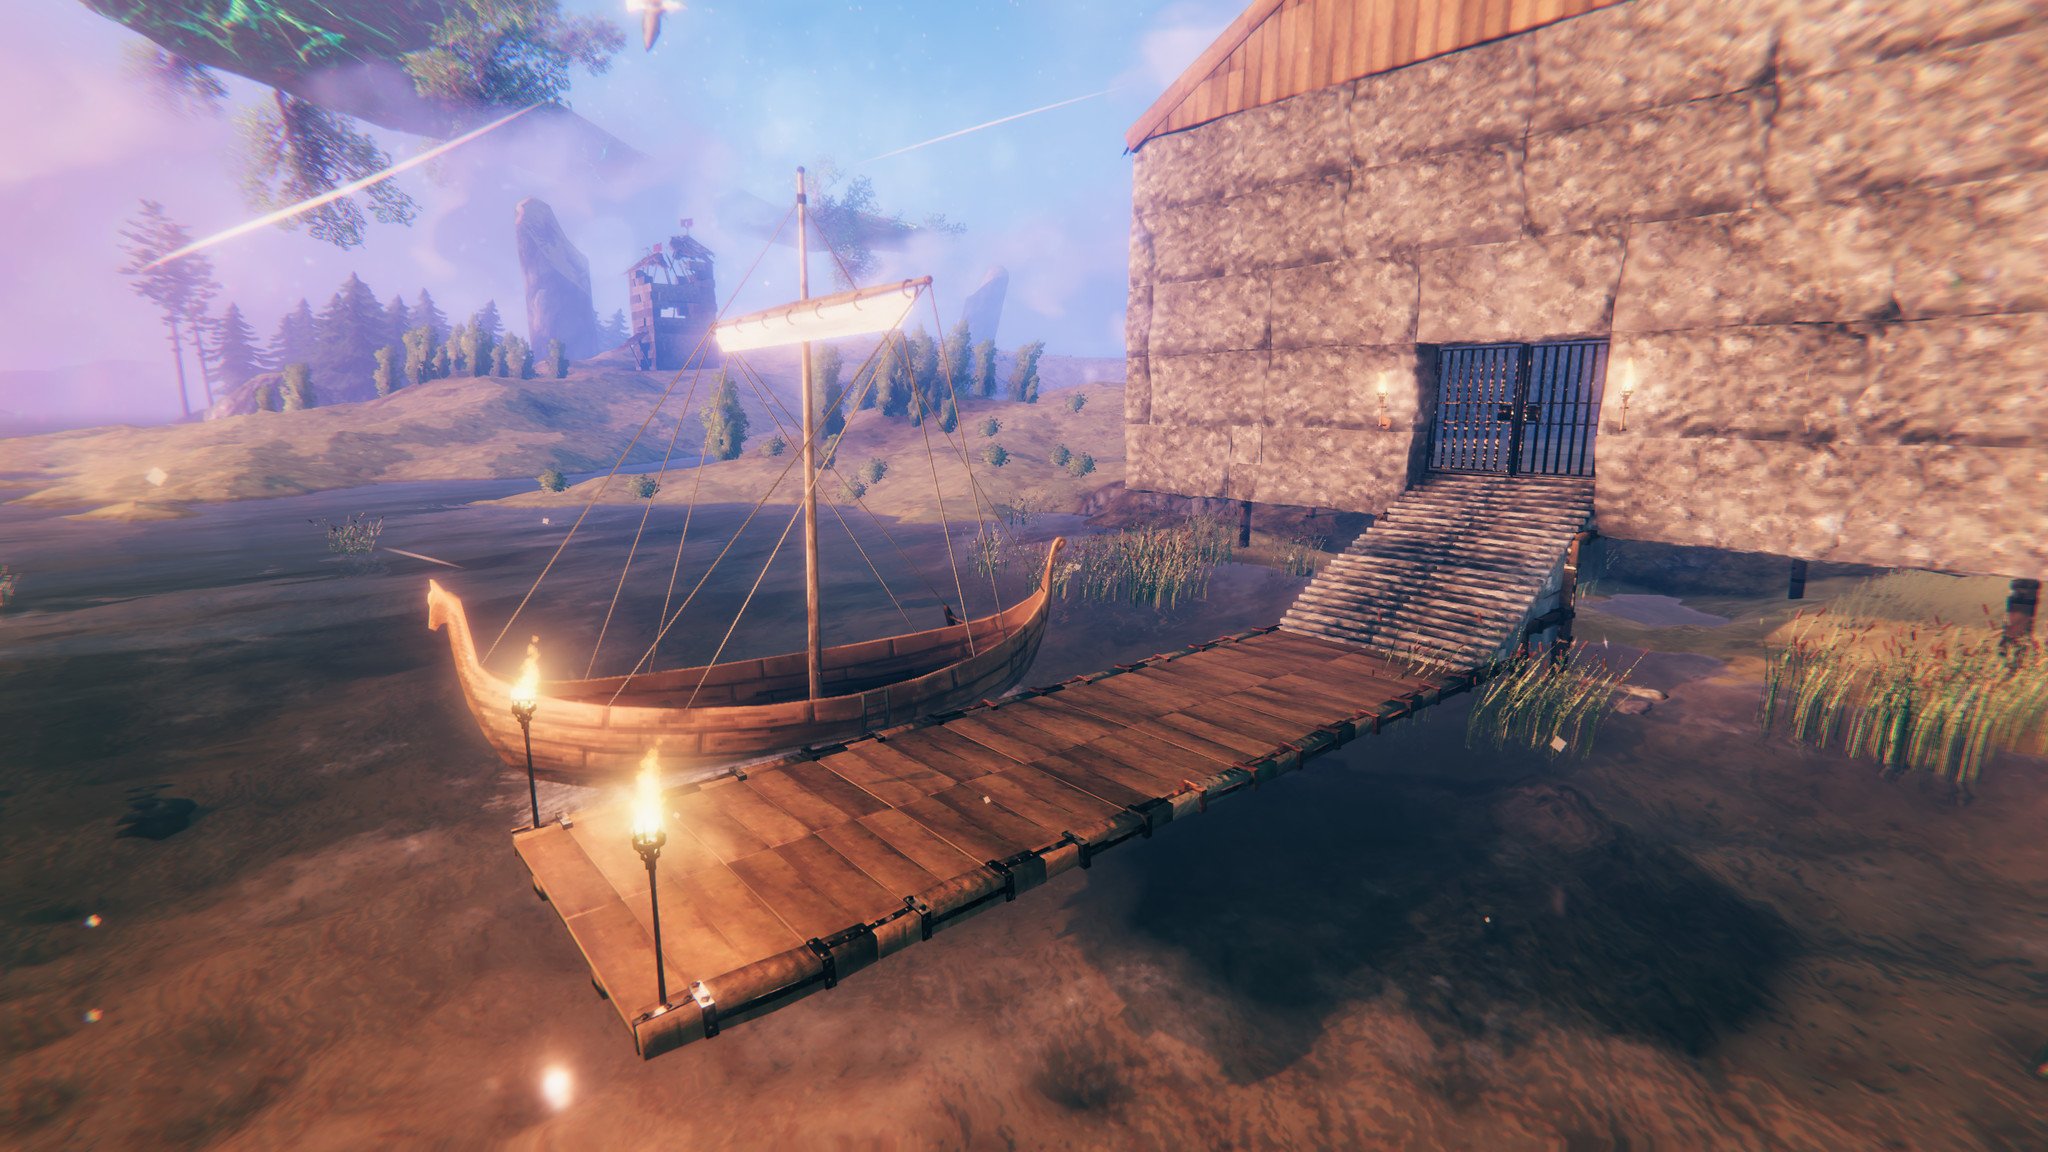
One of the most unique aspects of Valheim is that your character stays persistent in every world. Think of heading to a new world like taking a portal: your very same character heads into that world and can take anything back with them. Given that there are already over one million Valheim players and counting, there’s no shortage of worlds (servers) to enter to pillage. After all, this is a Viking survival simulator, right? Make the most of it and venture forth to bring back goods from other worlds and better your own!
Each world in Valheim is incredibly large and varied. There are currently six biomes to find in Valheim, including the Ocean, with another three in development. Each Biome contains its own resources, types of enemies, and environmental challenges. Just be sure you’re prepared before you venture out! You’ll need warmer clothes to survive the coldest climates, lots of light to see in the darkest crypts and caves, and a good boat to sail the open seas; just watch out for what lives in the deep!

It’s all up to you
Valheim is an early access survival game that has you living the life of a Viking stuck between Earth and Valhalla. Will you make it to see paradise?


