Further on in your wizarding-world journey, you’ll come across a quest entitled “The Hippogriff Marks the Spot” in Hogwarts Legacy. This is technically a continuation of a previous quest filled with spell cube puzzles. Not to mention that when you actually complete this mission, you’ll be in some ruins that lead to yet another part of the quest: The “Solved by the Bell” quest. You’ll definitely want to play this second quest line out as is leads to a great Easter egg finish.
Don’t worry. We’re here to step you through every part of “The Hippogriff Marks the Spot” as well as helping you complete the “Solved by the Bell” quest that follows. The many fun side quests in Hogwarts Legacy is part of what makes it one of the best PC games and best Xbox games out there.
The Hippogriff Marks the Spot: Find the map
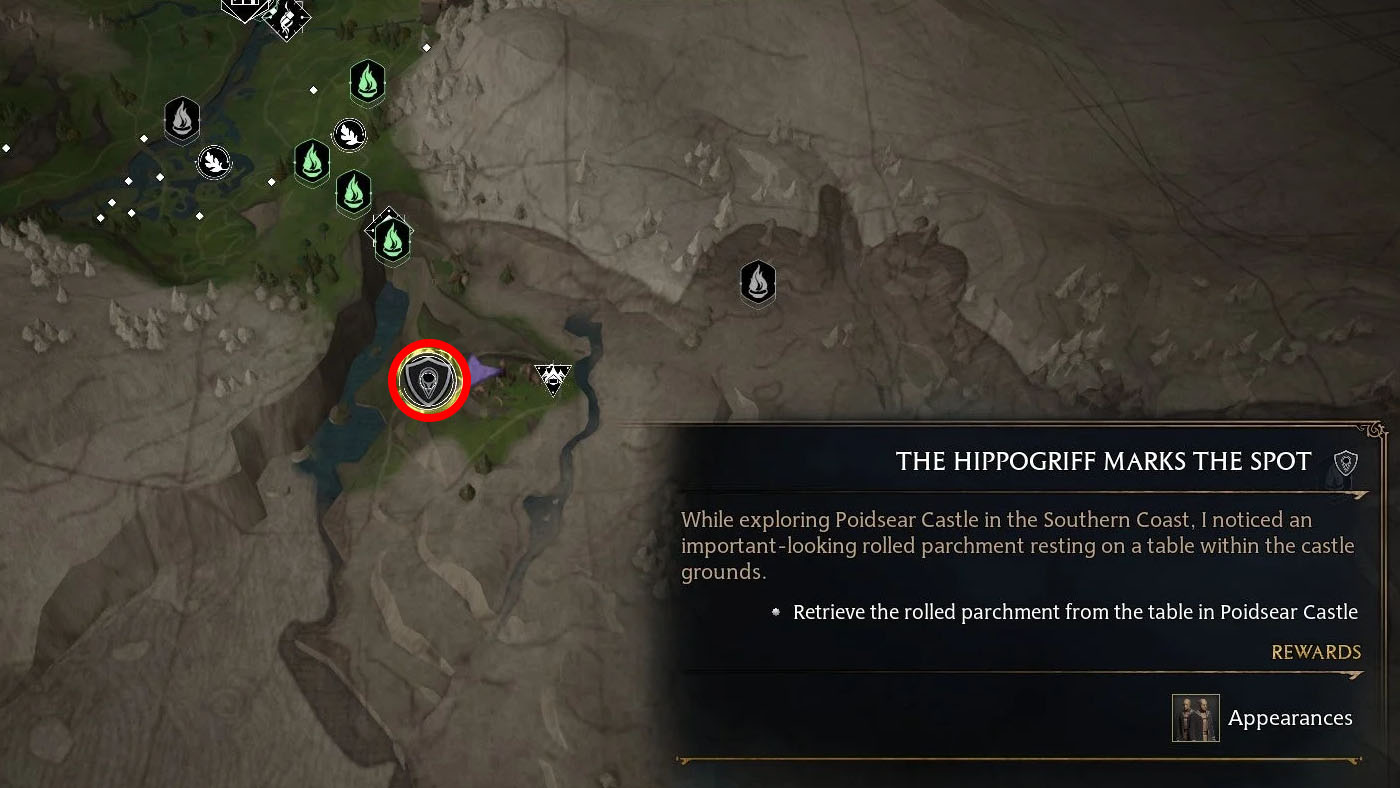
To start off this Hogwarts Legacy quest, head to the Bandit camp at Poidsear Coast → Poidsear Castle Floo Flame. There are several Ashwinders here so either sneak around and take them out with Petrificus Totalus or defeat them head on.
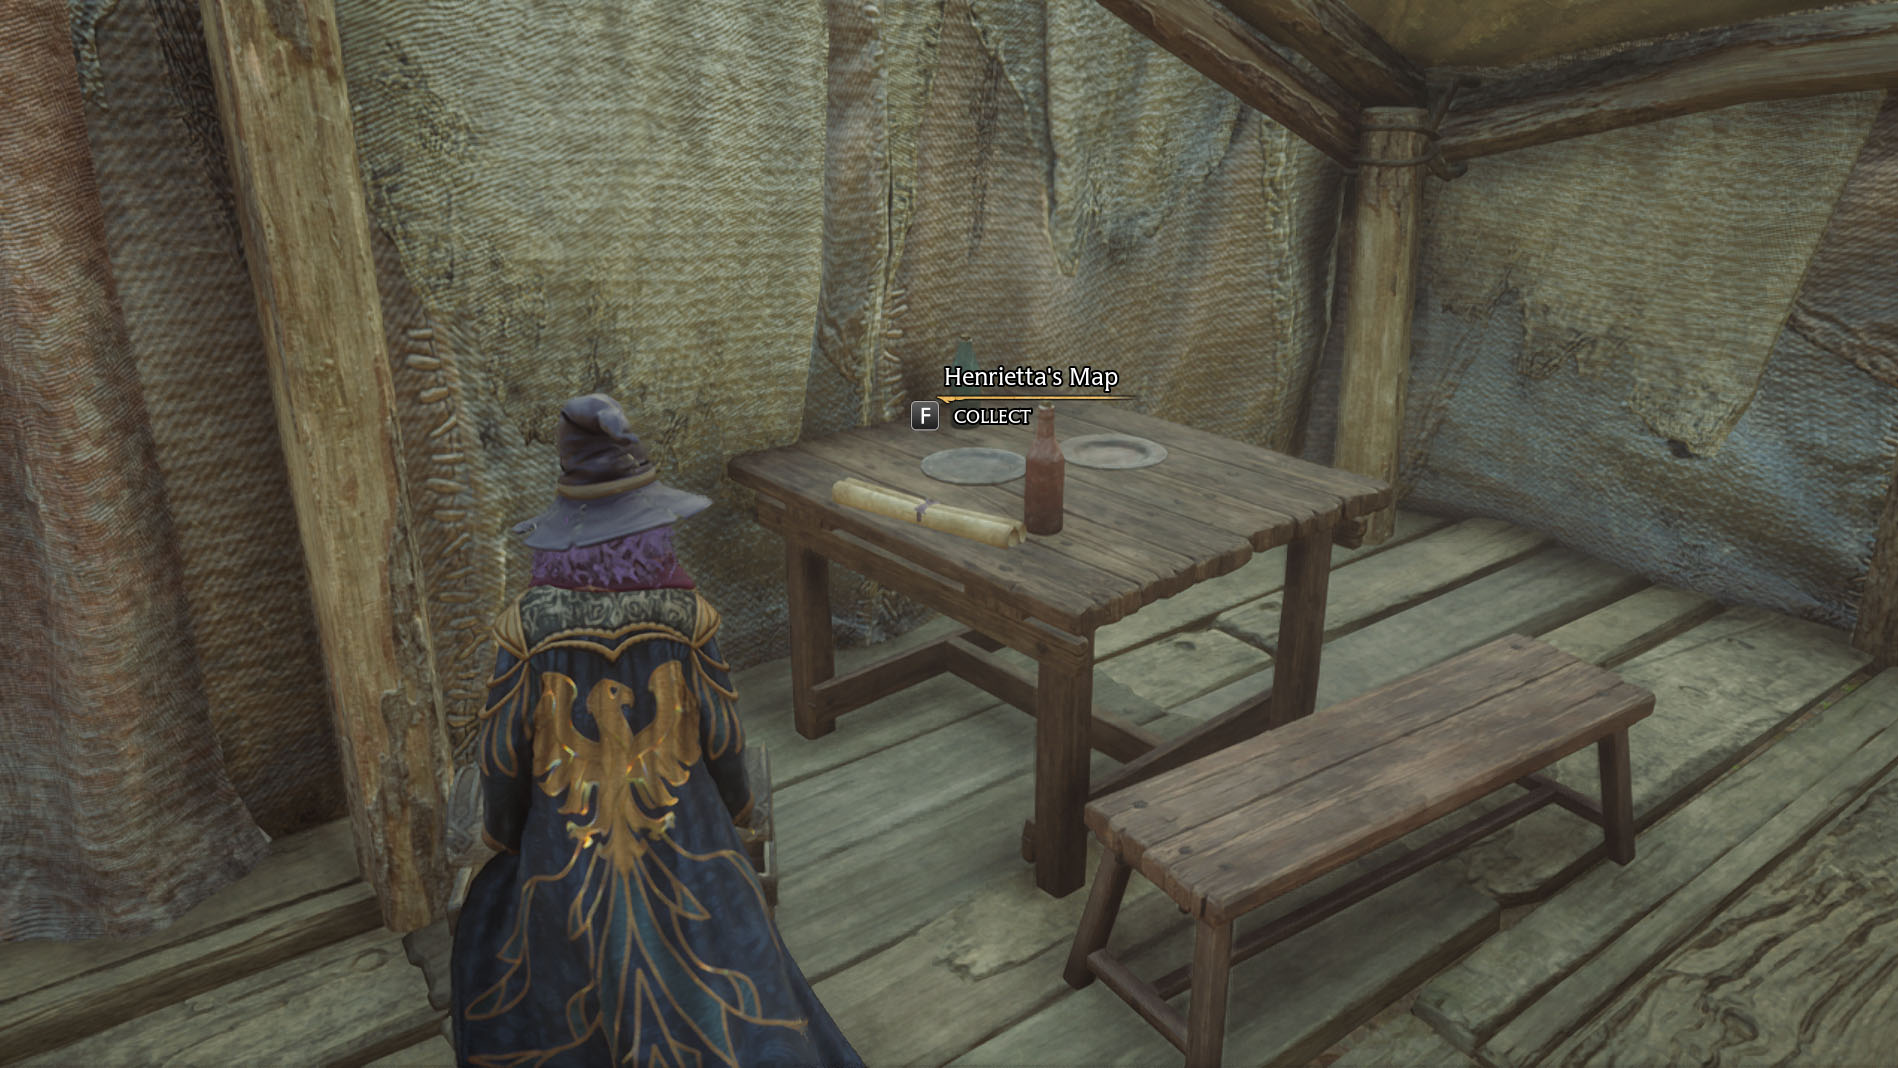
When they’re gone, enter the half-open tent on the west side of the ruins and pick up Henriett’as Map on the table.
Go to The Hippogriff Marks the Spot starting location
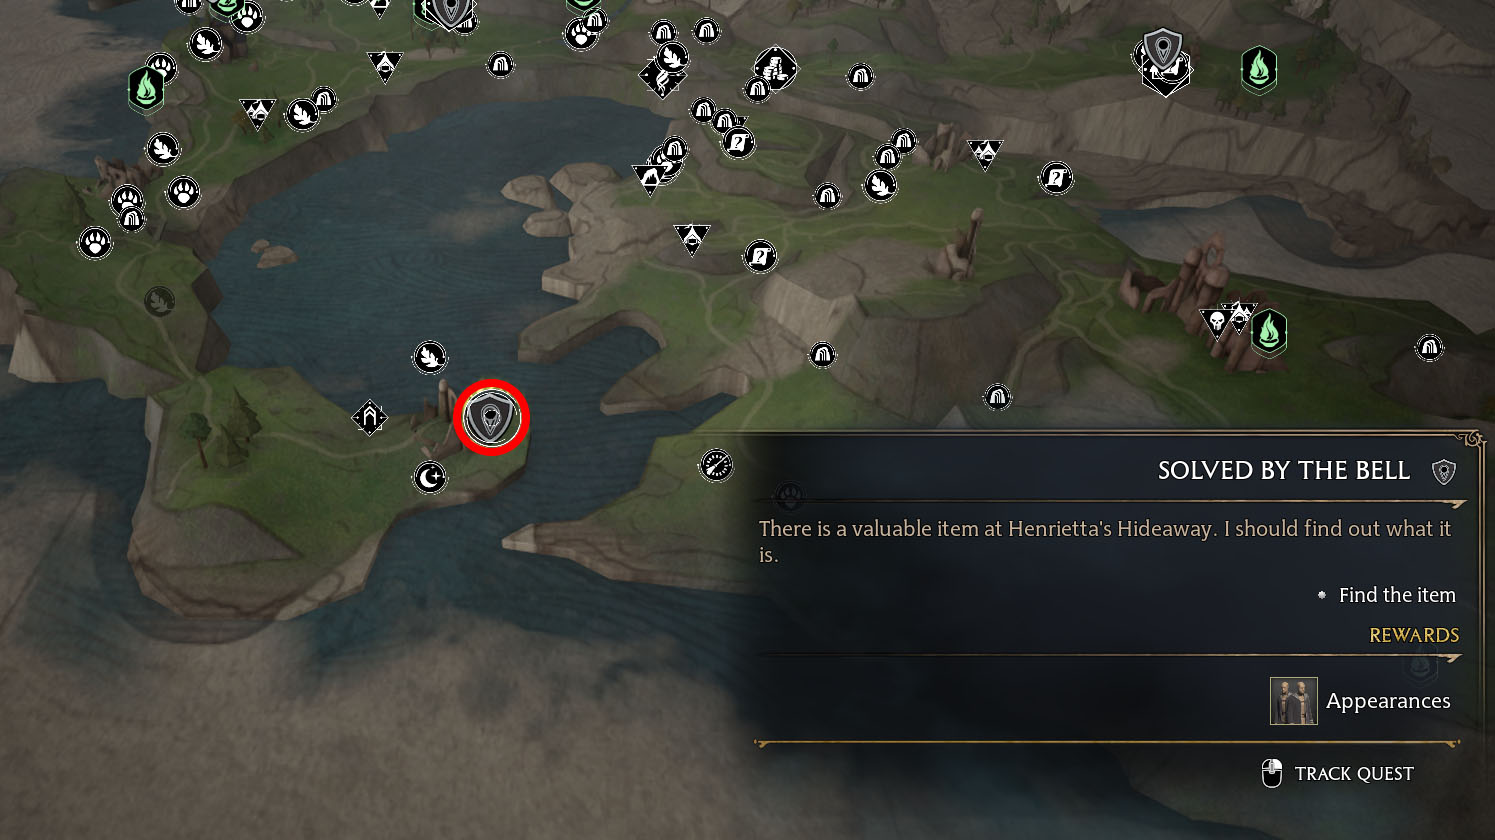
The map wants you to go to Henrietta’s Hideaway which is at the tip of the Manor Cape within the ruins. Head to this area.
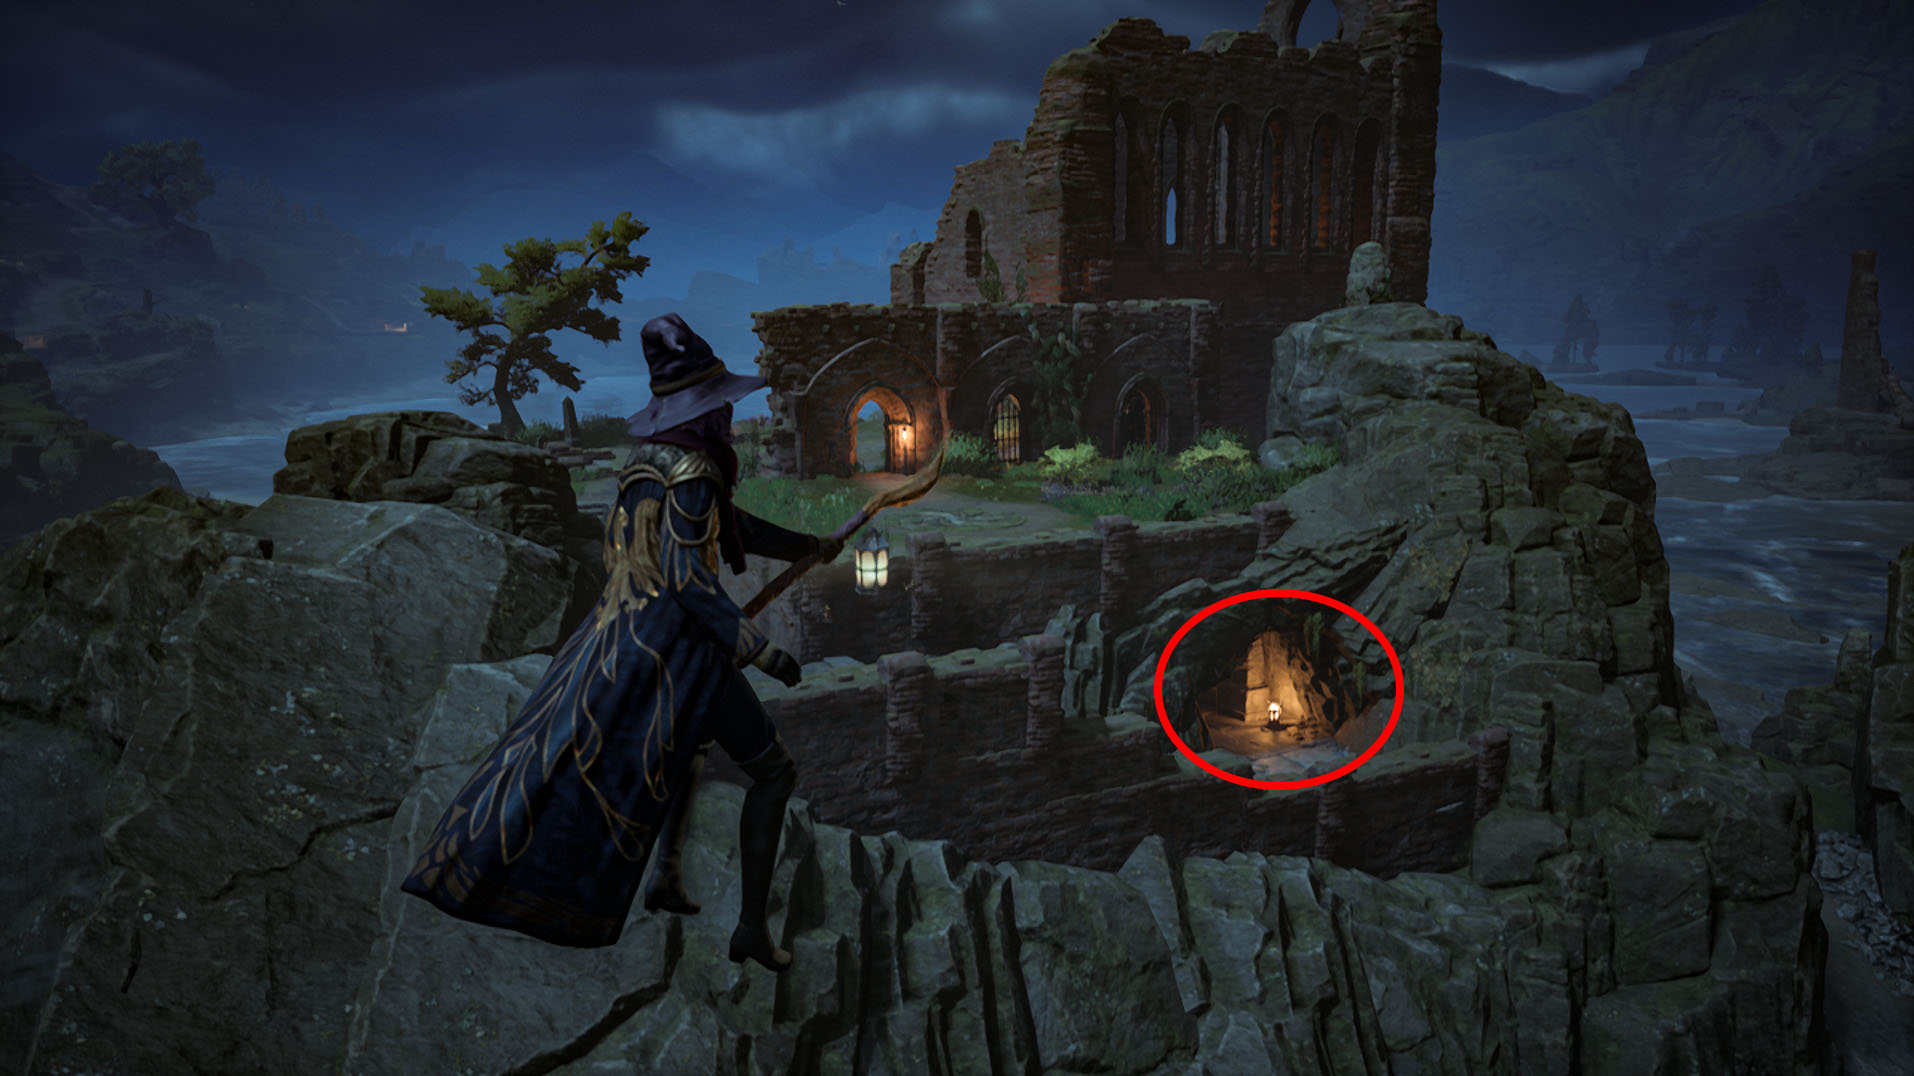
These ruins are covered by enemies. You can either defeat all of them or sneak around on your broom to the backside of the ruins and enter the secret entrance that’s down the stairs to the south.
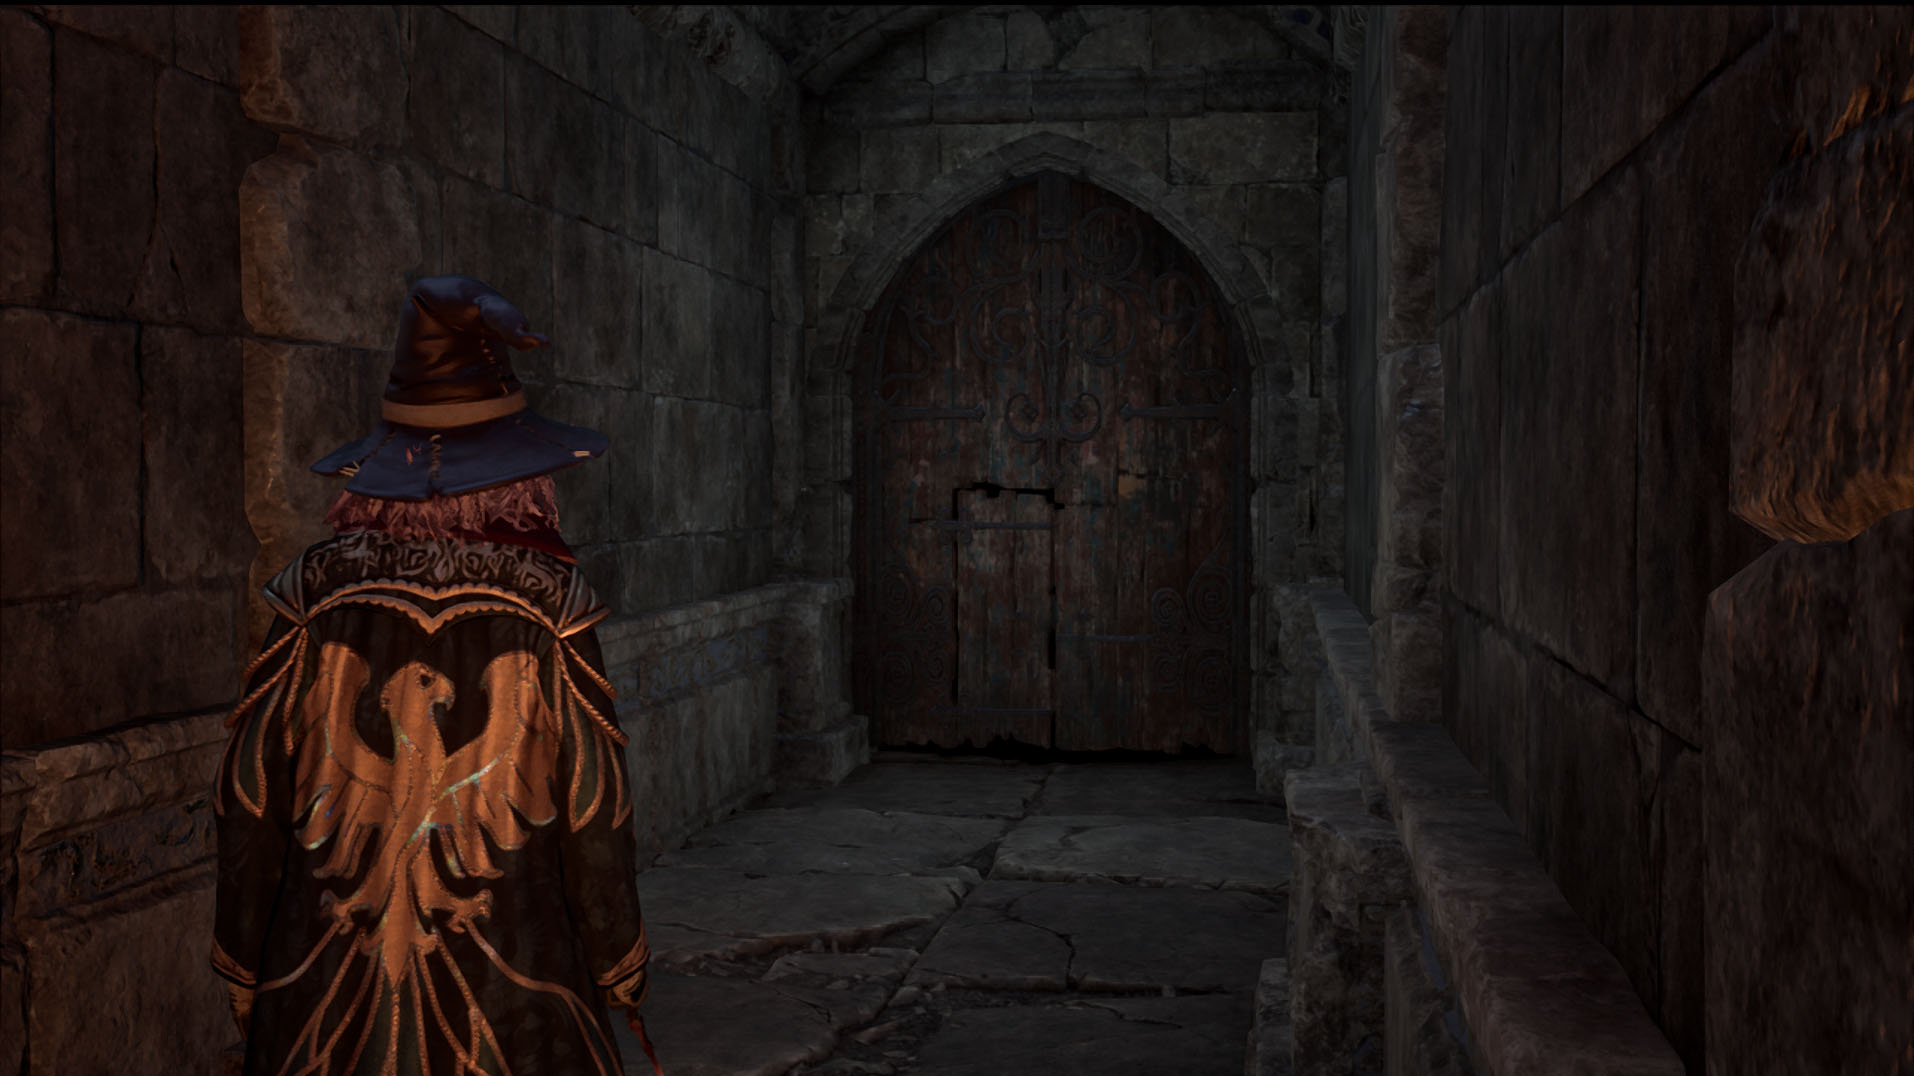
Enter through the double doors that lead to Henrietta’s Hideaway.
There are many small treasures to pick up in here along the way to keep using Revelio to know where to grab them. We’ll only be touching on how to grab larger treasures in this dungeon.
The Hippogriff Marks the Spot: Spell cube puzzle 1
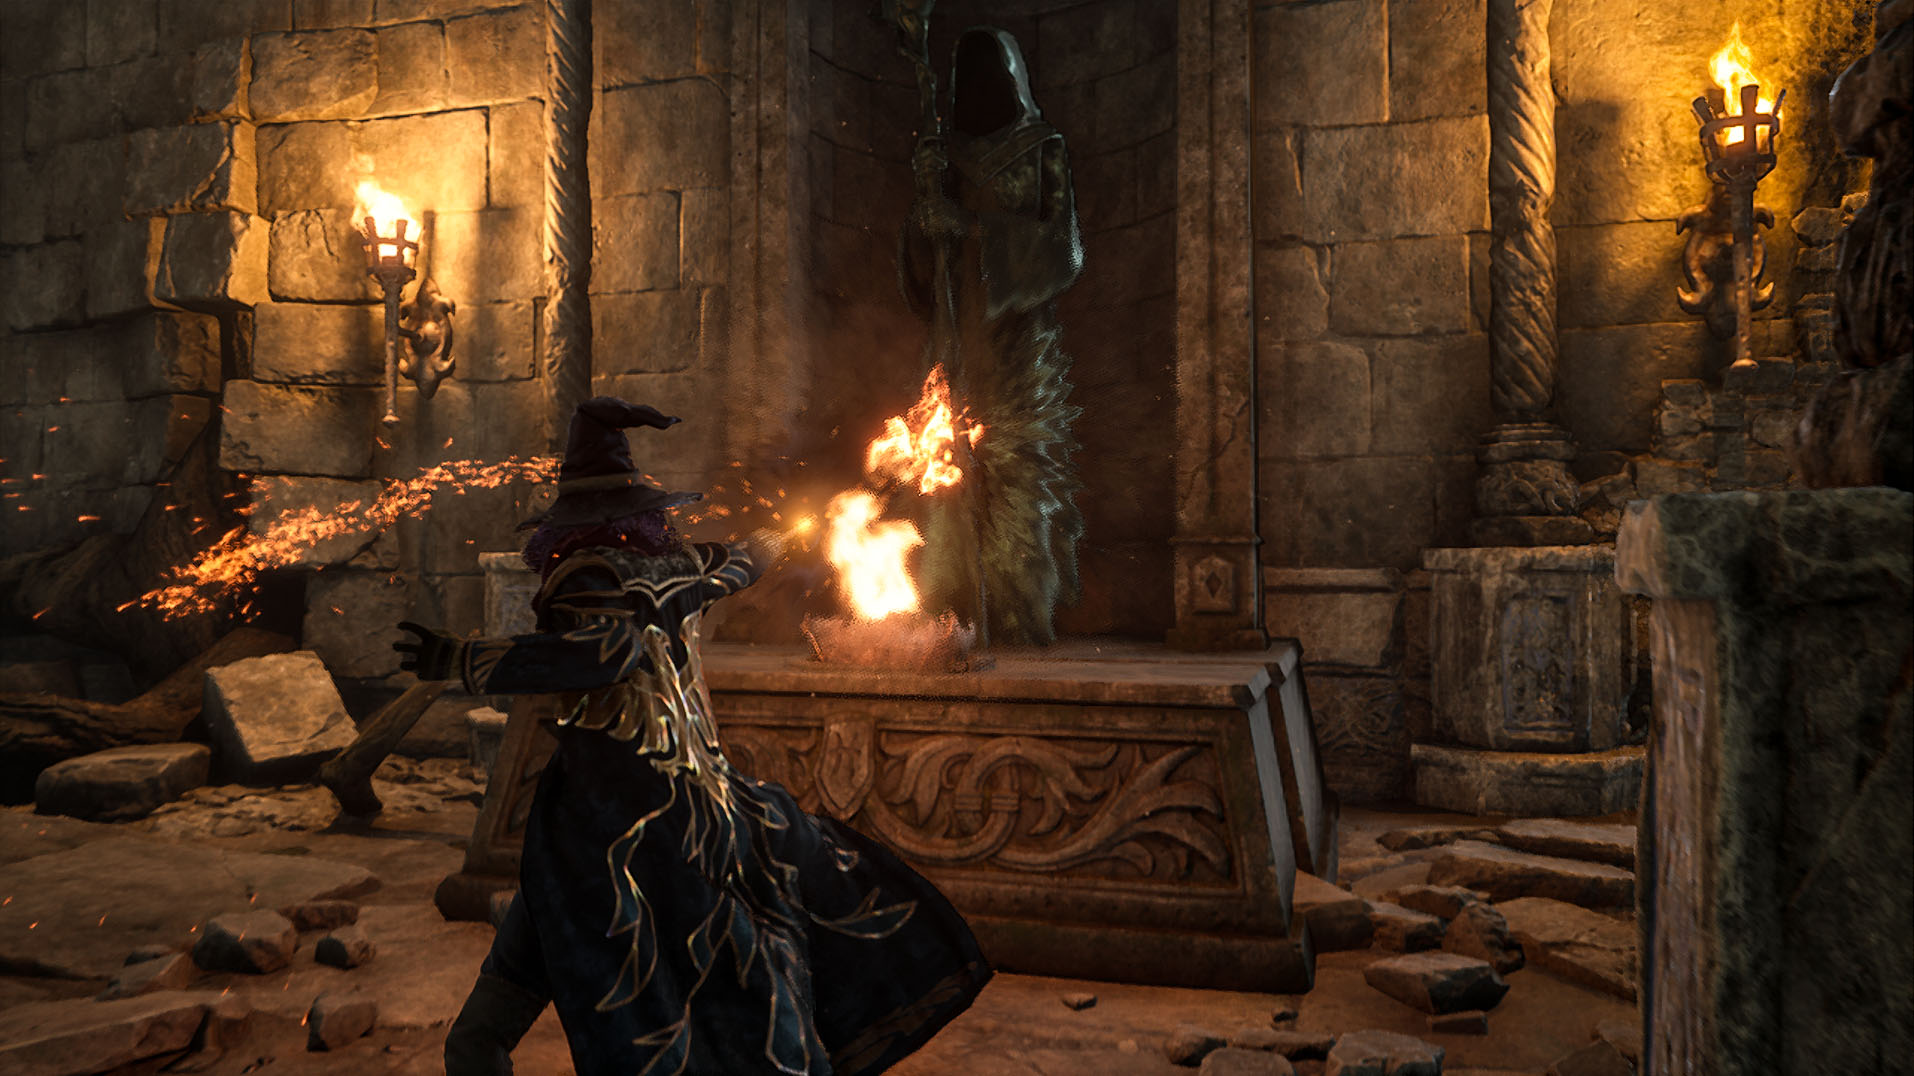
In the first room, you’ll see a spell cube with an ice symbol on it and a platform for a fire spell cube. Turn to the statue on your left and light the brazier with Incendio or Confringo to get it to turn around and pop out the fire spell cube.
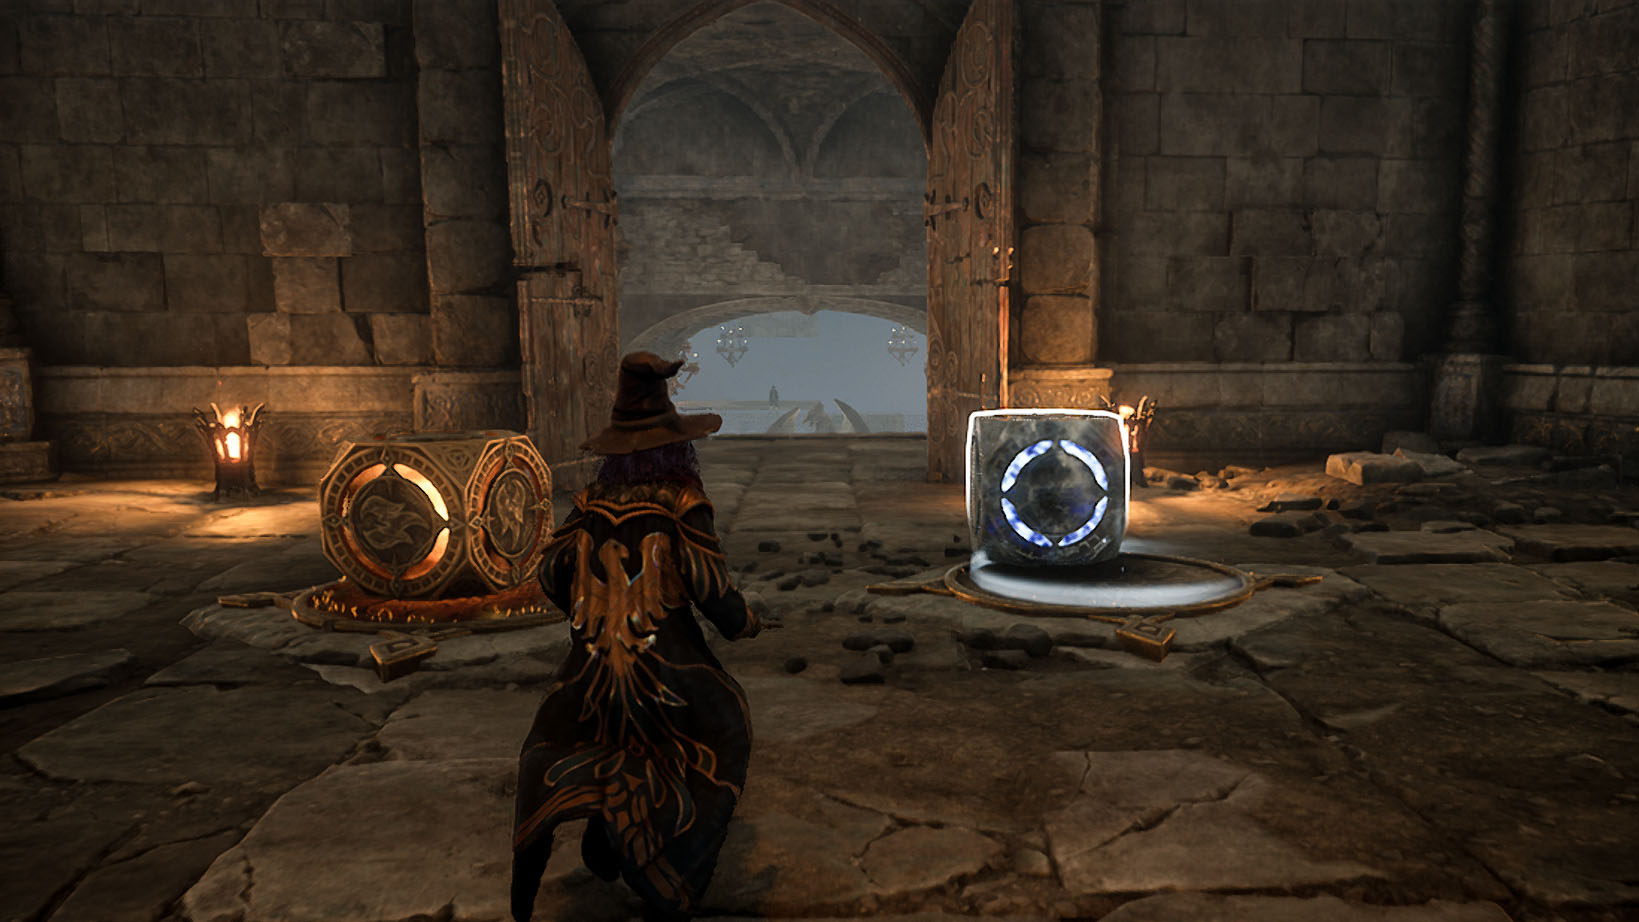
Now use Wingardium Leviosa to bring the fire spell cube to its platform. Next cast Incendio on the fire cube and Glacius on the ice cube. This will make the large doors in front of you open. Continue through them.
The Hippogriff Marks the Spot: Fight the Ashwinders
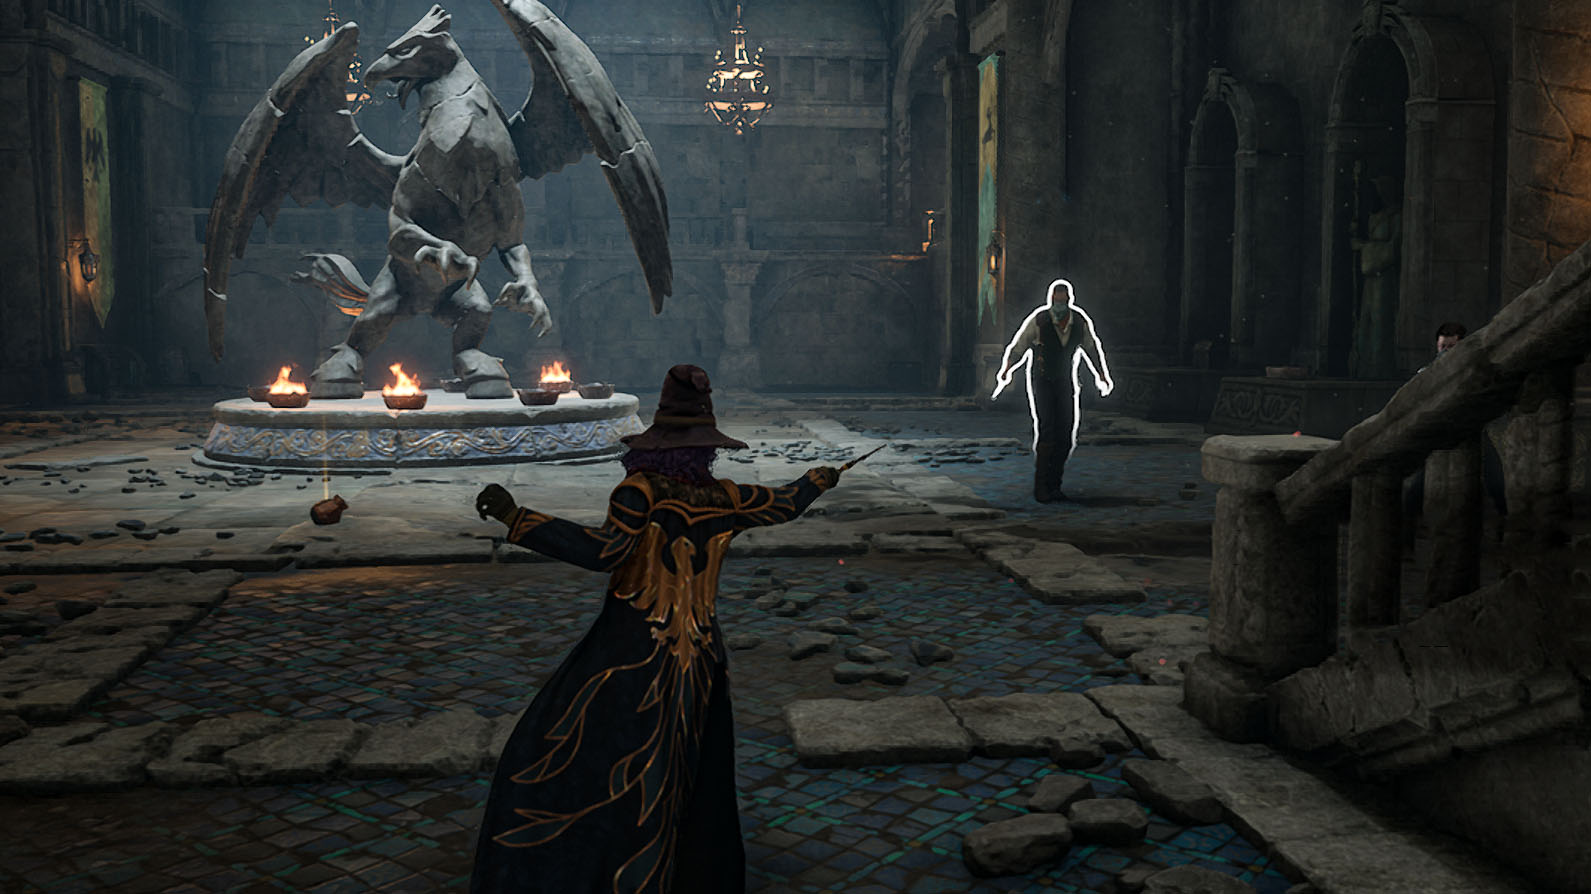
Down the stairs, you’ll see a Hippogriff statue with several Ashwinders around it. Defeat them and then you’ll be free to tackle the puzzle.
The Hippogriff Marks the Spot: Hippogriff torch puzzle
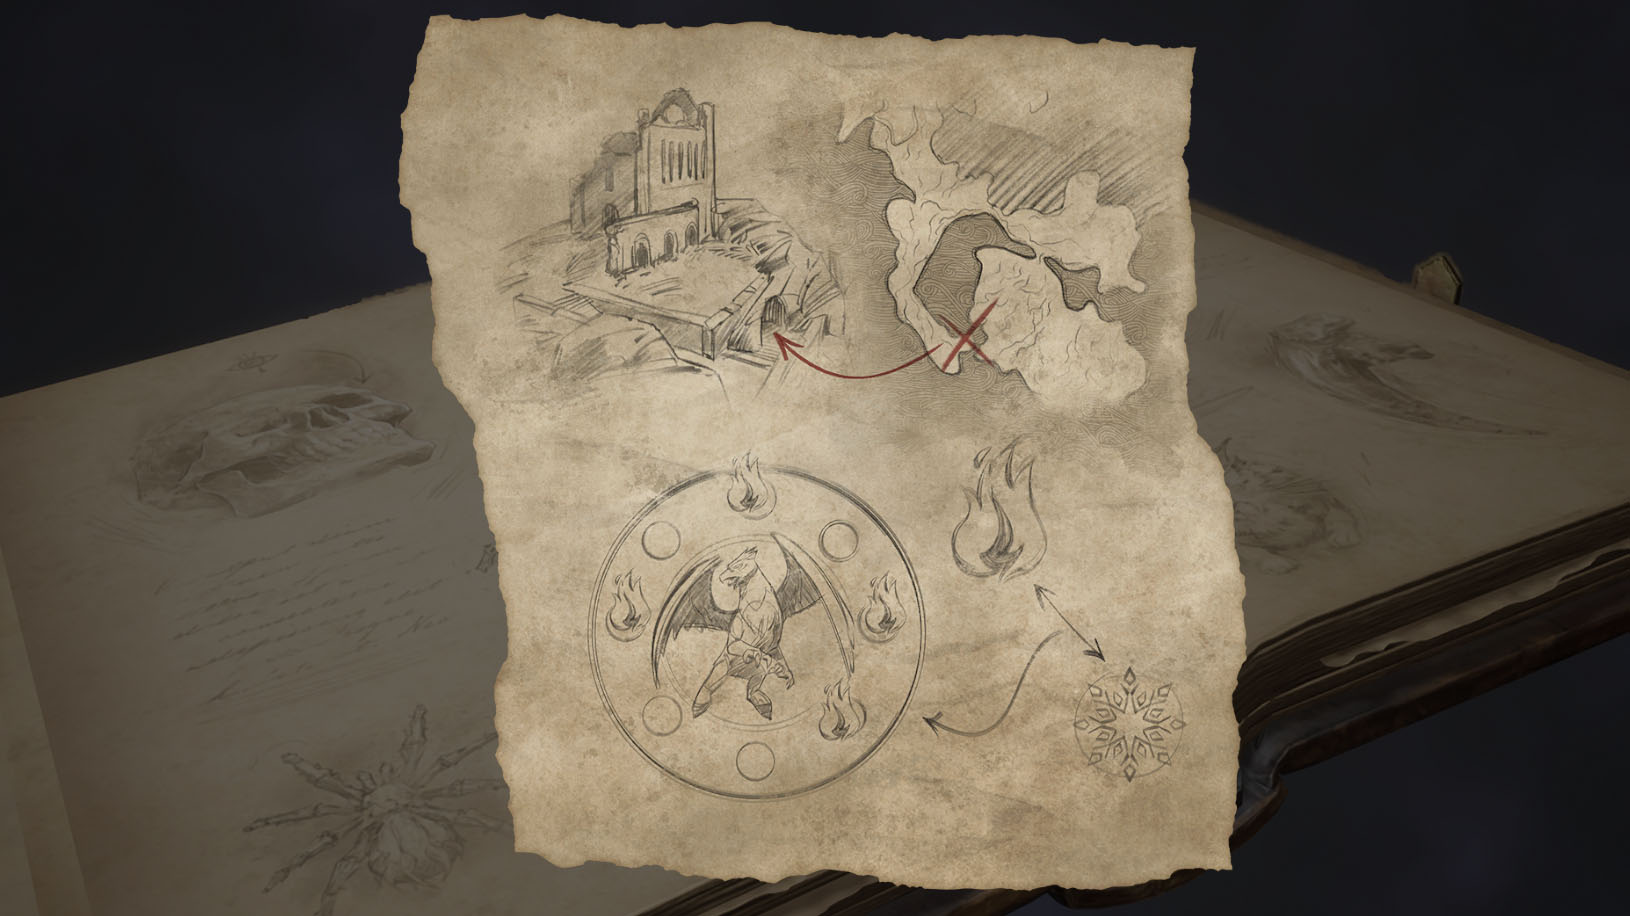
You want to make the pattern of lit torches match what’s shown on Henrietta’s map. Use Confringo to light a brazier and use Glacius to put a brazier out. Basically, everything needs to be swapped from what is shown when you arrive.
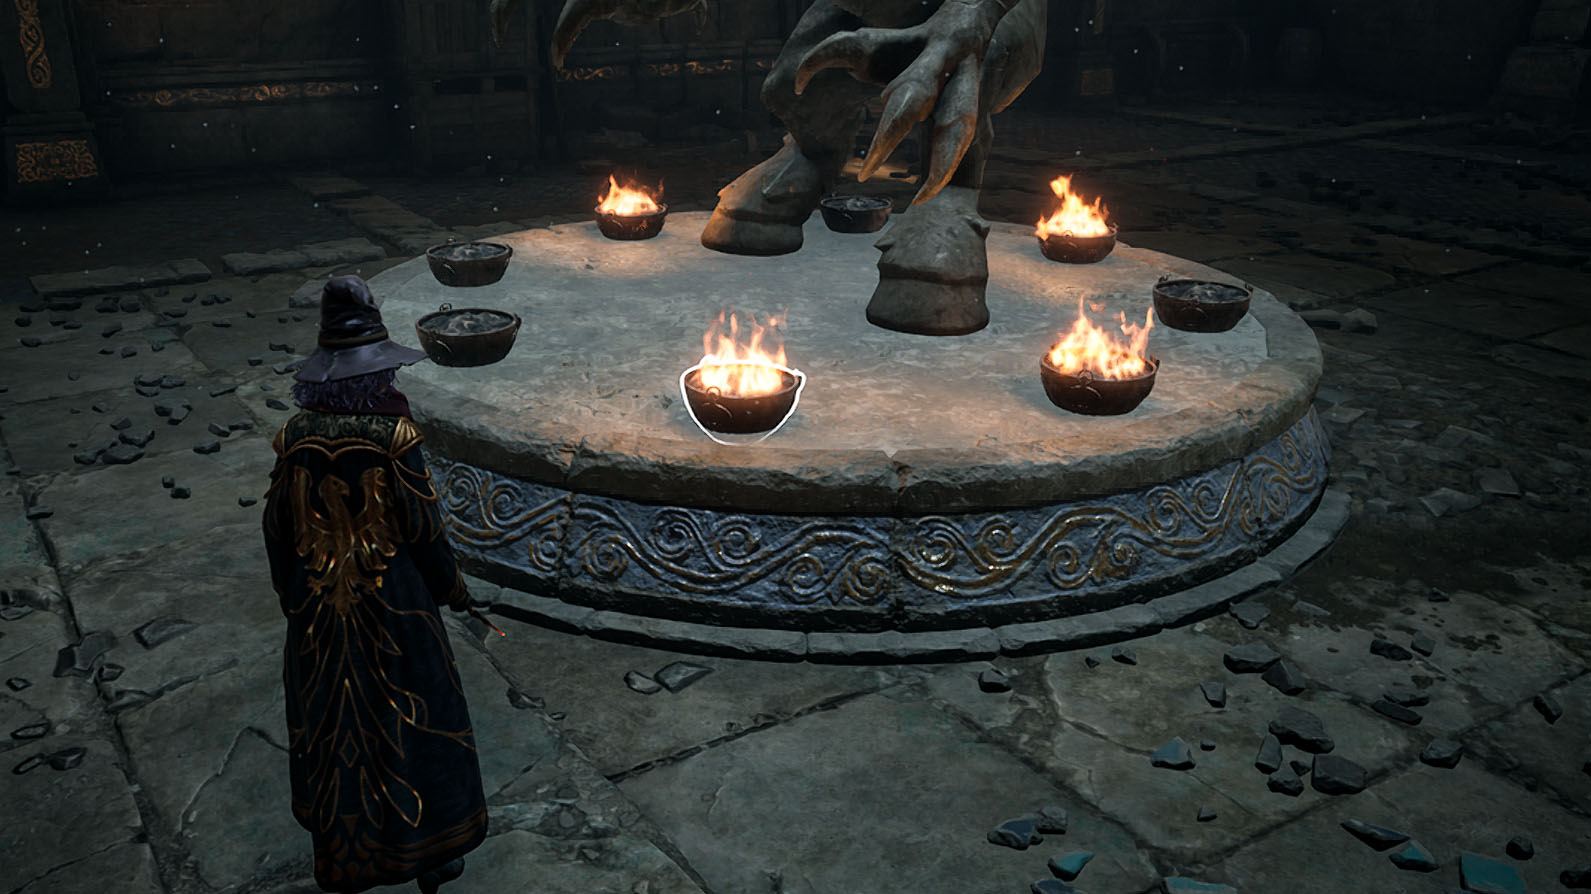
Once the right pattern is in place, a secret area will open in the room behind the Hippogriff statue. Go and open the box.
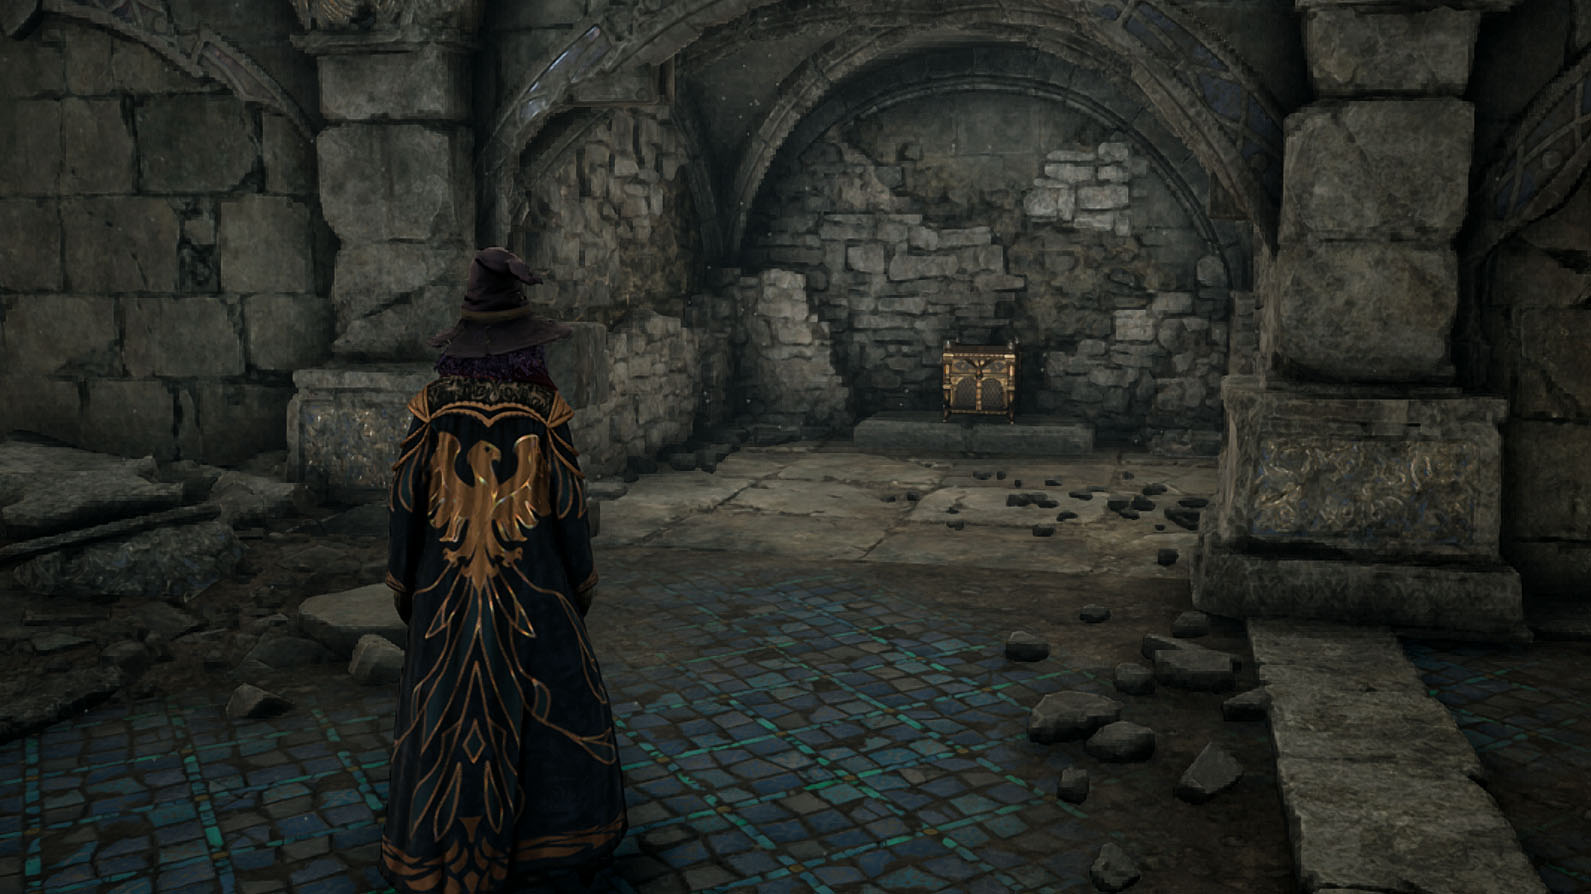
This technically ends The Hippogriff Marks the Spot quest. However, a continuation from this last quest entitled “Solved by the Bell” is still in these ruins so we’ll go over how to get that now.
Henrietta’s Hideout: Brazier Statue puzzle
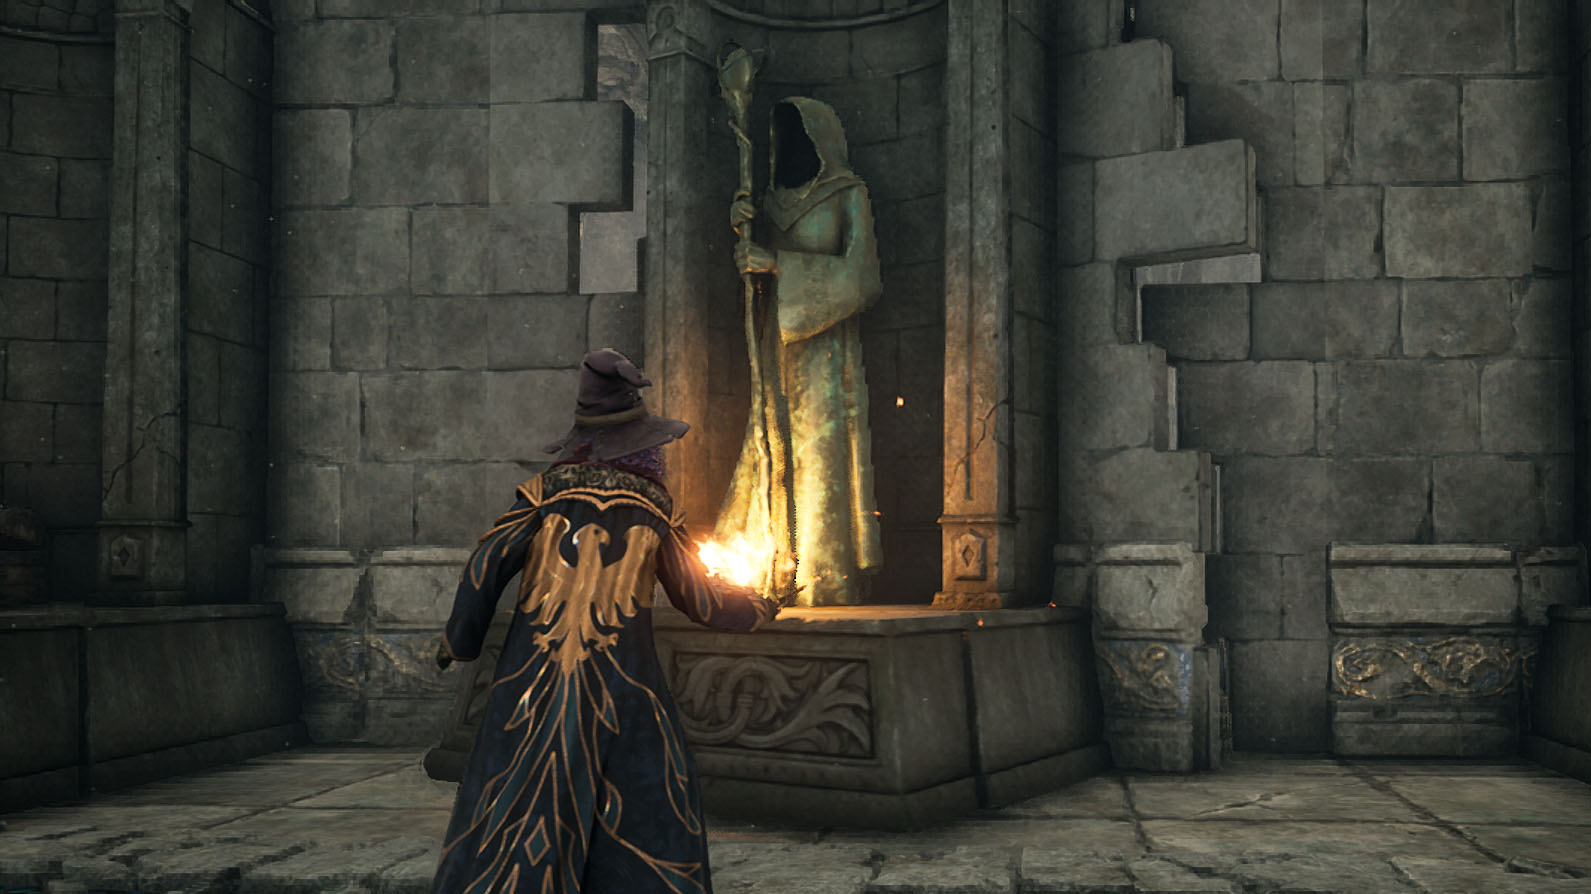
Turn to the right side of the room and light the brazier that sits before the wizard statue. This will make the statue flip around.
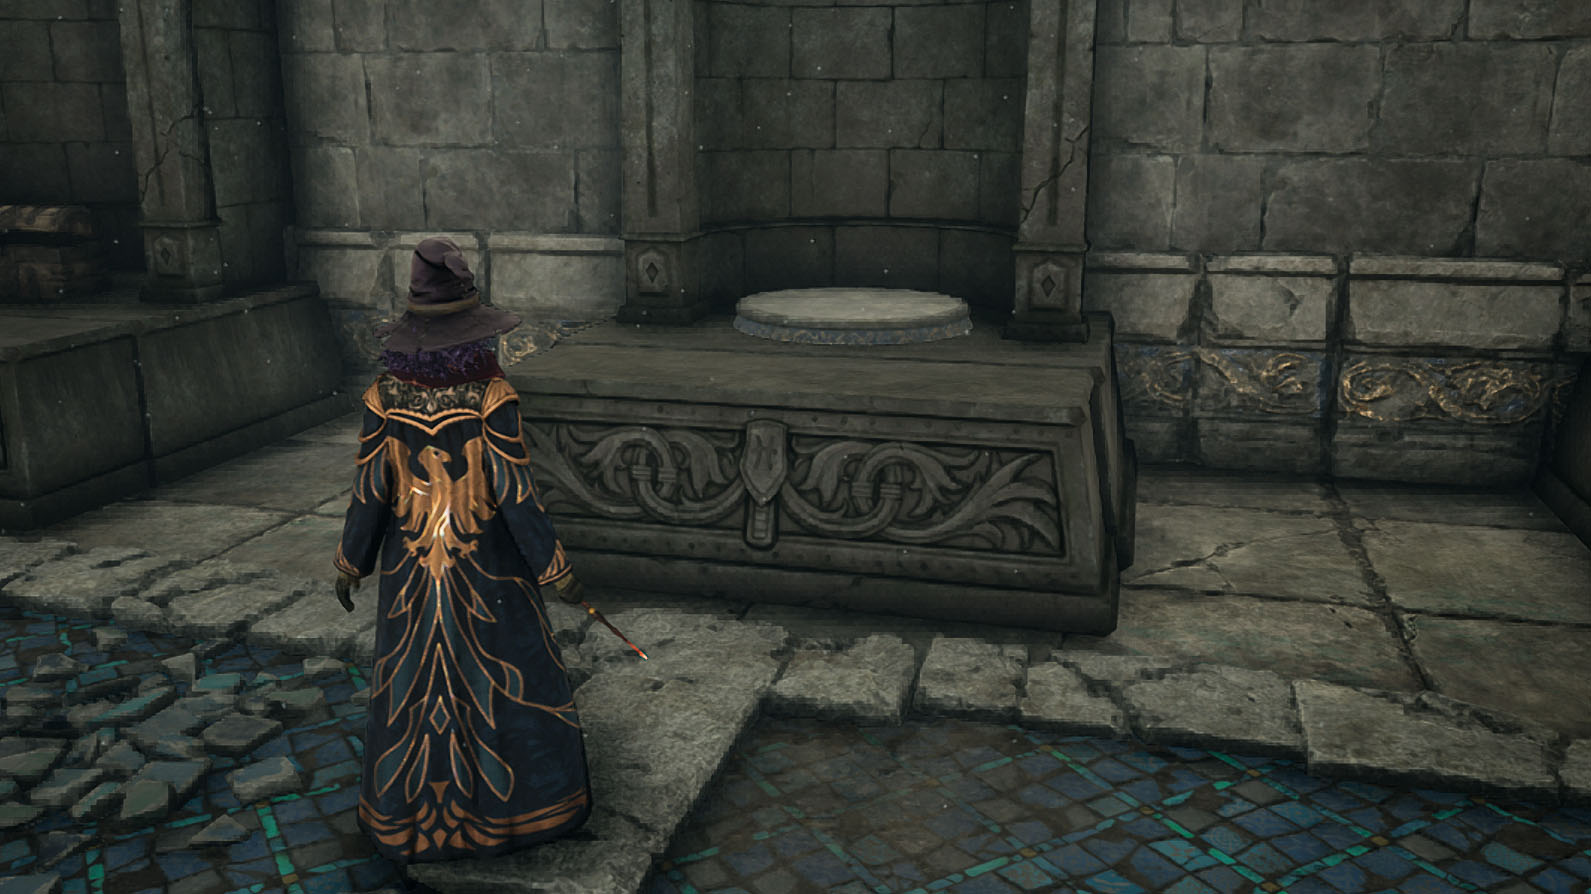
Stand on the pedestal that appears and it will take you into a secret room.
Henrietta’s Hideout: Spell cube puzzle 2
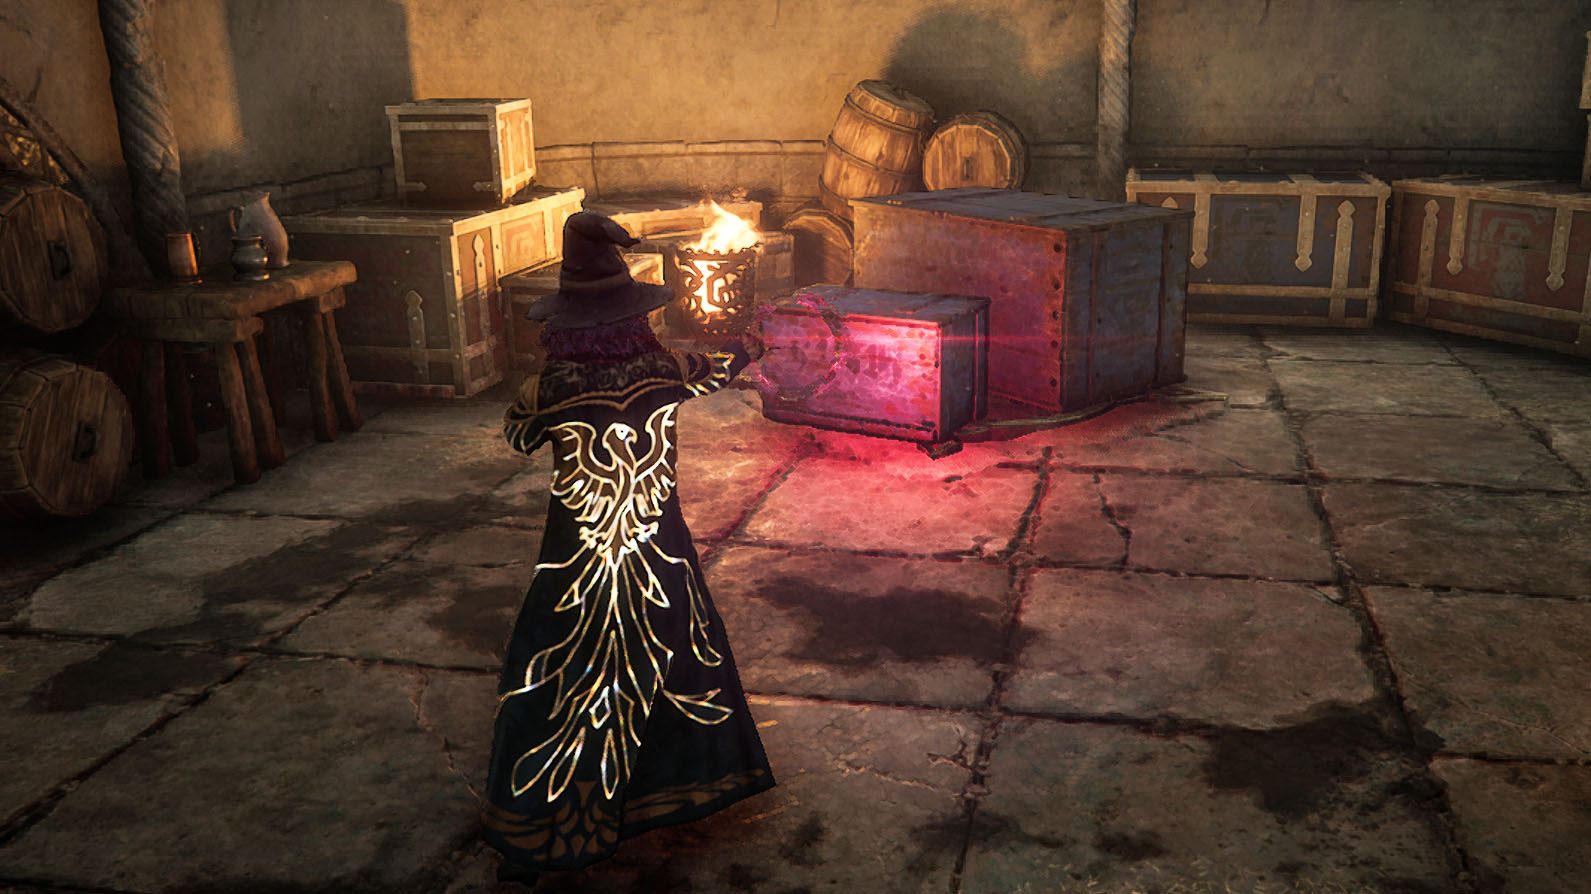
On your right when you come in there are a couple of boxes. Destroy them to reveal a spell cube platform.
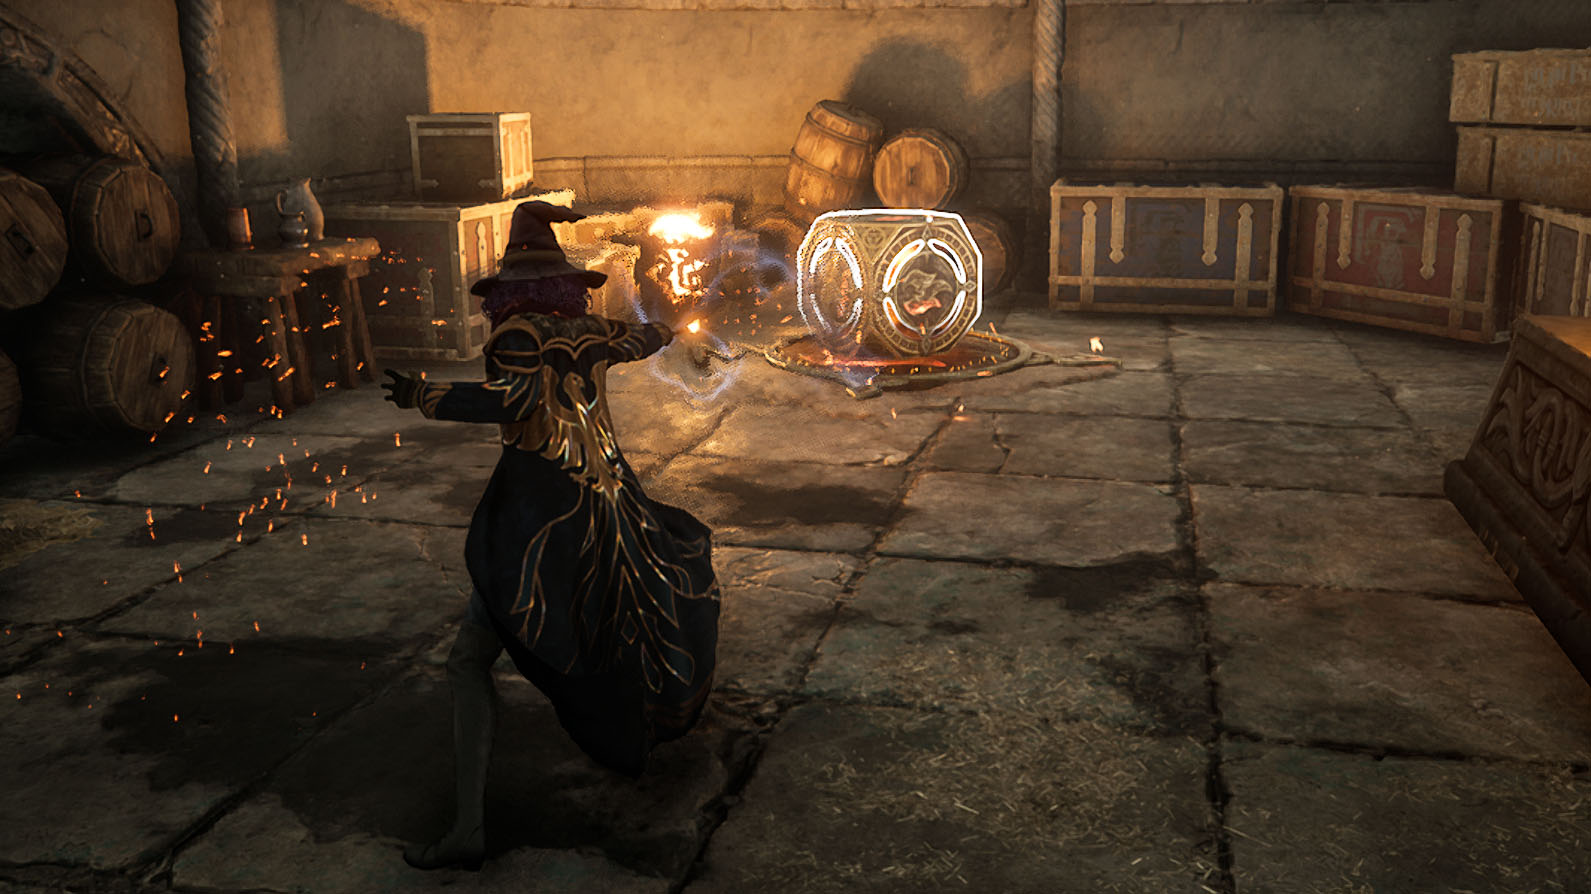
Then go to the opposite side of the room and use Wingardium Leviosa on the symbol cube and bring it back to the pedestal. Now light it on fire with either Incendio or Confringo. Now collect the treasures in the room.
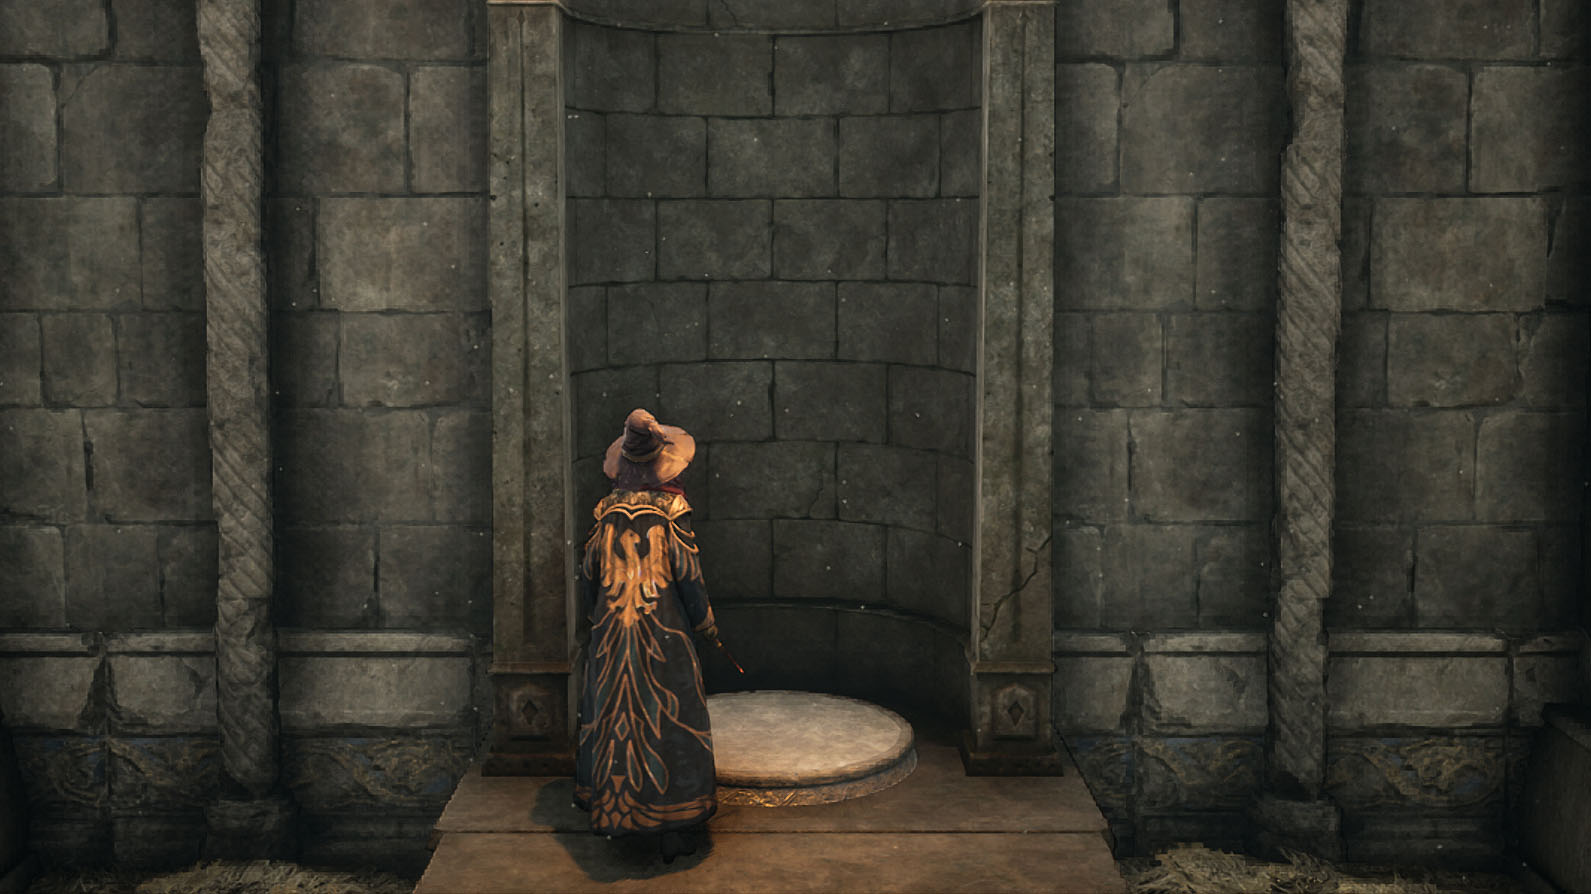
When that’s done, go stand on the grey button on the statue platform again to go back into the Hippogriff statue room.
Henrietta’s Hideout: Spell Cube puzzle 3
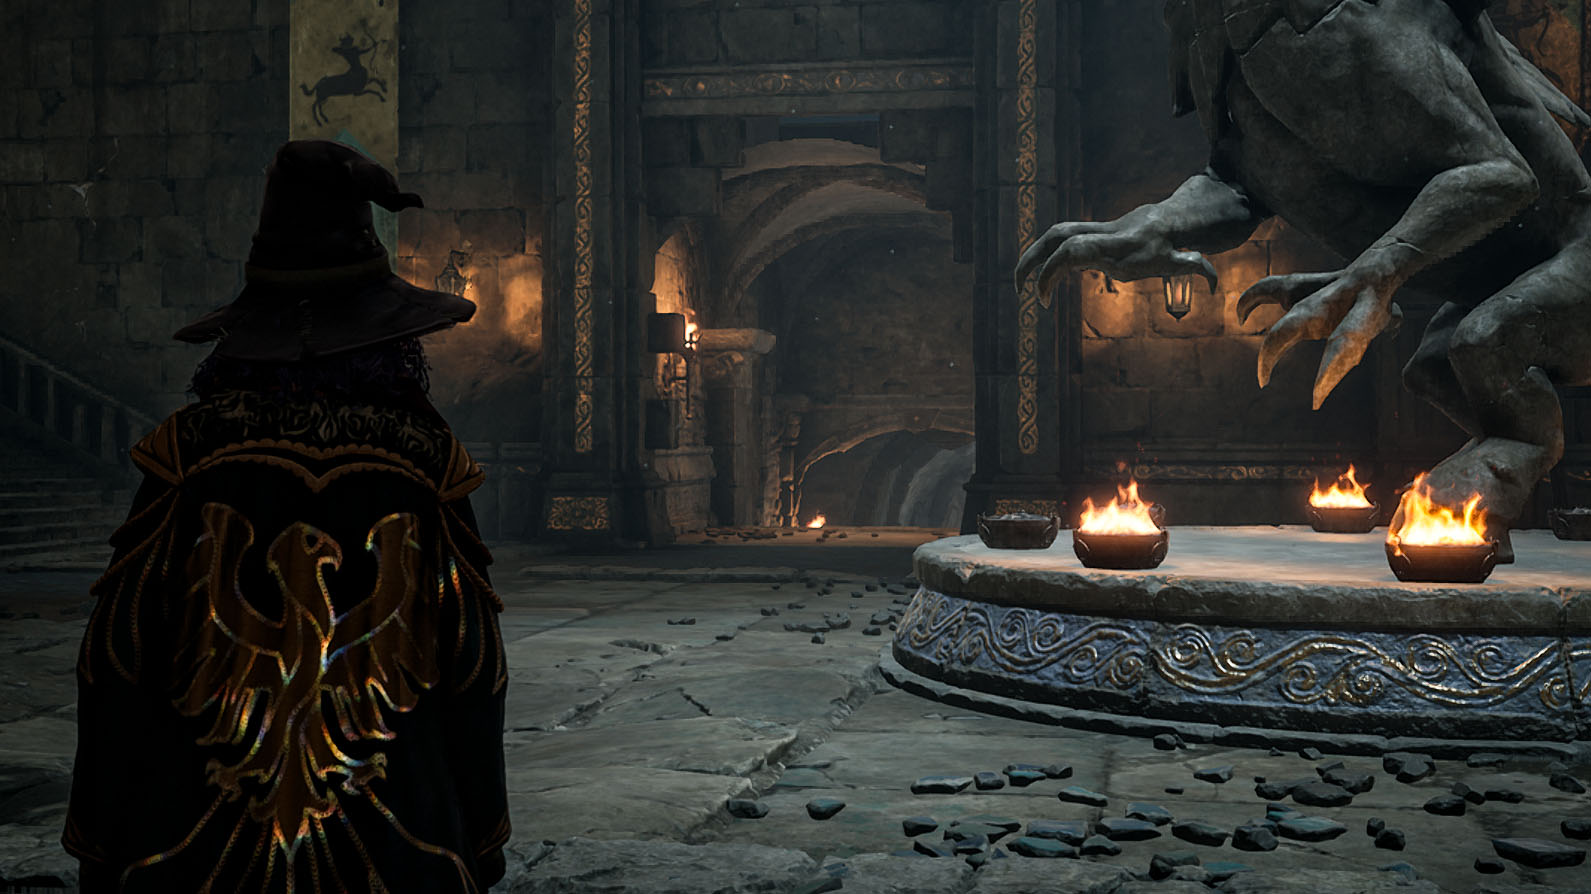
Pass in front of the Hippogriff statue and go down the stairs into the tunnels. Then take an immediate left.
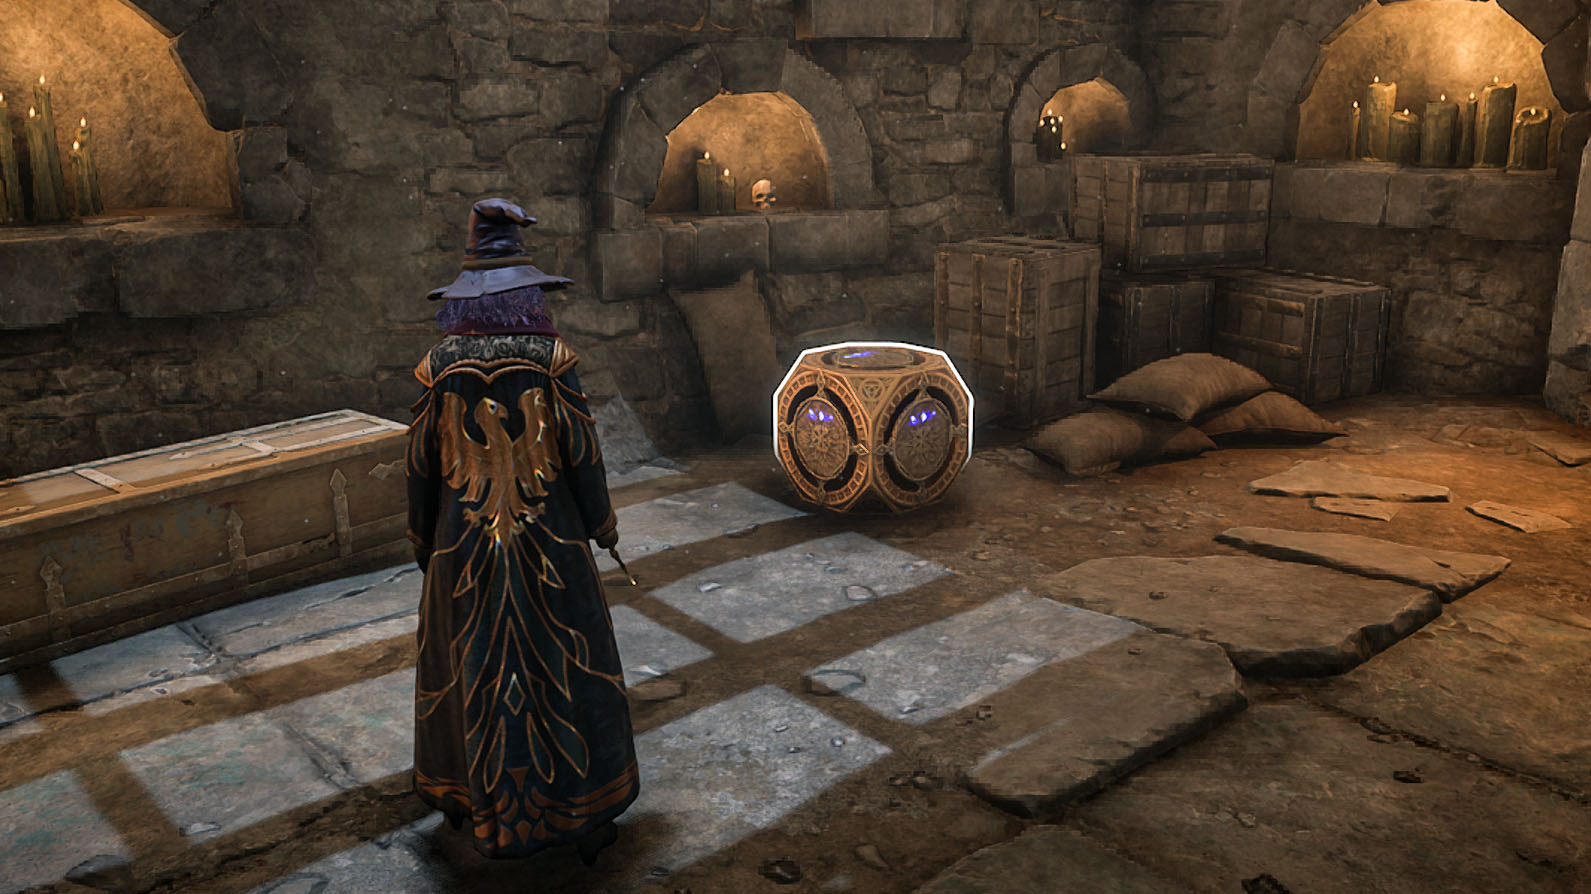
You’ll find a spell cube with a snowflake symbol on it. Cast Glacius on it to power it up.

Next, cast Wingardium Leviosa to lift it through the hole in the top of the gate on the other side of the room. Lower it on the platform and this will cause the gate to open. Collect your treasure then return to the tunnel area.
Henrietta’s Hideout: Spell cube puzzle 4
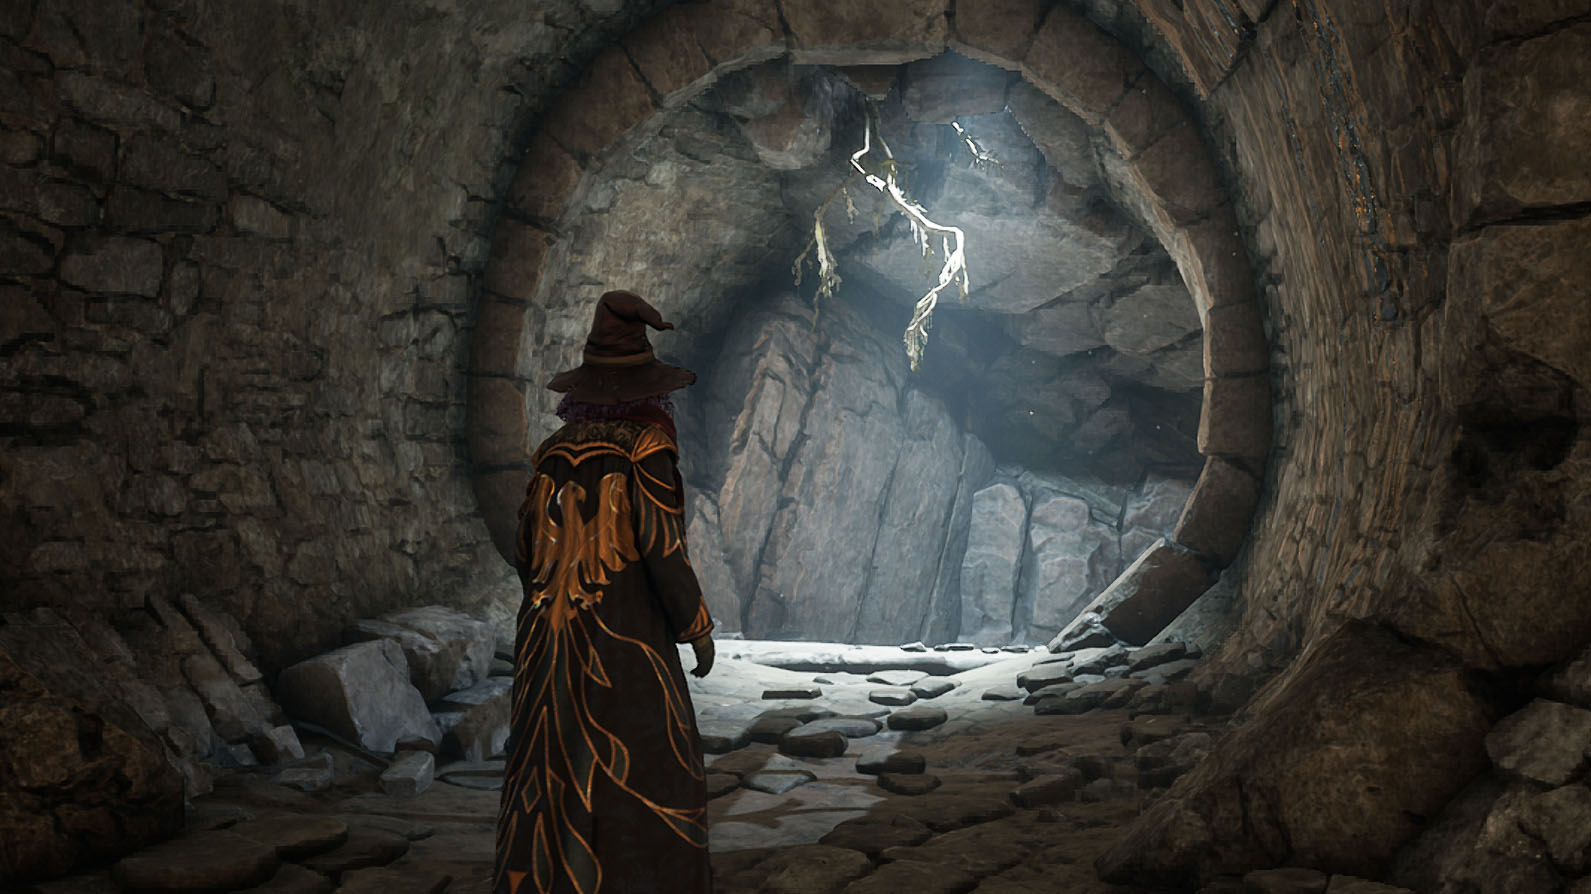
Now go to your left and down until you see another gate with a spell cube on the other side.
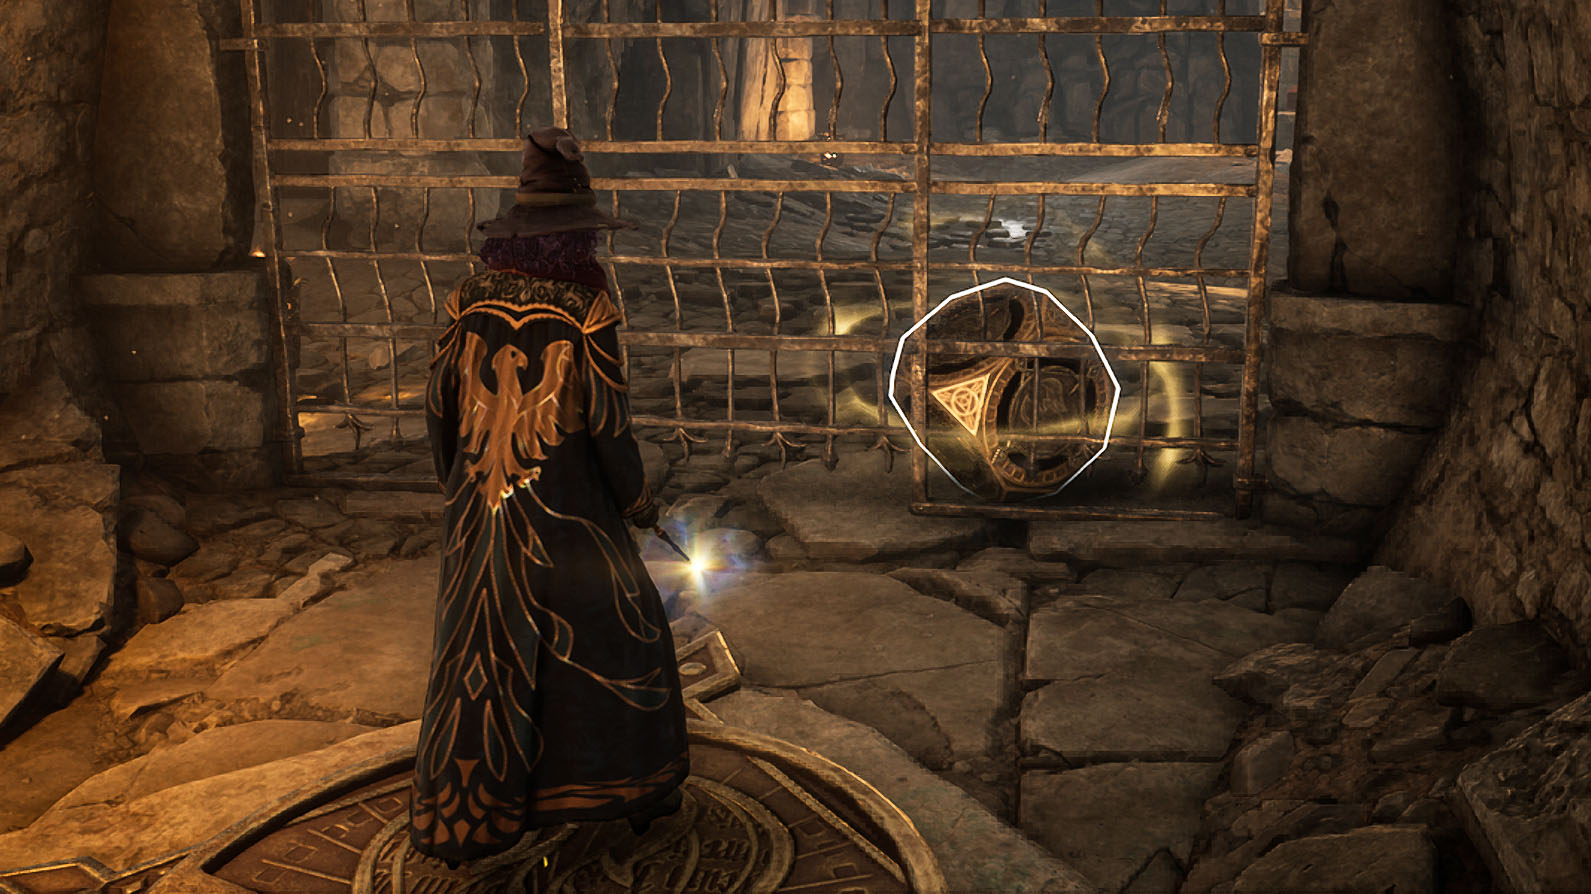
Cast Accio to bring the spell cube to you.
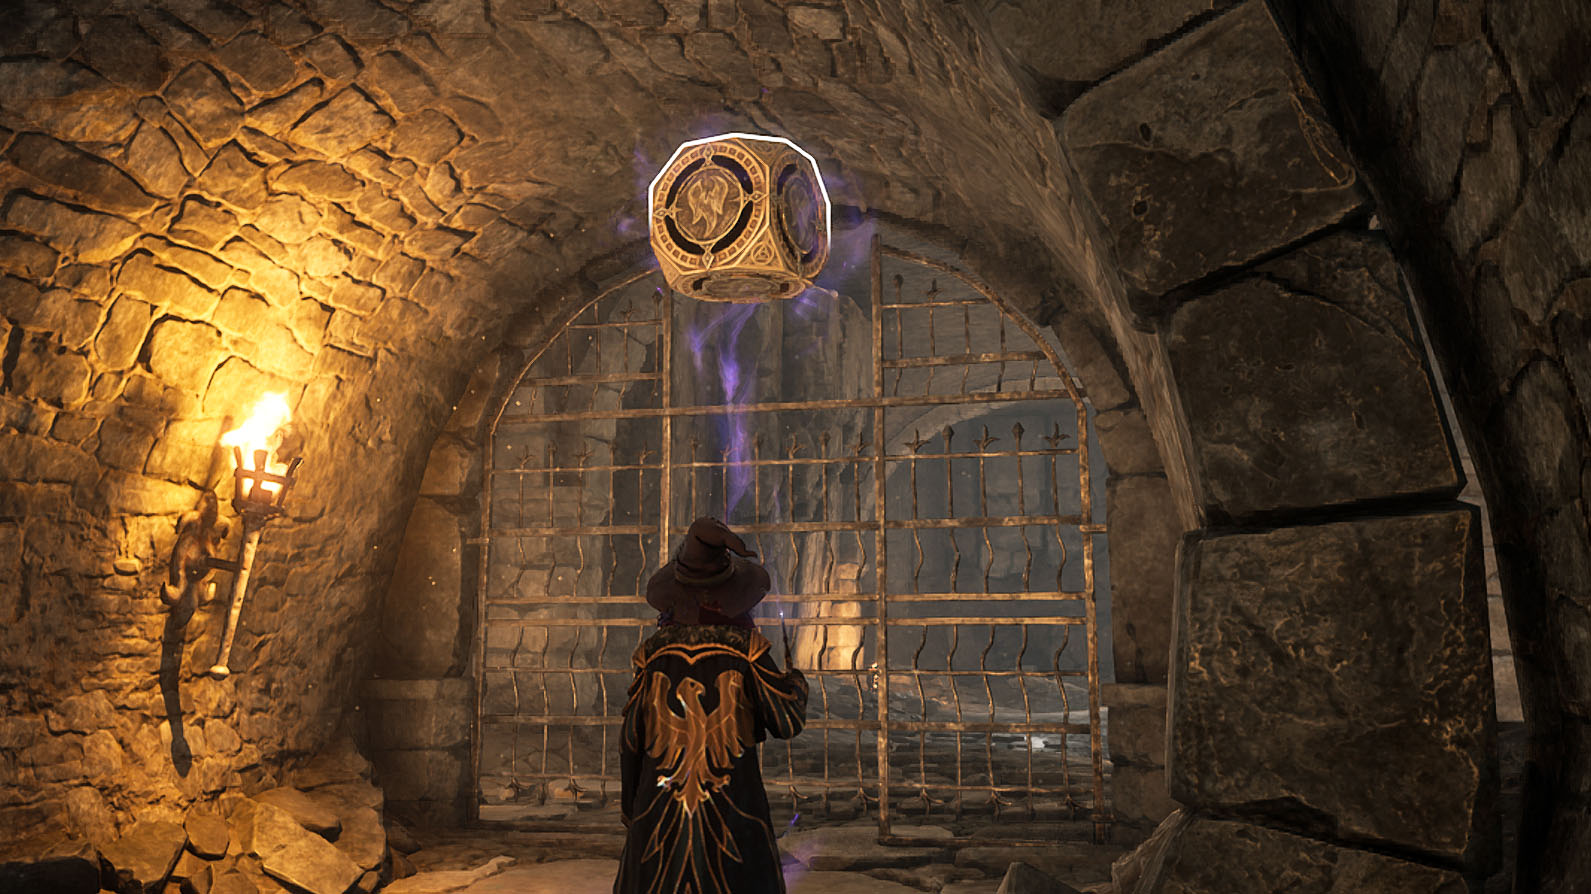
When it’s close, cast Wingardium Leviosa to lift the spell cube through the hole in the gate and place it on the platform. Now cast Incendio or Confringo on it to open the gate. Retrieve your rewards from this room then return to the Hippogriff statue room.
Solved by the Bell: Tricky floor puzzle
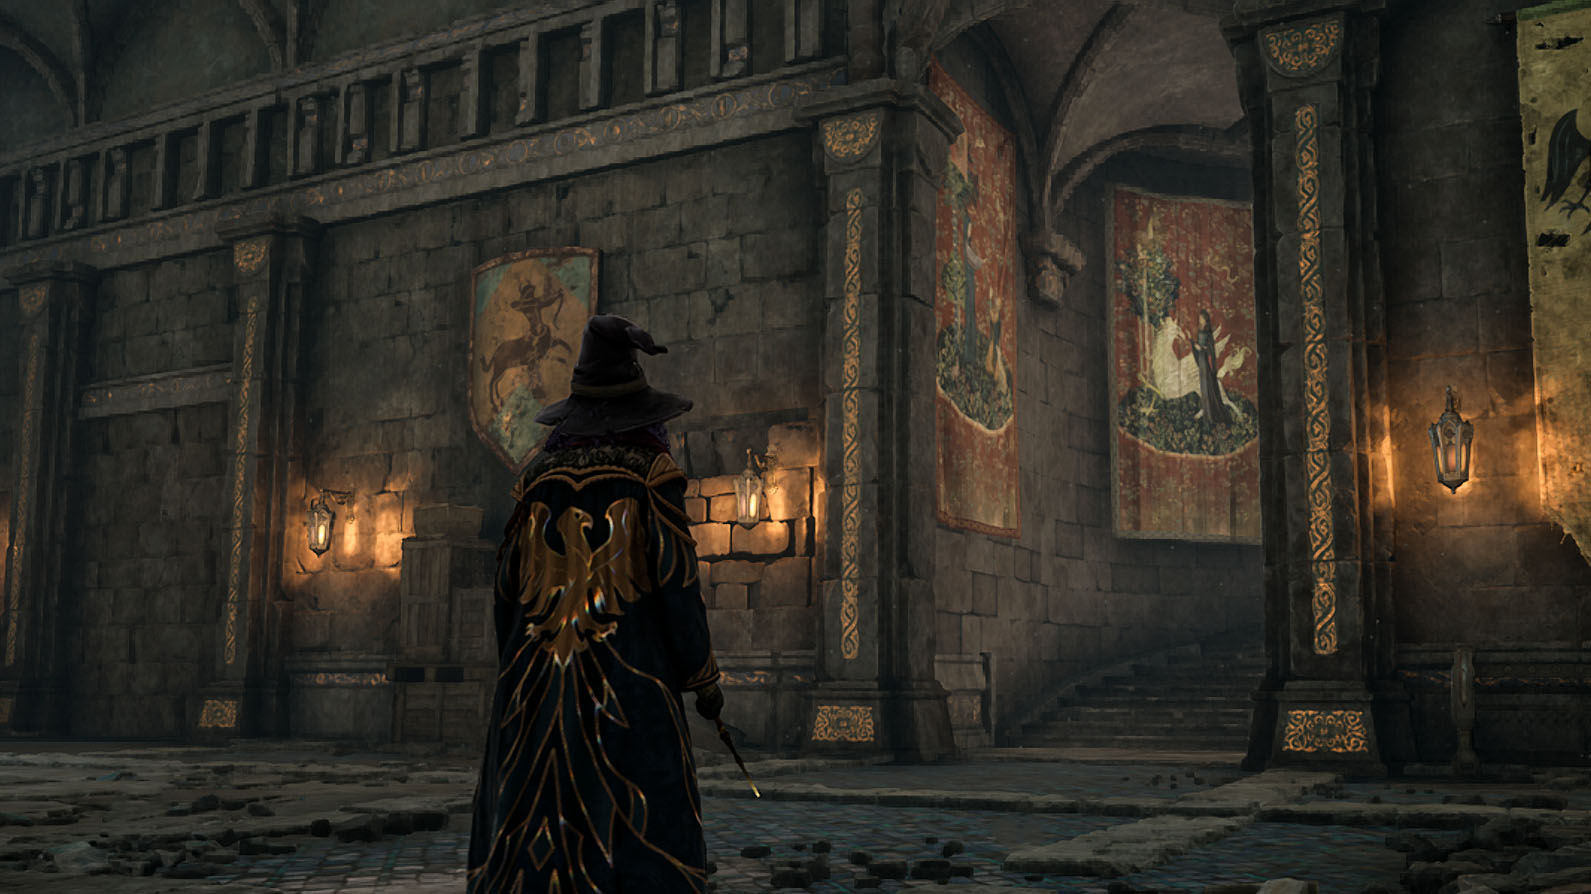
Go up the spiral stairs on the left backside of the room and then go up the small flight of stairs through the right and back into the big Hippogriff statue room. Then follow along the path toward the next hallway.
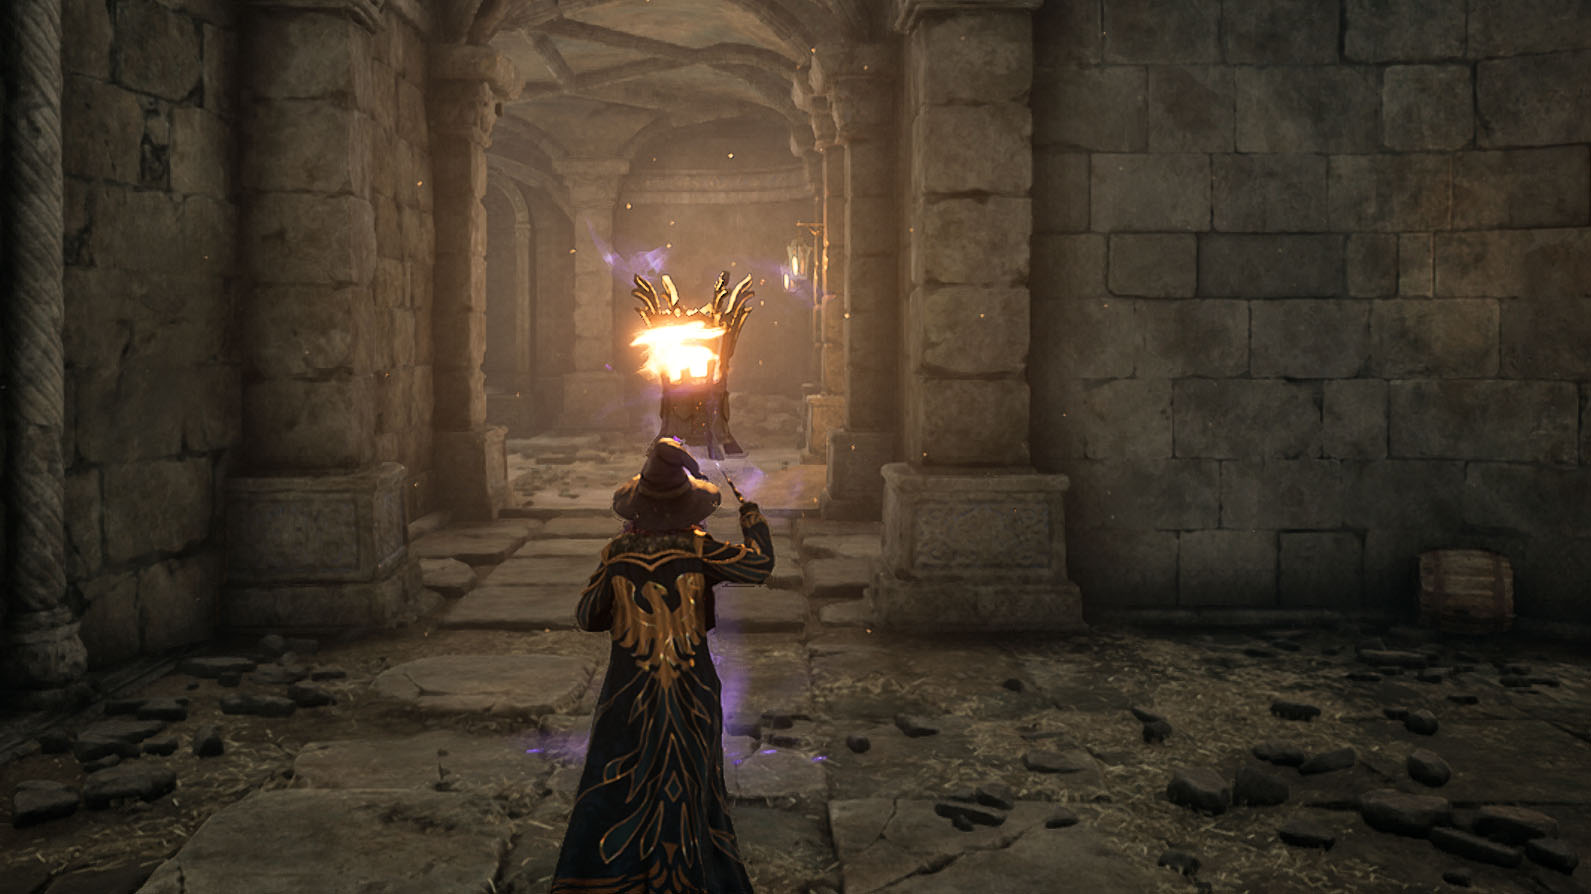
If you cast Revelio, you’ll see the floor is tricky here. If you stand on it, it will pull you into the wall and then spit you out behind where you were just standing. There are two ways past this trick floor.
Option 1: You can use Accio or Wingardium Leviosa to pull the brazier from the next room onto the trick floor and then run to the next room while the floor is busy messing with the brazier. If you don’t make it in time, use the brazier next to you as a backup.
Option 2: You can cast Arresto Momentum on the floor, which will make it stop moving for a while, then rush through to the next area.
Solved by the Bell: Ashwinder battle
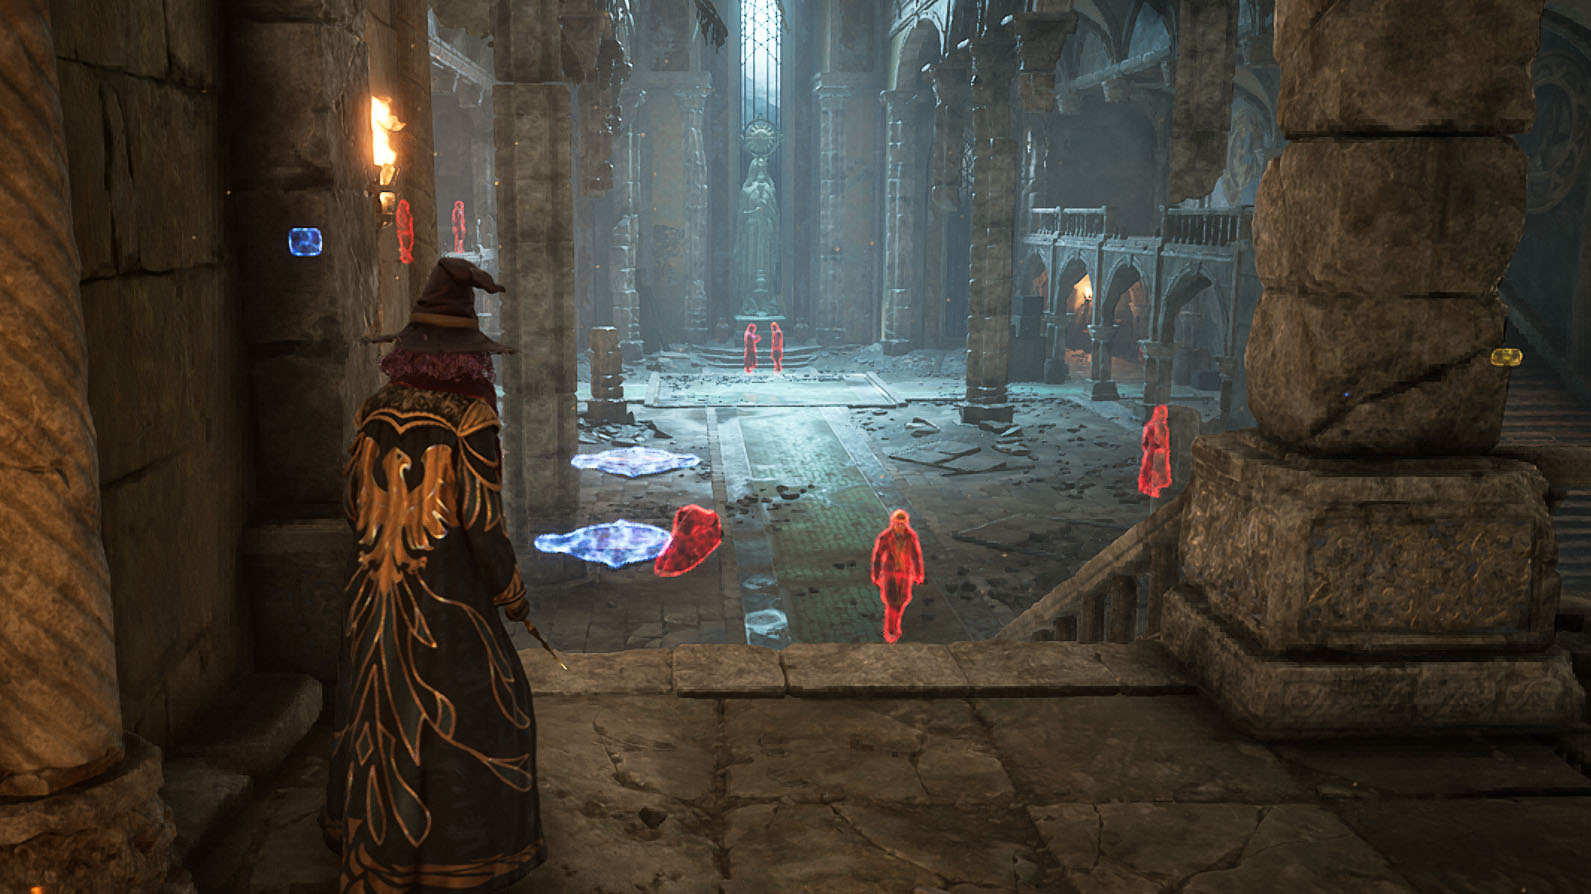
In this next area, there are several Ashwinders down the stairs. You’ll need to defeat them before you can do the spell cube puzzle in this area. Either sneak around and use Petrificus Totalus to take them out or take them on without stealth.
Solved by the Bell: Spell cube puzzle 5
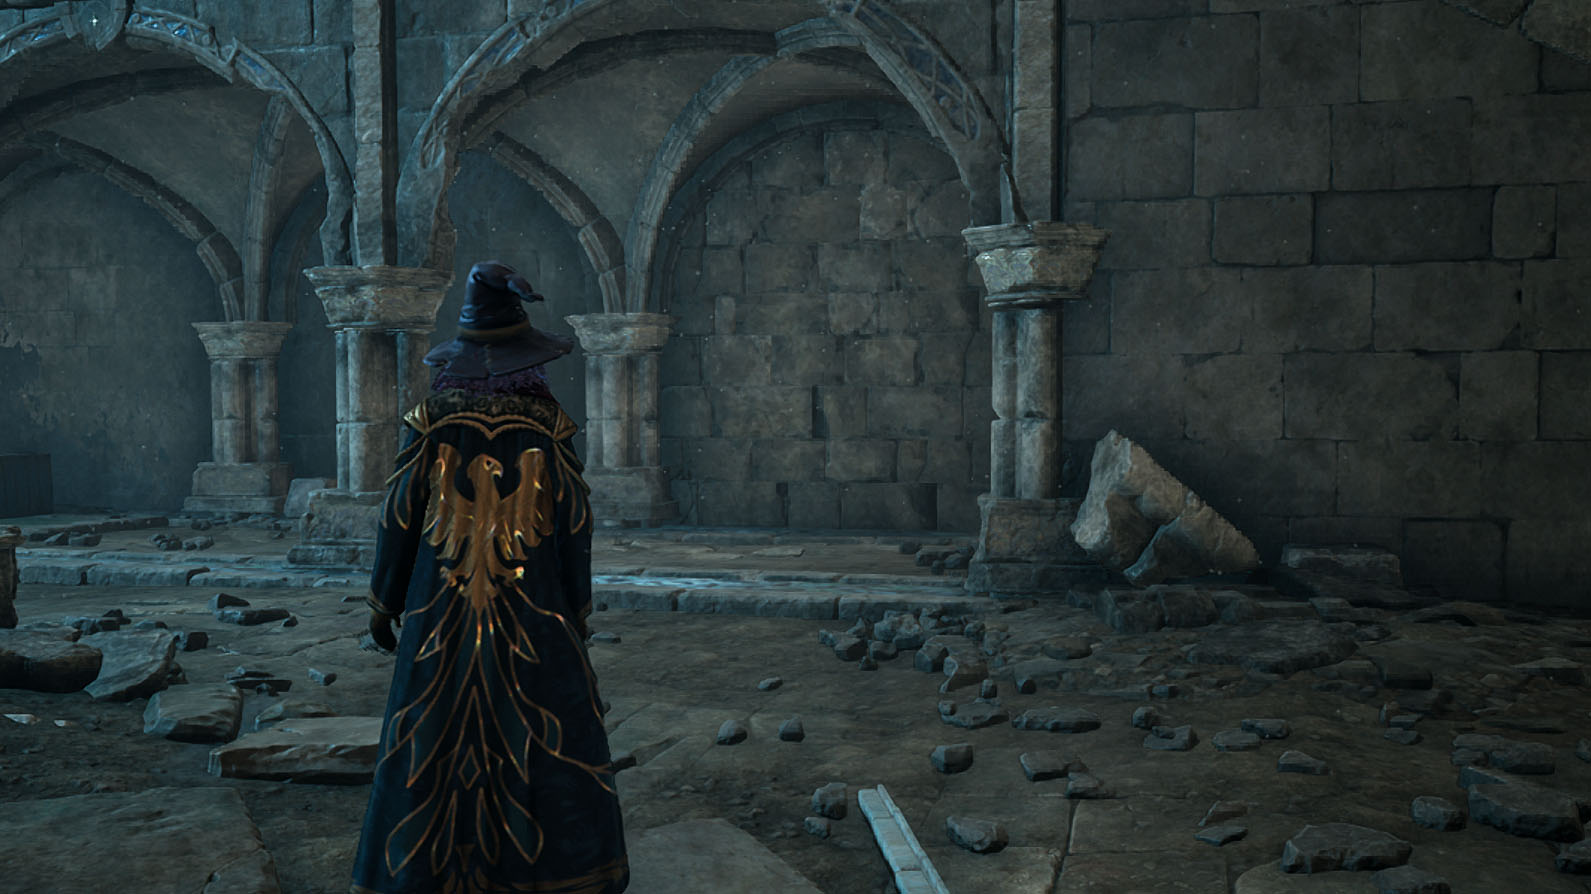
When the enemies are all gone, head to the right side of the room just under the stairs where the wall bricks look a bit suspicious and they’ll open up leading you to another room.
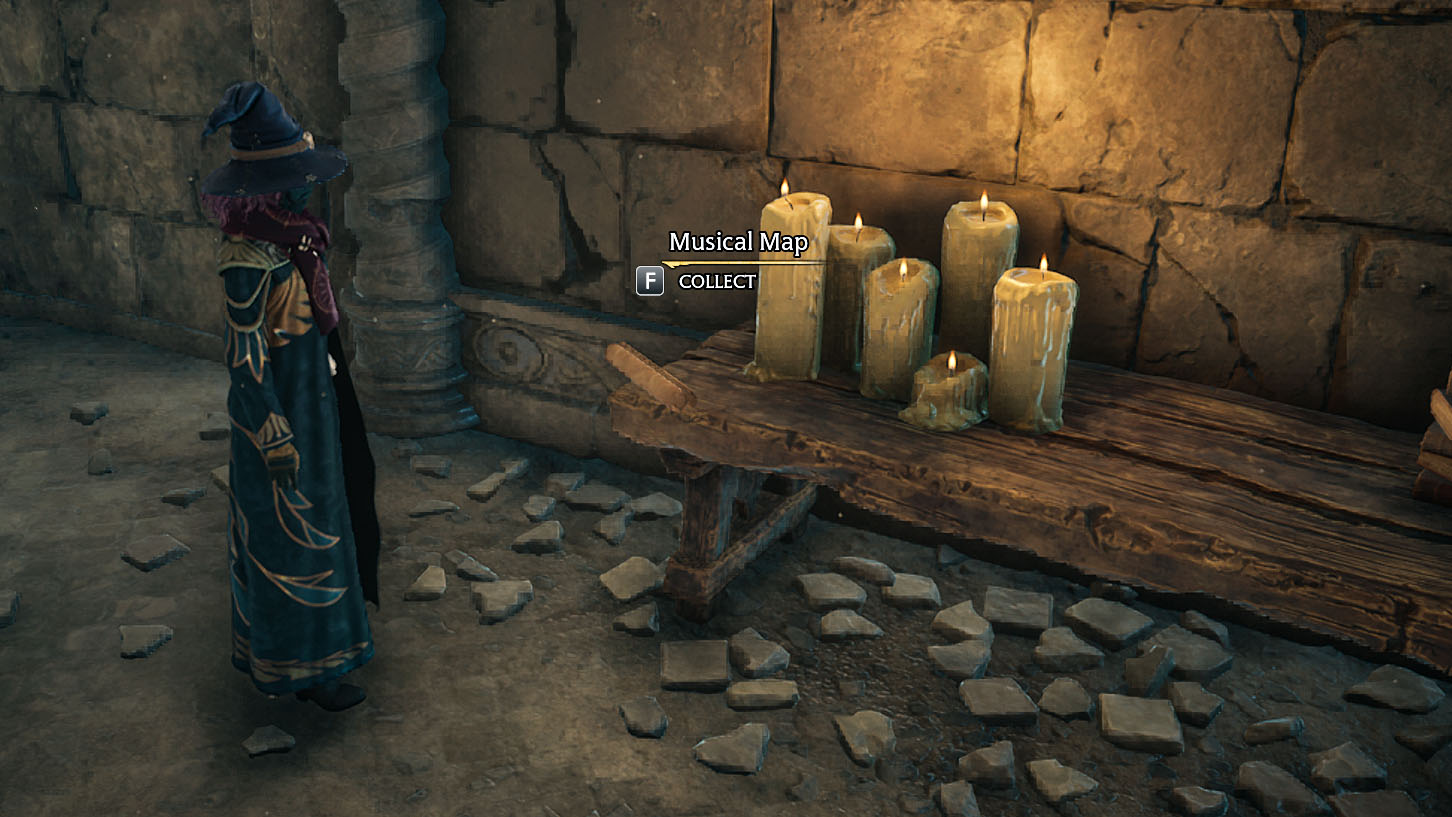
Before you do anything else, grab the map hiding on the table on your left.

Now turn your attention back to the room. There’s a spell cube hiding behind some barrels. Get rid of the barrels with basic attacks
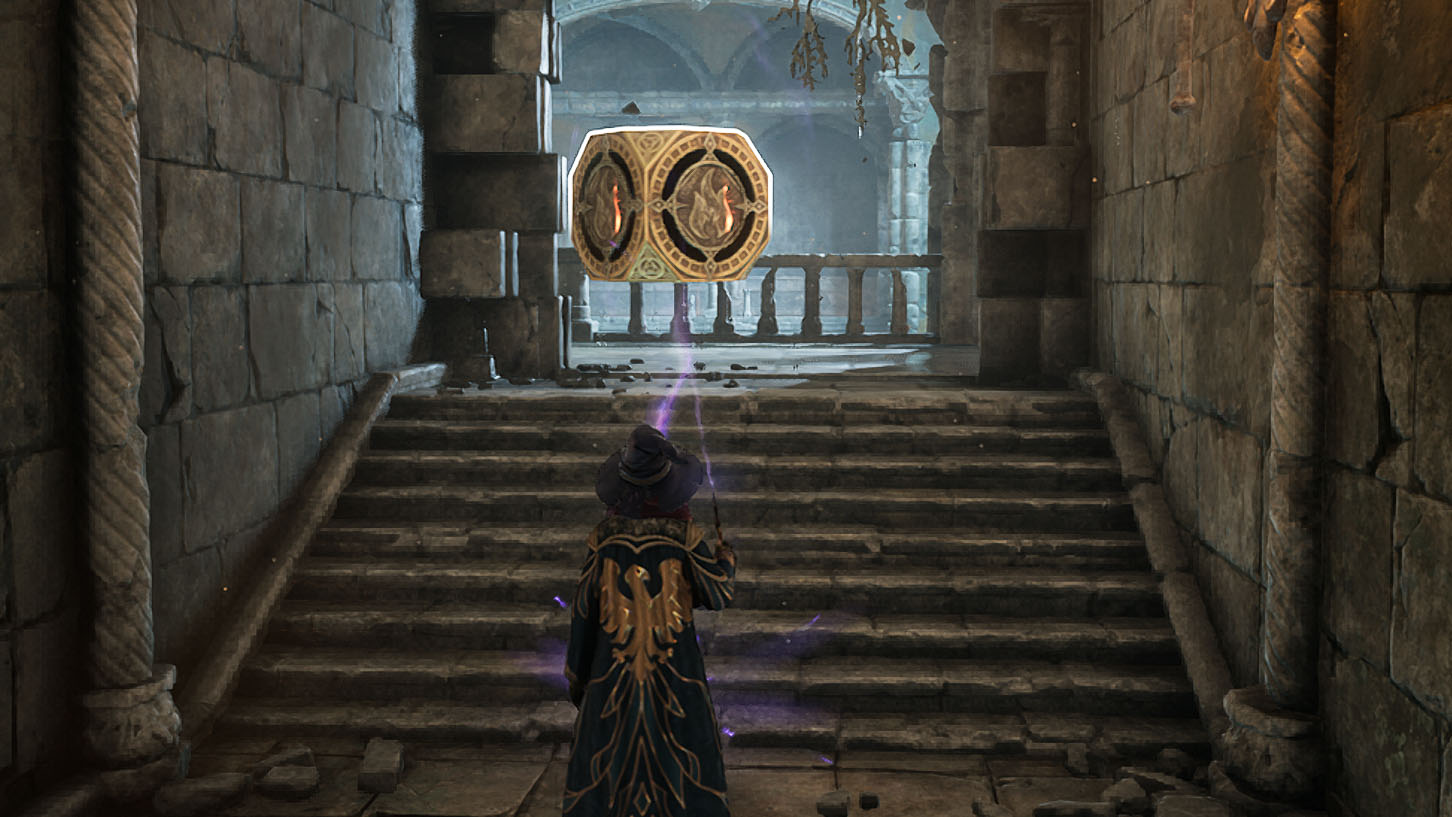
Next, use Wingardium Leviosa to bring the cube up the stairs (the way you came in from won’t let you out). Another wall will open and you should head through it.
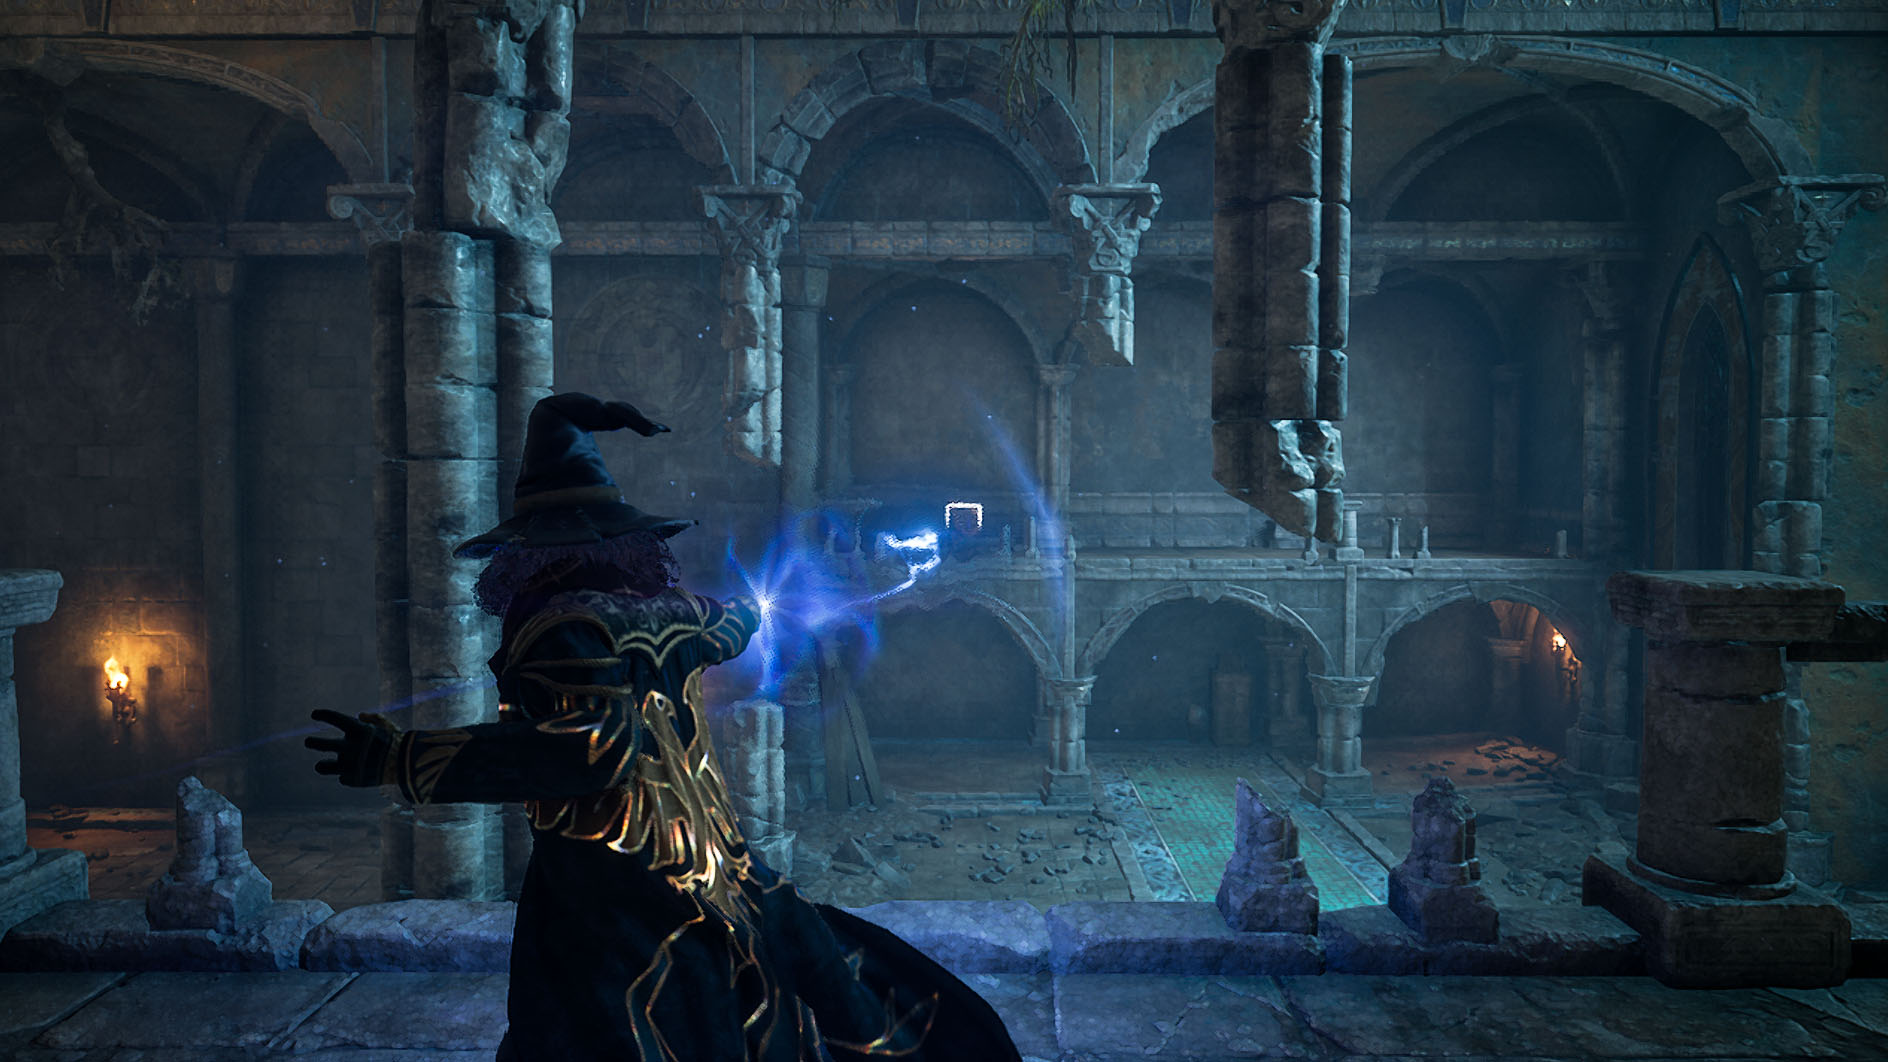
While still on the second floor, drop the cube over the ledge and then look across the room to see the second cube. Cast Accio to bring it down to the floor below.
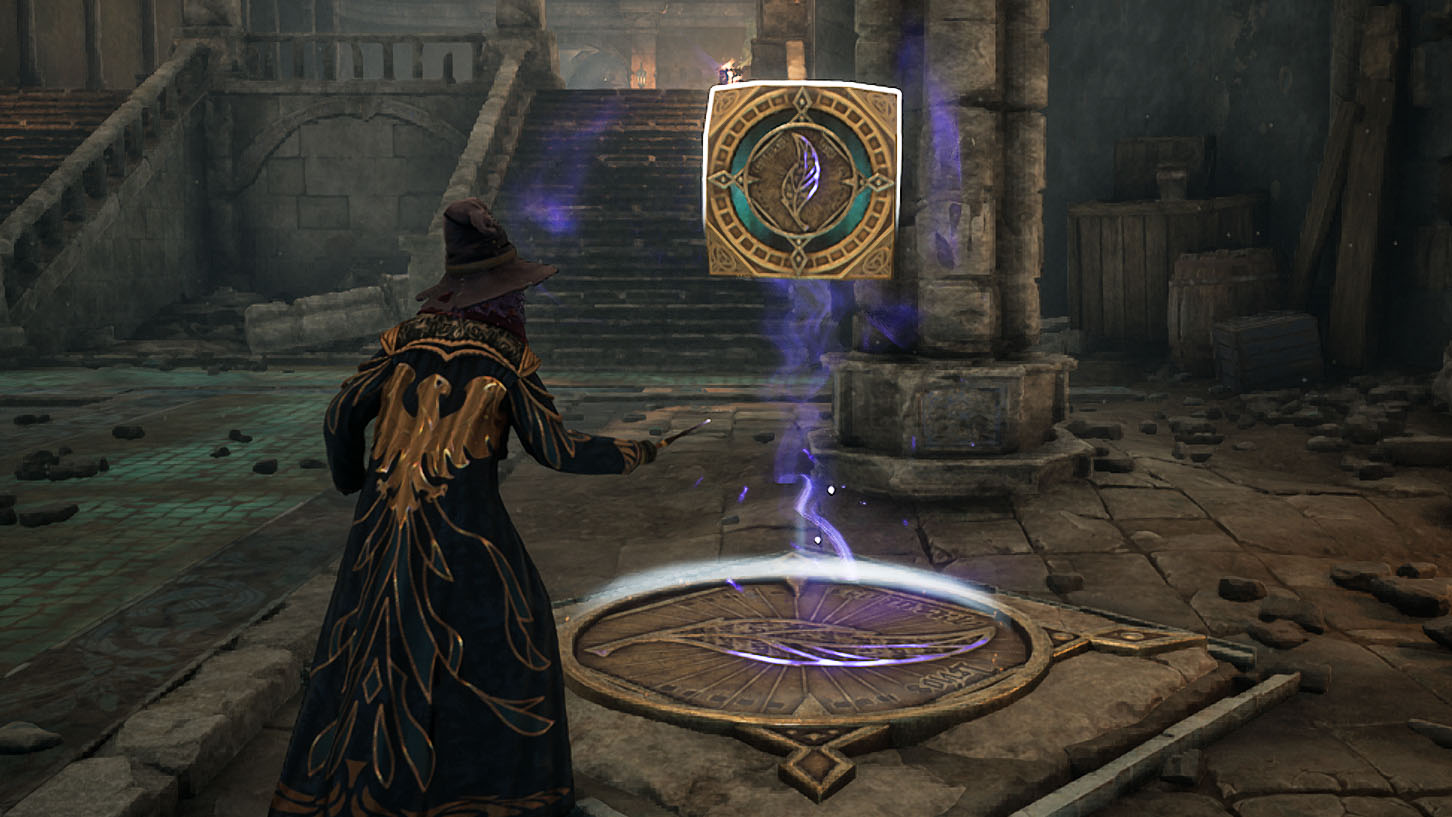
Head down the stairs on your left and use Wingardium Leviosa to place the Levioso cube and the Incendio cube on their proper platforms. Finally, cast the either cubes’ respective spells: Levioso on the left, Incendio on the right. This will make the door in the center open.
Solved by the Bell: Get your rewards and leave
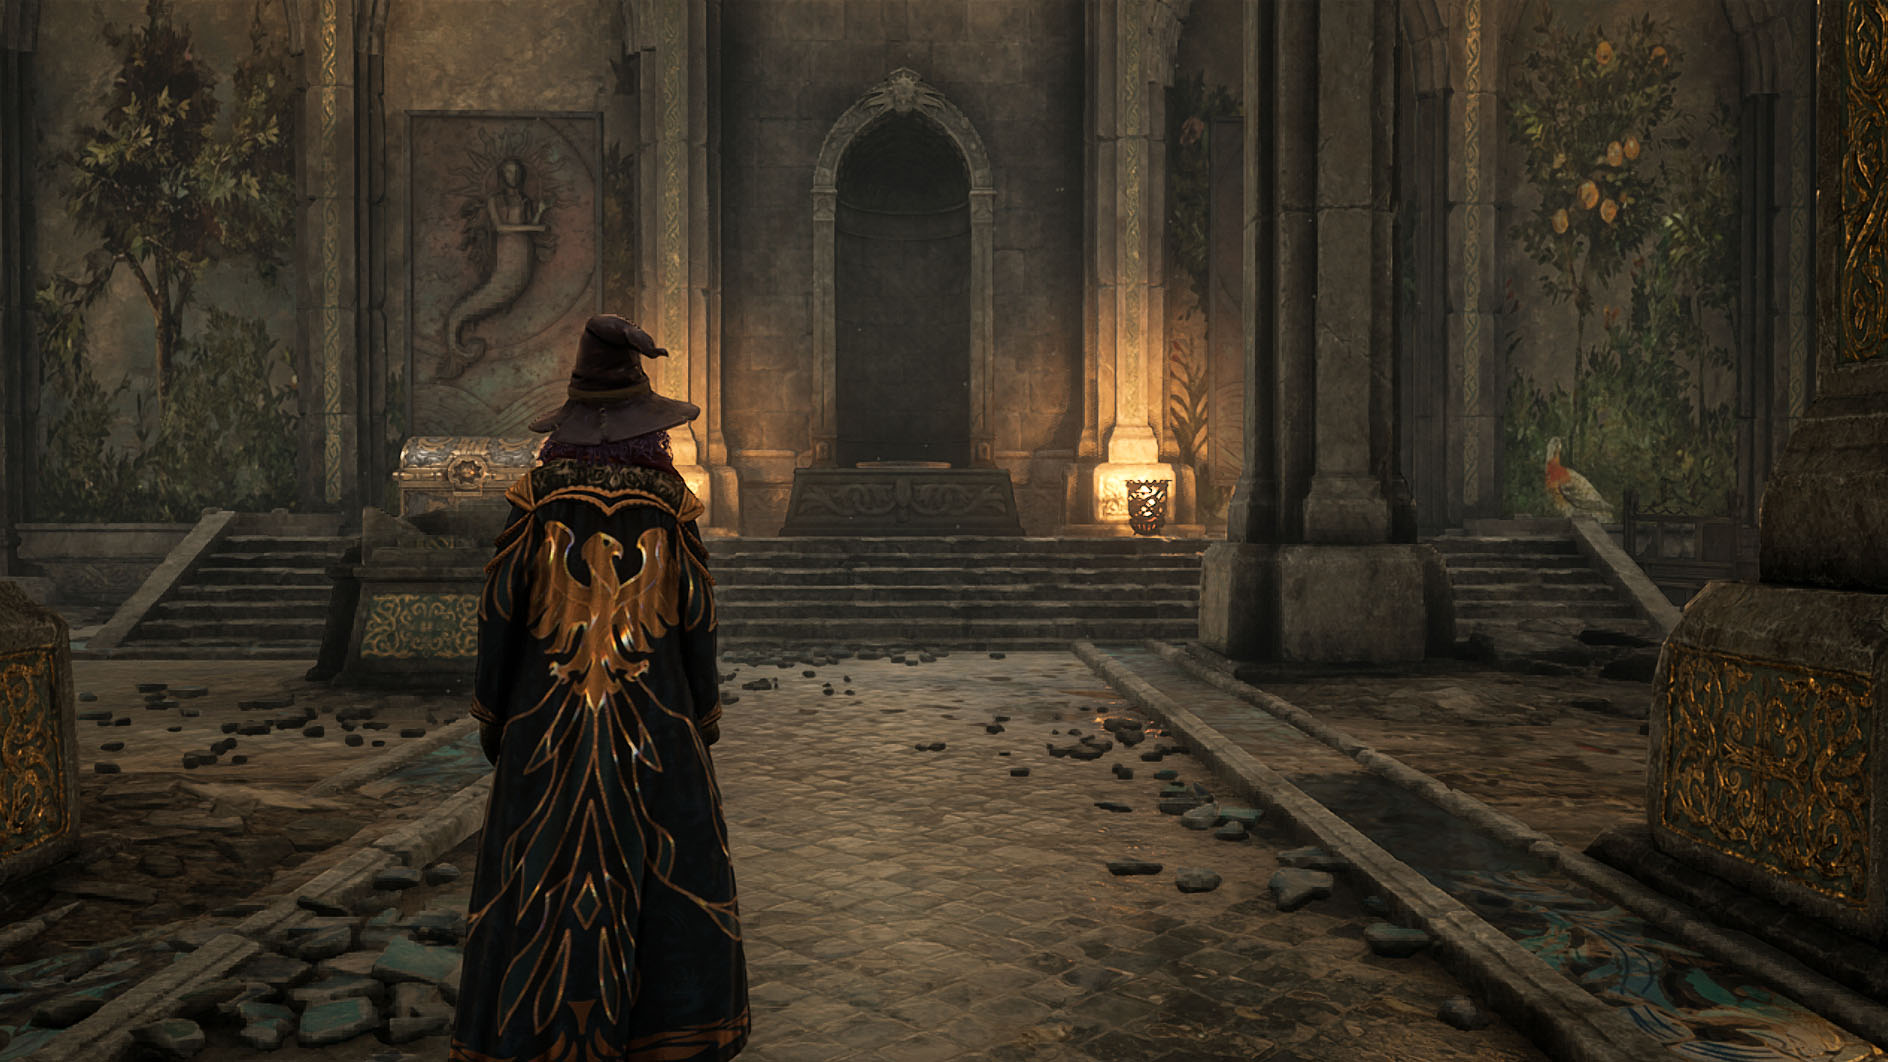
Head into the next room and you’ll find a large treasure chest on the left. Open it to get a reward.
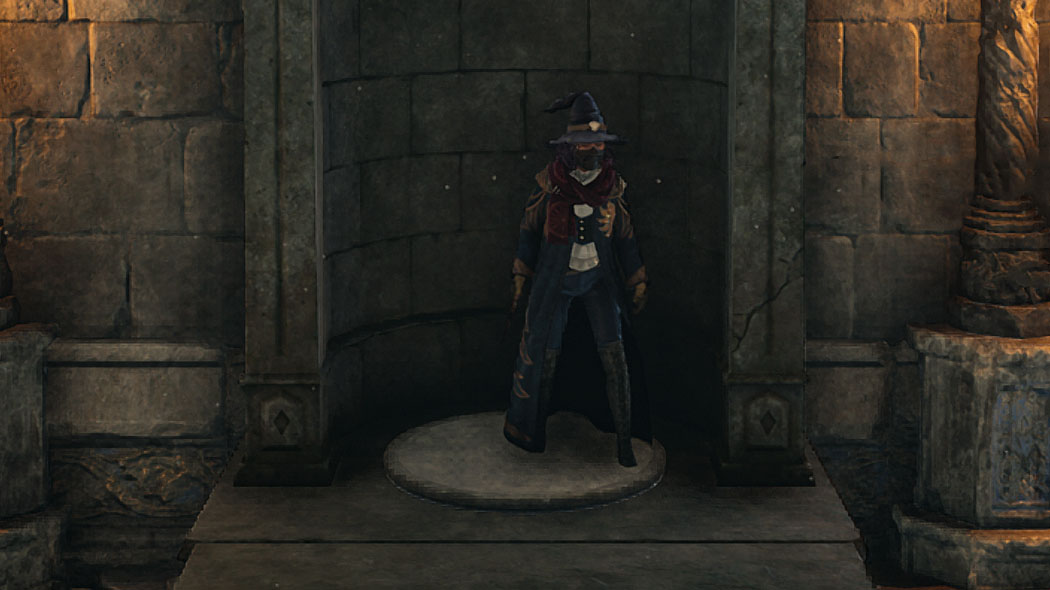
When done, step on the grey platform in the center of the room and it will take you back to the hideout entrance. Go ahead and exit.
Solved by the Bell: Music Map Location
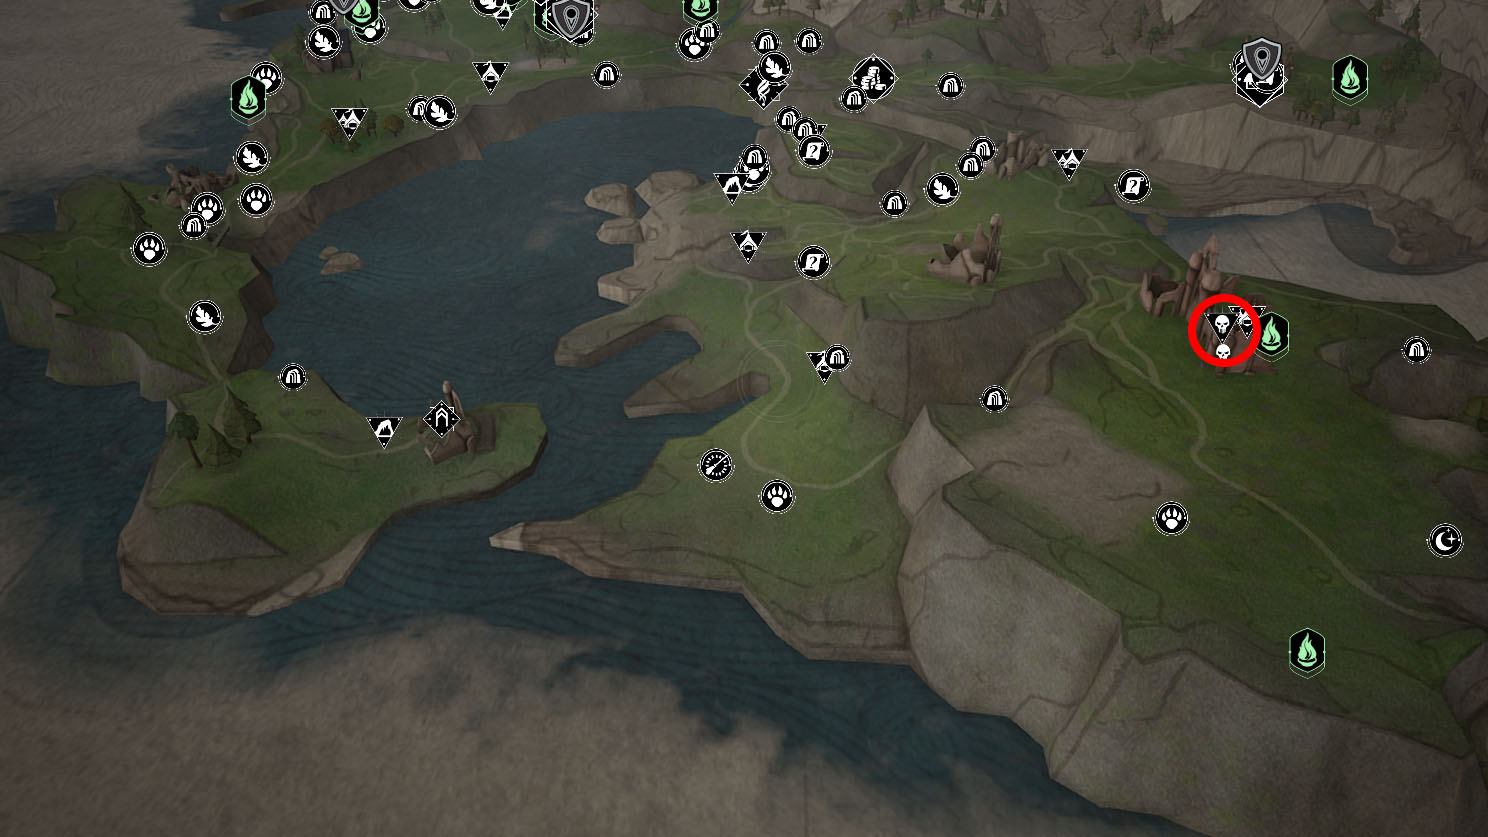
The Music Map you found in Henrietta’s Hideout wants you to go east across the water to Clagmar Coast → Clagmar Castle Floo Flame. Make your way there by broom or beast.
Solved by the Bell: Bell ringing solution
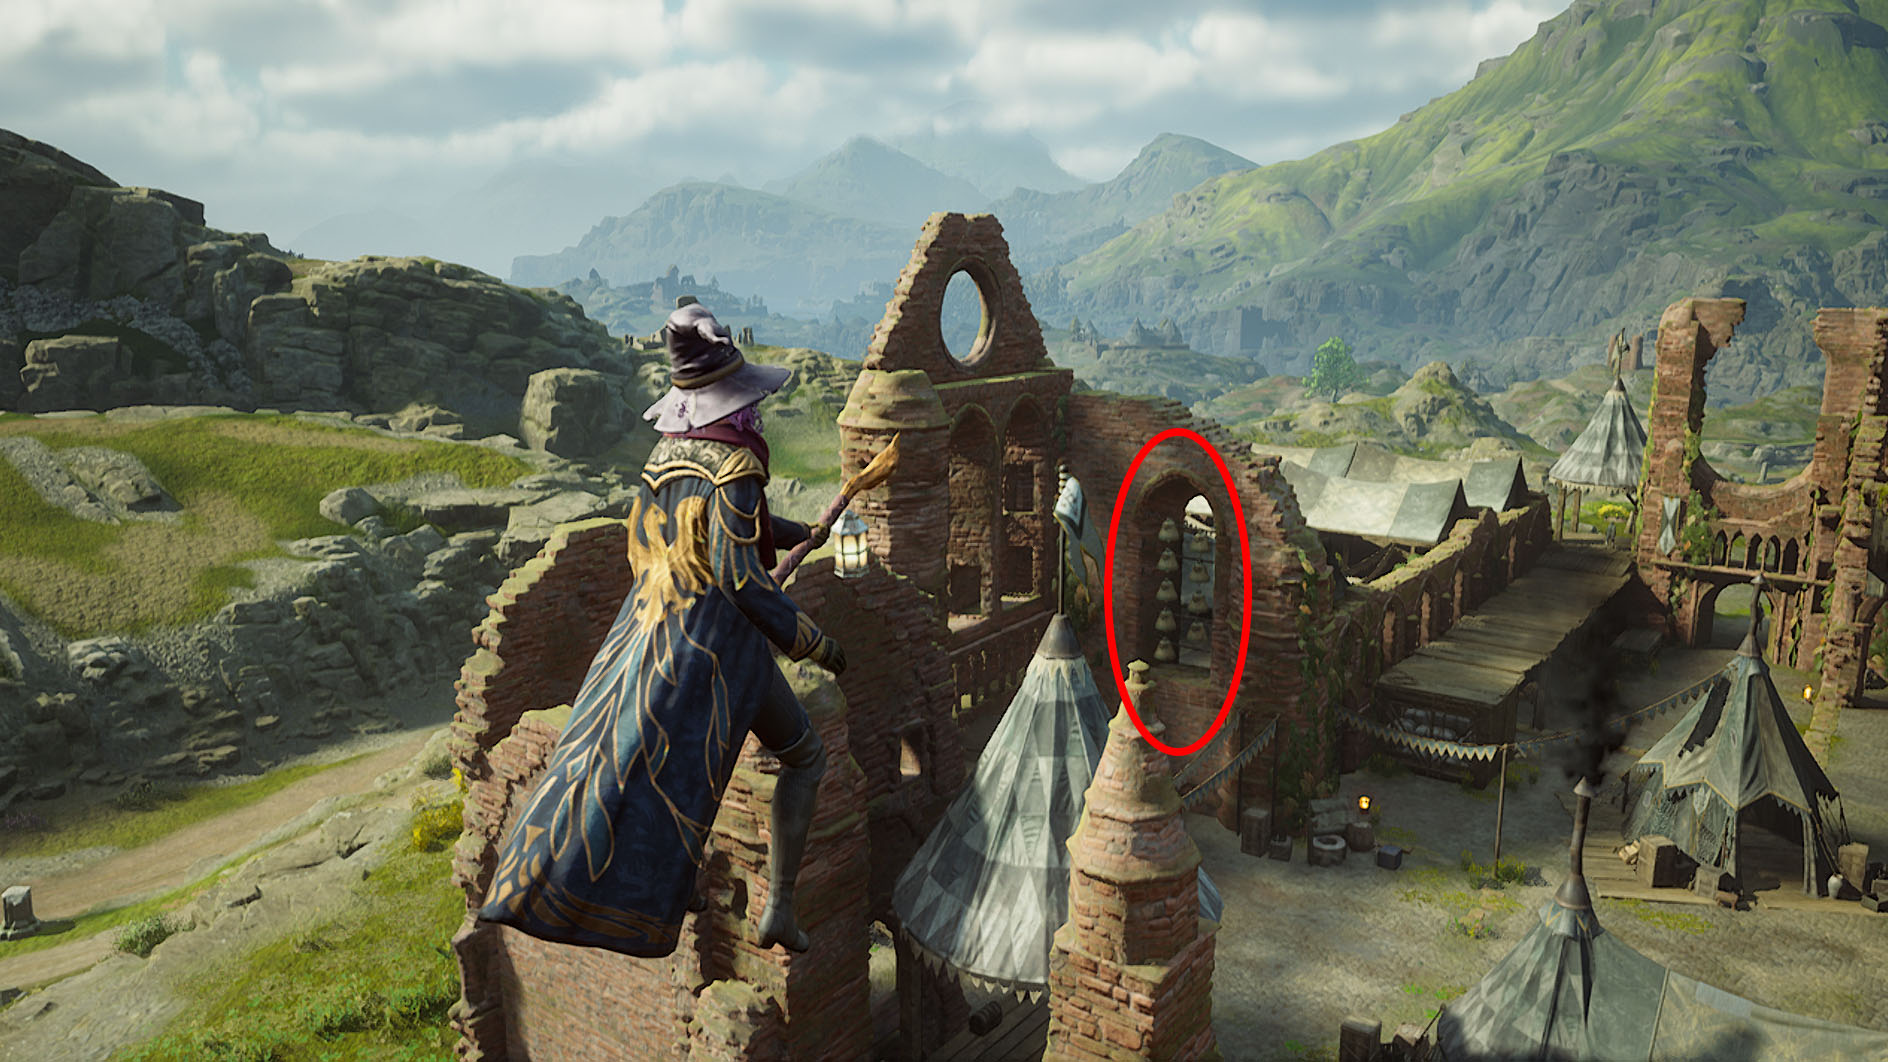
On the west side of these ruins are a set of bells in perfect working order. There are also several Ashwinders here, but I was able to land on the platform in front of the bells and play the tune without anyone attacking me. It might just work for you too.
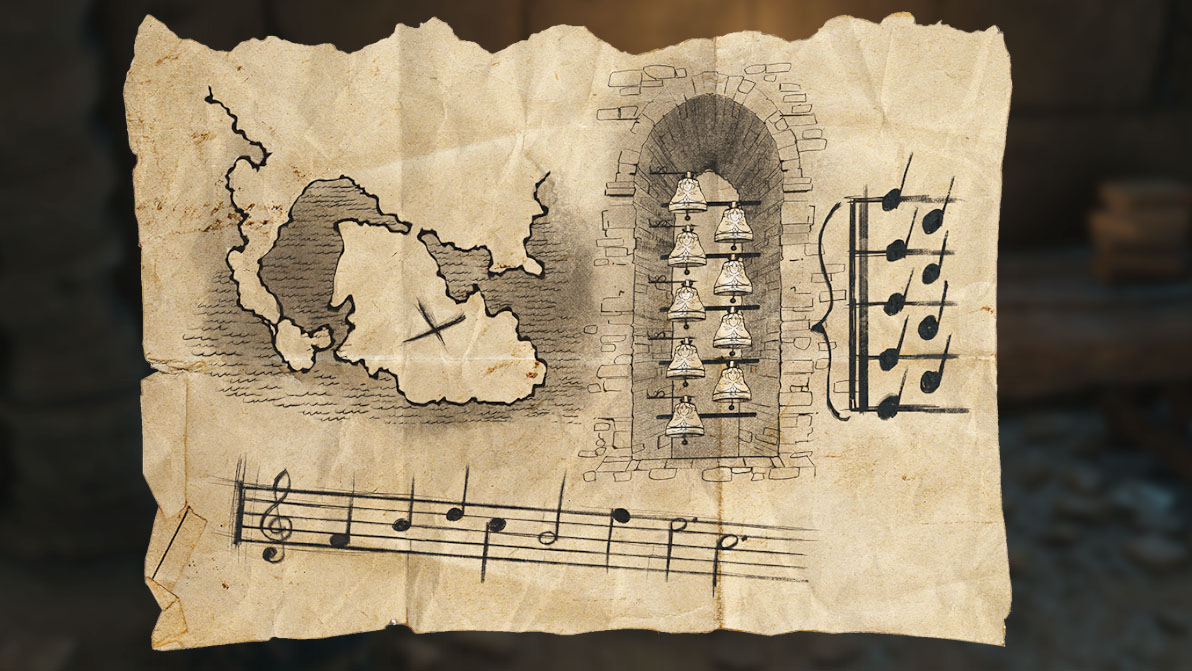
Stand on the platform in front of the bells and strike the notes with basic attacks
in the proper order according to what is shown on the Music Map that you found in Henrietta’s Hideout.
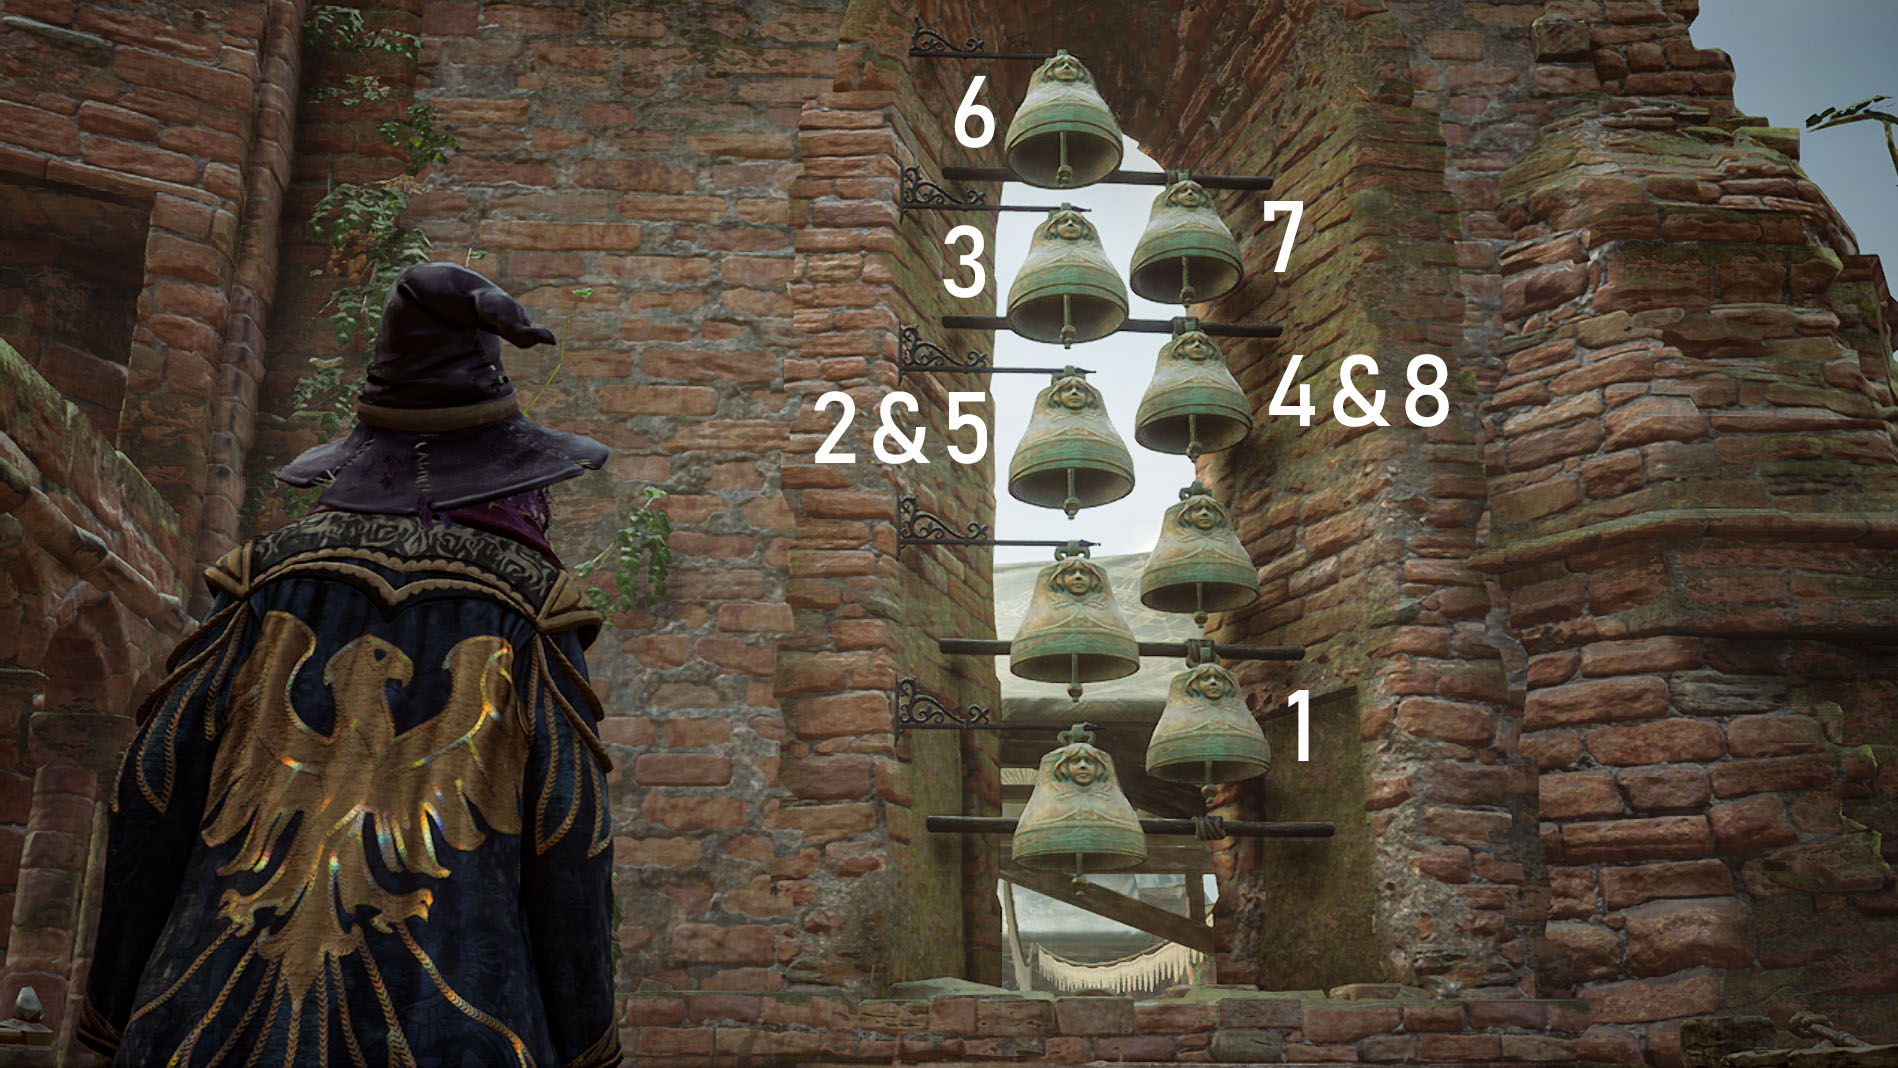
Here is the order in which to hit the bells.
- Second from bottom
- Fifth from top
- Third from top
- Fourth from top
- Fifth from top
- Top bell
- Second from top
- Fourth from top
You’ll soon realize that hitting the notes correctly leads to a very familiar tune: John Williams’ Harry Potter theme from the movies.
For whom the bell tolls
The Hippogriff Marks the Spot is a very confusion quest if you don’t know where to go to get sove the Hippogriff puzzle and get the reward. But once you know what to do it’s straightforward enough. The surprise of solving this first quest is realizing that you’ve been dropped off in the middle of a ruin that obviously has more to it.
Going further into Harrietta’s Hideout leads to the Music Map, which you need in order to complete the Solved by the Bell quest. Considering how long this string of quests goes on for, making players ring out John Williams’ main theme from the Harry Potter movies is a fun Easter egg finish.


