Key Takeaways
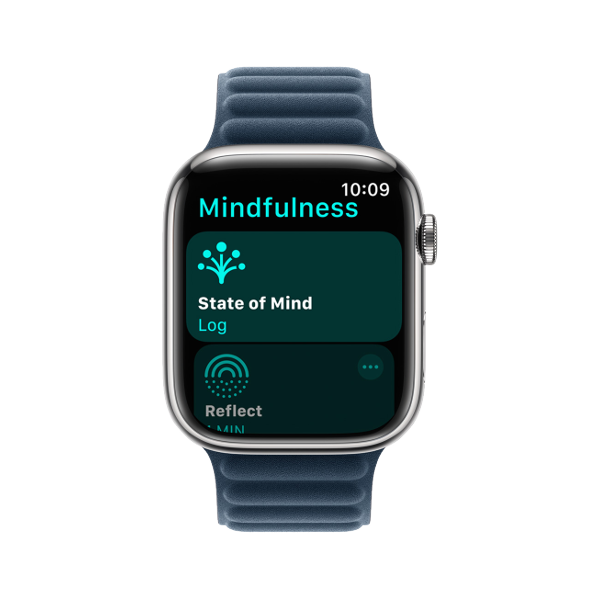
- If you already own an Apple Watch, it makes a convenient microphone that you can position closer than the iPhone you’re using to shoot video.
- For the best audio, keep the Apple Watch unobstructed in front of the sound source and don’t touch it.
- Use the Voice Memos app to record audio on the watch, then sync it with the video in a video editor later.
Have you seen the price of wireless iPhone microphones? Get decent sound on the cheap by using your Apple Watch as a microphone and syncing the audio in your video editor instead.
Why Use Your Apple Watch as a Mic?
Using your Apple Watch as a microphone is a practical way to capture spoken word audio without having to buy a separate microphone. It’s convenient if you need to use your iPhone or another camera to capture video, but you’re stuck with underwhelming on-camera audio.

Apple Watch Series 9
$280 $399 Save $119
The Apple Watch Series 9 provides an incremental upgrade over its predecessor, the Apple Watch Series 8. However, this doesn’t make it a subpar wearable device by any means. Rather, it means that an already impressive device has been improved slightly. The Series 9 features a superior chip, a brighter display, and some exciting new features on the horizon.
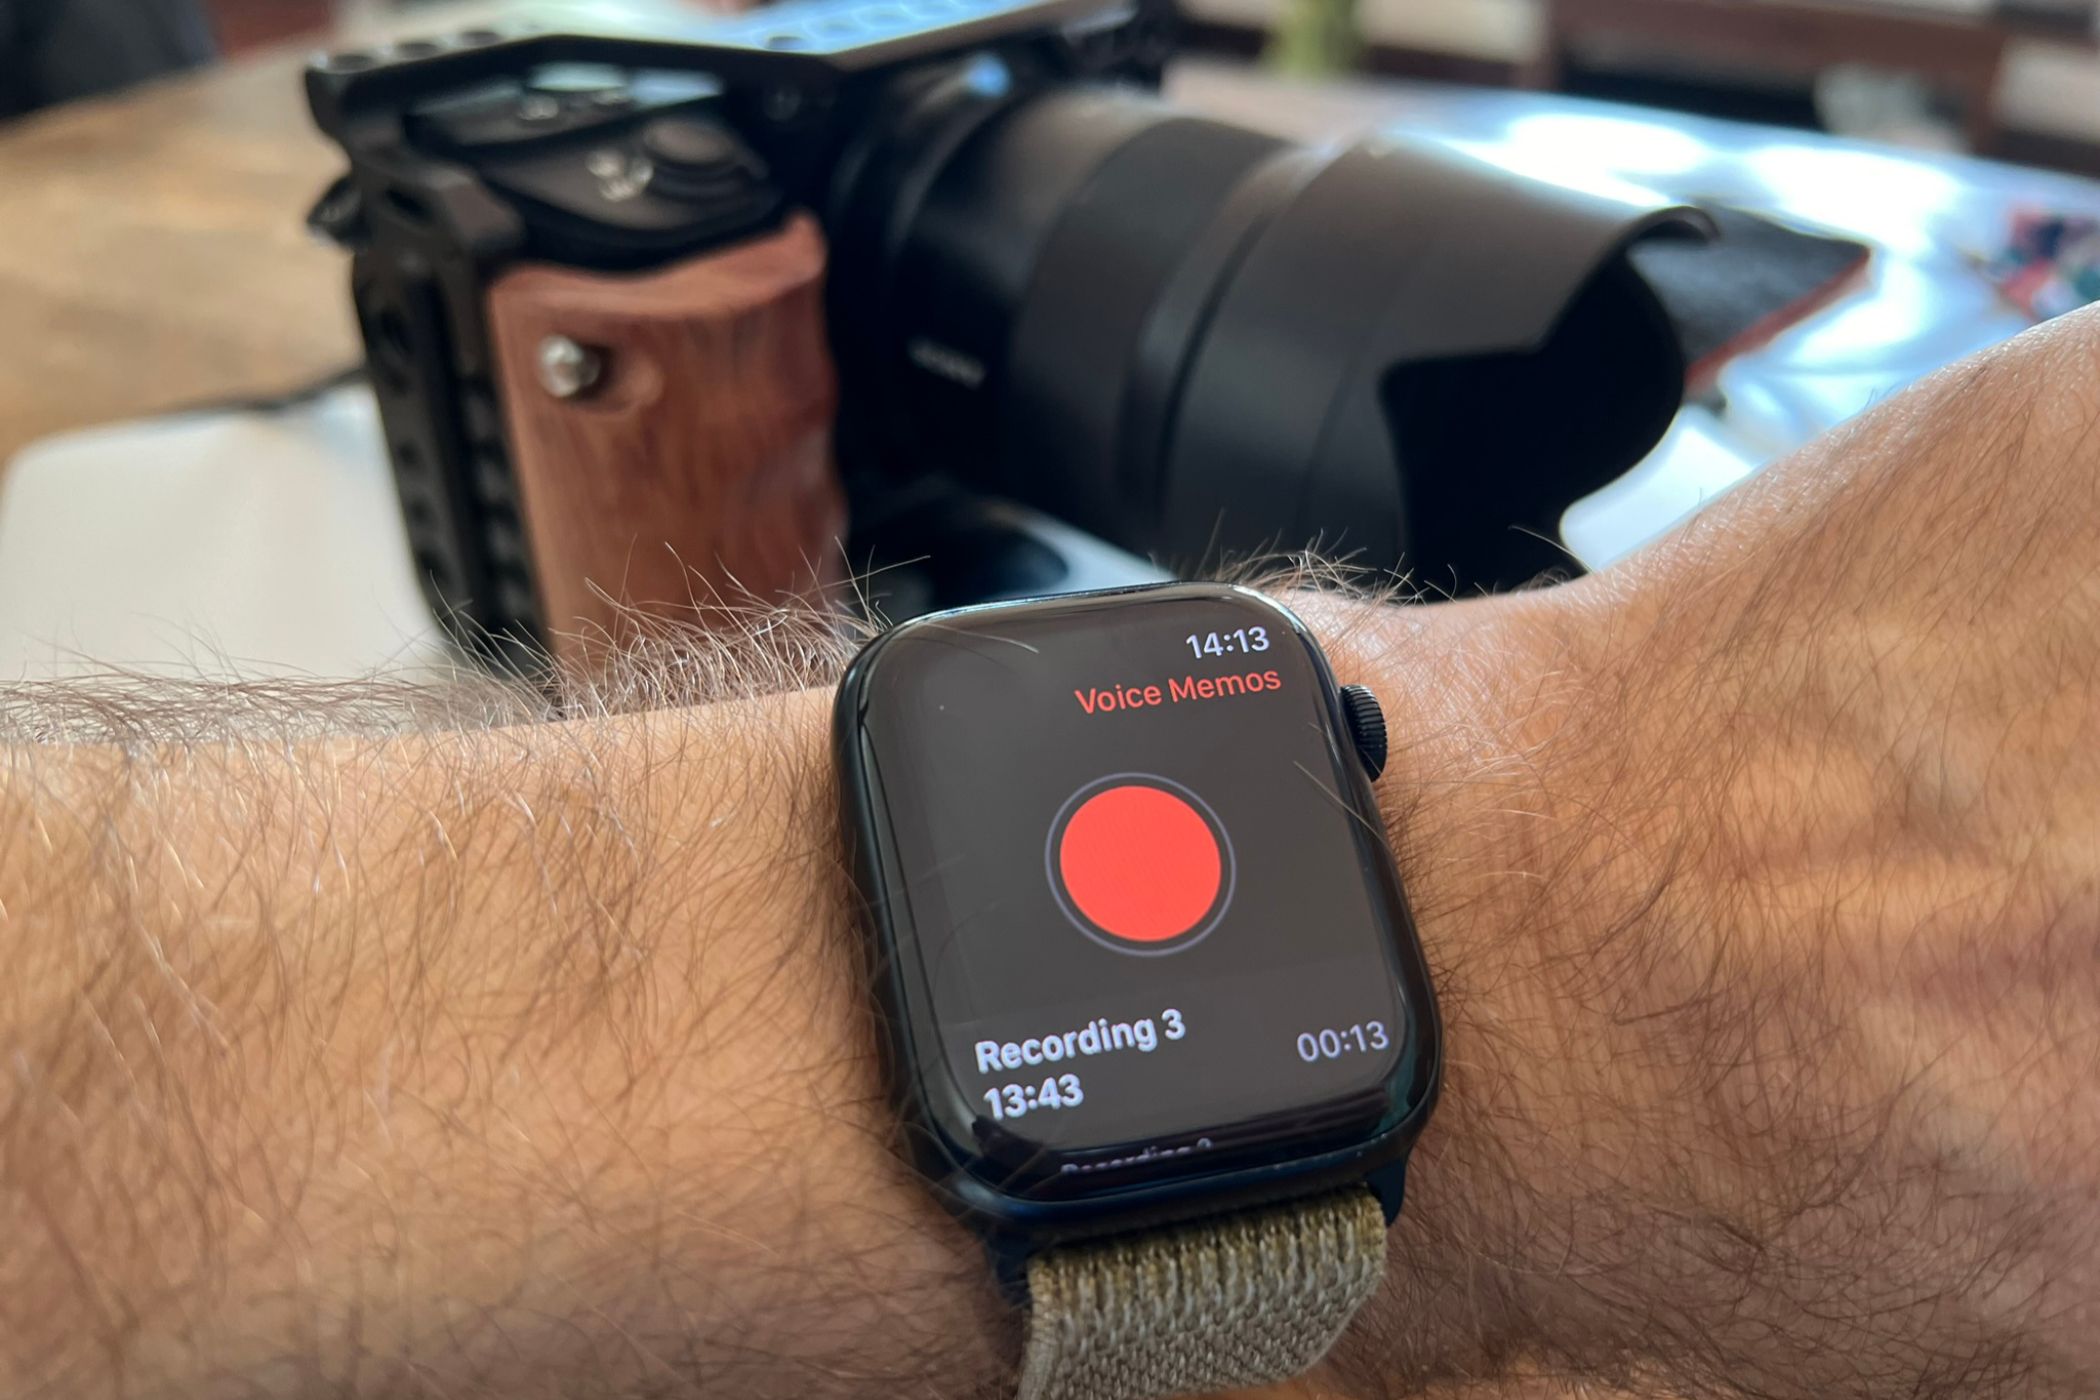
It’s especially good for piece-to-camera and one-on-one style interviews since you can carefully position the Apple Watch right in front of whoever is speaking while your camera is much further away. Just be sure not to obscure the Watch or touch it while recording to get the best possible audio quality.
Speaking of audio quality, the Voice Memos app on your Apple Watch records passable audio. It’s not going to replace a proper microphone, but it’s a lot better than relying on most on-camera audio especially when the camera is some distance away.
Analysis of a 15-second voice recording taken on my Apple Watch revealed a mono M4A file with a tiny file size of 166kB, a variable bitrate of 65kbps, and a sample rate of 48kHz. It’s not going to knock your socks off, but for spoken word, it sounds pretty good.
Once you’ve finished recording, your audio will transfer automatically to your iPhone and sync via iCloud to your Mac if you have enabled the feature.
Use Voice Memos to Record Audio
This technique depends on using the Voice Memos app on your Apple Watch to record audio separately to your camera. You’ll then need to sync the audio to your video, something you can do manually or automatically (for free) depending on what you’re using to edit the video.
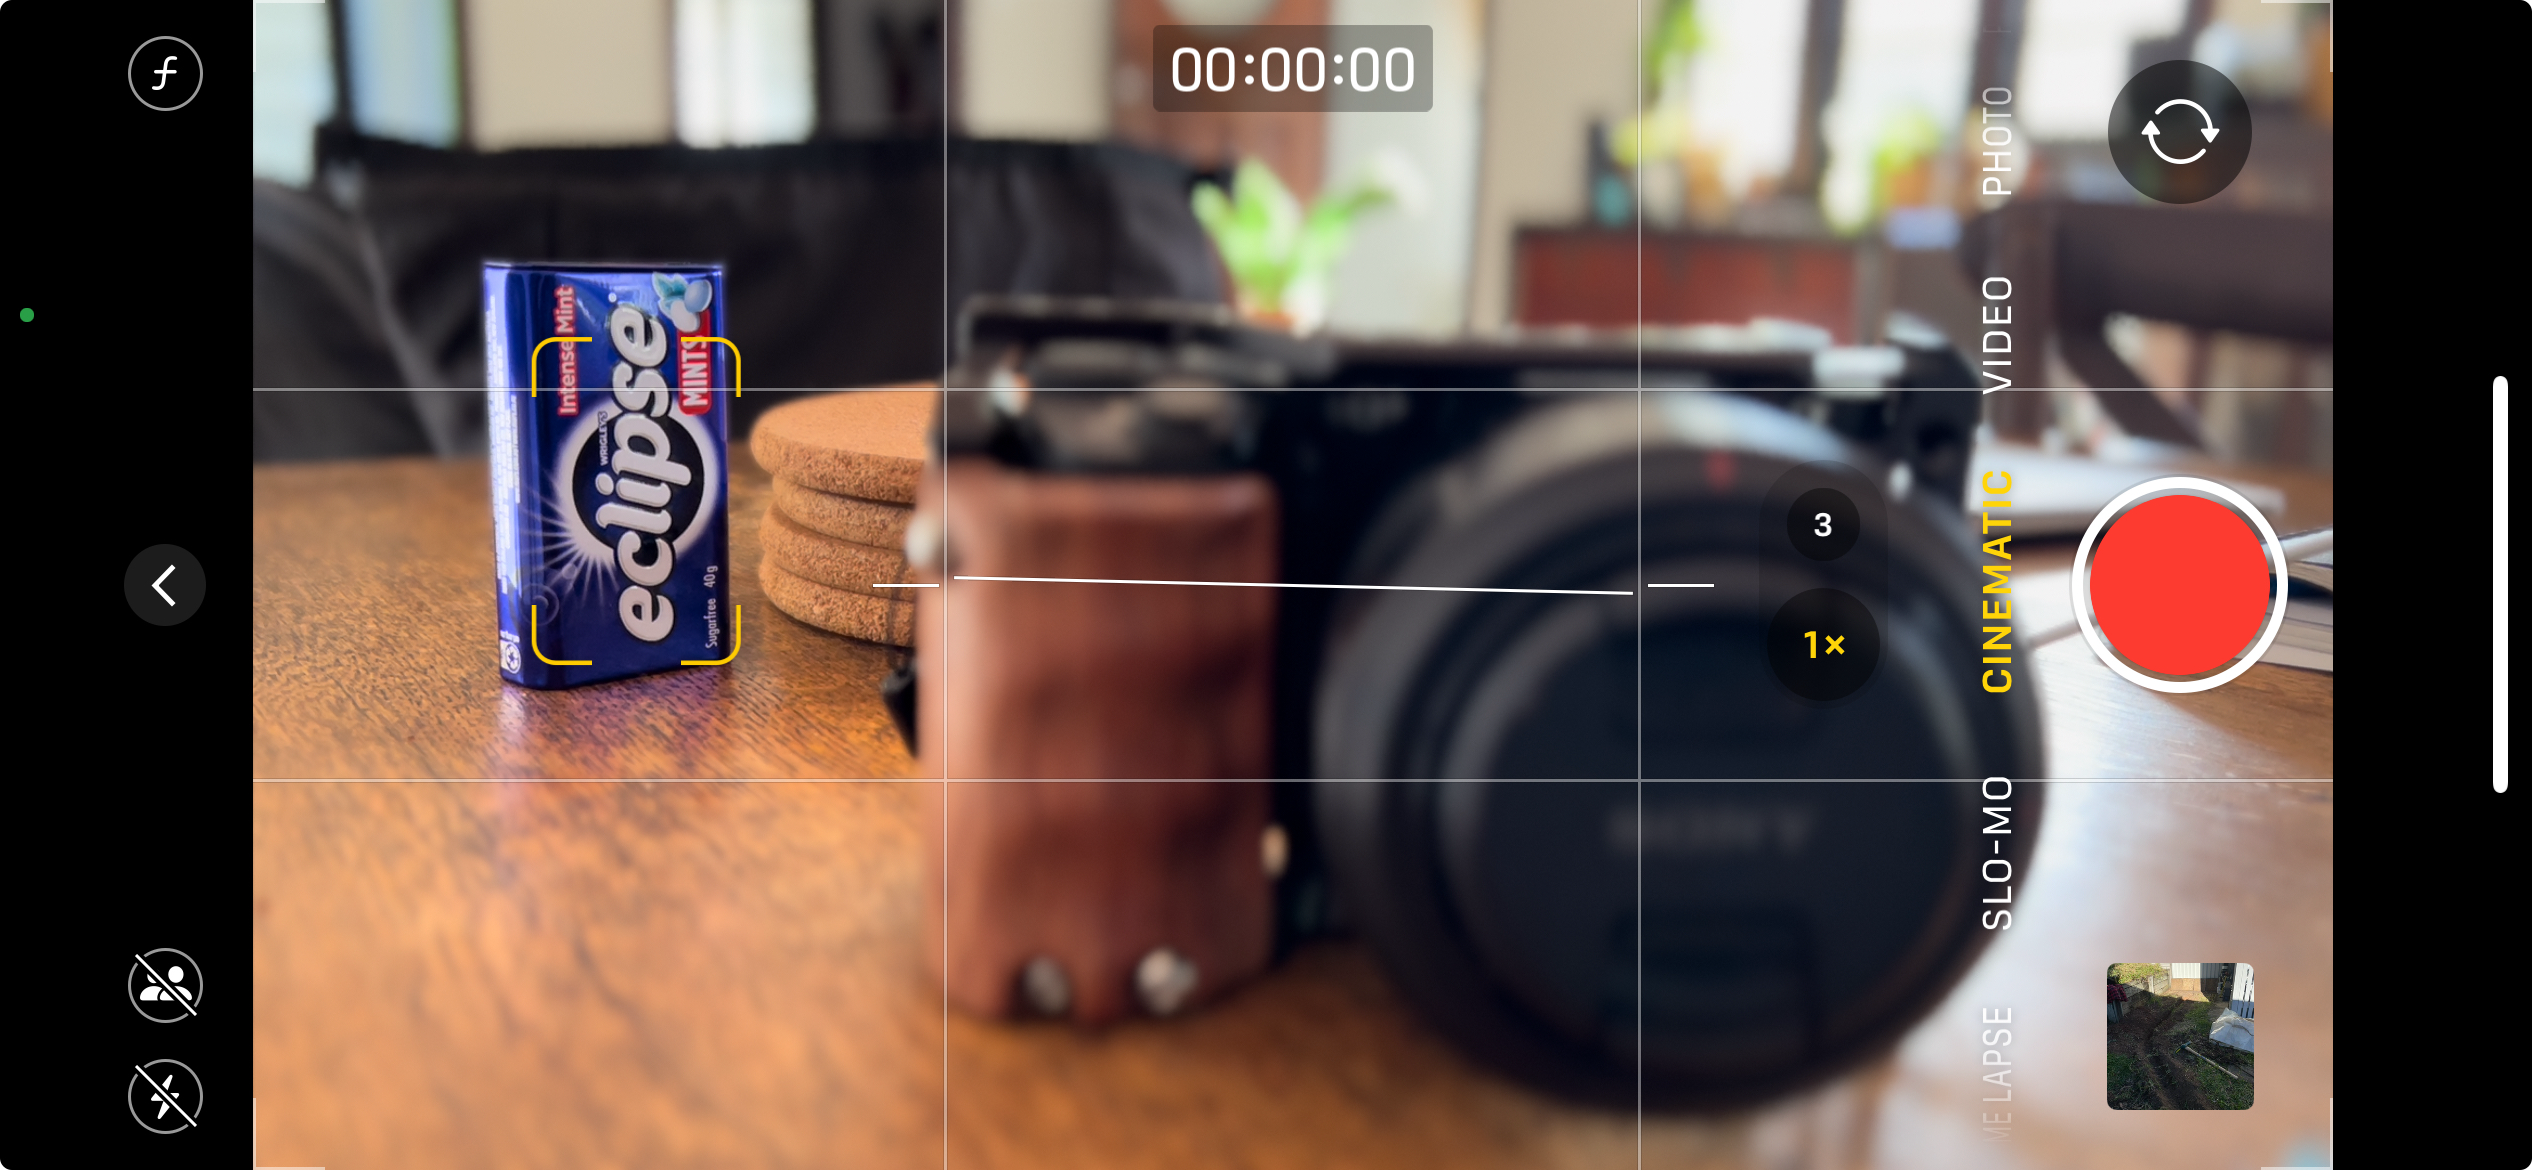
First, start recording video on your camera. Next, start recording audio on your Apple Watch using the Voice Memos app by tapping the big red record button. Now, position yourself in shot on the camera and clap clearly and loudly. This will help you (or your software) sync the clip later.
You can now conduct your interview or record your piece-to-camera. When you’re done, stop recording on both devices. If you mess up, it’s a good idea to either keep both devices rolling (and edit out the bad take) so that you don’t end up with too many separate files which can make things more complicated later.
Once you stop your audio recording, you’ll find the audio on your iPhone and possibly your Mac too.
Sync the Audio to Your Video
Use the “Share” feature in Voice Memos for iPhone to add the M4A file to your iCloud Drive, other cloud storage provider, email, or wherever you’re planning to edit. On a Mac, you can simply drag the recording to a folder of your choice.
The simplest way to sync your audio and video is to use the best free video editor, DaVinci Resolve. It’s available for both Windows and Mac and is worth taking the time to learn considering how powerful it is. Open the app, create a new project with your files, and use the “Cut or “Edit” interface to place your video and audio file into the timeline.
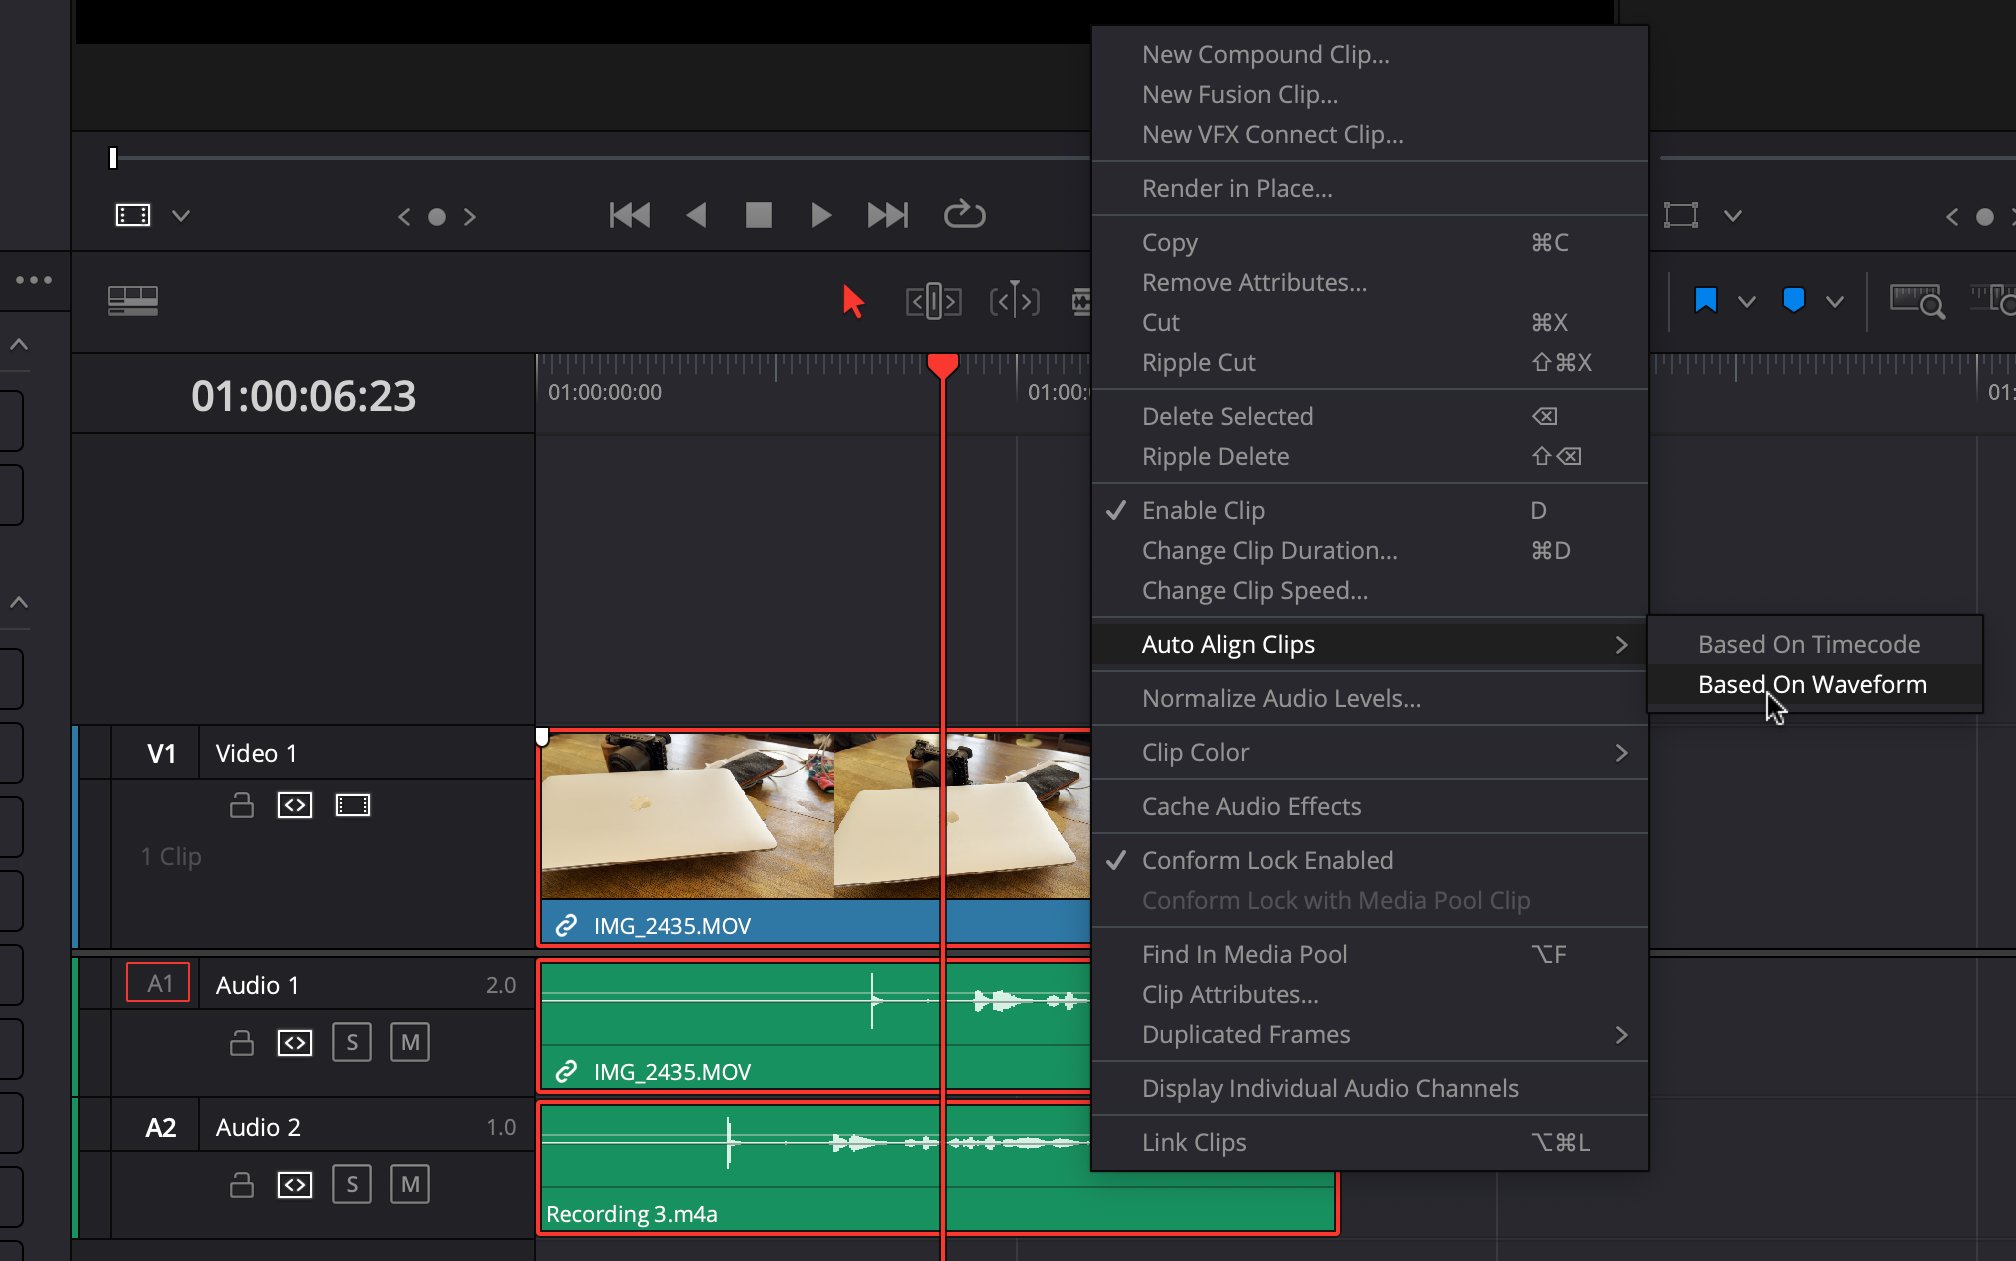
Now, select both clips by Command- or Ctrl-clicking then click on Clip > Auto Align Clips > Based on Waveform. DaVinci Resolve will look at the audio and match your clips up. Next, mute or delete (right-click, “Unlink clips” and then select and delete) the in-camera audio track for best results.
If you need to do this manually, use an editor that lets you see the waveform view and zoom in. You should see a big spike near the start of your audio where you clapped. Use this to help align your clips. Lots of video editors have auto-align tools built in, like Premiere Pro. Have a look through the support documents to figure out how to the tools.
Doing Lots of Recording? Get a Real Microphone
I used this technique when helping my partner with a remote learning course, where simple video production was necessary for tutors to gauge progress. In-camera microphones on an iPhone and Sony mirrorless camera were a letdown. The Apple Watch provided far more usable results.
But this is by no means a substitute for a proper microphone. If you’re going to be doing a lot of recording, get a shotgun microphone or wireless lavalier microphone instead. Alternatively, a separate audio recording device works well if you’re happy to sync video and audio.
Why not combine this tip with our guide to better iPhone video?


