Plex is a great way to stream your personal media collection to every device in your house, but its even better now that you can stream it straight to the virtual cinema that lives inside your Meta Quest headset. Let’s look at how to do it.
First You Need Plex (Free)
In case you don’t already have Plex (skip to the next section if you do) let’s quickly go over what Plex is, and the basics of setting it up. We have a detailed setup guide, but the basic process is as follows:
- Download the Plex server application for your hosting device. That’s the device with your media on it.
- Add libraries in Plex linked to your media folders.
- Ensure the libraries are correct, and fix any mismatches or other problems.
- Get a Plex client for the device you want to watch on. We’ll get to that next.
- Watch your content!
Now, while the Plex server software is free, you do need to pay for the client software, such as the iPad app I use most often. There’s an option to pay for the app once-off, or you can pay for a Plex subscription, which comes with a few other perks, such as streaming your stuff while you’re away from home. In order to watch Plex on your Meta Quest, you’ll need to buy a specialized client app.
Next, Get Movie Deck for Quest (Not Free)
The app you’ll need on your Quest is not made by Plex. Instead, it’s a third-party application called Movie Deck and as of this writing it’s still in the “App Lab.” That’s Meta’s version of early access. All you have to do is buy the app and download it. This will allow you to access your Plex library from within the app.
At the time of writing, I paid $9.99 for the app, which is pretty much what the mobile Plex client costs. I think that’s a fair price, and if you like watching streaming services like Netflix in VR, it’s not much to ask to have a similar experience in Plex.
You can also watch Plex in your Meta Quest for free by simply using the Meta Quest browser and accessing your Plex account there, but that doesn’t come with all the neat virtual theater features that Movie Deck does.
Connect Your App to Your Plex Library
Once you’ve downloaded the app to your headset, and assuming Plex is already working, you need to connect the app to your Plex server.
First, ensure that both the Plex server and your headset are connected to the same local area network. It’s usually best to have the server connected via Ethernet, but if you have a modern Wi-Fi system, that works fine in my experience.
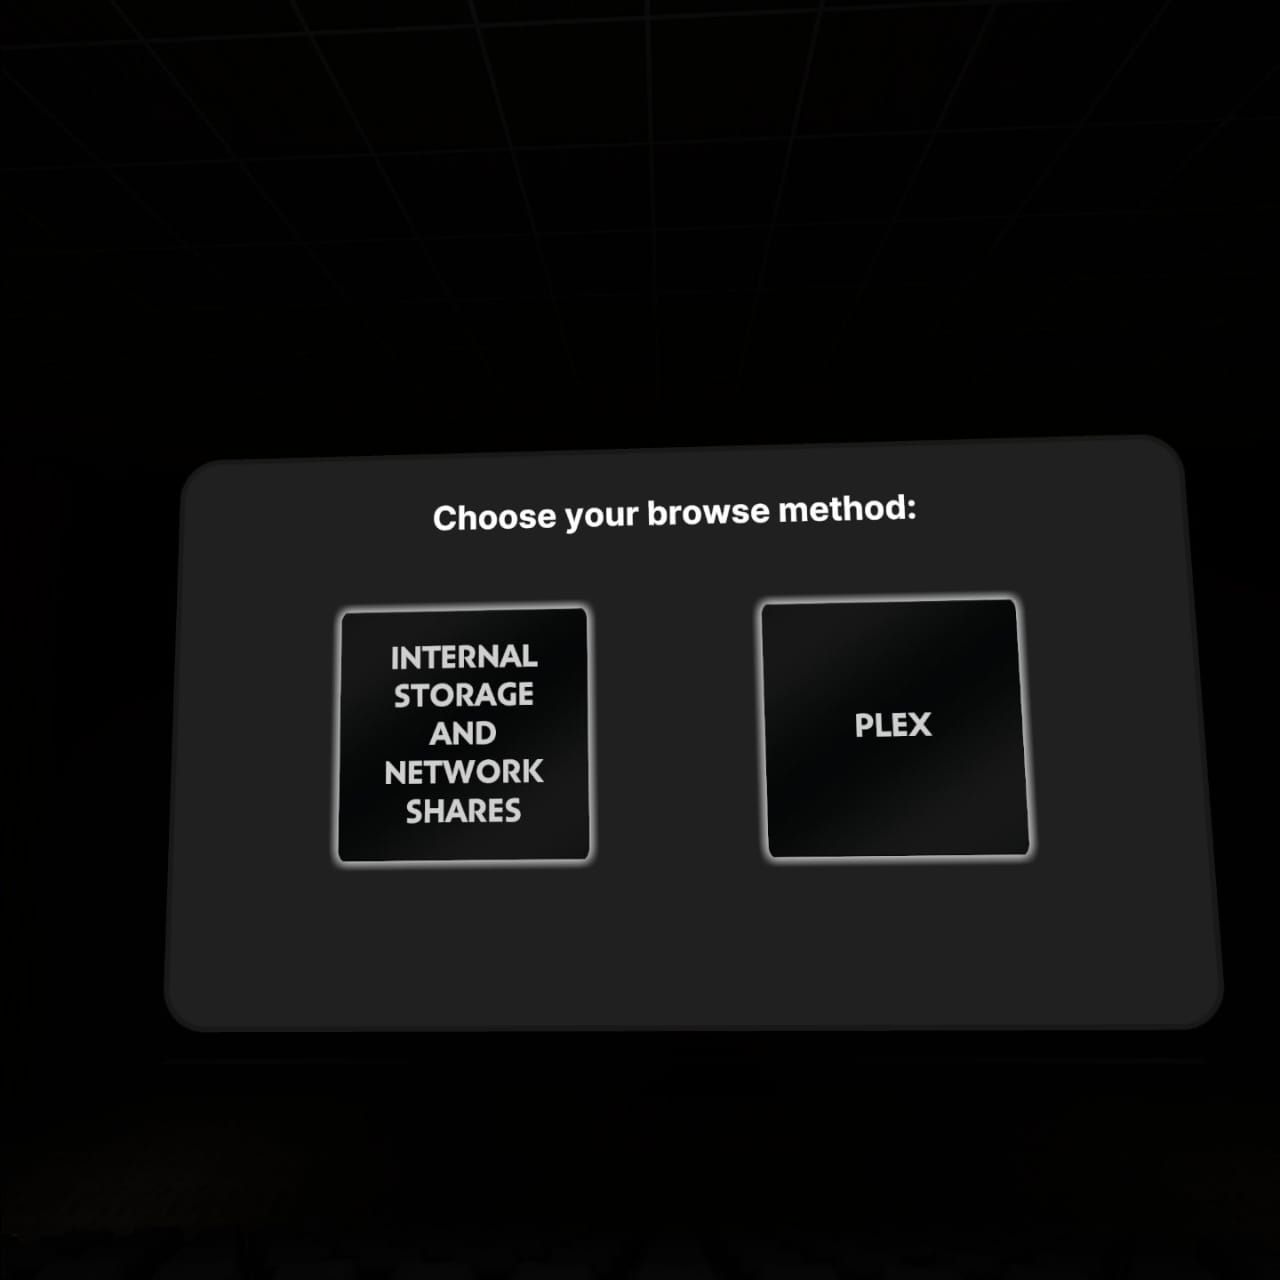
Once you’re in the Movie Deck app, you can choose to set up Plex, and if you’re on the same network you’ll see your server.
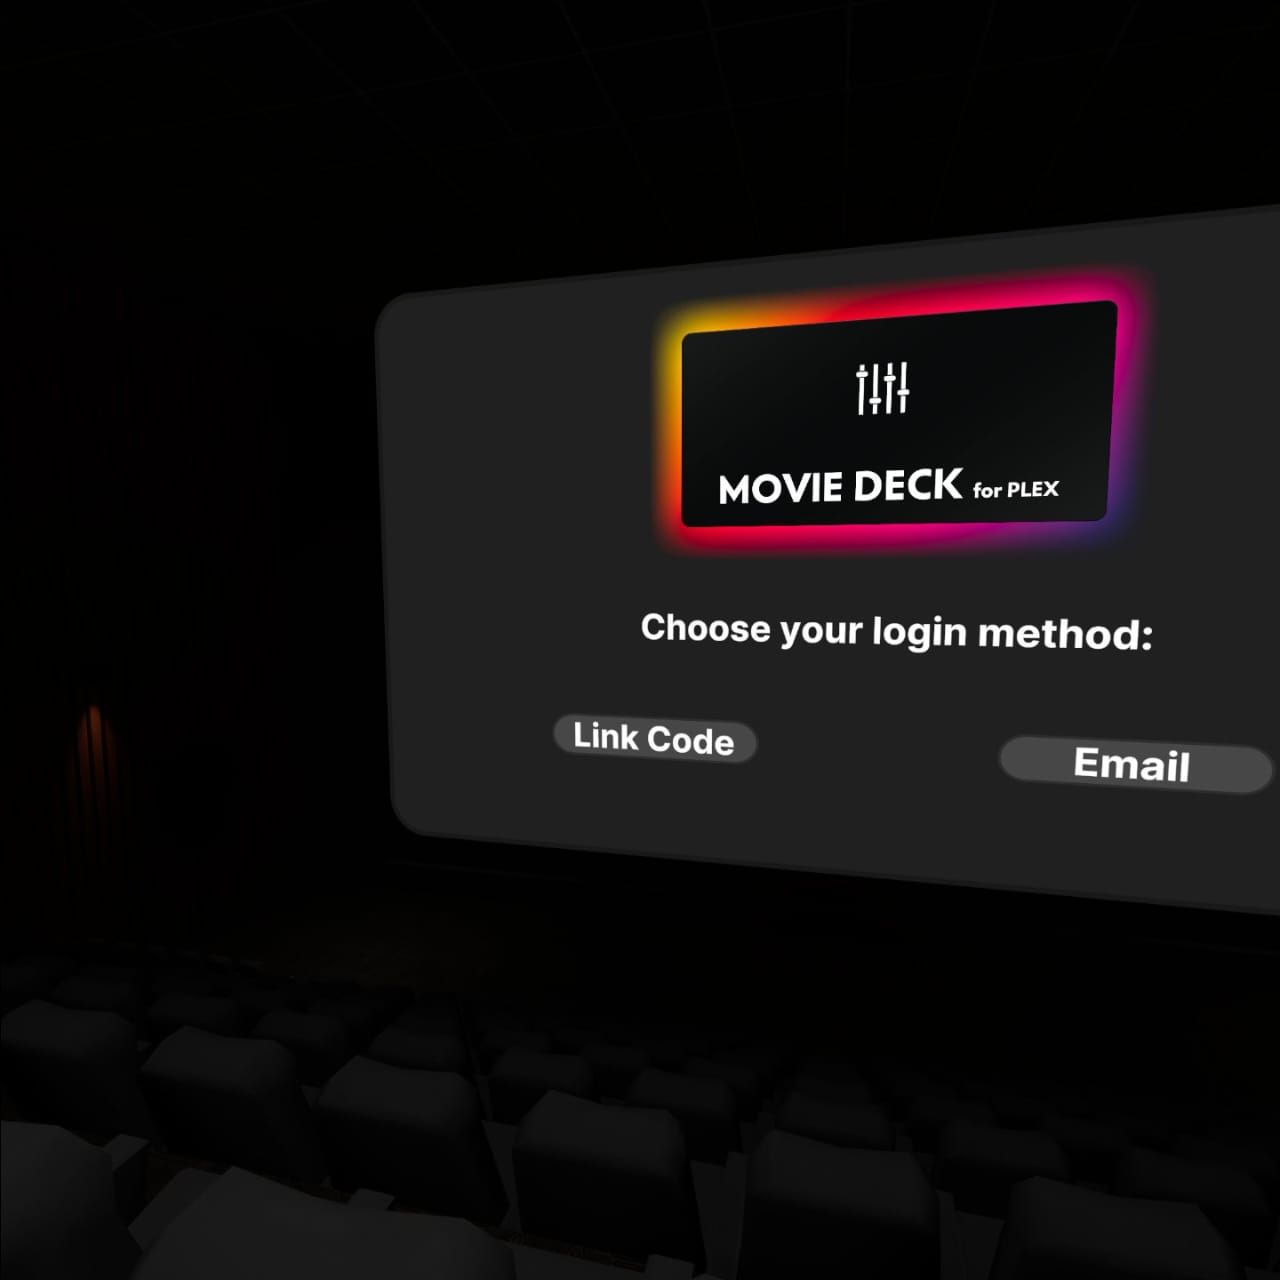
Choose your login method. I prefer to use a code.
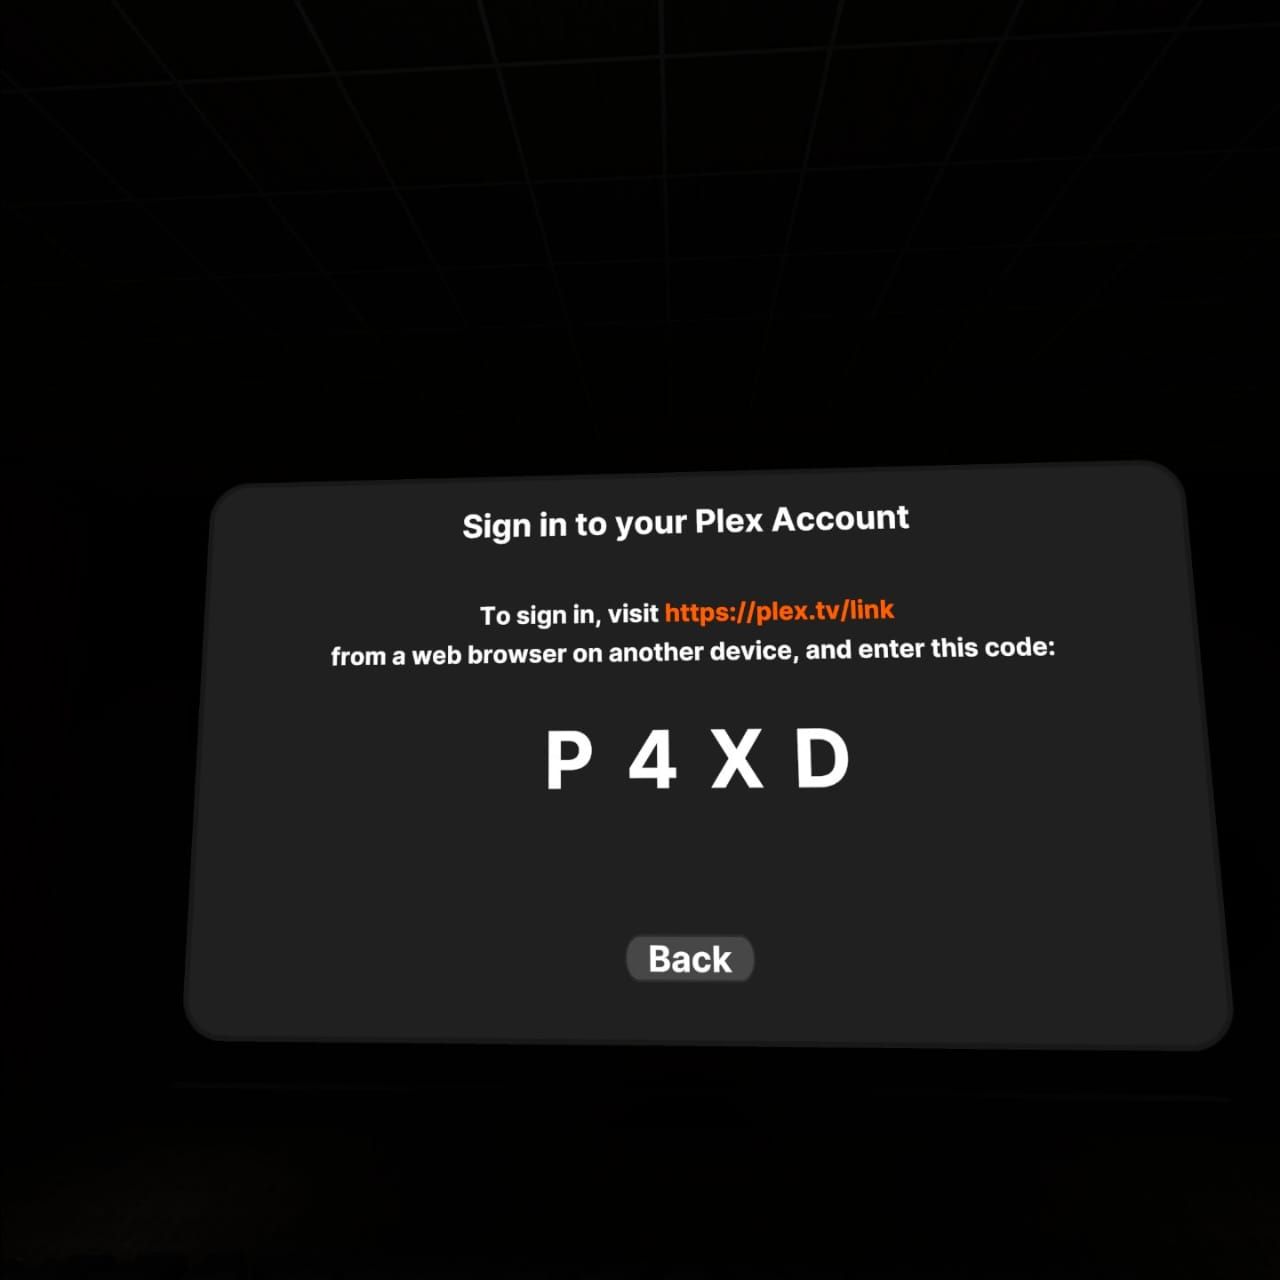
Once you’ve selected it, you’ll be asked to enter a one-time pin to verify access, just as you would when setting up any Plex client.
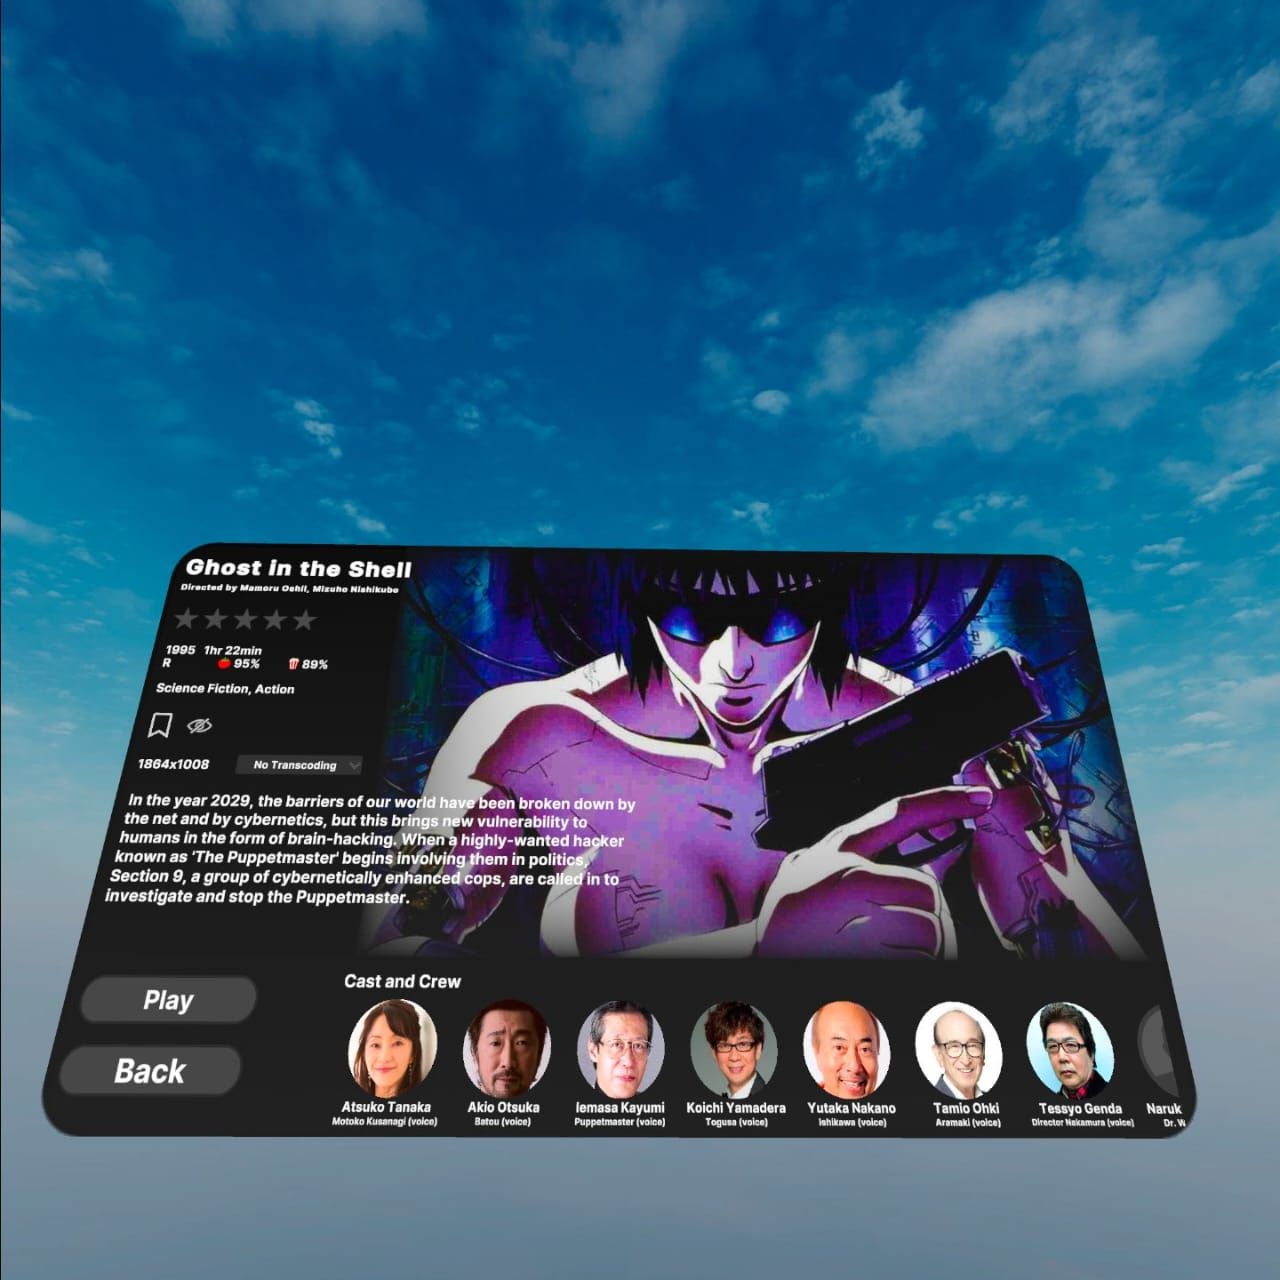
Once you’ve followed the instructions and entered the code, you should see your Plex library appear, and the viewing can begin!
How to Navigate Your VR Plex Theater
While Movie Deck works great in my experience so far, it does feel a little counterintuitive to use. There are a lot of things you can tweak in this app, including exact screen size, shape, and placement. You can adjust the audio, even the colors of the video. Of course, it supports 3D video as well!
The app supports hand-tracking, and I strongly recommend using hand tracking mode to control the application. One thing I hate about the Netflix app is having to hunt around for my Quest’s controller when I want to pause or adjust anything. You can operate everything in Movie Deck using your bare hands, and that’s the most convenient solution.
I was scratching my head for quite a while at the “Swipe to change page” instruction, but it turns out all you have to do is swipe over that sign with your left or right hand to flip between the “pages.” These pages hold all the different controls for different aspects of the video you may want to adjust, and each is named logically. Simply move the relevant slider or press the relevant toggle button to make your choices, and then kick back and watch your content in a private theater that’s all yours.


